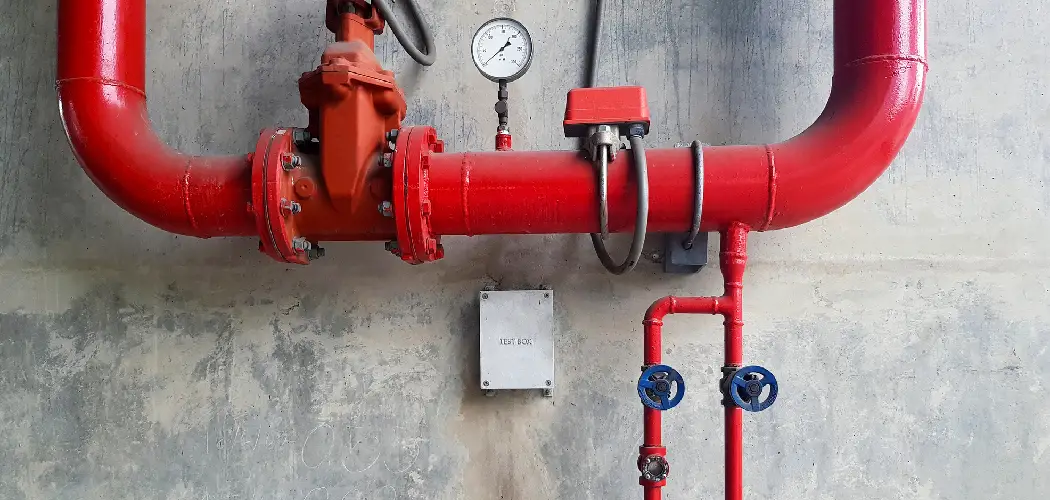
Are you dealing with a stuck gas pipe fitting and don’t know how to loosen it? Don’t worry, you’re not alone. Many people struggle with this issue, but there are some simple steps you can follow to loosen a stuck gas pipe fitting.
How to loosen a stuck gas pipe fitting can be challenging yet essential for anyone working with gas lines, whether for maintenance, repair, or installation purposes. Properly addressing a stuck fitting is crucial not only for the system’s functionality but also for safety. Gas leaks can pose significant hazards, so it’s important to approach the task with care and the right tools.
In this guide, we will explore practical techniques and tips that can help you effectively loosen a stuck gas pipe fitting, ensuring a secure and safe connection in your gas line system.
What Will You Need?
Before we dive into the methods for loosening a stuck gas pipe fitting, it’s essential to gather all the necessary tools and materials. These may include:
- Adjustable wrench
- Pipe wrench or vice grips
- Penetrating oil (such as WD-40)
- Heat source (propane torch or hairdryer)
Remember always to wear protective gear, such as gloves and safety glasses, when working with gas pipes.
10 Easy Steps on How to Loosen a Stuck Gas Pipe Fitting
Step 1. Turn Off the Gas Supply
Before you begin working on gas pipes, it is imperative to turn off the gas supply to prevent leaks or accidents. Locate the main gas shut-off valve and ensure that it is fully closed. This safety measure is essential in protecting yourself and your surroundings while working on the stuck fitting.

Step 2. Apply Penetrating Oil
Once the gas supply has been turned off, the next step is to apply penetrating oil to the stuck fitting. Penetrating oil is designed to seep into tight spaces and dissolve rust and grime, making loosening corroded or stuck fittings easier. Generously spray the penetrating oil around the fitting, ensuring it covers all exposed threads and joints.
Allow the oil to sit for at least 10 to 15 minutes to give it time to penetrate the bond between the pipe and the fitting. In some cases, it may be beneficial to repeat this process a couple of times if the fitting remains stubborn. This preparation is crucial, as it can significantly reduce the force needed later on and lower the risk of damaging the pipe or fitting during the loosening process.
Step 3. Use Heat Application
If the penetrating oil does not adequately loosen the fitting, applying heat can be a practical next step. Carefully use a heat source, such as a propane torch or a hairdryer, to warm the area around the stuck fitting. Heat can help expand the metal, which may break the bond of corrosion or debris holding the fitting in place. Be cautious and maintain a safe distance from any surrounding flammable materials.
It’s essential to heat the fitting gradually and evenly, avoiding any sudden temperature changes that could lead to damage. After applying heat for a few minutes, allow the fitting to cool slightly before attempting to loosen it again with your wrench.

Step 4. Use an Adjustable Wrench
After allowing the penetrating oil to soak in and applying heat, it’s time to try loosening the stuck fitting with an adjustable wrench. Position the wrench around the fitting, ensuring a snug fit. Apply steady pressure while turning the wrench counterclockwise. Use both hands to apply more torque if possible, as this can help break the fitting grip.
Be careful not to apply excessive force, which could damage the fitting or the pipe. If the fitting still refuses to budge, you may need to revisit the previous steps to reapply the penetrating oil or heat before trying again. Patience is vital in this process, as forcing the fitting could lead to further complications.
Step 5. Use a Pipe Wrench or Vice Grips
If the adjustable wrench fails to loosen the fitting, a pipe wrench or vice grips can provide a better grip due to their teeth and design. Attach the pipe wrench or vice grips firmly around the fitting, ensuring the jaws are tightened to avoid slipping. Engage your total body weight by using your arms and shoulders to apply consistent pressure while attempting to turn the fitting counterclockwise.
This tool’s increased gripping power can often break loose, stubborn fittings that won’t yield to less aggressive methods. Remember to proceed carefully to avoid damaging the fitting or the adjacent pipe. If necessary, alternate between this step and the previous ones until the fitting becomes loose enough to turn with manual effort.
Step 6. Tapping Gently with a Hammer
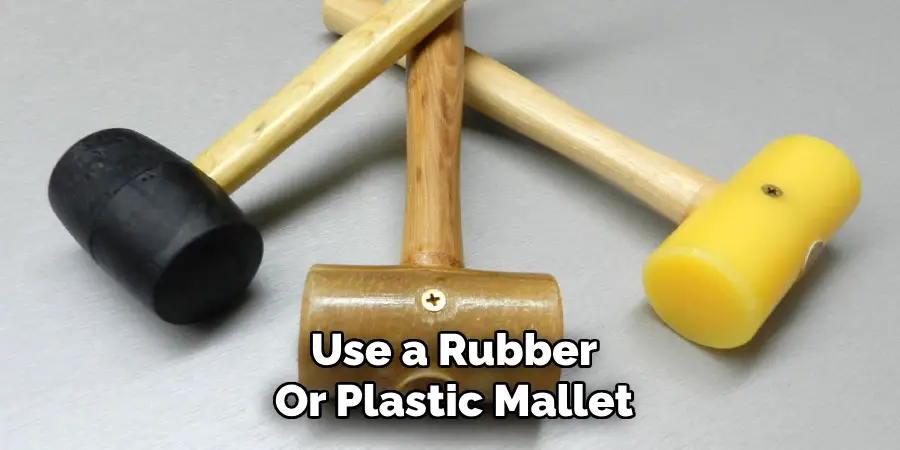
If the fitting remains stuck despite your efforts, consider using a hammer to tap gently on the fitting. This technique can help break the corrosion seal that may keep it in place. Use a rubber or plastic mallet to avoid damaging the fitting. Gently tap around the perimeter of the fitting in a circular motion, applying light but consistent force. Be cautious not to strike too hard, as excessive force could damage the fitting or the pipe. After tapping, attempt to loosen the fitting again with your wrench or pipe wrench, as this additional shock may have helped to loosen it.
Step 7. Use a Lubricating Agent
Applying a lubricating agent can be beneficial if the previous methods haven’t successfully loosened the fitting. Products designed for loosening rusted bolts or fittings can help reduce friction and dissolve any rust or debris causing the sticking issue. Apply the lubricant liberally around the fitting, allowing it to penetrate for 10 to 15 minutes. After this, retry the adjustable or pipe wrench to see if the fitting has become more accessible to turn. This step can provide the additional assistance needed to free a particularly stubborn fitting, ensuring that you maintain it safely and effectively.
Step 8. Try a Fitting Removal Tool
If the fitting still proves unyielding, consider using a fitting removal tool explicitly designed for such situations. These tools can provide the extra leverage to grip and turn stubborn fittings. Carefully position the removal tool around the fitting, ensuring it is snugly secured. Slowly apply torque counterclockwise, being mindful not to exert excessive force that could damage the fitting or surrounding pipes. This specialized tool may significantly enhance your ability to loosen fittings that resist standard methods. If successful, proceed with caution as you continue loosening the fitting.
Step 9. Consult a Professional
If the fitting remains stuck after all your efforts, it may be time to consult a professional plumber. Sometimes, stubborn fittings can indicate deeper issues within the plumbing system that require expert assessment. A professional will have access to specialized tools and techniques that can safely and effectively resolve the problem without risking damage to your pipes.
Additionally, they can provide insight into the overall condition of your plumbing and offer solutions to prevent similar issues in the future. While this may be a more costly option, the peace of mind from professional assistance can be invaluable in complex plumbing situations.
Step 10. Preventative Measures
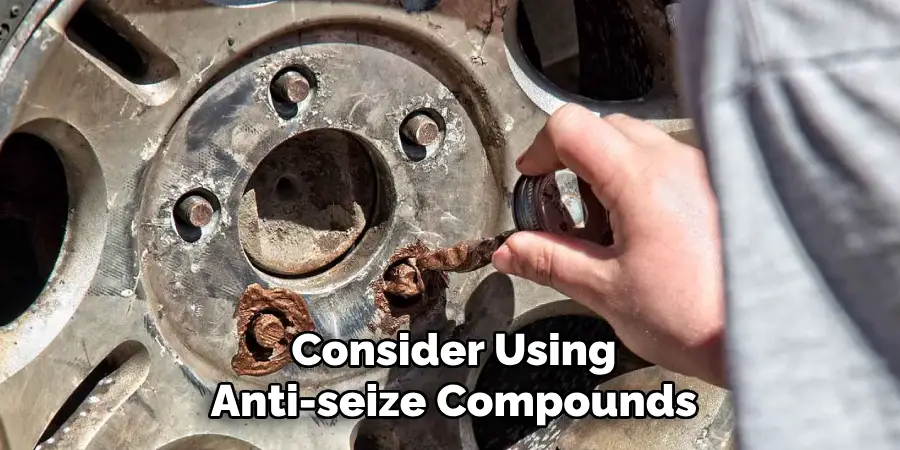
It’s essential to implement preventative maintenance practices to avoid future instances of stuck fittings. Regularly inspect your plumbing system for signs of corrosion or wear, and address any issues promptly to prevent further complications. When installing new fittings or pipes, consider using anti-seize compounds to create a barrier against rust and corrosion.
Additionally, ensure that all connections are properly sealed and aligned to minimize the risk of future sticking. Keeping the fittings clean and periodically applying a lubricant helps maintain their functionality, making them easier to work with in the long term.
By following these steps and taking preventative measures, you can effectively address stuck fittings in your plumbing system and ensure its longevity and functionality.
5 Things You Should Avoid
- Using Excessive Force: Applying too much force can damage fittings or pipes, which may create more significant leaks or require costly repairs. It’s essential to be patient and use gradual pressure rather than brute strength.
- Neglecting Safety Precautions: Always prioritize safety when dealing with gas fittings. Avoid working in a confined space without proper ventilation, and ensure all appliances are turned off to prevent accidents or gas leaks.
- Ignoring the Presence of Corrosion: If rust or corrosion is visibly present, don’t attempt to loosen the fitting without treating it first. Skipping the step of applying penetrating oil can lead to the fitting breaking or stripping, making it much harder to remove.
- Forgetting to Turn Off the Gas Supply: Before attempting any repairs or loosening techniques, ensure the gas supply is turned off. This prevents any gas leaks and helps maintain a safe working environment.
- Rushing the Process: Hardly removing a stuck fitting can lead to careless mistakes. Follow each step methodically, as this will increase your chances of successfully loosening the fitting without damaging surrounding components.
Conclusion
How to loosen a stuck gas pipe fitting requires patience, the right tools, and a thorough understanding of the methods outlined.
You can effectively address the issue by following the systematic approach, from applying gradual force to utilizing lubricating agents and specialized tools. Always remember to prioritise safety measures, such as turning off the gas supply and using proper ventilation, when working with gas fittings. In cases where the fitting remains stubborn, consulting a professional plumber can provide expert guidance and solutions, ensuring the integrity of your plumbing system.
Implementing preventative maintenance practices will further reduce the risk of encountering stuck fittings in the future, allowing for smooth and safe operation of your gas systems.

