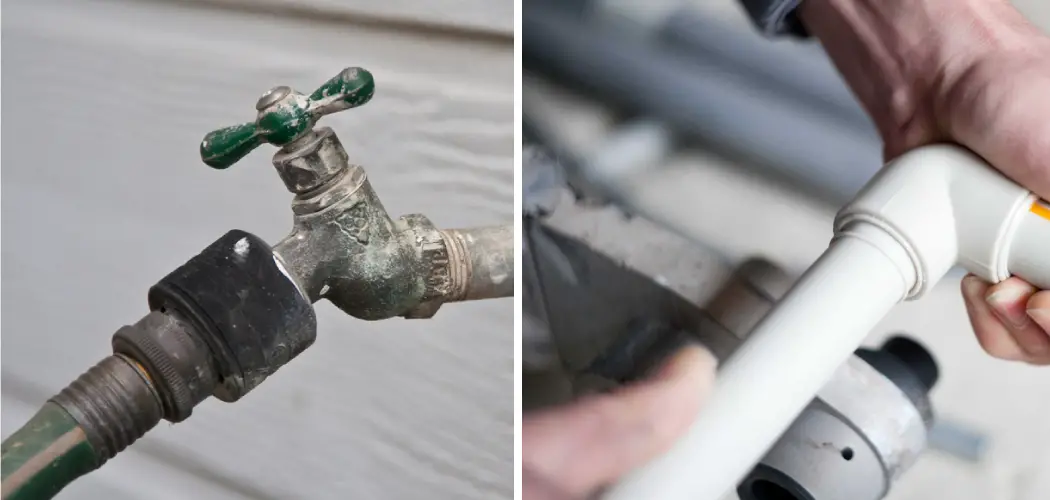
Do you have a corroded plastic pipe fitting or joint that’s currently stuck, and no matter how hard you try to loosen it, nothing seems to work? If so, then this blog post is for you! Whether the connections are on a sink waste line, plumbing drain or any other type of pipefitting application – we’ll teach you exactly what to do in order to safely remove that stubborn stuck connection.
Our comprehensive guide will arm you with the knowledge and skills necessary to help get your project back on track. So keep reading on how to loosen a stuck plastic pipe fitting, if eliminating troublesome plastic pipe fittings is something that needs urgent attention today!
Safety Measures
Before we dive into the actual steps on how to loosen a stuck plastic pipe fitting, it’s important to first highlight some safety measures that you should take. Remember, working with pipes and fittings involves handling sharp tools, chemicals and other potentially hazardous materials.
Therefore, you must ensure that you are properly equipped with personal protective equipment (PPE) such as gloves, goggles and a respirator if necessary, before attempting to loosen the stuck plastic pipe fitting.
Necessary Tools and Materials
Before we dive into the steps to loosen a stuck plastic pipe fitting, it’s important to gather all the necessary tools and materials. This will ensure that you have everything you need on hand to successfully complete the task without any delays or interruptions.
Here are some of the essential tools and materials you will need:
- Adjustable Wrench
- Pipe Cutter or Hacksaw
- Heat Gun or Hair Dryer
- Vice Grips
- Lubricant (Such as Wd-40)
- Sandpaper or Emery Cloth
- Safety Gear (As mentioned above)
11 Step-by-step Guidelines on How to Loosen a Stuck Plastic Pipe Fitting
Step 1: Identify the Type of Plastic Pipe Fitting:
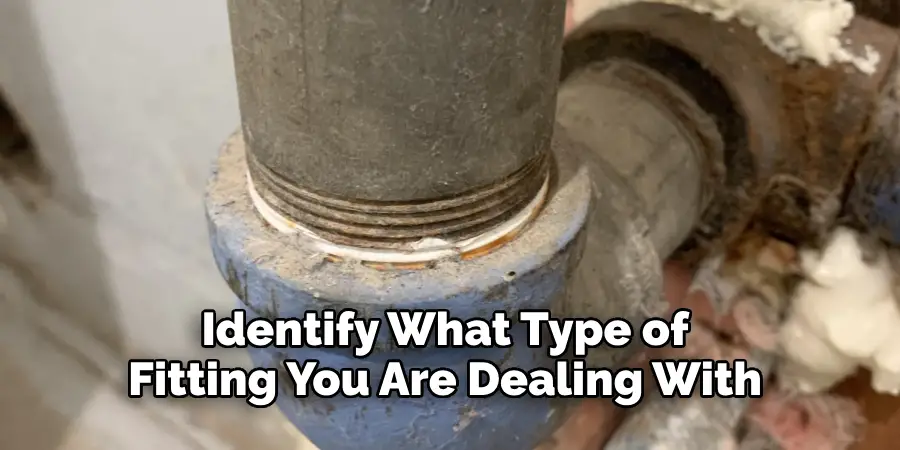
The first step to loosening a stuck plastic pipe fitting is to identify what type of fitting you are dealing with. Different types of fittings require different methods for removal, so this is a crucial step in the process. It’s important to know if you are dealing with a slip joint fitting, glued fitting or compression fitting. You can do a quick online search or consult with a professional to determine the type of fitting you have.
Step 2: Apply Heat:
Once you have identified the type of fitting, it’s time to apply heat to the stuck connection. This can be done with a heat gun or even a hair dryer. The heat will help loosen any adhesives or sealants that may be causing the fitting to stick. But be careful not to overheat the plastic as it can melt or weaken.
This step may take a few minutes, so be patient and make sure to heat the entire area evenly. Although it may seem counterintuitive, using hot water to heat the fitting is not recommended as it can cause injury.
Step 3: Use Lubricant:
If applying heat does not work, try using a lubricant such as WD-40 or penetrating oil on the stuck connection. This will help to loosen the grip of the fitting. It’s important to use a lubricant that is safe for plastic and won’t cause damage. This step may require some time for the lubricant to penetrate and work its magic, so be patient.
It’s also a good idea to add lubricant before and during the heating process. It will act as a barrier and prevent the plastic from melting. But be careful not to use too much as it can make the fitting slippery and difficult to grip.
Step 4: Use a Pipe Wrench:
If the stuck fitting is a threaded connection, you can try using a pipe wrench to grip and turn the fitting counterclockwise. Be sure to place another wrench on the opposing side to provide leverage and prevent damage to the pipes. You may also want to try tapping the wrench gently with a hammer to help loosen the fitting.
It’s important to avoid using excessive force as this can break the pipes or fitting. This method may require some patience and repeated attempts. You can also try using an adjustable wrench if the pipe is smaller in size.
Step 5: Tap with a Hammer:
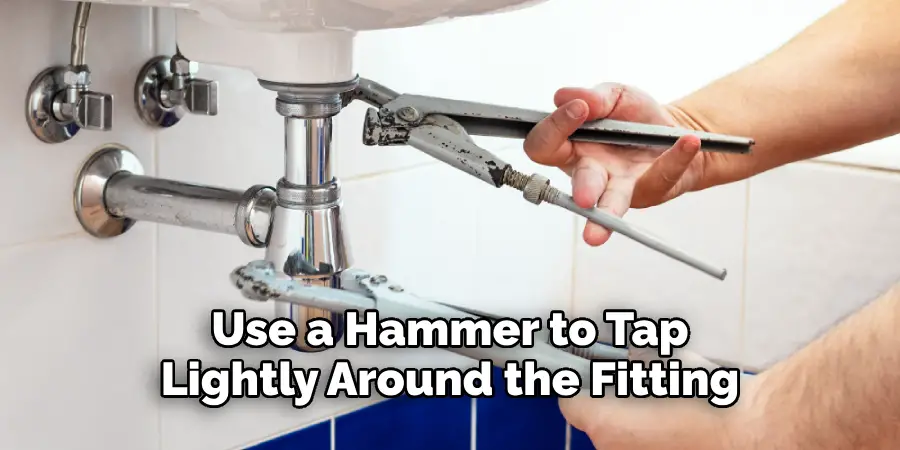
Sometimes, stubborn fittings may need some gentle persuasion. Use a hammer to tap lightly around the fitting to loosen any corrosion or buildup. You can also try tapping the fitting in the opposite direction to break its grip. This method may require some trial and error, so be patient and keep trying until the fitting starts to loosen. It’s important to avoid using excessive force as this can cause damage.
Step 6: Use a Strap Wrench:
If the fitting is too difficult to grip with a pipe wrench, try using a strap wrench instead. This tool wraps around the fitting and provides better leverage for loosening. But be careful not to overtighten the strap wrench as this can cause damage.
It’s also important to regularly check the condition of the strap and replace it if it starts to wear out. You may also want to use a piece of cloth between the strap and fitting to prevent any damage. It may take a few attempts, but keep trying until the fitting starts to loosen.
Step 7: Apply More Heat and Lubricant:
If the fitting is still stuck, repeat steps 2 and 3 to apply more heat and lubricant. This may take a few attempts before the fitting finally loosens. It’s important to be patient and not rush this step. You may also want to try adding more lubricant while the fitting is still warm.
This will help to penetrate deeper into the stuck connection and make it easier to loosen. You can also try using a different type of lubricant if the first one doesn’t work. It’s important to use a lubricant that is safe for plastic and won’t cause damage.
Step 8: Use Vice Grips:
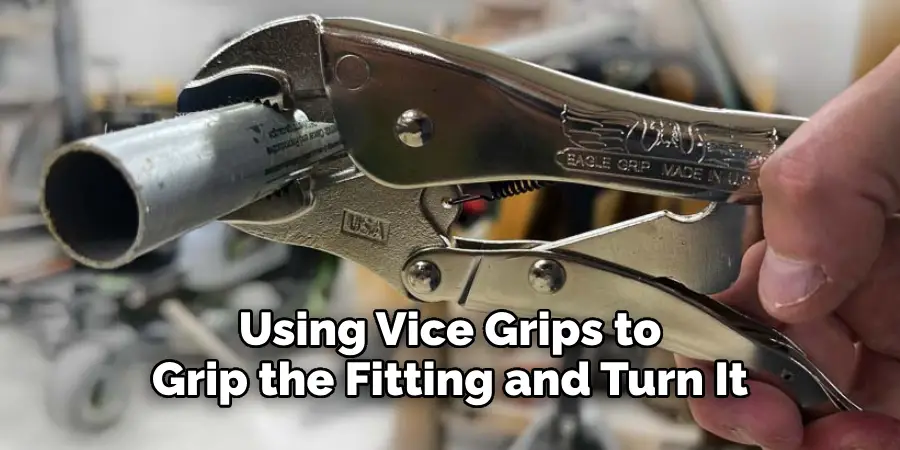
If all else fails, you can try using vice grips to grip the fitting and turn it counterclockwise. Be sure to use a cloth or rubber pad between the grips and the fitting to prevent damage. It’s important to be careful when using vice grips as they can easily slip and cause injury.
You may also want to try tapping the vice grips with a hammer to help loosen the fitting. You can also use two vice grips if necessary, one to grip the fitting and the other for leverage. But be careful not to overtighten the vice grips as this can cause damage.
Step 9: Cut the Fitting:
As a last resort, if none of the above methods work, you may need to cut the stuck fitting using a pipe cutter or hacksaw. This should only be done if you are unable to remove the fitting using other methods and have no other options. It’s important to be careful when cutting as this can cause damage and create sharp edges. Use a cloth or rag to protect yourself from cuts.
You may also want to sand down the cut edges for a smoother finish. It’s important to take extra precautions and wear safety gear when using this method.
Step 10: Clean Up:
Once the fitting is removed, be sure to clean up any leftover adhesives or lubricant from the pipes. This will ensure a smooth connection when installing a new fitting. It’s important to use a clean cloth or rag and avoid using any harsh chemicals that could damage the pipes.
You can also use sandpaper or emery cloth to lightly sand away any residue. It’s important to thoroughly clean and dry the pipes before installing a new fitting. The fitting should now come off easily without any hassle.
Step 11: Use Teflon Tape:
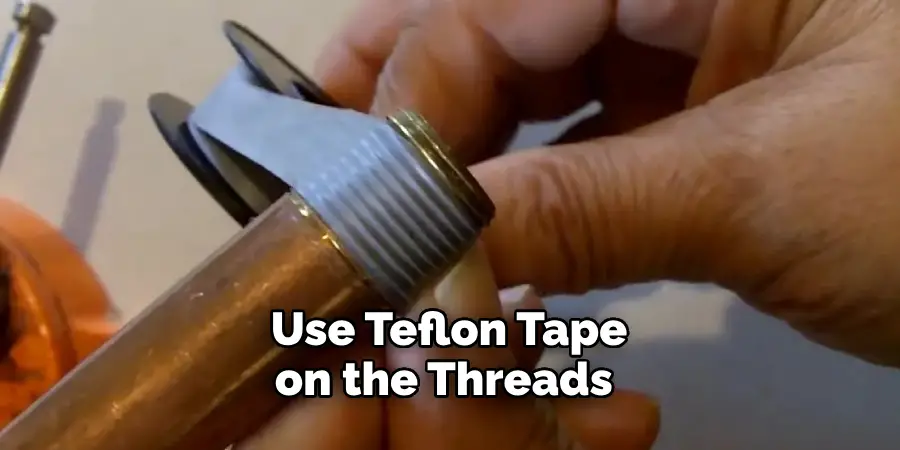
When installing a new fitting, be sure to use Teflon tape on the threads to prevent future sticking or leaking. This will also ensure a tight and secure connection. It’s also recommended to replace any damaged pipes or fittings to prevent further issues. This step can save you time and hassle in the long run as preventive maintenance is always better than fixing a problem later on. It’s important to let the tape wrap around the threads in the same direction as you will be turning the fitting.
Following these steps on how to loosen a stuck plastic pipe fitting and taking the necessary safety precautions will help you successfully loosen a stuck plastic pipe fitting without damaging your pipes or yourself. It’s important to be patient and persistent when dealing with stubborn fittings, as it may take multiple attempts before successfully loosening them.
Additional Tips
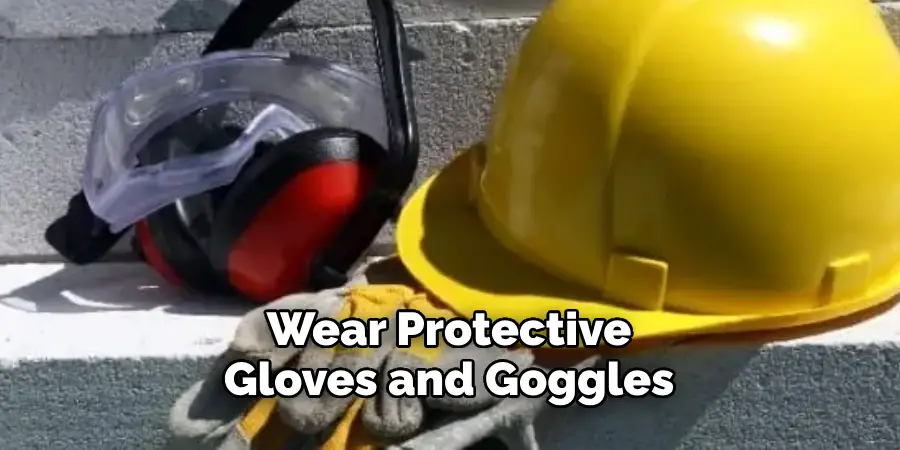
- If Using a Heat Gun, Be Sure to Wear Protective Gloves and Goggles to Avoid Burns or Damage From Hot Plastic.
- Always Turn Off the Water Supply Before Attempting to Loosen a Stuck Fitting.
- Use Caution When Tapping or Hitting the Fitting With a Hammer to Avoid Causing Damage.
- Regularly Check Your Pipes and Fittings for Signs of Wear and Tear to Prevent Future Issues.
- If You Are Uncertain or Uncomfortable With Loosening a Stuck Fitting, It’s Best to Hire a Professional Plumber. Your Safety and the Integrity of Your Pipes Should Always Be a Top Priority.
- Remember to Never Use Excessive Force When Loosening a Stuck Fitting, as This Can Cause Damage or Injury.
- Regular Maintenance and Inspection of Your Plumbing System Can Help Prevent Future Issues With Stuck Fittings. It’s Better to Catch Any Potential Problems Early on Before They Become More Difficult to Fix.
Frequently Asked Questions
Q1: What if the Stuck Plastic Pipe Fitting is in a Hard-to-reach Area?
A1: If the fitting is not accessible with traditional tools, you can try using a tool specifically designed for removing stuck fittings such as a socket wrench or extractor tool.
Q2: Can I Use WD-40 on Plastic Fittings?
A2: Yes, you can use WD-40 or another lubricant on plastic fittings, but be sure to clean them thoroughly before installing a new fitting to prevent any slipping or leaks. You may also need to use a different type of lubricant if the WD-40 doesn’t work.
Q3: How do I Prevent Plastic Pipe Fittings from Sticking in the Future?
A3: To prevent future sticking, be sure to clean and dry the fittings before installation, use Teflon tape on the threads, and avoid overtightening. Proper maintenance of your plumbing system can also help prevent issues with stuck fittings.
Q4: Can I Use a Blowtorch to Apply Heat to the Stuck Fitting?
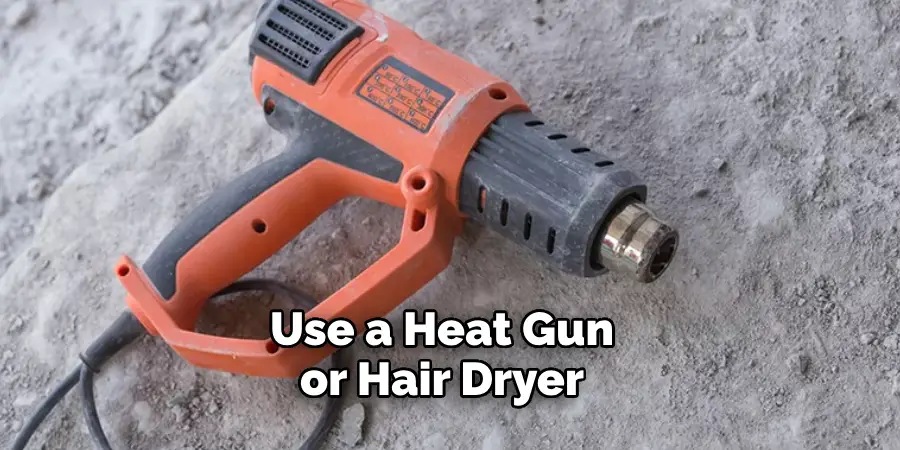
A4: We do not recommend using a blowtorch as it can cause damage to the pipes and fittings. It’s best to use a heat gun or hair dryer for more precise and controlled heating. It’s also important to exercise caution when using heat and always wear PPE.
Conclusion
Overall, learning how to loosen a stuck plastic pipe fitting can be a helpful and practical skill to know. By taking into consideration the use of lubricant or heat gun as well as the gentle application of force when needed, you can make it easier for yourself if you ever encounter a situation where one of your pipes is seized up. Sticking with tried and true methods like these should suit all the needs of those looking to unfasten their stuck plastic pipe fittings easily and effectively.
Don’t forget that using a proper tool and safety gear is essential in any plumbing task. If you find that none of the methods discussed in this article are working, then it might be time to call an expert for further assistance. So don’t let stuck pipe fittings stop you from getting the job done! Take this knowledge and get out there and start freeing some seized-up plastic pipe fittings today!

