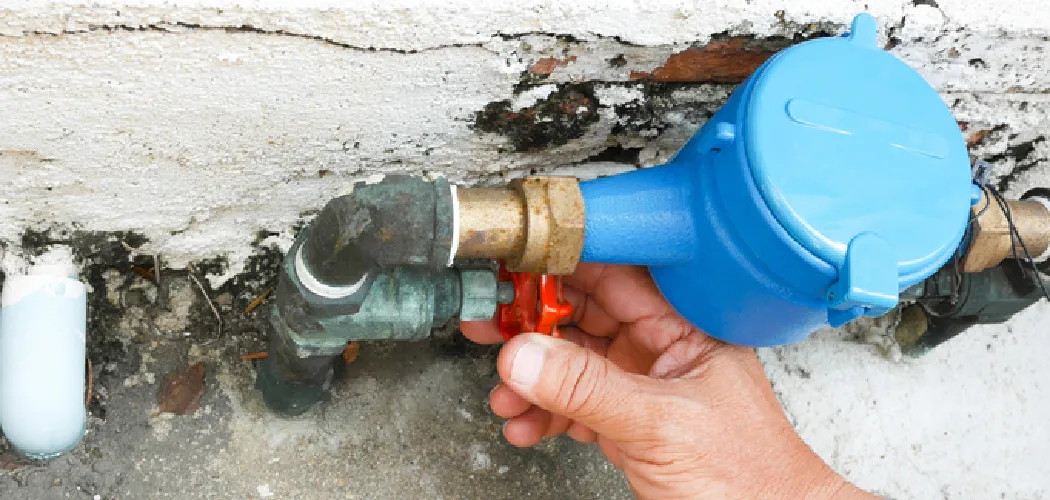
Loosening a water shut off valve can seem like a daunting task for some, but it’s an important skill to have as a homeowner. There are many reasons why you may need to loosen a water shut off valve, such as replacing a faucet or fixing a leaky pipe. Knowing how to properly do this can save you time and money by avoiding the need for a professional plumber.
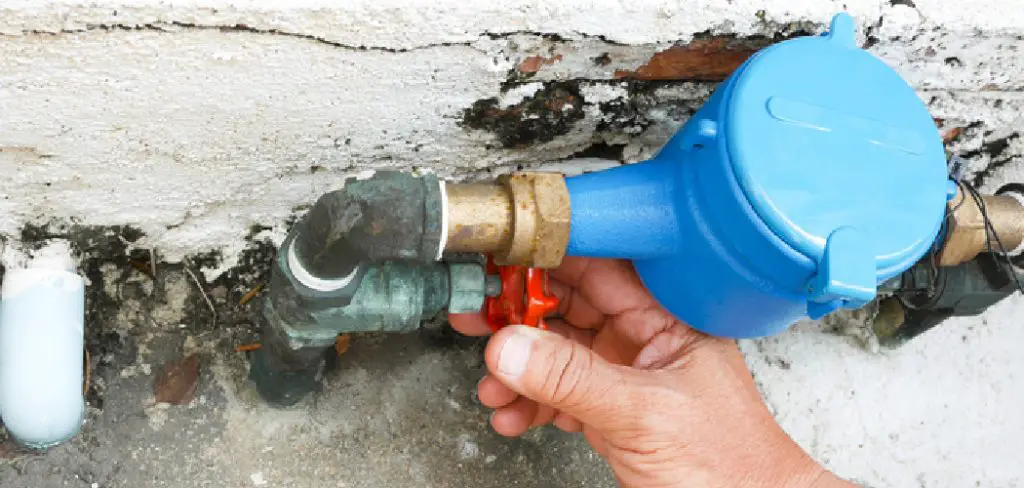
The main advantage of loosen water shut off valve is that it allows you to easily turn off the water supply in case of an emergency or for routine maintenance. Shut off valves are typically located near sinks, toilets, and appliances such as washing machines and dishwashers, making them easily accessible in case of a leak or other plumbing issue. In this blog post, You will learn in detail how to loosen water shut off valve.
Tools You Will Need
- Locking pliers
- Adjustable wrench
- Pipe cutter
- Hacksaw
- Teflon tape
- Silicone lubricant spray
- Rubber mallet
- Safety glasses
- Rags or paper towels
When it comes to loosening a water shut off valve, having the right tools can make all the difference. Here are ten essential tools you will need to successfully loosen a water shut off valve.
Step-by-step Instructions for How to Loosen Water Shut Off Valve:
Step 1: Inspect the Water Shut Off Valve
The first step in loosening a water shut off valve is to inspect the valve itself. You should check for any signs of damage or corrosion that may affect its functionality. If you notice any issues, it’s best to replace the valve before attempting to loosen it.
Step 2: Gather Your Tools
To effectively loosen a water shut off valve, you will need a few necessary tools. These include an adjustable wrench, pliers, and penetrating oil. Before attempting to loosen the valve, make sure to turn off the main water supply to your home. This will prevent any potential flooding or accidents while working on the valve.
Step 3: Use Pliers to Hold the Valve in Place
Locate the handle of the valve and use pliers to hold it firmly in place. This will provide stability and prevent the valve from turning while you try to loosen it. Using a spray or drip bottle, apply penetrating oil to the valve’s threads. This will help lubricate and loosen any stubborn buildup or rust that may be causing the valve to stick.
Step 4: Wait for the Oil to Settle In
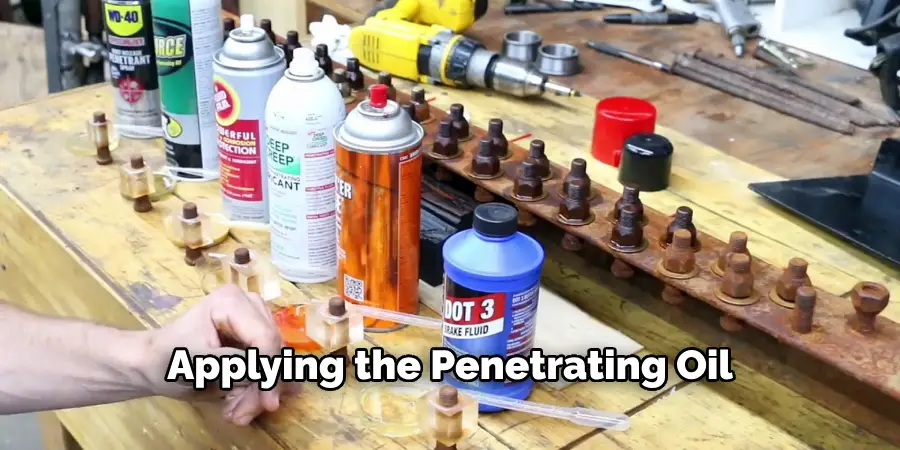
After applying the penetrating oil, give it some time to work its magic. Usually, 15-20 minutes is enough for the oil to settle in and start loosening up any debris or corrosion. Using an adjustable wrench, try turning the valve counterclockwise. If it doesn’t budge, gently tap the wrench with a mallet to help break up any stuck particles.
Step 5: Loosen with Pliers if Necessary
If using an adjustable wrench isn’t successful, you can also try using pliers to turn the valve counterclockwise. Just make sure to hold the valve firmly and evenly with the pliers to avoid causing any damage. If the valve is still not loosening, repeat steps 5-8 until it starts to move. If the valve is extremely stubborn, you may need to apply more penetrating oil and give it some time before trying again.
Step 6: Test the Valve
Once the valve is loosened, test it by turning on the main water supply and opening the valve. If there are any leaks or issues, tighten the valve back up and repeat steps 5-8 until it operates smoothly.
With these step-by-step instructions, you can effectively loosen a water shut off valve without causing any damage or accidents. Remember, if you encounter any issues during the process, it’s best to seek professional help rather than risking further damage.
Safety Tips for How to Loosen Water Shut Off Valve
- Always remember to shut off the main water supply before attempting to loosen any valves. This will prevent any accidental flooding or further damage.
- Wear protective gear, such as gloves and safety glasses, when working on water shut off valves to avoid injury.
- Use the correct tools for loosening the valve, as using improper tools can cause damage to the valve or surrounding plumbing.
- If the valve is stuck or difficult to turn, do not force it. Instead, try using a lubricant such as WD-40 to loosen it.
- Be cautious when loosening old valves, as they may be corroded and more prone to breaking.
- Make sure to turn off any electrical sources near the valve before working on it, to prevent electric shock.
- If you are unsure or uncomfortable with loosening a water shut off valve, it is best to seek professional help.
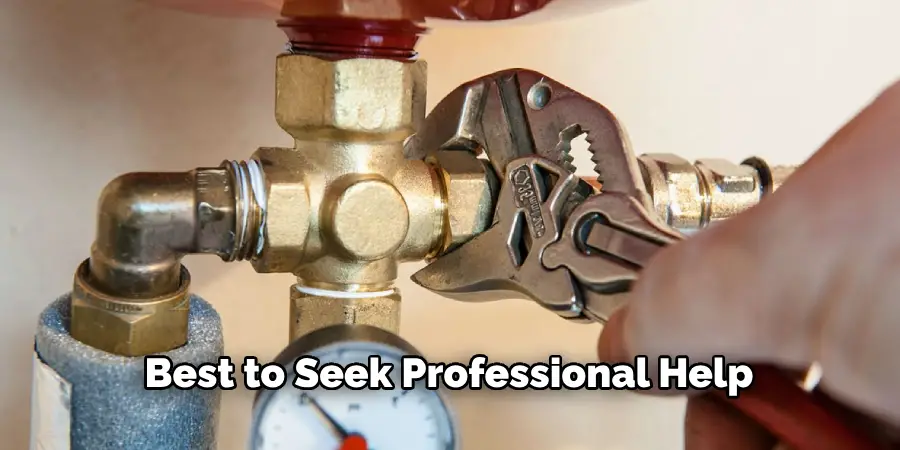
By following these safety tips, you can safely and effectively loosen a water shut off valve without any accidents or damage. Now let’s take a closer look at the steps involved in loosening a water shut off valve.
How Can You Prevent Damage to the Water Shut Off Valve While Trying to Loosen It?
If you’re having trouble with a stuck or tight water shut off valve, it’s natural to want to use more force to try and loosen it. However, using too much pressure or the wrong tools can result in damage to the valve, which can lead to costly repairs. Here are some tips on how to prevent damage while trying to loosen a water shut off valve:
1. Use the Correct Tools
It’s important to have the right tools when trying to loosen a water shut off valve. Using pliers or wrenches that are too large can cause damage to the valve, especially if you’re using excessive force. It’s best to use adjustable pliers or an adjustable pipe wrench for better control and grip.
2. Apply Lubricant
If you’re dealing with a tight or stuck valve, applying lubricant can help loosen it without causing damage. WD-40 or silicone spray are good options for this task. Simply spray the lubricant onto the valve and let it sit for a few minutes before attempting to turn the valve again.
3. Don’t Use Excessive Force
As mentioned, using too much force can cause damage to the water shut off valve. If you find yourself struggling, take a step back and reassess the situation. Using more force may not be the solution and could lead to costly repairs.
4. Use Heat
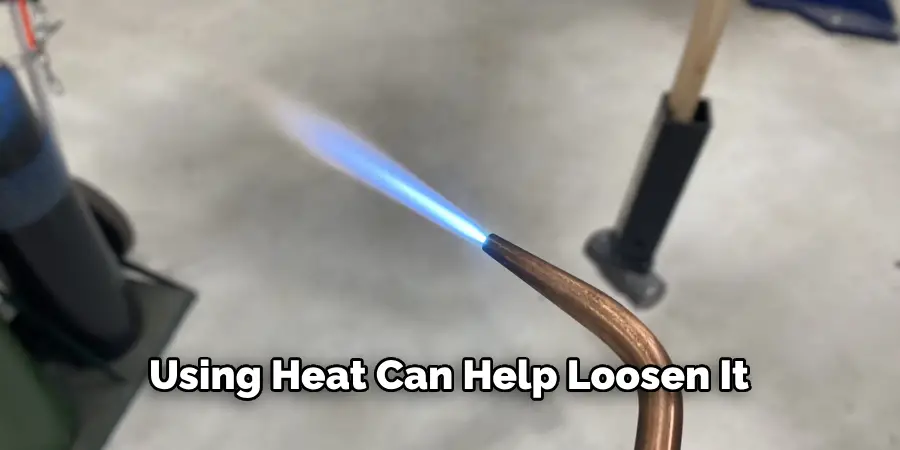
If you’re dealing with a particularly stubborn valve, using heat can help loosen it up. You can use a hair dryer or heat gun on a low setting to warm up the valve and surrounding pipes. This can also help loosen any rust or debris that may be causing the valve to stick.
5. Seek Professional Help
If none of these methods seem to be working, it’s best to seek the help of a professional plumber. They have the knowledge and experience to safely and effectively loosen a stuck water shut off valve without causing damage.
By following these tips, you can prevent damage to the water shut off valve while trying to loosen it. Remember to always use caution and proper techniques when dealing with plumbing issues to avoid costly repairs in the future.
What is the Best Method to Loosen a Stubborn Water Shut Off Valve?
When dealing with a stubborn water shut off valve, it’s important to use the best method to effectively loosen it without causing damage. Here are some recommended methods for loosening a stuck valve:

- Apply lubricant: As mentioned before, using a lubricant such as WD-40 or silicone spray can help loosen a tight valve without damaging it.
- Use heat: Heat can also be effective in loosening a stuck valve, as it helps to expand the metal and break up any rust or debris. Just be sure to use caution when using heat near pipes to avoid causing damage.
- Tap with a hammer: For valves that are only slightly stuck, tapping gently with a hammer can help loosen them without using excessive force.
- Use a valve wrench: If you have access to a valve wrench, this can be a useful tool for loosening stuck valves. They are specifically designed to fit over the valve and provide better control and leverage.
If all else fails, it’s best to seek the help of a professional plumber who has experience in dealing with stubborn water shut off valves. They will have the necessary tools and expertise to safely and effectively loosen the valve without causing damage.
Conclusion
In conclusion, learning how to loosen a water shut off valve is an important skill for any homeowner or renter. While the process may seem daunting at first, understanding the steps and having the necessary tools can make it a simple and manageable task.
However, there are also some disadvantages to keep in mind when attempting to loosen a water shut off valve. These include potential damage to the valve or surrounding pipes, as well as the risk of injury if proper safety precautions are not taken. I hope reading this post has helped you learn how to loosen water shut off valve. Make sure the safety precautions are carried out in the order listed.

