Lowering a shower head can significantly enhance your shower experience, making it more comfortable and tailored to your height preferences.
Whether you’re looking to accommodate shorter family members, improve water flow, or simply achieve a more enjoyable bathing experience, adjusting the height of your shower head is a practical solution.
In this guide on how to lower shower heads, we will explore the various methods to lower shower heads effectively, providing step-by-step instructions to ensure a successful and hassle-free installation.
What is a Shower Head Height and Why is it Important?
Shower head height refers to the vertical distance from the floor of the shower to the center of the shower head. This measurement is crucial because it directly impacts the comfort and usability of the shower experience for different users.
An improperly positioned shower head can lead to awkward postures, ineffective water coverage, and an overall less enjoyable bathing experience.
By considering the average height of the household members and any specific needs, such as accommodating children or individuals with mobility issues, adjusting the shower head height can enhance accessibility and satisfaction, ensuring that everyone can benefit from a relaxing and functional shower.
Needed Materials
Adjustable Wrench:
An adjustable wrench is necessary to loosen and tighten the shower arm, which connects the shower head to the water supply. Make sure to select an appropriate-sized wrench that can fit comfortably around the shower arm.
Slip-Joint Pliers:
Slip-joint pliers are useful for holding and turning parts during installation. They allow for a more secure grip on small or slippery objects, making them essential in lowering a shower head.

Teflon Tape (Optional):
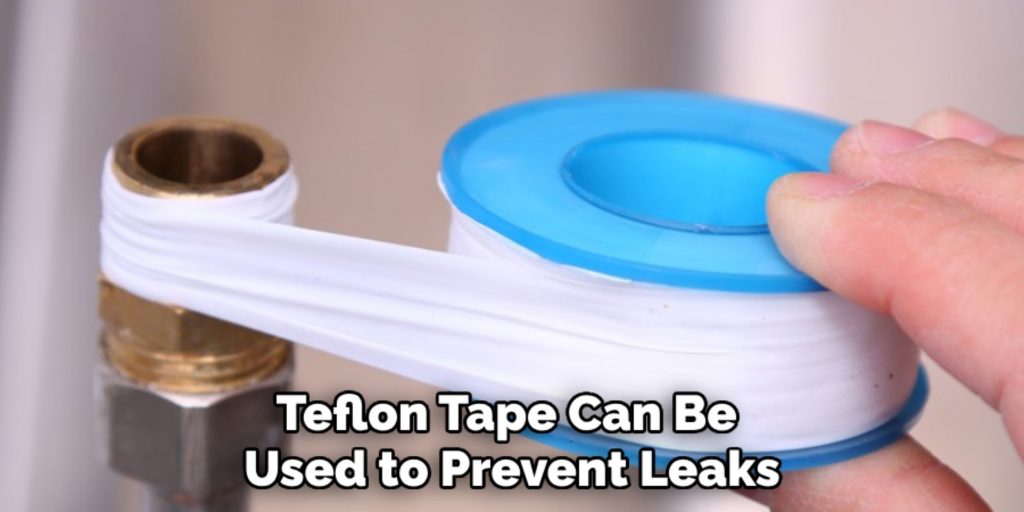
Teflon tape can be used to prevent leaks when connecting the shower head to the water supply. It is recommended but not required for this process.
8 Steps on How to Lower Shower Heads
Step 1: Determine the Desired Height
Before making any adjustments, it’s essential to determine the optimal height for your shower head. Consider the average height of the users in your household, as well as any specific needs that may require a lower or higher position. A good starting point is to position the shower head around 78 inches from the floor, which caters to most adults.
However, if children or individuals with limited reach will be using the shower, you may want to lower it to around 60-70 inches. Take a moment to measure and mark your desired height on the wall to ensure precision during the installation process.
Step 2: Turn Off the Water Supply
Before proceeding with any adjustments, it’s crucial to turn off the water supply to avoid any unwanted water flow during the installation.
Locate the shut-off valve for your bathroom, which is typically found near the wall where the shower plumbing is installed. Turn the valve clockwise until it is fully closed.
If you cannot find the individual shut-off valve, you may need to turn off the main water supply to your home. To ensure there are no surprises, turn on the shower to let any remaining water drain out and confirm that the water is completely off. This step is essential for a safe and clean installation process.
Step 3: Loosen the Shower Arm
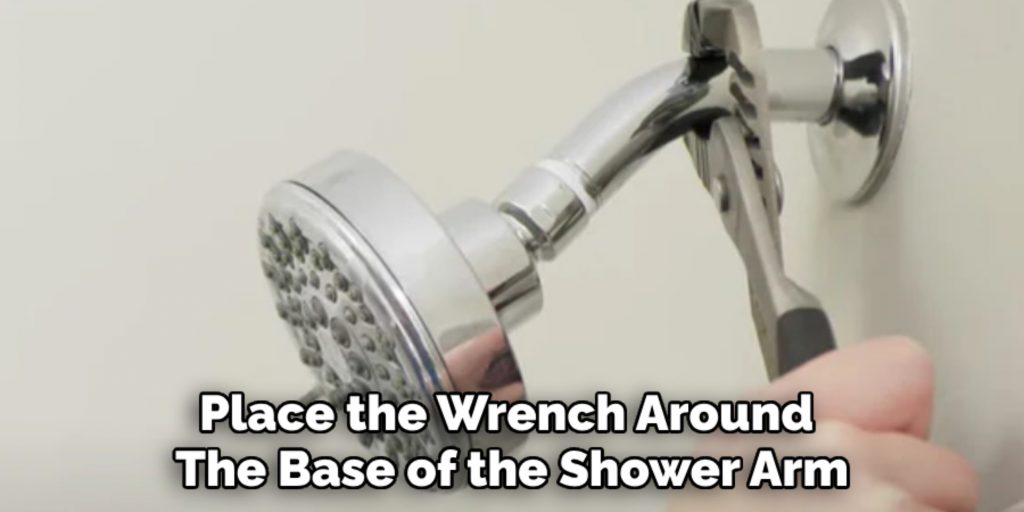
Once you’ve turned off the water supply, use an adjustable wrench to loosen the shower arm. Place the wrench around the base of the shower arm, where it connects to the wall, and turn counterclockwise to loosen it.
Make sure not to apply too much pressure, as this may damage your plumbing. If necessary, use slip-joint pliers for a more secure grip on smaller or slippery parts.
You may also need to use Teflon tape or a wrench to loosen the connection between the shower arm and the shower head if it is tightly secured. Once the shower arm is loose, remove it from the wall and set it aside.
Step 4: Measure and Mark the New Position
Using your previously marked height as a guide, measure down from the top of the wall where the shower arm connects to determine where you will need to drill new holes for mounting. Make sure to double-check your measurements before drilling any holes.
It’s also a good idea to measure the distance between the new and old positions to ensure that your shower head will be at the correct height. Mark these measurements on both sides of the wall.
Step 5: Drill New Holes
Using a drill bit appropriate for your wall material, carefully drill new holes where you have marked. If necessary, use a stud finder to locate any studs in the wall that may affect where you can drill.
After drilling, remove any debris or dust from the holes and make sure they are clean before proceeding.
Step 6: Install Wall Anchors (Optional)
If you are drilling into drywall or tile, it’s recommended to install wall anchors before mounting the shower arm. This will provide extra support and prevent any damage to your wall from the weight of the shower head.
To install wall anchors, simply insert them into the drilled holes until they are flush with the surface of the wall.
Step 7: Mount the Shower Arm
Place the shower arm back into the wall, aligning it with the new holes you drilled. If necessary, tighten any connections with a wrench or pliers to ensure a secure fit.
If using wall anchors, make sure they are aligned with the holes in the shower arm and gently tap them in until they are flush with the surface of the wall.
Step 8: Turn on the Water Supply and Test
Once your shower arm is securely mounted at the desired height, turn on the water supply and test out your newly positioned shower head. Make any final adjustments if needed to ensure proper water flow and coverage.
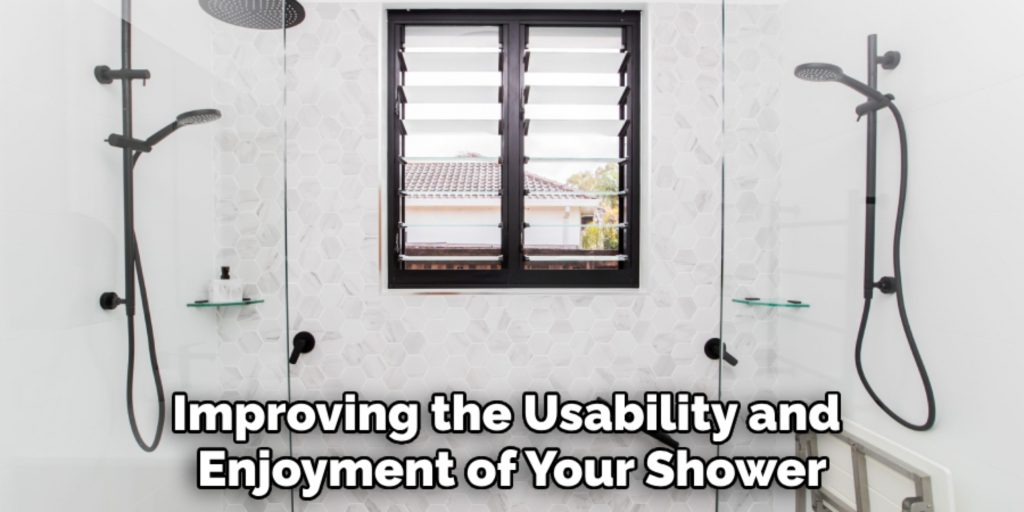
Following these eight steps on how to lower shower heads will allow you to successfully lower your shower head, improving the usability and enjoyment of your shower experience. Remember to always take measurements and consider the needs of all household members before making any adjustments.
Additional Tips
- If your shower arm is too short to reach the desired height, you may need to purchase a longer one.
- Don’t overtighten any connections as this can cause damage to your plumbing.
- If you encounter any difficulties, it’s always best to consult a professional plumber for assistance.
- When selecting a new shower head, consider choosing a model with an adjustable height feature to eliminate the need for lowering or raising it manually.
- Always read and follow the manufacturer’s instructions when installing any new fixtures in your bathroom.
- Regularly check and clean your shower head to ensure proper water flow and prevent buildup of bacteria or mineral deposits.
- Consider using a water-saving showerhead to conserve water and reduce your utility bills.
- Don’t forget to turn off the water supply before making any adjustments or repairs to avoid accidents or damage.
- Keep in mind that lowering your shower head may also require you to adjust the angle of your shower arm to ensure proper water flow toward the user.
- If you have multiple users with varying height preferences, consider installing a hand-held showerhead with a sliding bar for easy adjustment.
By following these additional tips and steps, you can customize your shower experience and make it more comfortable and enjoyable for everyone in your household. Happy showering!
Frequently Asked Questions
Q: Can I Adjust the Height of My Shower Head Without Any Tools?
A: Unfortunately, adjusting the shower head height requires tools such as an adjustable wrench and possibly slip-joint pliers. Teflon tape is also recommended for a secure connection, but it is not required.
Q: Can I Lower My Shower Head Without Turning Off the Water Supply?
A: It’s strongly recommended to turn off the water supply before attempting to lower your shower head. This will prevent any unwanted water flow and ensure a safe and clean installation process.
Q: How Often Should I Check and Adjust My Shower Head Height?
A: It’s a good idea to periodically check the height of your shower head, especially if there are changes in household members or specific needs that may require adjustments. However, as long as it is at a comfortable height for all users, there is no need to constantly adjust it.
Q: Can I Use Teflon Tape on Any Part of the Installation Process?
A: Teflon tape can be used to prevent leaks when connecting the shower head to the water supply. It is recommended but not required for this process. You may also use it on any threaded connections to ensure a tight fit.
Conclusion
Lowering your shower head is a straightforward process that can enhance the overall functionality and comfort of your bathing experience. By carefully following the outlined steps on how to lower shower heads, you can ensure that the shower head is positioned at a suitable height for all users, from children to adults.
Regular maintenance and adjustments will help maintain optimal usability, and understanding the importance of tools and safety precautions will contribute to a successful installation. With a little preparation and effort, you can enjoy a more enjoyable and accessible shower experience tailored to the needs of everyone in your household.

