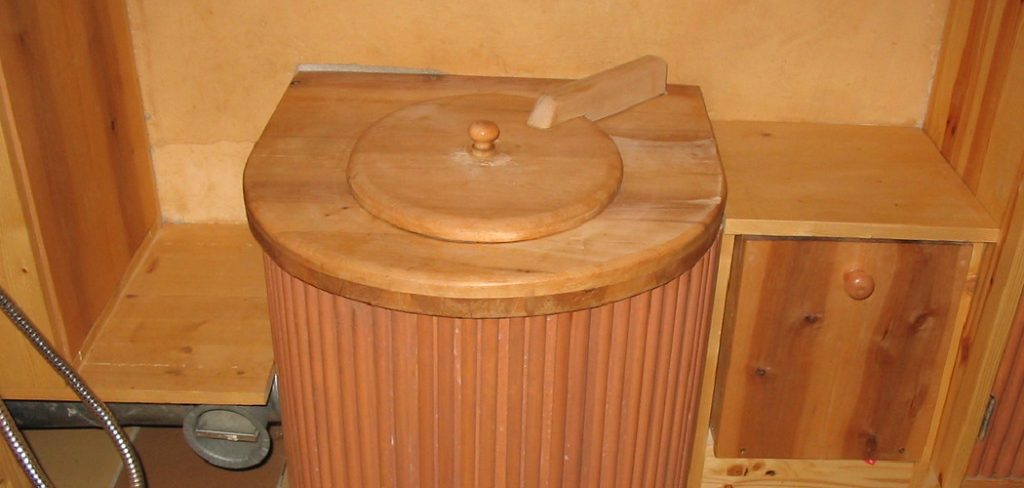
Compost toilets are an eco-friendly alternative to traditional flushing toilets, offering a sustainable solution for waste management. They create a closed-loop system by transforming human waste into valuable compost, which can enrich soil and promote healthy plant growth.

This guide on how to make a compost toilet will take you through the fundamental steps of building and maintaining a compost toilet, highlighting its benefits, materials needed, and practical tips for ensuring an efficient and odour-free experience.
Whether you’re looking to reduce your environmental footprint or simply seeking a more sustainable way to manage waste, this guide will provide the necessary information to get started.
Why Choose a Compost Toilet?
There are several reasons why you might choose to build a compost toilet:
Environmental Sustainability:
As mentioned earlier, compost toilets offer an eco-friendly solution for waste management. Instead of using large amounts of water to flush away waste, which can contribute to water scarcity and pollution, compost toilets recycle it into valuable fertilizer. This reduces the strain on natural resources and also helps divert waste from landfills, where it can create methane.
Cost-Efficiency:
Compost toilets do not require expensive plumbing or septic systems, making them a cost-effective option for off-grid homes, cabins, and campsites. They also eliminate the need for regular pumping and professional maintenance services, saving you money in the long run.

Independence:
For those living in remote areas with limited access to utilities, compost toilets provide an independent waste management solution. They can be built anywhere without relying on external infrastructure, giving you more control over your waste disposal system.
Materials Needed
Before we dive into the steps of building a compost toilet, let’s take a look at the essential materials you will need:
A Large Plastic or Metal Container for Holding Waste (Such as a 5-gallon Bucket)
This will serve as the main chamber for collecting waste. Choose a container with a secure lid to keep out insects and animals. You may also want to consider using multiple buckets, rotating them as needed, to ensure proper decomposition.
A Seat or Platform:
To make your compost toilet more comfortable and user-friendly, you can build or purchase a seat or platform to attach to the top of the container.
A Ventilation System:
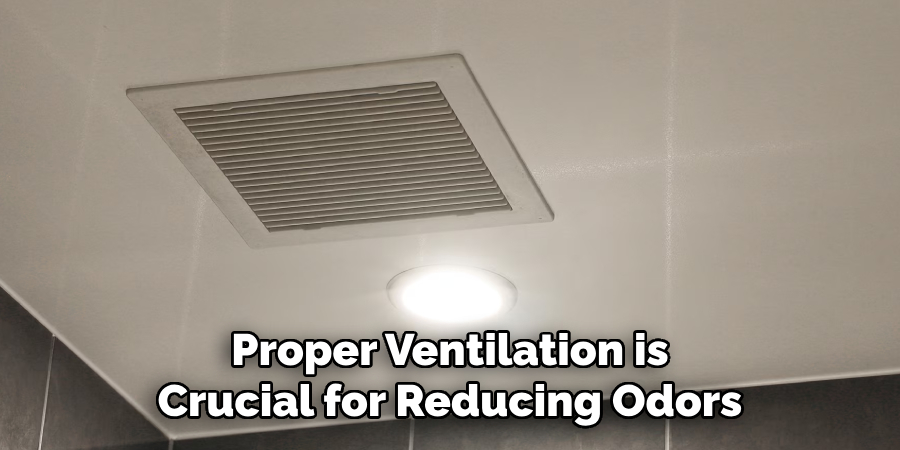
Proper ventilation is crucial for reducing odors and promoting decomposition in your compost toilet. This can be achieved through natural methods such as air vents or windows or by installing an electric fan.
Carbon-Rich Material (Such as Sawdust or Peat Moss):
Adding a layer of carbon-rich material on top of each waste deposit helps absorb excess moisture and reduce odors. This also provides the necessary carbon for the decomposition process.

Cover Material (Such as Straw or Leaves):
Covering the waste with organic material after each use will help maintain a healthy balance of nitrogen and carbon in your compost toilet, allowing for efficient decomposition and minimizing odors.
8 Step-by-step Guidelines on How to Make a Compost Toilet
Step 1: Choose a Suitable Location
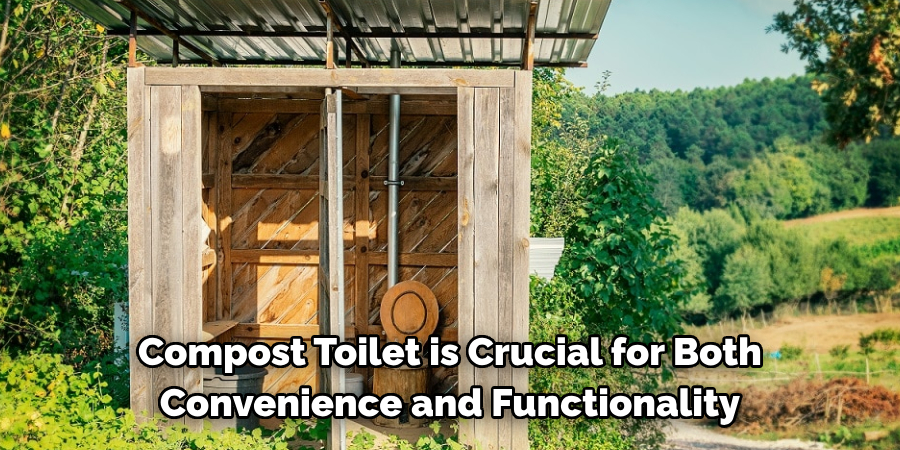
Selecting the right location for your compost toilet is crucial for both convenience and functionality. Ideally, the site should be easily accessible for regular use while ensuring privacy for users. Look for a spot that is well-drained and away from any water sources, such as streams or wells, to prevent contamination. Additionally, consider placing the toilet in a shaded area to keep it cool in warmer months and to help reduce odors.
Keep in mind local regulations regarding the placement of composting toilets, as there may be specific guidelines to follow. Finally, ensure that the location allows for future compost material to be easily transported to your gardening area, making it a practical choice for both usage and maintenance.
Step 2: Prepare the Container
Once you have selected a suitable location for your compost toilet, it’s time to prepare the container. Start by thoroughly cleaning the large plastic or metal container to ensure it is free from any contaminants. If you’re using a bucket with a lid, ensure it locks securely to prevent any pesky insects or animals from gaining access. Next, make a few ventilation holes in the sides or lid of the container to promote airflow, which is essential for minimizing odors and facilitating the decomposition process.

If you have multiple containers, label them clearly to keep track of which ones are in use. Additionally, consider painting or decorating the exterior of the container to blend in with the outdoor environment and make it more visually appealing. Once your container is properly prepared, it will be ready for use as part of your compost toilet system.
Step 3: Build or Purchase a Seat or Platform
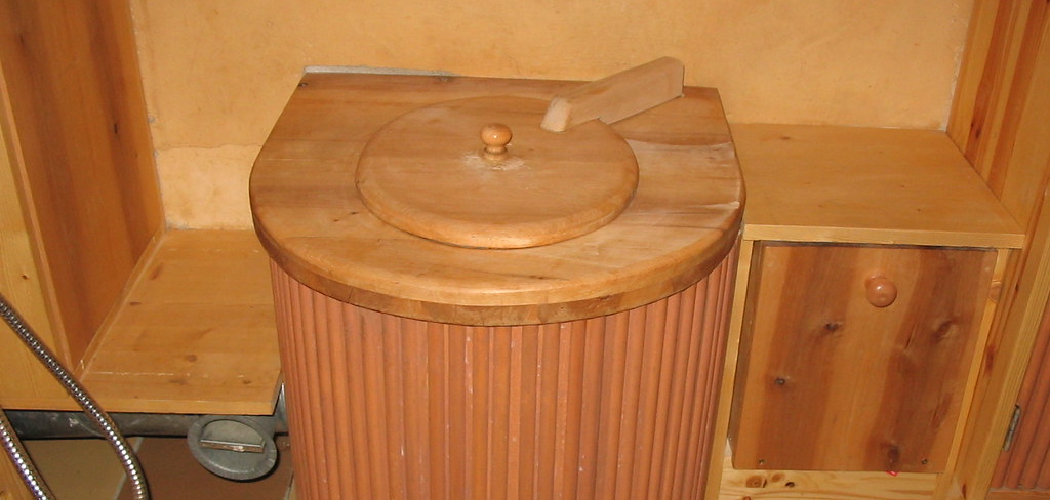
To make your compost toilet more comfortable and user-friendly, you can build or purchase a seat or platform to attach to the top of the container. If building one, ensure that it is sturdy enough to support weight and has an opening for waste deposit. Additionally, consider adding hinges for easy access to the container when needed. Alternatively, you can purchase a pre-made compost toilet seat that attaches securely to your container.
Whichever option you choose, make sure it fits securely on top of your container and is comfortable for use.
Step 4: Install a Ventilation System
As mentioned earlier, proper ventilation is crucial for reducing odors and promoting decomposition in your compost toilet. If your chosen location does not have adequate natural ventilation, you may need to install an electric fan or other mechanical ventilation system. This can be done by creating a hole in the side of the container and attaching a small fan to it using brackets or ducting. Ensure that the fan is angled slightly downwards to ensure proper airflow.
It is also important to regularly maintain and clean the ventilation system to prevent any blockages or malfunctions.
Step 5: Add a Layer of Carbon-Rich Material
Before using your compost toilet, add a layer of carbon-rich material such as sawdust or peat moss, to the bottom of the container. This will help absorb excess moisture and reduce odors in the waste chamber. Additionally, this material provides the necessary carbon for efficient decomposition.
You can also add a small amount of water to the material before adding it to the container, as this will help kickstart the decomposition process.
Step 6: Cover Waste with Organic Material
After each use of the compost toilet, it’s essential to add a layer of organic material on top of the waste. This could be straw, leaves, or any other carbon-rich material readily available to you. Covering the waste helps to maintain a balanced carbon-to-nitrogen ratio, which is vital for effective decomposition. Additionally, this layer serves to minimize odors by trapping smells and preventing flies and other pests from being attracted to the waste.
Aim for a coverage that thoroughly masks the waste while ensuring that you add this material consistently after every use, promoting a healthier composting environment within the container. Remember to check and replenish your supply of organic material regularly to keep the system running smoothly.

Step 7: Regular Maintenance and Cleaning
To keep your compost toilet functioning efficiently, it is crucial to perform regular maintenance and cleaning. This includes emptying the waste chamber when it reaches capacity, typically every few weeks or months, depending on usage. When emptying, make sure to handle the waste properly and follow all necessary safety precautions. Additionally, thoroughly clean the container and ventilation system before refilling with fresh carbon-rich material and resuming use.
It’s also essential to regularly check the condition of your compost toilet seat or platform for any signs of wear or damage and replacing as needed.
Step 8: Use Compost for Gardening
Once your compost has fully decomposed in the container, it can be safely used as a nutrient-rich fertilizer for your garden. The amount of time it takes for compost to fully decompose will vary depending on factors such as temperature, moisture, and the type of waste added. Generally, it can take anywhere from six months to two years to produce usable compost.
When using compost in your garden, make sure to mix it well with soil and avoid direct contact with any edible plants. This will help prevent any potential health risks and ensure that you have a healthy supply of organic fertilizer for future use.
Frequently Asked Questions
Q1: Can I Use Any Type of Container for My Compost Toilet?
A: Yes, you can use a variety of containers, including buckets, barrels, and large plastic or metal containers. Just make sure that the container is free from any contaminants and has proper ventilation holes.
Q2: How Often Should I Empty My Compost Toilet?
A: The frequency of emptying your compost toilet will depend on its size, usage, and environmental factors. Generally, it’s recommended to empty the waste chamber every few weeks or months.
Q3: Can I Use Human Waste in My Compost Toilet?
A: Yes, human waste can be used in a compost toilet as long as it is properly covered with carbon-rich material and allowed to decompose fully before being used as fertilizer. Follow safety precautions when handling human waste.
With these steps on how to make a compost toilet, you can create a sustainable and eco-friendly alternative to traditional flushing toilets. Remember to regularly maintain and clean your compost toilet for optimal functionality and use the resulting compost in your garden for a more natural approach to gardening. Happy composting!
Conclusion
Implementing a compost toilet system can be a sustainable and eco-friendly solution for managing waste, particularly in areas where traditional plumbing is not feasible. By following the steps on how to make a compost toilet outlined above, you can create an effective composting system that not only minimizes environmental impact but also contributes to nutrient-rich soil for your garden.
Regular maintenance, proper usage of carbon-rich materials, and diligent care will ensure that your compost toilet remains functional and odor-free. Embracing this approach not only promotes responsible waste management but also fosters a deeper connection with nature and the importance of recycling organic materials.

