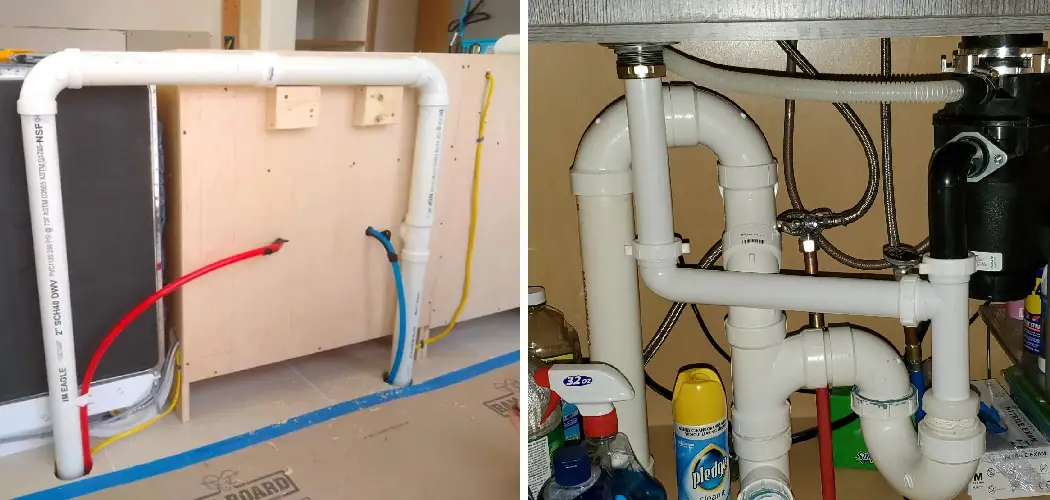
Crafting a plumbing loop vent is a strategic and essential element in ensuring a well-functioning and efficient drainage system. This ingenious solution not only prevents sewer gases from entering your living spaces but also maintains proper air pressure, promoting optimal water flow within the plumbing network. In this comprehensive guide, we will explore the step-by-step process of how to make a plumbing loop vent, from understanding its purpose to implementing it seamlessly into your plumbing system.
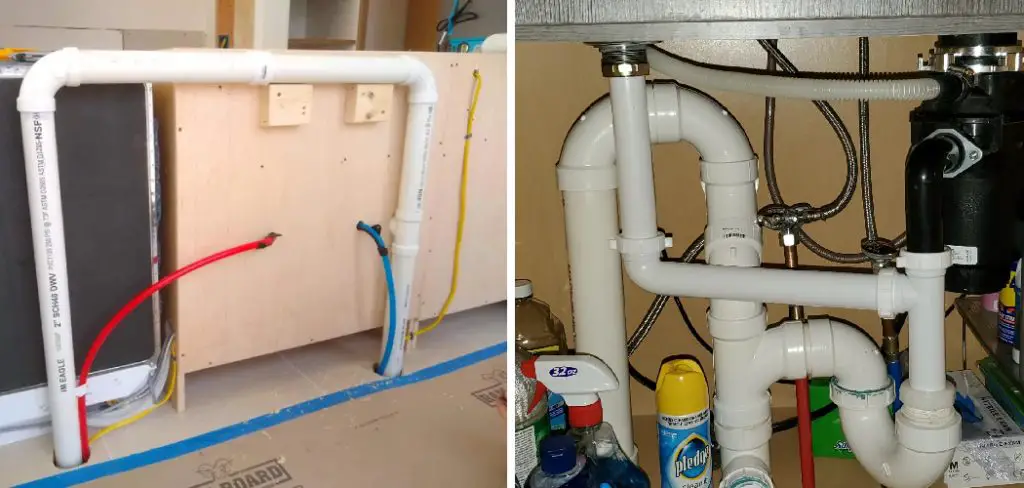
Homeowners and DIY enthusiasts seeking to enhance their plumbing infrastructure will gain valuable insights into the design, installation, and maintenance of this crucial component. By mastering the art of making a plumbing loop vent, individuals can contribute to the longevity and reliability of their plumbing systems while safeguarding indoor air quality. This guide aims to empower users with the knowledge needed to create an effective plumbing loop vent, promoting a well-balanced and efficient drainage solution for any home.
Purpose of a Plumbing Loop Vent
When it comes to plumbing, one of the most important aspects is ensuring proper ventilation. This not only helps maintain the health and safety of a building’s occupants, but also prevents potential damage to pipes and fixtures.
A plumbing loop vent is an essential component of a building’s drainage system that aids in proper ventilation. It serves as a bridge between multiple waste pipes, allowing air to flow freely and preventing any potential blockages or build-up of harmful gases.
But why is ventilation so crucial in plumbing? Let’s take a closer look at the purpose of a plumbing loop vent and its role in maintaining a healthy and functional plumbing system.
Benefits of Proper Ventilation
Without proper ventilation, waste pipes can become clogged due to lack of air flow. This can result in unpleasant odors, slow drainage or even complete blockages. In addition, trapped air can cause water to siphon from the traps—U-shaped pipes that prevent harmful sewage gases from entering a building—which can lead to serious health hazards.
Proper ventilation also helps equalize pressure within the plumbing system. When water travels through a pipe, it creates negative pressure behind it. Without proper ventilation, this negative pressure can cause gurgling noises and even slow down the flow of water.
Furthermore, ventilation helps prevent corrosion in pipes by allowing moisture to escape. This is especially important in colder climates where trapped moisture can freeze and cause damage to the plumbing system.
Overall, a properly ventilated plumbing system ensures that waste flows smoothly, odors are kept at bay, and the overall integrity of pipes and fixtures is maintained.
10 Methods How to Make a Plumbing Loop Vent
1. Install a Vent Stack
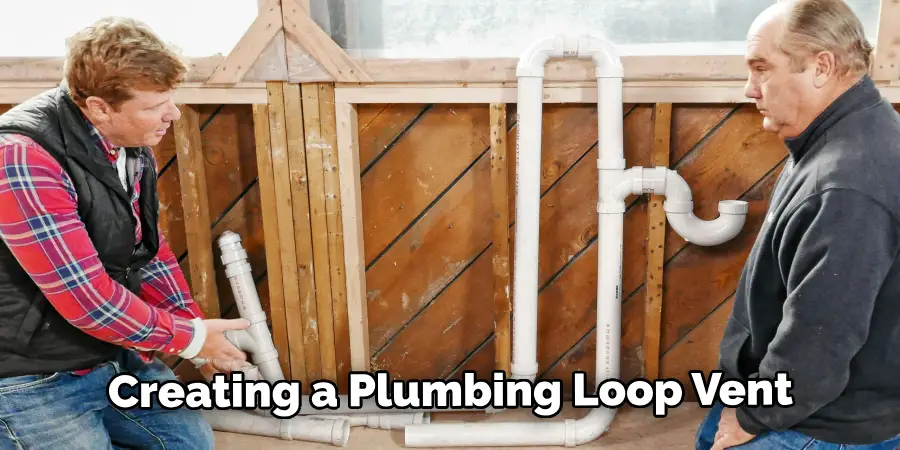
The first step in creating a plumbing loop vent is to install a vent stack. This is a pipe that runs from the drain line to the roof, allowing air to enter and exit the system. The size of the vent stack will depend on the size of your system, but it should be at least two inches in diameter. Additionally, it should be installed as close as possible to the drain line so that any air entering or exiting the system will not have far to travel.
2. Connect Pipes
Once the vent stack has been installed, you will need to connect pipes to it and run them from each fixture back to the main drain line. These pipes should be connected using T-fittings or Y-fittings so that air can easily flow through them. Additionally, each pipe should be sloped slightly downward so that water can drain properly and any air entering or exiting the system can move freely.
3. Install Air Admittance Valves
Air admittance valves (AAVs) are devices that allow air into a plumbing system while preventing sewer gases from escaping. AAVs are typically installed at each fixture in order to maintain proper pressure within the system and ensure that all fixtures work correctly. When installing an AAV, make sure it is placed above the flood level of each fixture so that water does not enter and cause damage.
4. Seal All Connections
Once all of your pipes have been connected and your AAVs have been installed, you will need to seal all of your connections with plumbing tape or putty in order to prevent leaks and maintain proper pressure within your system. Make sure you check all connections for leaks before moving on to the next step in order to ensure everything is working properly before proceeding further with your plumbing loop vent installation project.
5. Install an Overflow Pipe
An overflow pipe is used in order to protect against flooding if too much water enters your system due to an unexpected event, such as a clog or breakage somewhere else in your home’s plumbing network.
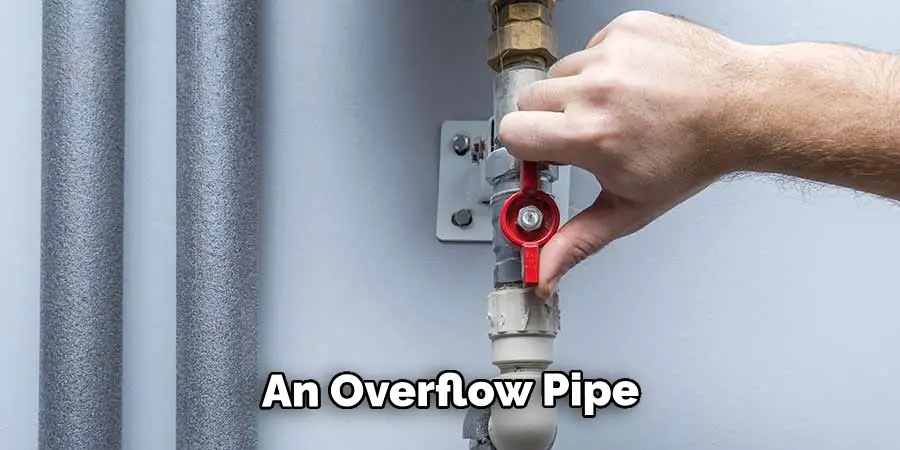
The overflow pipe should be installed at least one inch higher than any other pipes in your network and should lead directly outside of your home so that any excess water can safely escape without causing damage inside your home’s walls or ceiling cavities.
6. Install a Pressure Relief Valve
A pressure relief valve is also important when creating a plumbing loop vent since it helps regulate pressure within your system by releasing any excess pressure when necessary in order to prevent flooding or other issues caused by high-pressure levels within your pipes or fixtures themselves. The valve should be placed near the highest point of elevation within your network so it can effectively do its job when needed without having too much distance between itself and other components within your network, such as fixtures or drains, which could create additional issues if they become blocked off due to excessive pressure buildup elsewhere.
7. Create an Air Gap
An air gap is also necessary for effective loop ventilation since this ensures there is always enough space between fixtures for air circulation throughout all parts of your network.
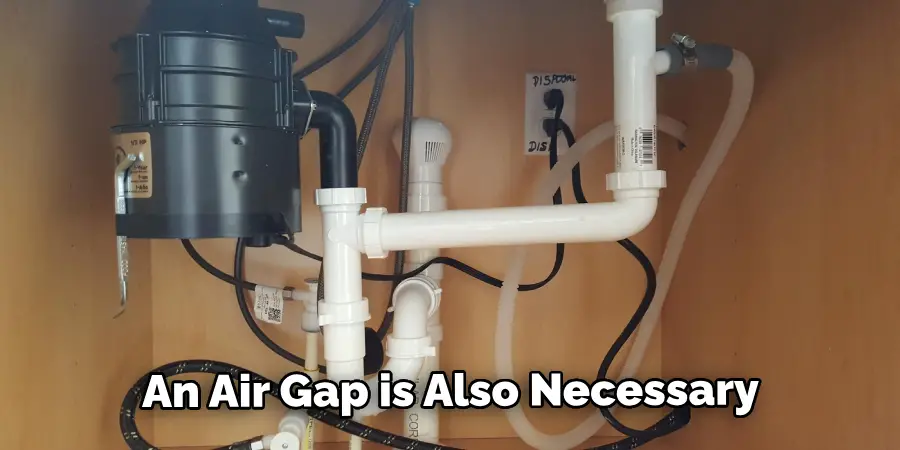
To create an air gap, you’ll want to leave at least 1/4 inch between each fixture connection, as well as between fittings connecting different sections of piping together. This allows for adequate airflow throughout all parts of your network, which helps ensure proper functioning over time.
8. Test Your System
Once you’ve completed all the steps involved with creating a plumbing loop vent, you’ll want to test out its effectiveness by running water through various points within your network. This allows you to check for adequate flow rates, proper drainage, and overall performance before officially declaring completion of this project.
9. Inspect Your Work Regularly
Even after completing installation, it’s important that you inspect all components regularly for signs of wear & tear, leakage, corrosion, blockages, etc. Regular inspections help catch any potential issues early on before they become serious problems down the road.
10. Maintain Proper Maintenance Schedule
Finally, once everything has been tested & inspected for proper functioning, make sure you create & maintain a maintenance schedule specific for this particular type of installation – including regular cleaning/flushing out debris & waste buildup from drains & vents, as well as checking connections & seals periodically for signs of wear & tear over time. Doing so helps keep things running smoothly & efficiently over time, which saves both money & hassle in terms of repairs down the road!
Things to Consider When Making a Plumbing Loop Vent
When it comes to plumbing, loop vents are an important component that helps ensure proper air flow and prevent sewer gases from entering the building.
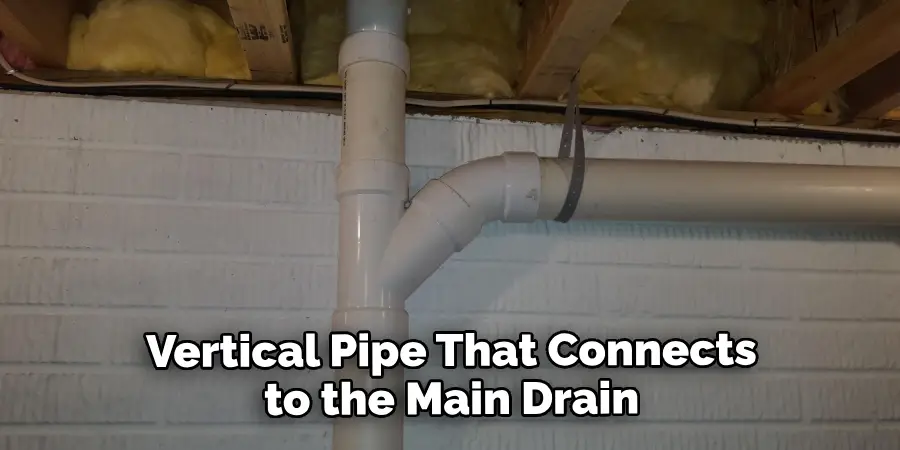
A plumbing loop vent is essentially a vertical pipe that connects to the main drain line and acts as a vent for the plumbing system. It allows air to enter the pipes, equalizing pressure and allowing waste water to flow freely.
1. Location
The location of the loop vent is crucial as it needs to be placed where it can effectively provide air flow to the entire plumbing system. It should be installed at the highest point of the drainage pipes and as close to the fixtures as possible. This allows for maximum air intake and proper pressure equalization.
2. Size
The size of the loop vent is equally important. A vent that is too small may not provide enough air flow, leading to clogs and slow draining. On the other hand, a vent that is too large may create more pressure than necessary and can cause issues with waste water flow. The size of the loop vent should be determined based on the number of fixtures it will be serving.
Conclusion
In conclusion, learning how to make a plumbing loop vent is not that difficult. With the right materials and an understanding of what needs to be done you can easily accomplish this task. You will need to determine which type of vent you are going to use – whether it’s an inline vent or loop vent.
Make sure you plan appropriately and do all the necessary preparations before starting. Most importantly, follow safety practices when doing any repairs or installations on your own. Take your time and don’t be afraid to ask for help if you need it! Doing so can save you time, energy and money in the long run.

