A plunger is an essential household tool designed to help unclog drains and toilets. Crafting your own plunger can be a simple and cost-effective solution using common materials. This guide will walk you through how to make a plunger.
Benefits of Making a Homemade Plunger
Creating a homemade plunger comes with several advantages. First, it is a cost-effective solution, as it utilizes materials that are often already available at home, saving you money. Second, it’s an eco-friendly approach, allowing you to repurpose items rather than buying new ones, which reduces waste. Additionally, making your own plunger can be a quick fix in emergency situations when access to a store or professional help is limited. It also provides a sense of self-sufficiency and resourcefulness, ensuring you’re prepared to handle minor household plumbing problems efficiently.
Materials Needed to Make a Plunger
To create your own plunger, you will only need a few common household items. Here’s a list of the materials required:
- A sturdy stick or wooden dowel – This will serve as the handle for your plunger. Ensure it’s strong enough to provide a firm grip.
- A rubber bowl or cup – A large, flexible rubber bowl or suction cup will act as the plunger head. A plastic or silicone alternative can also work in a pinch.
- Strong adhesive or duct tape – This will be used to securely attach the handle to the rubber component.
- Scissors or a utility knife – For cutting the materials and ensuring a proper fit.
- Optional: Gloves and cleaning supplies – These can help keep the process clean and sanitary, especially if the plunger will be used immediately.
Having these materials on hand will help you successfully create a functional and effective homemade plunger.
10 Methods on How to Make a Plunger
1. Using a Plastic Bottle
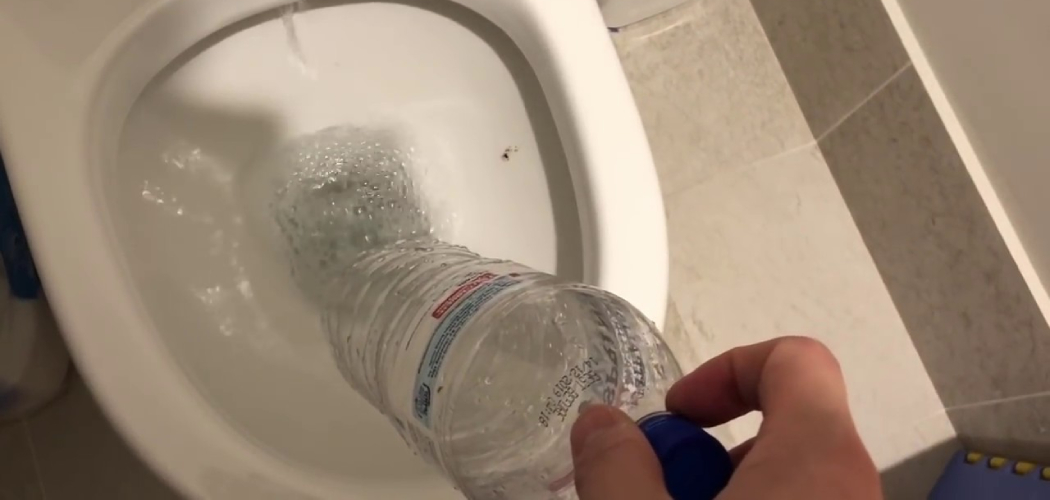
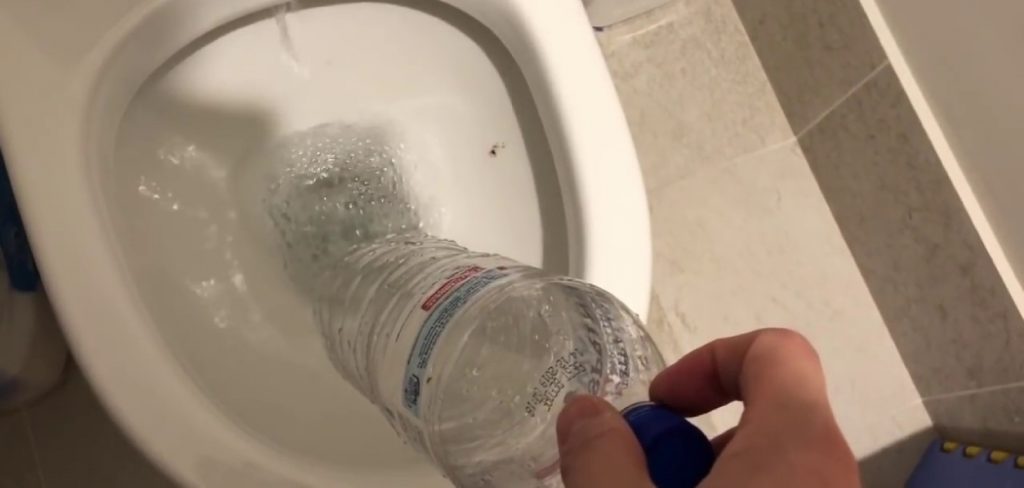
A large plastic bottle can be transformed into an effective plunger. Select a sturdy bottle with a wide base, such as a two-liter soda bottle. Cut off the bottom of the bottle with a sharp knife or scissors, ensuring a smooth edge. Retain the cap on the bottle’s top to create a seal. Place the open end over the drain, and use the bottle’s neck as a handle to push and pull, creating suction to dislodge the clog.
2. Repurposing a Mop Head
A mop head with flexible strands can serve as an improvised plunger. Remove the mop head from its handle and tightly wrap it in a plastic bag to create a seal. Secure the bag with duct tape or rubber bands. Use the mop handle to push the covered mop head into the drain and plunge as you would with a regular plunger. The strands provide flexibility and coverage for a variety of drain sizes.
3. Creating a Plunger with a Bucket Lid
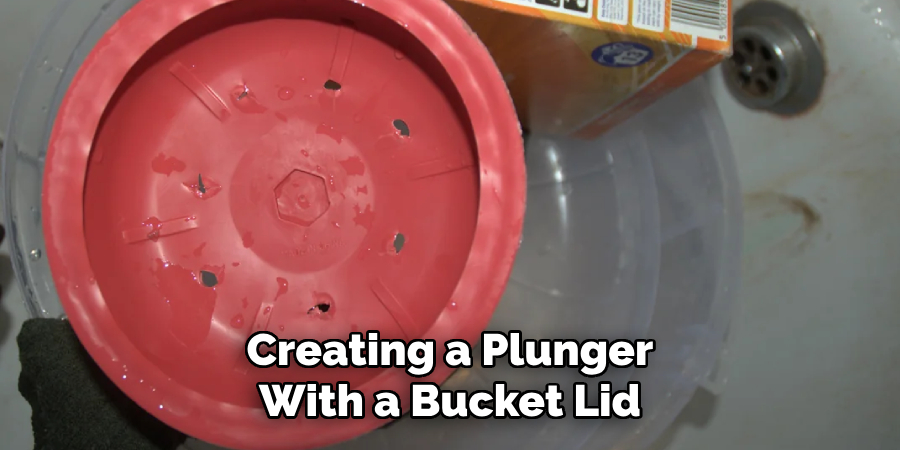
A plastic bucket lid can mimic the flat surface of a traditional plunger. Select a lid that fits snugly over the drain opening. Attach a wooden dowel or sturdy stick to the center of the lid using strong adhesive or duct tape. Press the lid firmly over the drain and push down repeatedly to create the necessary pressure and suction to remove the clog.
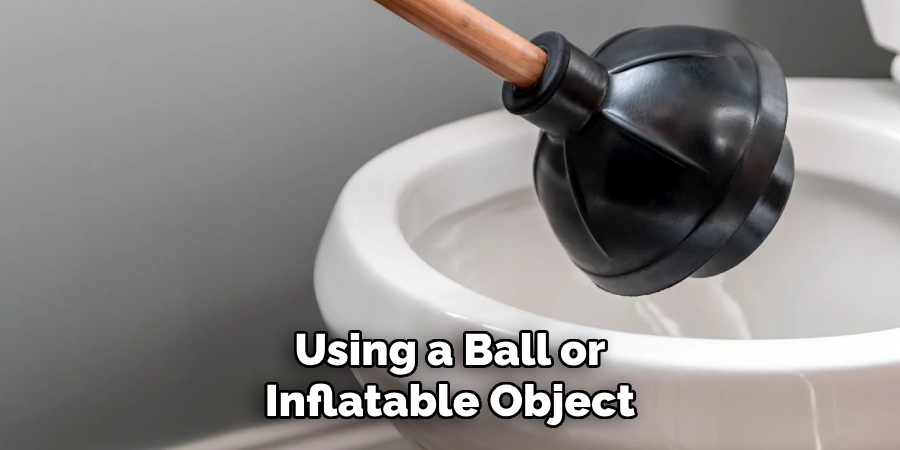
4. Using a Ball or Inflatable Object
A small rubber ball or inflatable object can be used to craft a temporary plunger. Slightly deflate the ball so it can form a seal around the drain opening. Place the ball over the drain and apply pressure by pushing down repeatedly. The air and flexibility of the ball create suction to help clear the blockage.
5. Crafting a Plunger from a Plastic Bag and Cloth
Combine a plastic bag and a piece of cloth to create a makeshift plunger. Wrap the cloth around the plastic bag and secure it tightly with rubber bands or string. Use this contraption to cover the drain, pressing and lifting to mimic the plunging action. This method works best for small clogs and provides a flexible seal.
6. Utilizing a Bowl and Stick
An old bowl and a wooden stick can be repurposed into a DIY plunger. Drill a hole in the center of the bowl, insert the stick, and secure it with adhesive or screws. The bowl’s curved shape creates a seal over the drain, while the stick acts as a handle for plunging. This method is particularly effective for larger drains.
7. Repurposing a Toilet Brush
If you have a toilet brush on hand, it can serve as an emergency plunger. Wrap the brush head in a plastic bag, securing it tightly to prevent the bristles from splaying. Use the handle to push the covered brush head against the drain, simulating the motion of a plunger. The bag creates a seal, while the brush’s structure provides rigidity.
8. Making a Plunger with a Rubber Glove
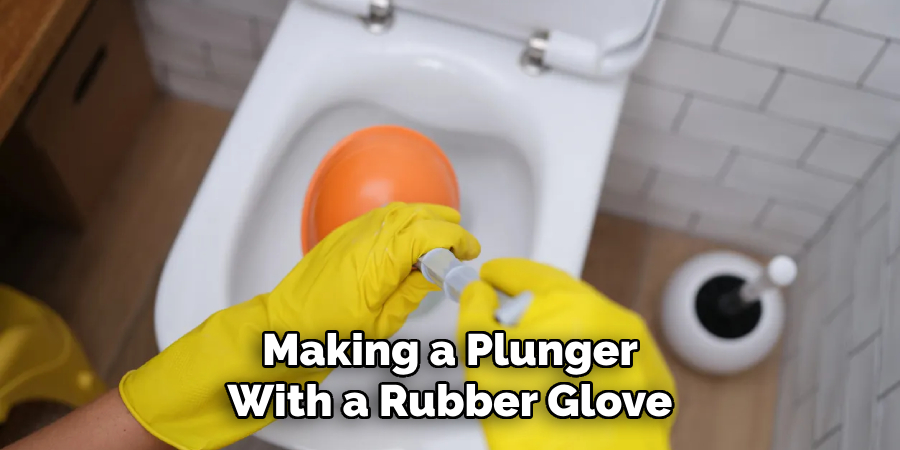
A heavy-duty rubber glove can be used as an improvised plunger. Place the glove over your hand and insert it into the drain opening, creating a seal with your fingers. Move your hand in a rapid up-and-down motion to generate suction. This method is ideal for small sink drains and is simple to implement with minimal materials.
9. Fashioning a Plunger from a Piece of Foam
A thick piece of foam, such as a mattress topper or packing material, can be cut into a plunger shape. Carve the foam into a disk slightly larger than the drain opening and attach a handle, such as a dowel or stick, to the center. Use the foam disk to cover the drain and plunge by pressing and lifting repeatedly. The foam’s pliability ensures a good seal.
10. Improvising with a Bucket and Water
If no materials are available to create a physical plunger, you can use a bucket of water to simulate the plunging effect. Fill a bucket with water and pour it forcefully into the clogged drain. The force of the water can dislodge the blockage. For increased pressure, repeat the process multiple times, ensuring the bucket is positioned close to the drain for maximum impact.
Maintenance and Upkeep
To ensure the longevity and effectiveness of your homemade plunger, regular maintenance is essential. After each use, thoroughly clean the plunger to remove any debris and prevent unpleasant odors. Rinse it with warm water and a mild cleaning solution, paying special attention to the rubber or flexible components.
If adhesive or duct tape was used, inspect for signs of wear or loosening and reapply as needed to maintain a secure connection between parts. Store the plunger in a clean, dry location to prevent damage from moisture, which can compromise the materials over time. Periodically check the plunger’s condition and replace any worn or damaged components to ensure optimal performance when needed. By following these simple upkeep steps, your DIY plunger will be ready to tackle clogs effectively for the long term.
Tips for Achieving the Best Results
When using a homemade plunger, proper technique and preparation can make a significant difference. Here are some tips to ensure the best results:
- Create a Tight Seal – Ensure the plunger forms a snug seal around the drain opening to maximize suction. Adjust or modify your DIY plunger if necessary to eliminate air gaps.
- Use Consistent Pressure – Apply steady, firm pressure when plunging. Rapid, consistent motions are often more effective than erratic or overly forceful movements.
- Add Water if Needed – For certain methods, having some standing water in the sink or drain can help create better suction. Add a little water if the drain isn’t already filled.
- Clear Visible Debris First – Remove any visible debris or loose materials from the drain before plunging. This will increase your success rate and prevent clogging your plunger setup.
- Test Variations – If one method isn’t working, don’t hesitate to try another. Different clog types and drain designs may respond better to specific approaches.
- Be Patient – Sometimes stubborn clogs require persistence and repeated attempts. Stay patient and adjust your technique as needed.
- Wear Protective Gear – Depending on the setup, water or debris may splash during the plunging process. Wearing gloves and protective eyewear can keep you clean and safe.
- Know When to Call for Help – If your homemade plunging efforts aren’t successful after repeated tries, it may be time to seek professional assistance to avoid damaging your pipes.
By keeping these tips in mind, you can increase the effectiveness of your DIY plunger and resolve clogs more efficiently.
Conclusion
Homemade plungers can be a practical and cost-effective solution for tackling clogged drains. With creativity and the right materials, you can construct a variety of plunging tools to address different types of blockages. By following proper techniques, maintaining your DIY plungers, and adhering to key tips, you can handle minor clogs without the need for expensive tools or professional help. Follow these simple instructions outlined in this blog post about how to make a plunger, and you’ll be able to get the job done with ease.

