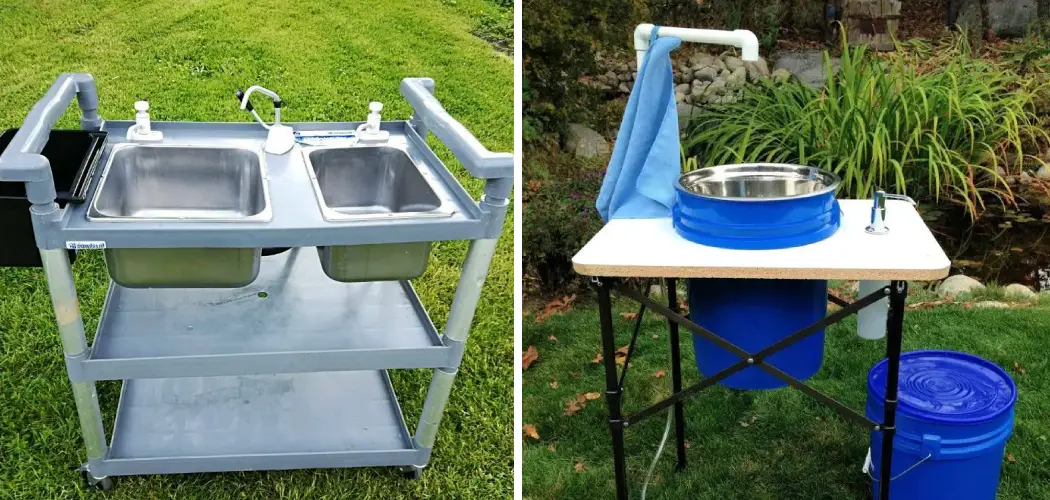
Everyone loves a good outdoor adventure, whether it’s a camping trip with friends or a day spent fishing by the river. However, one thing that often gets overlooked is access to clean water for washing hands and cooking.
This is where a portable sink comes in handy. Portable sinks are a great addition to any outdoor adventure and are easy to make. In this article, we’ll show you how to make a portable sink for your next outdoor adventure.
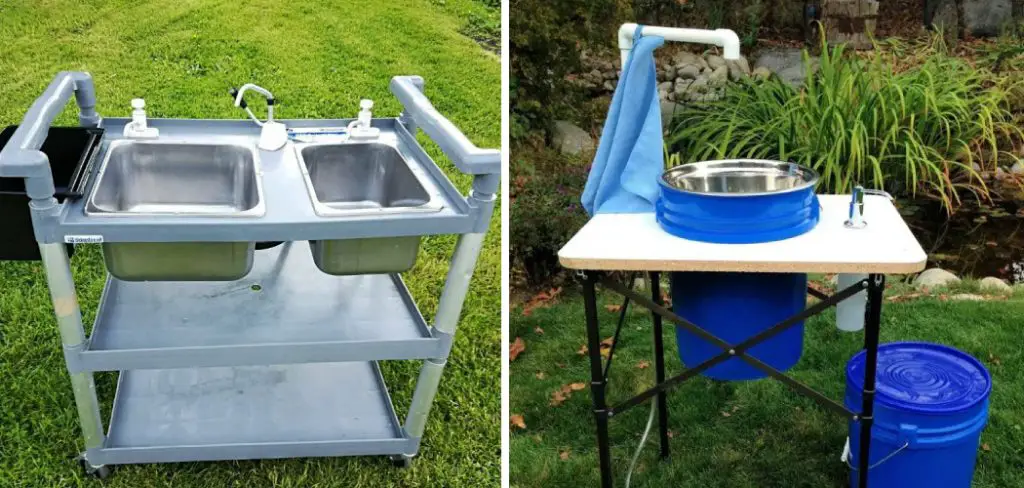
Can You Make a Portable Sink?
If you’re an avid camper, hiking enthusiast, or simply enjoy spending time outdoors, a portable sink may be exactly what you need to maintain proper hygiene while on the go. A portable sink is a compact and versatile tool that can be easily transported and used for a variety of tasks, ranging from washing your hands to cleaning dishes or preparing food.
In fact, making your own portable sink can be a fun and rewarding DIY project that can save you money in the long run. All you need is a few basic supplies, such as a plastic bin, a water pump, and a drainage hose, and you’ll be well on your way to crafting your very own portable sink that can be used on any outdoor adventure.
Why Should You Make a Portable Sink?
In today’s world, hygiene and cleanliness have become more important than ever. And while hand washing remains the most effective way to prevent the spread of germs and disease, access to hand washing facilities is not always readily available, especially when you’re on the go.
That’s where a portable sink comes in handy. By creating your own portable sink, you can have the peace of mind that comes with being able to wash your hands anytime, anywhere.
Whether camping, enjoying a day at the beach, or simply not having access to a traditional sink, a portable sink can make all the difference. Plus, it’s a fun DIY project that allows you to customize your sink to your specific needs and preferences. So, why not make a portable sink today and take another step towards a cleaner and healthier lifestyle?
How to Make a Portable Sink for Your Next Outdoor Adventure
Step 1: Gather Materials
The first step in making a portable sink is to gather all the necessary materials. You’ll need a plastic storage bin, a small plastic basin, a water container, a soap dispenser, a towel holder, and a drain kit. You can find all of these materials at your local hardware or camping store. Make sure to choose a bin that is the right size for your needs, and that has a lid that can be securely closed.
Step 2: Cut a Hole for the Drain
The second step is to cut a hole in the bottom of the storage bin for the drain kit. You can use a jigsaw or a utility knife for this task. Make sure to measure the drain kit carefully to ensure that the hole is the right size. Once you’ve cut the hole, follow the instructions on the drain kit to install it.
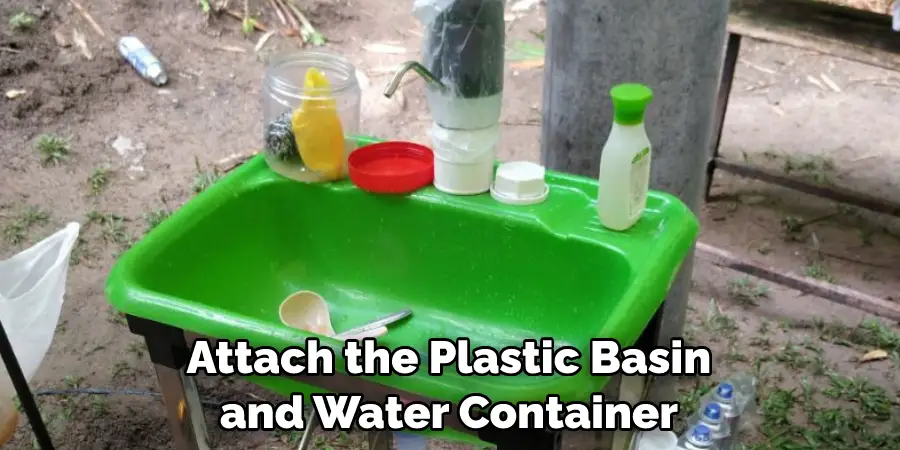
Step 3: Attach the Basin and Water Container
The third step is to attach the plastic basin and water container to the inside of the bin. You can use zip ties or screws to secure them to the sides of the bin. Make sure that the basin is large enough to hold a sufficient amount of water for your needs. The water container should also be large enough to hold enough water for washing hands and cooking.
Step 4: Install the Soap Dispenser and Towel Holder
The next step is to attach the soap dispenser and towel holder to the inside of the bin. Again, you can use zip ties or screws for this task. Make sure that both are securely fastened and that they won’t move around when being used.
Step 5: Connect the Water Lines
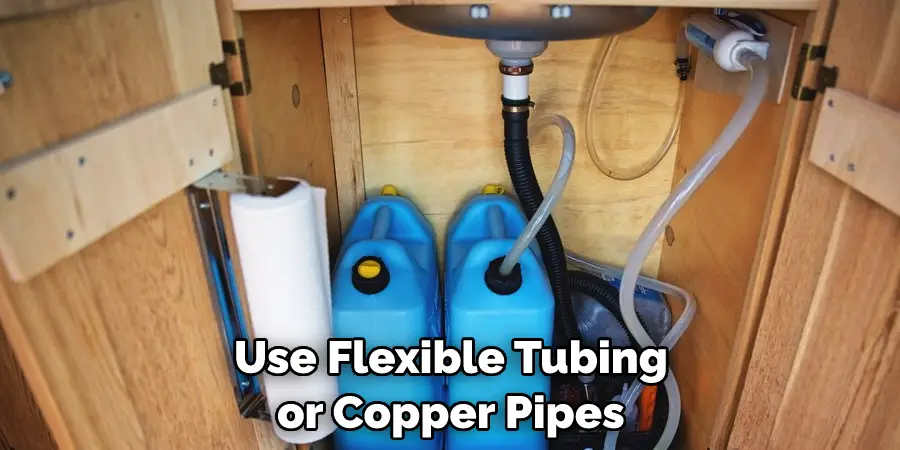
After you have installed all the necessary components, it’s time to connect the water lines. This step is crucial for making sure that everything functions properly. Use flexible tubing or copper pipes to join the water container, basin, and drain kit. Again, follow all instructions provided by the manufacturer when doing this step.
Step 6: Test It Out
Before you put the lid on your portable sink, it’s important to test it out. Fill up the basin and water container with water and ensure everything works properly. If there are any leaks or clogs, fix them before proceeding.
Step 7: Seal It Up
The final step in making a portable sink is to seal it up. Use heavy-duty tape or glue to secure the lid and make sure that no water can escape. Your portable sink is now ready for use! Have fun washing your hands and cooking with your new creation.
That’s it! You’ve now learned how to make a portable sink. With these seven steps, you can easily create your own mobile kitchen that will give you the freedom to wash and cook wherever you go.
5 Considerations Things When You Need to Make a Portable Sink
1. Portability
The first consideration when choosing a portable sink is portability. You will need to decide how often you will need to move the sink and how easy it is to transport. If you plan on using the sink at multiple locations, you will need to choose a model that is easy to set up and take down.
2. Size
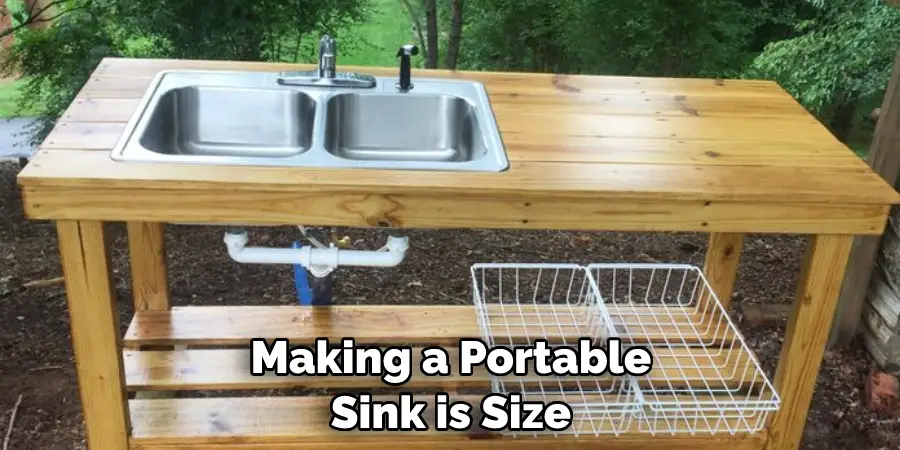
Another important factor to consider when making a portable sink is size. You will need to decide how much space you have available and choose a model that will fit the area. Make sure to leave enough room for people to move around the sink comfortably without feeling cramped.
3. Water Capacity
The capacity of your portable sink is also important to consider. You will need to look at the number of people you will serve and how much water each person needs. Choose a model with enough capacity to handle all the water needs for your particular situation.
4. Power Source
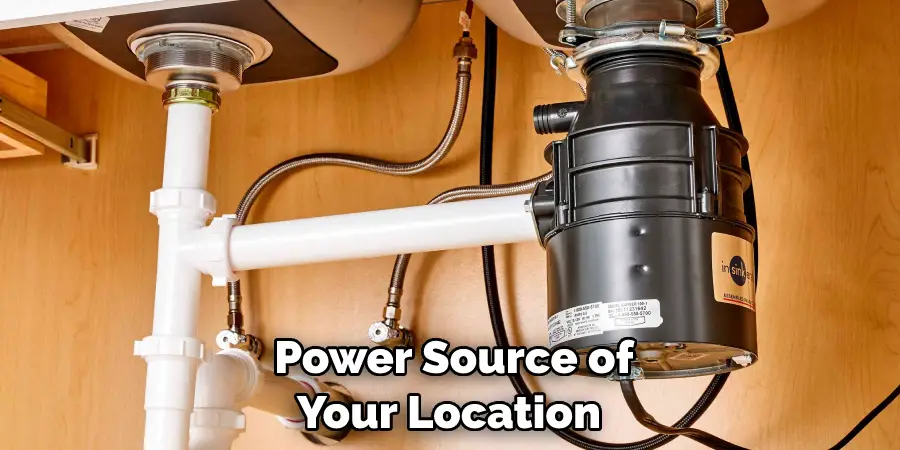
If you plan to use electricity with your portable sink, you will need to make sure it is compatible with the power source of your location. Make sure to check the requirements before purchasing a model so that you don’t end up stranded with a sink that cannot be powered.
5. Price
Finally, you will need to consider your budget when selecting a portable sink. Depending on the size and design, prices can range from very affordable to quite expensive. Make sure to shop around and compare prices before making a purchase. With these considerations, you should be able to find an ideal portable sink that meets all your needs without breaking the bank.
5 Benefits of Making a Portable Sink
1. Convenience
One of the primary benefits of a portable sink is convenience. A portable sink can be used in a variety of settings, including camping trips, picnics, and tailgating parties. A portable sink can also be used in a home or office if the plumbing is not working properly.
2. Easy to Set Up
Another benefit of a portable sink is that it is easy to set up. Most portable sinks come with everything needed for set-up, including a water pump, hose, and faucet. Some models also include a soap dispenser and towel holder.
3. Compact Size
A portable sink is also very compact, making it easy to transport and store. Most models fold up or collapse for easy storage in a car trunk or closet.
4. Affordable
Portable sinks are also very affordable, with most models costing less than $100. This makes them an excellent option for those on a budget.
5. Multiple Uses
Finally, a portable sink can be used for multiple purposes. In addition to washing hands, they can also be used for washing dishes, filling water bottles, and watering plants. This makes them a very versatile and useful tool.
By taking into consideration these five considerations when choosing to make a portable sink, you can be sure to select one that will meet all your needs without breaking the bank. With the convenience, portability, and affordability of a portable sink, it is an excellent choice for any situation where running water is needed. So why wait? Get out there and make the perfect portable sink for your needs!
4 Common Mistakes People Make When Trying to Make a Portable Sink
1. Not Using a Portable Sink
One of the most common mistakes people make when making a portable sink is not using one. A portable sink is a small, self-contained sink that can be easily transported from one location to another. Portable sinks are ideal for use in areas where there is no running water, such as camping sites or RVs.
2. Not Cleaning the Sink Regularly
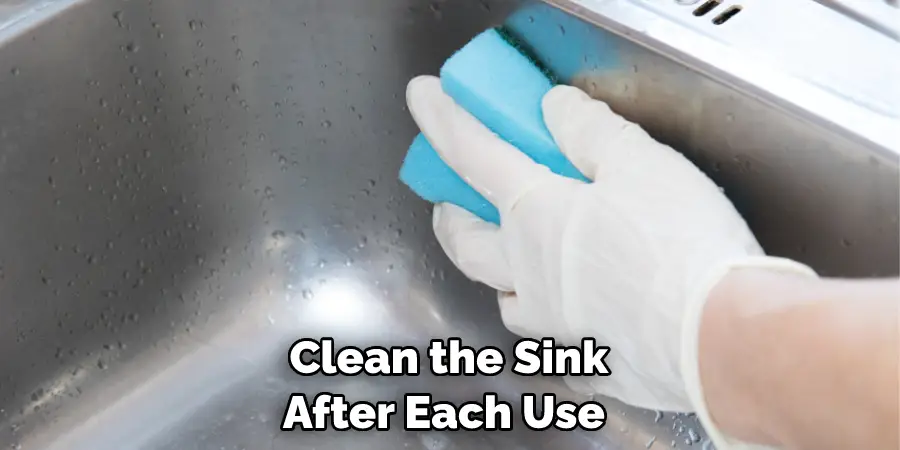
Another mistake people make when using a portable sink is not cleaning the sink regularly. It is important to clean the sink after each use to prevent the build-up of bacteria and other contaminants. Portable sinks should be cleaned with soap and water and then dried with a clean towel.
3. Not Disposing of Waste Properly
Another mistake people make when using a portable sink is improperly disposing of waste. Waste should be placed in a garbage bag and disposed of in a designated bin. Do not leave waste near the sink or in an area where it could attract pests.
4. Not Using the Sink for Its Intended Purpose
The final mistake people make when using a portable sink is not using the sink for its intended purpose. Portable sinks are designed for temporary use and should not be used as a permanent fixtures in a home or business. If you need a permanent solution, consider installing a traditional sink.
How Much Does It Cost to Build a Portable Sink?
A portable sink can be a handy addition to any outdoor event, whether it’s a summer barbecue, a charity run, or a backyard wedding. But how much does it cost to build one? The answer, as with most things, depends on a variety of factors. The sink’s size, materials, and complexity all play a role in determining cost.
However, as a general rule, building a portable sink can be more cost-effective than renting or purchasing one outright. Building it yourself allows you to customize it to fit your specific needs and style. Overall, a portable sink can be a valuable investment for any outdoor event and, with a little creativity and resourcefulness, can be built without breaking the bank.
Are There Any Health or Safety Risks Associated with Using the Water from A Homemade, Outdoor, or Mobile Sink Setup?
In the midst of a pandemic, hygiene and sanitation have emerged as key concerns in our daily lives. As a result, many people have started using homemade, outdoor, or mobile sink setups to maintain good hand hygiene while on the go.
While these setups may seem convenient, it is important to consider the potential health and safety risks that may come with them. For instance, water that has been sitting in a container or hose for a long time may have bacteria or other pathogens that could cause illness if ingested.
Additionally, if the setup does not have adequate drainage or disposal methods, it may lead to the pooling of dirty water and the proliferation of harmful bacteria. Therefore, practicing proper cleaning and maintenance of these setups is crucial to avoid any potential health or safety issues.
Can I Use My Existing Home Faucet for The Portable Sink?
Are you considering setting up a portable sink in your home but wondering if you can use your existing home faucet? Well, the answer is that it depends. While some portable sinks are designed to be compatible with standard home faucets, others may require specific faucets or adapters to be installed.
It’s always best to check the manufacturer’s instructions before making any assumptions. Additionally, if you’re looking for a more permanent solution, you may want to consider installing a separate outdoor faucet specifically for your portable sink. This way, you can ensure that you have a dedicated water source that is both convenient and hygienic.
Conclusion
Congratulations! You’ve just learned how to make a portable sink for your next outdoor adventure. With a little effort, you can create a practical and convenient washing station that will make your outdoor experience even more enjoyable.
Whether you’re camping with friends or cooking by the river, a portable sink can provide you with clean and fresh water whenever you need it. So, the next time you head out into the great outdoors, remember to bring your portable sink with you. Happy adventuring!

