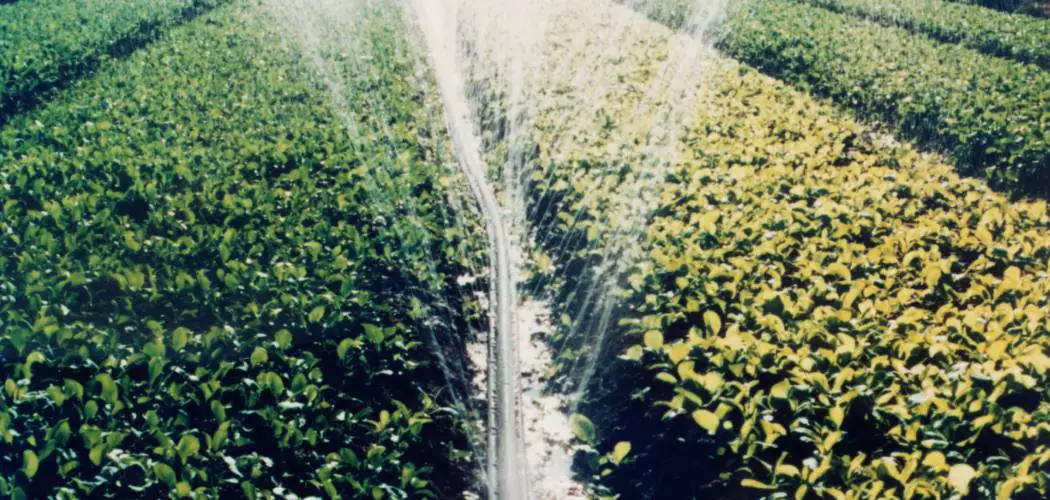
Do you have a garden that needs some hydration? Maybe your existing watering system isn’t as efficient as it should be, or maybe you want to try something new and different. Whatever the reason, one way to help your precious plants get the right amount of water is through using a soaker hose.
Soaker hoses are an inexpensive and easy solution for home gardeners who want better control over their garden’s irrigation needs. They also require minimal effort for installation while allowing maximum efficiency when delivering water where it is needed most!
In this blog post, we will cover from A to Z on how to make a soaker hose. Just follow these simple steps, and you’ll have your homemade soaker hose soon!
Materials Needed
To get started, you’ll need the following materials:
- 1/2 inch diameter garden hose
- Scissors or utility knife
- Hose end cap (optional)
- Hose connector (optional)
Once you have all the materials ready, let’s dive into the steps to make a soaker hose.
10 Easy Steps on How to Make a Soaker Hose
Step 1: Prepare Your Hose
First, you’ll need to cut your garden hose to the desired length. This depends on how long you want your soaker hose to be and how big your garden is. Once you have decided on the length, use scissors or a utility knife to cut the hose. Measuring and marking where you want to cut beforehand is recommended for accuracy.
Step 2: Create Holes in the Hose
Now that you have your hose cut to the desired length, it’s time to make the watering holes. Be careful, as you want the holes to be a manageable size, or you’ll lose too much water pressure.
Using a sharp tool like a needle or a tiny drill bit (if you have one), create small holes every two inches along the length of your hose. Rotate the hose as you go so the holes are all around it, not just on one side. This will ensure an even distribution of water when the hose is in use.
Step 3: Install the End Cap and Hose Connector
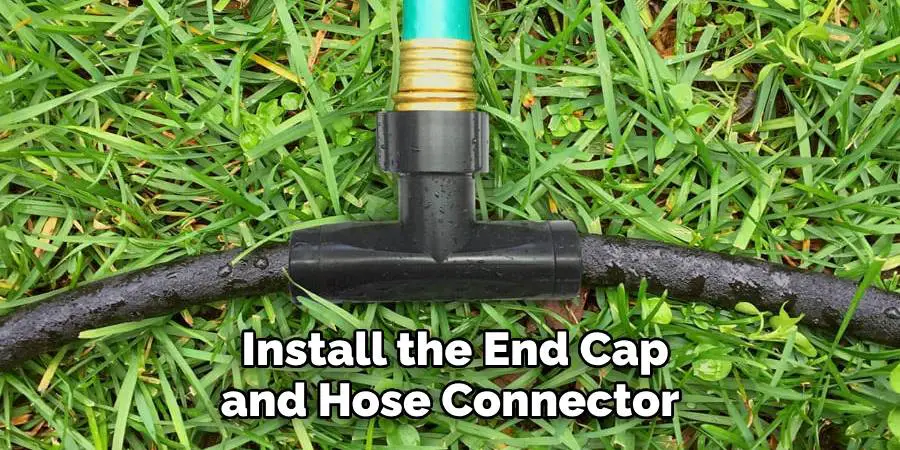
After you’ve created the watering holes, it’s time to install the end cap and hose connector. If you’re using a hose end cap, attach it to one end of the hose to prevent water from escaping. On the other end of the hose, attach the hose connector.
This will allow you to connect and disconnect your soaker hose to the water source easily. If your hose came with a connector, you might not need to purchase one separately. Make sure all connections are tight to prevent any leakage.
Step 4: Test Your Soaker Hose
Now that your soaker hose is assembled, it’s time to test it. Connect the hose to your water source and turn the water on. You should see water seeping out from the holes you’ve made. If the water is gushing out, the holes might be too large, and you’ll need to start again with a new hose length.
Add a pressure regulator to your hose if the water pressure is too high. Once the soaker hose is working to your satisfaction, you can move on to the final step.
Step 5: Install Your Soaker Hose in the Garden
Now that your soaker hose is ready, it’s time to install it in your garden. Lay the hose along the rows of plants, positioning the holes so they are facing the base of the plants. Ensure the hose is close enough so the water can seep into the root zone of the plants.
You can use garden stakes or hooks to keep the soaker hose in place. Once positioned, turn on the water and let your homemade soaker hose efficiently water your garden. By following these steps on making a soaker hose, you’re now on your way to a more hydrated, healthy garden!
Step 6: Monitor and Adjust
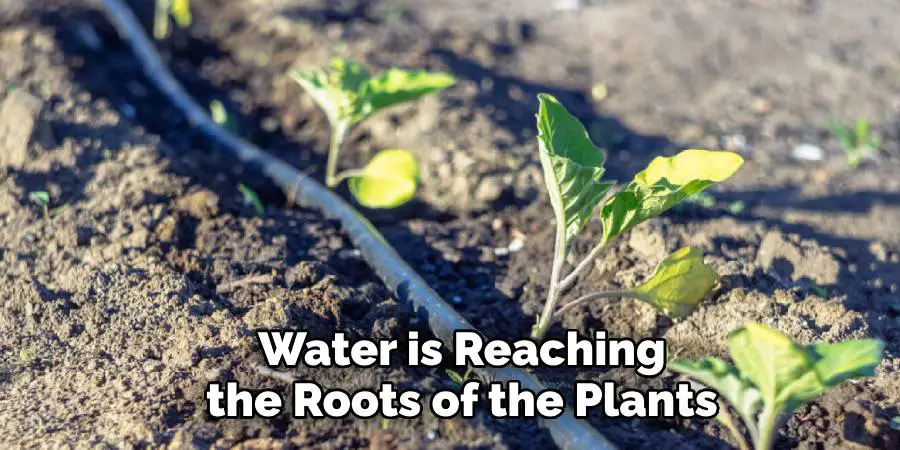
After installing your homemade soaker hose, monitoring the watering process for a few days is essential. Check if the water is reaching the roots of the plants and not just wetting the surface. You may need to adjust the position of the hose or the watering duration to ensure your garden gets the hydration it needs.
Remember, the goal of a soaker hose is to deliver water directly to the roots over a long period, encouraging profound root growth and reducing water loss through evaporation. Your plants will thank you for your efforts in learning to make a soaker hose!
Step 7: Regular Maintenance
Regularly maintaining your homemade soaker hose is crucial for its longevity and performance. Over time, sediment in the water can clog the small holes in your soaker hose. To prevent this, every few weeks, detach the hose and flush it with water to clear out any debris.
Also, inspect the hose for any damage or leaks and repair or replace parts as necessary. Proper maintenance will ensure your soaker hose continues to provide efficient and effective watering for your garden.
Step 8: Winterizing Your Soaker Hose
Preparing your soaker hose for the winter months is important to prevent damage from freezing temperatures. Before the first frost, disconnect the soaker hose from the water source. Flush it out thoroughly to ensure no water remains inside the hose, as leftover water can freeze and cause the hose to crack.
Once the hose is empty, coil it loosely and store it in a dry, frost-free location. Proper winterization will increase the lifespan of your soaker hose, ensuring it’s ready for use when the planting season comes around again. This concludes our guide on making a soaker hose,
Step 9: Reinstallation for the New Season
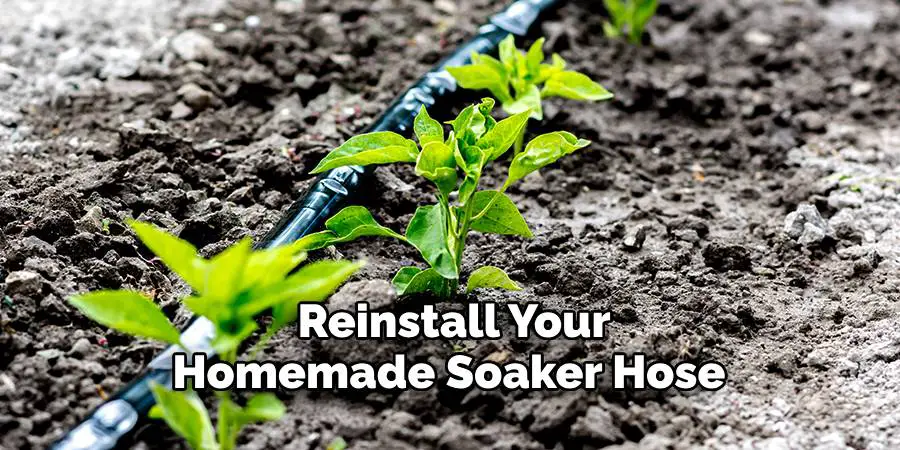
When the planting season arrives again, it’s time to reinstall your homemade soaker hose. Before you do, inspect it for any damage that might have occurred over the winter months. Test the hose by running water through it to check for leaks or blockages.
If everything is in good working order, lay the hose back in your garden, adjusting its position according to the new plants or layout. Remember to position the holes so they face the base of the plants. Once your soaker hose is reinstalled, you’re ready to start another season of efficient and effective watering, ensuring your garden thrives.
Step 10: Enjoy Your Garden
With your homemade soaker hose diligently watering your garden, all you can do is enjoy the fruits of your labor. Whether it’s beautiful flowers, juicy fruits, or fresh vegetables, your garden will thrive with consistent and adequate watering. And remember, regular monitoring and maintenance of your soaker hose will ensure its longevity and your garden’s health.
This simple yet efficient irrigation system is a testament to your green thumb and resourcefulness. So sit back, relax, and take in the beauty of your well-hydrated garden. You’ve earned it!
By following these steps to make a soaker hose, you now have the knowledge and skills to create your own efficient and cost-effective watering system.
5 Additional Tips and Tricks
- Use Quality Materials: Always opt for high-quality materials when crafting your soaker hose. This will ensure your system is durable and operates effectively.
- Check for Leaks: Regularly inspect your soaker hose system for leaks. This will help in ensuring that water is utilized efficiently and not wasted.
- Regulate the Pressure: Too much pressure might damage your homemade soaker hose. Ensure that the water pressure is manageable to prevent this.
- Perfect Placement: Ensure your soaker hose is correctly positioned. It should be placed near the roots of your plants for maximum water absorption.
- Consider Using a Timer: Incorporating a timer into your watering system can help regulate the watering schedule, ensuring your plants receive adequate water even when you’re away.
With these additional tips and tricks, you can take your homemade soaker hose to the next level. By using quality materials and regularly maintaining them, you can ensure that your plants receive the right amount of water without any wastage.
5 Things You Should Avoid
- Avoid Thin Materials: Thin materials may not be able to withstand the pressure and could tear easily, leading to leaks.
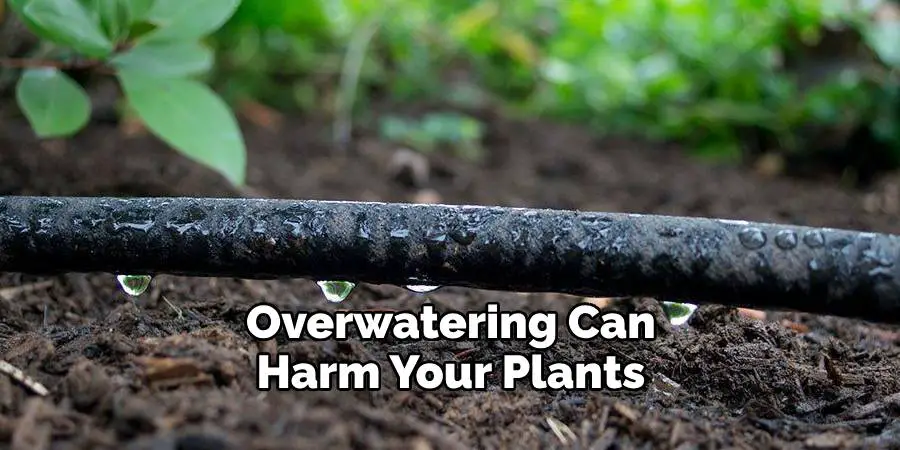
- Don’t Overwater: Overwatering can harm your plants as much as underwatering. Ensure that your soaker hose only provides the water your plants need.
- Avoid Sun Exposure: Direct sunlight can damage your soaker hose, causing it to become brittle and break. Keep it covered with mulch to protect it.
- Don’t Ignore Maintenance: Regular checks and maintenance are essential. Neglecting these can lead to system failure and damage to your plants.
- Avoid High Pressure: Excessively high water pressure could lead to a burst hose. Continuously regulate the pressure in your soaker hose system.
By avoiding these common mistakes, you can ensure that your homemade soaker hose is efficient and provides the right amount of water to your plants.
Conclusion
Now that you know the basics of creating a soaker hose, you have the tools to help your plants and flowers thrive in any environment. With just a few items, some time, and patience, you can take pride in knowing that your homemade soaker hose is taking part in sustaining life.
Hopefully, the article on how to make a soaker hose has inspired you to try it out for yourself. Remember, experimenting and making mistakes are all part of the process.
So don’t delay – grab some supplies today and prepare to make a difference! Plus, there’s nothing quite like the accomplishment that comes from knowing you made something with your hands. Have fun with it, and enjoy watching your plants flourish! Happy gardening!

