Are you tired of your sprinklers freezing in the winter? Do you want to save money by avoiding costly repairs caused by frozen water damage? Then it’s time to learn how to make a sprinkler blowout adapter.
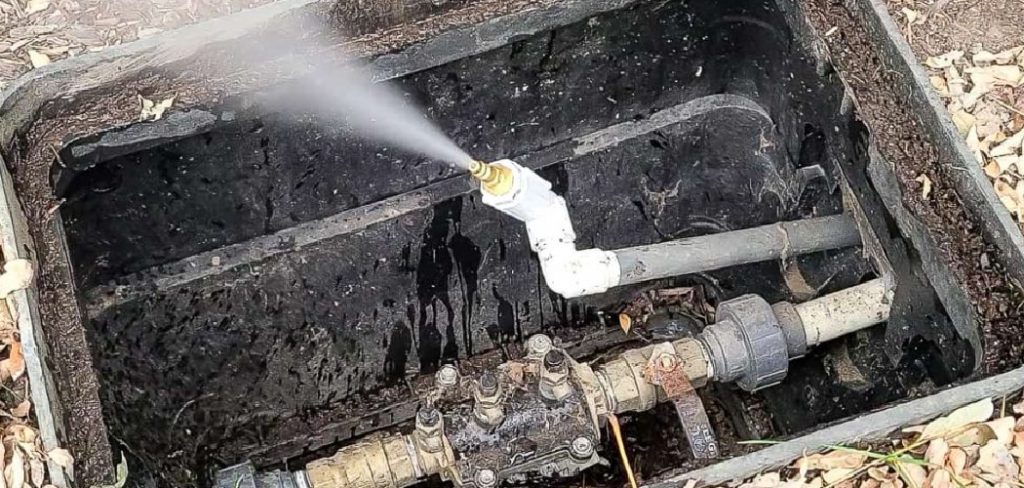
When winter approaches and temperatures drop, properly winterizing your sprinkler system is crucial to prevent damage caused by frozen water. One essential tool for this process is a sprinkler blowout adapter, which allows you to connect an air compressor to your sprinkler system and expel any remaining water from the pipes. Making your blowout adapter is a straightforward and cost-effective using readily available materials.
This guide on making a sprinkler blowout adapter will walk you through the steps to create a reliable adapter, saving you time and money while protecting your irrigation system.
What Are the Benefits of a Sprinkler Blowout Adapter?
A sprinkler blowout adapter offers several advantages over other methods of winterizing your sprinkler system, including:
- Cost-effectiveness: Making your adapter is much more affordable than purchasing one, especially if you already have the necessary materials on hand.
- Customization: By creating your blowout adapter, you can tailor it to fit your specific sprinkler system and its unique needs.
- Ease of Use: A DIY blowout adapter is simple and easy to make. It also allows for quick and efficient water removal from your irrigation pipes.
- Reusability: Your homemade adapter can be used year after year, saving you money in the long run and reducing waste.
- Eco-Friendly: Reusing materials to create your blowout adapter reduces your environmental impact and promotes sustainability.
What Will You Need?
To make your own DIY blowout adapter, you will need the following materials:
- A male air compressor quick-connect fitting
- A PVC pipe cap with a threaded female end (matching the size of your compressor fitting)
- Teflon tape
- An electric drill
- Drill bits (matching the size of your compressor fitting)
Once you have gathered these materials, you can begin the assembly process.
8 Easy Steps on How to Make a Sprinkler Blowout Adapter
Step 1: Drill a Hole in the PVC Pipe Cap
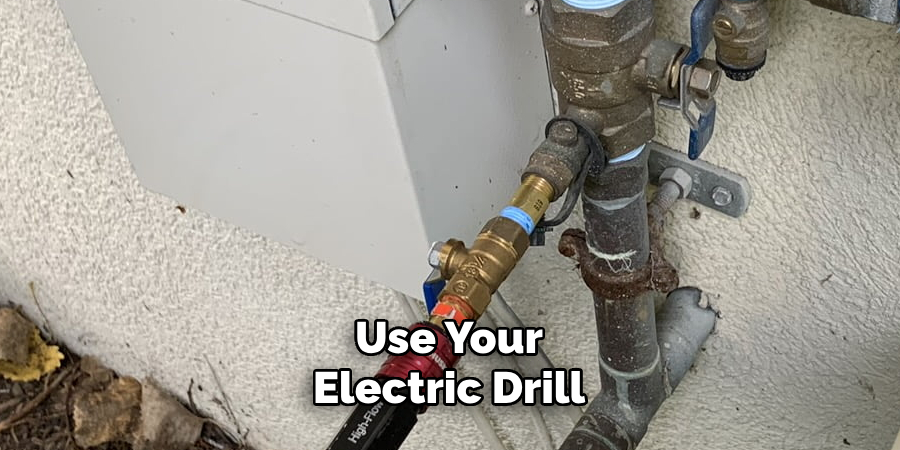
Use your electric drill to carefully drill a hole in the center of the PVC pipe cap. The hole size should match the diameter of the male air compressor quick-connect fitting. It’s essential to ensure the hole is centered and precise to avoid leaks or improper connections later on. Start by marking the center point with a marker or punch to guide your drilling.
Initially, use a drill bit slightly smaller than the fitting to create a pilot hole, then switch to a drill bit that matches the fitting size for the final hole. Once the hole is drilled, remove any burrs or rough edges using sandpaper or a file to create a smooth, clean opening. This will allow for a proper fit when inserting the compressor fitting in the following steps.
Step 2: Attach the Male Air Compressor Quick-Connect Fitting
After drilling a hole in the PVC pipe cap, thread the male air compressor quick-connect fitting into the hole. Before doing so, wrap the threads of the fitting with Teflon tape to ensure a tight, leak-free seal. Make sure to wrap the tape clockwise around the threads, as this will help prevent it from unraveling when you screw the fitting into the PVC cap.
Carefully thread the fitting into the hole by hand until it feels snug, and then use a wrench to tighten it further, ensuring it is securely attached. Be cautious not to overtighten, as this could damage the PVC cap or strip the threads. Properly securing the fitting is crucial for a functional and efficient blowout adapter.
Step 3: Testing the Blowout Adapter
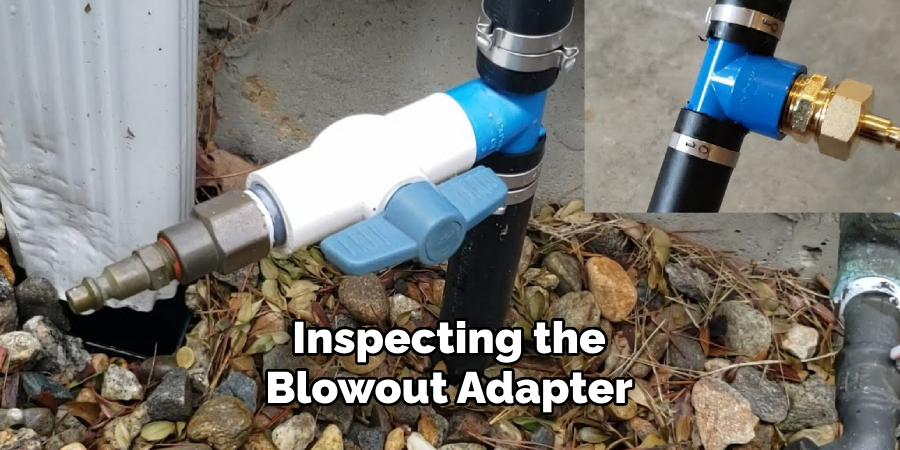
Once the fitting is securely attached, it is time to test the blowout adapter for any leaks or defects. Connect the adapter to an air compressor or a hose to simulate its intended use. Slowly apply pressure while carefully inspecting the connection points, particularly around the fitting and PVC cap, for any signs of air leakage. If leaks are detected, stop the test, release the pressure, and reseal or re-tighten the connections as needed. Performing this test ensures that the blowout adapter is ready for safe and efficient operation.
Step 4: Apply a Protective Coating
Applying a protective coating is essential to extend the blowout adapter’s lifespan and safeguard it against environmental factors such as moisture, rust, and corrosion. Start by choosing an appropriate coating material, such as a rust-proof spray or a durable weather-resistant sealant. Ensure that the surface of the adapter is clean and free of any debris, oil, or moisture before applying the coating.
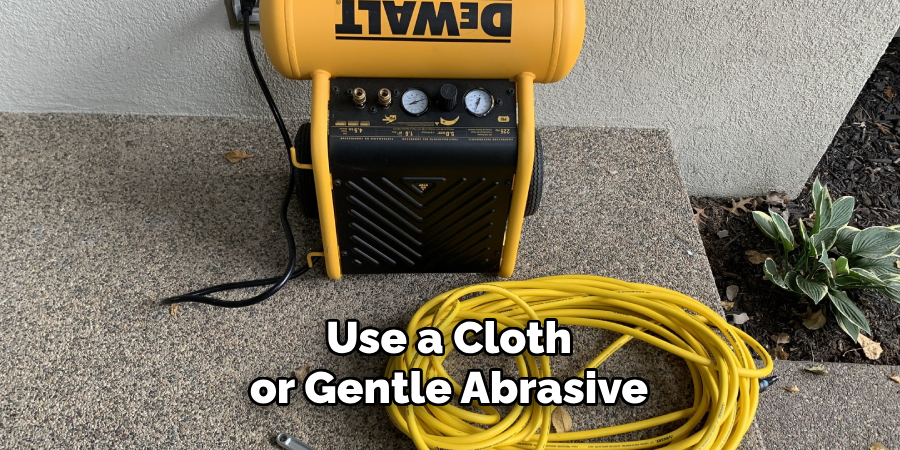
Use a cloth or gentle abrasive to remove any surface imperfections or residue. Once the surface is prepared, evenly apply the coating in thin, consistent layers, allowing sufficient drying time between applications as per the manufacturer’s instructions. Pay extra attention to areas around seams or connection points where corrosion is more likely to develop. This proactive step not only enhances the durability of the blowout adapter but also maintains its performance under various operating conditions.
Step 5: Inspect and Maintain Regularly
Regular inspection and maintenance are crucial for ensuring the optimal performance of your blowout adapter. Inspect the adapter at least once a year to check for any signs of wear or damage. If you notice any cracks, corrosion, or other issues, address them immediately to prevent potential failures.
In addition to visual inspections, it is also essential to follow the manufacturer’s recommendations for maintenance. This may include lubricating moving parts, checking bolts and connections for tightness, and replacing worn-out components. By staying on top of regular maintenance tasks, you can prolong the lifespan of your blowout adapter and avoid costly repairs or replacements in the future.
Step 6: Train Employees on Proper Usage and Maintenance
It is essential to train all employees using the blowout adapter properly. This includes not only how to use it correctly but also how to perform regular maintenance tasks. You can prevent any potential mishaps or accidents by ensuring that all employees know the proper usage and maintenance of the blowout adapter.
Additionally, having a designated person or team in charge of maintaining and inspecting the blowout adapter can help ensure that it is always in good working condition. This person/team should be responsible for scheduling regular inspections, performing necessary maintenance tasks, and keeping records of all actions taken.
Step 7: Have a Contingency Plan in Place
A well-structured contingency plan is essential for addressing potential issues that may arise during the operation of the blowout adapter. This plan should outline precise procedures for identifying and responding to failures, malfunctions, or emergencies.
Key components of a contingency plan include a thorough risk assessment to anticipate possible scenarios, a detailed chain of communication to ensure prompt notification of relevant personnel, and a list of necessary tools and equipment for addressing various situations. Training sessions and drills should be conducted regularly to ensure all team members are familiar with and capable of executing the contingency plan under pressure.
Step 8. Keep learning
As technology constantly evolves, IT professionals must stay updated and learn new skills. This can include attending industry events, workshops, and online courses or joining professional organizations. It is also essential to stay informed about new technologies and trends by reading industry publications and staying connected with other professionals in the field.
In addition to technical skills, soft skills such as communication, teamwork, and problem-solving are also essential for IT professionals. These can be developed through networking opportunities, leadership roles within projects or teams, and continuous self-reflection and improvement.
By following these steps and developing a comprehensive contingency plan, businesses can mitigate the impact of unexpected events on their operations.
5 Things You Should Avoid
- Using Low-Quality Materials: Avoid using inferior materials like cheap PVC or weak connectors, as they may not withstand high air pressure during the blowout process. Opt for durable, pressure-rated components to ensure the adapter is safe and long-lasting.
- Neglecting to Check Thread Compatibility: Ensure that the adapter threads match your sprinkler system’s and air compressor’s threads. Mismatched threads can lead to leaks or improper connections, damaging the system or reducing efficiency.
- Overlooking Proper Sealing: Avoid applying thread seal tape or a similar sealing material on the connections. A lack of proper sealing can cause air to escape, making the blowout process ineffective and potentially damaging the system.
- Ignoring Pressure Ratings: Never use components that are not rated for the required PSI of your air compressor. Exceeding a material’s pressure limit can result in dangerous failures, potentially causing injury or damage to your equipment.
- Skipping Safety Measures: Avoid ignoring safety protocols like wearing protective gear or ensuring all equipment is powered off while connecting or disconnecting the adapter. Taking shortcuts with safety can result in serious accidents or injuries.
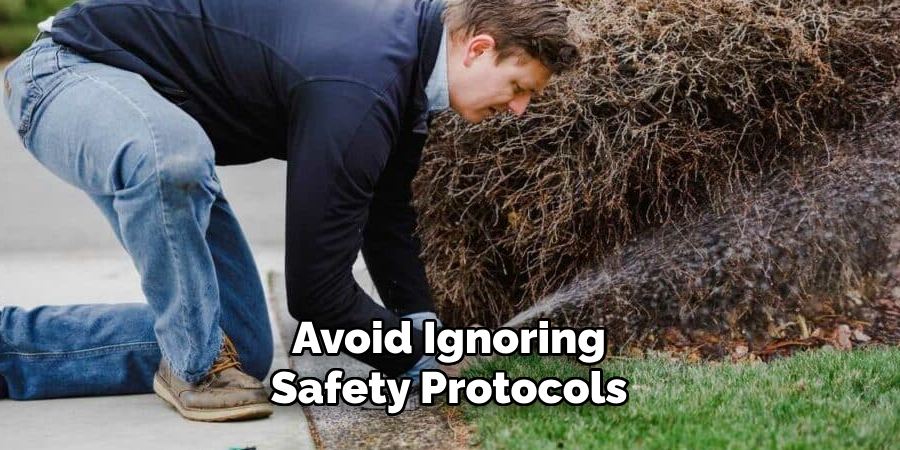
By avoiding these common mistakes, you can ensure safe and efficient use of your air compressor adapter.
Conclusion
How to make a sprinkler blowout adapter is a straightforward process that requires careful attention to detail and proper materials.
Start by selecting a durable air compressor fitting that matches your compressor’s specifications and a PVC or brass pipe fitting compatible with your sprinkler system. Securely attach the fittings using plumber’s tape or thread sealant to ensure a tight, leak-free connection. Test the adapter on your system at a low pressure initially to check for any leaks or loose fittings.
By following these steps and adhering to safety measures, you can construct a reliable sprinkler blowout adapter that will help protect your irrigation system during colder seasons.

