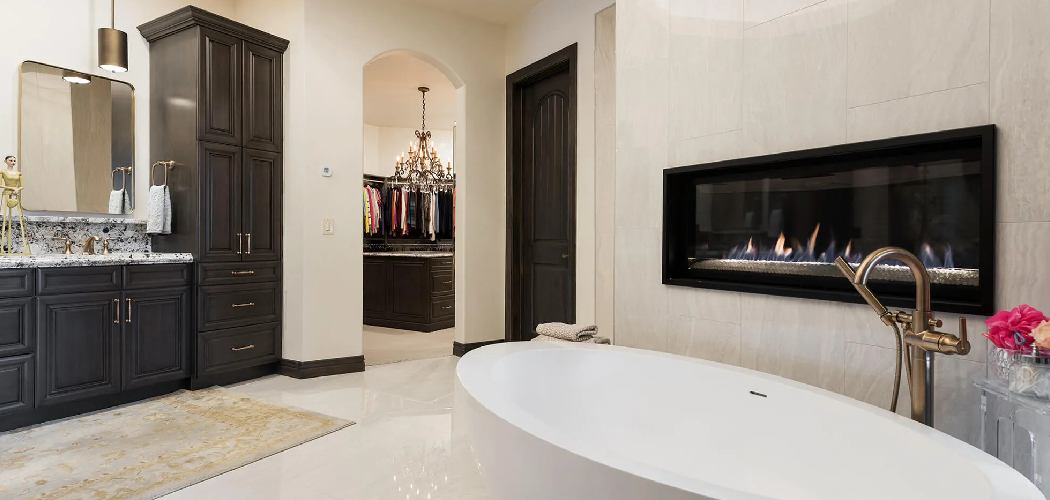
Creating an access panel for your bathtub is a practical solution to ensure easy access to plumbing and maintenance areas while maintaining the aesthetics of your bathroom. This simple yet effective project can save you time and money
by providing a convenient way to address repairs or upgrades without having to remove large sections of the wall or tub surround. This guide explores the key aspects of how to make an access panel for bathtub. With some basic tools and materials, you can construct an access panel that is both functional and visually appealing.
Why an Access Panel is Essential
An access panel is an essential feature for any bathtub installation, as it offers several practical benefits. First and foremost, it provides convenient access to the plumbing components behind the tub, including pipes, valves, and connections. This accessibility makes routine maintenance, repairs, or inspections significantly easier and less time-consuming.
Without an access panel, addressing plumbing issues often requires cutting through walls or surrounding materials, which can be both costly and labor-intensive. Additionally, an access panel helps protect your bathroom from potential water damage by allowing you to quickly identify and fix leaks before they escalate. Finally, a well-designed access panel ensures that your bathroom maintains a clean and polished appearance, seamlessly blending with the overall decor while serving a practical purpose.
Tools and Materials Needed
Before starting your project, gather the necessary tools and materials to ensure a smooth and efficient process. Here’s a list of what you’ll need:

Tools:
- Measuring Tape – To accurately measure the dimensions of your access panel.
- Utility Knife or Saw – For cutting through drywall or other paneling materials.
- Drill and Drill Bits – To secure screws and hinges for the panel.
- Screwdriver – For tightening screws and securing components.
- Level – To ensure your access panel is installed straight.
- Pencil or Marker – For marking measurements and panel placement.
Materials:
- Drywall or Access Panel Cover – To serve as the panel itself.
- Wooden Studs or Frame Material – For constructing the framework to support the panel.
- Hinges – For attaching the panel to the wall or surrounding structure.
- Screws – To secure the panel and hinges in place.
- Paint or Finishing Materials – To match the panel with the surrounding wall for a seamless look.
- Sealant or Weatherstripping (Optional) – To prevent any drafts or moisture from entering the panel opening.
By ensuring you have all these tools and materials ready, you can confidently proceed with building an access panel that meets both functional and aesthetic requirements.
10 Methods How to Make an Access Panel for Bathtub
1. Determine the Best Location for the Access Panel
Before cutting into the wall, identify the best spot for the access panel. The panel should be placed directly in front of the plumbing components, such as the drain, overflow assembly, or faucet connections. Use a stud finder to avoid cutting through structural supports, and ensure there is enough clearance for maintenance work.
2. Measure and Mark the Panel Dimensions
Using a tape measure, determine the appropriate size for the access panel. A typical access panel is around 12×12 inches,
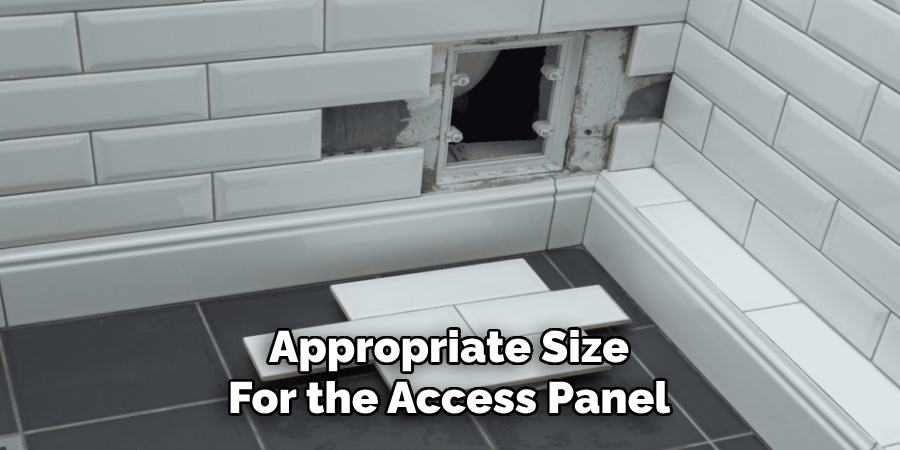
but this can vary based on plumbing accessibility. Mark the dimensions on the wall using a pencil and a level to ensure clean and straight lines for cutting.
3. Choose the Right Material for the Panel
The access panel can be made from various materials, including drywall, plywood, plastic, or prefabricated access doors. If aesthetics are a priority, consider using a panel that blends seamlessly with the surrounding wall. Water-resistant materials, such as PVC or coated MDF, are ideal for bathroom environments where moisture is present.
4. Cut the Opening for the Panel
Use a drywall saw or a jigsaw to cut along the marked lines carefully. If the wall is tiled, a rotary tool with a diamond blade may be necessary. Work slowly to avoid damaging surrounding tiles or drywall. Once the hole is cut, smooth any rough edges using sandpaper or a file.
5. Frame the Opening for Stability
To reinforce the cut opening, attach wooden or metal framing around the edges. This framing provides a solid base for securing the access panel and prevents the wall from crumbling over time. Use screws or adhesive to fasten the framing securely to the existing wall structure.
6. Install Hinges for a Swing-Open Panel
For convenient access, consider installing hinges to create a swing-open panel. Attach small cabinet hinges to one side of the panel and the corresponding edge of the opening frame. This method allows for quick and easy access without requiring complete removal of the panel.
7. Use a Magnetic or Snap-On Cover
If hinges are not preferred, opt for a magnetic or snap-on cover that can be easily removed and reattached. Magnetic panels are simple to install and provide a seamless look, making them a great choice for modern bathrooms. Ensure the magnets are strong enough to hold the panel securely in place.
8. Secure the Panel with Screws or Clips
For a more permanent installation, attach the panel using screws or panel clips. Screws provide a firm hold but require
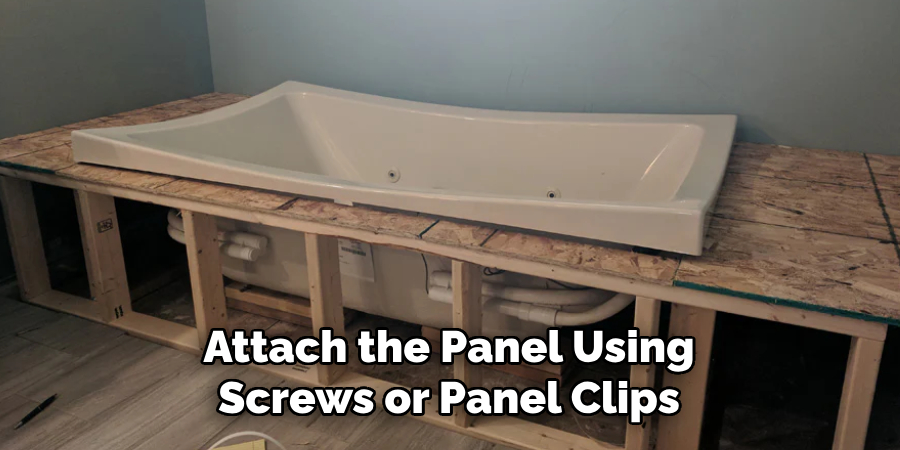
unscrewing when access is needed. Panel clips offer a balance between security and accessibility, allowing for easy removal while keeping the panel flush against the wall.
9. Seal and Paint the Access Panel for a Finished Look
To blend the access panel with the surrounding wall, seal the edges with caulk or trim and apply paint or wallpaper as needed. If using a drywall panel, prime and paint it to match the wall color. For tiled walls, consider installing a tile-matching access panel for a more seamless appearance.
10. Test the Accessibility and Make Adjustments
Once installed, open and close the panel multiple times to ensure it functions properly. Check for any obstructions, misalignments, or gaps that may need adjustment. If using a removable panel, confirm that it can be taken off and reinstalled without difficulty.
Things to Consider When Building an Access Panel
When constructing an access panel for your bathtub, it’s important to keep a few critical factors in mind to ensure a successful installation and long-term functionality:
1. Placement and Accessibility
The access panel should be strategically placed for ease of use. Ensure it provides direct access to the components you need to maintain, such as plumbing connections or valves. Avoid placing it in areas that are hard to reach or obstructed by permanent fixtures.
2. Moisture Resistance
Since bathrooms are high-moisture environments, selecting materials that are resistant to water damage is crucial. Opt for water-resistant drywall, PVC, or coated panels to prevent warping, mold, or deterioration over time.
3. Aesthetic Integration
The access panel should seamlessly blend with the surrounding décor. Choose a finish, color, or material that matches your bathroom walls or tiles. Consider hidden hinges, magnetic covers, or tile-matching panels for a cleaner appearance.
4. Durability and Longevity
Ensure that the materials and installation method you choose are durable enough to withstand regular use. Reinforced framing, high-quality hinges, or strong magnets can help maintain the panel’s integrity and function over time.
5. Ease of Operation
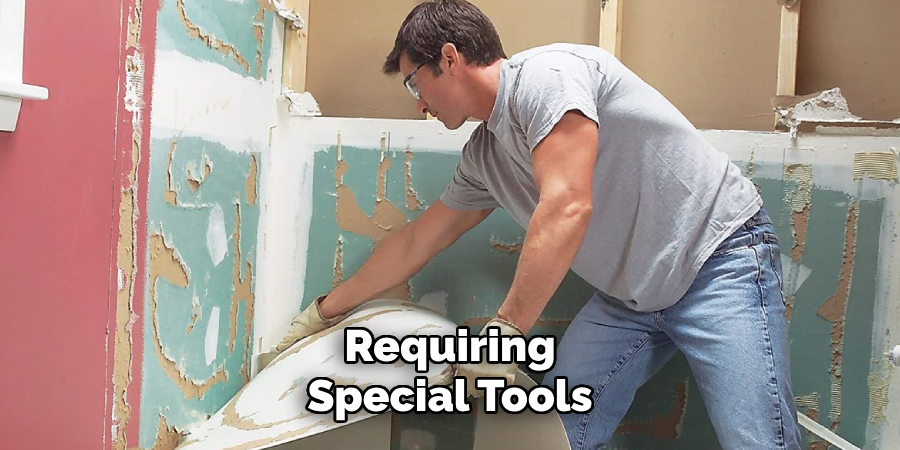
The access panel design should allow for easy opening and closing without requiring special tools. Whether you use hinges, magnets, or screws, the mechanism should strike a balance between security and convenience.
By carefully considering these factors during the planning and construction process, you can create an access panel that is both functional and visually appealing, ensuring it meets your needs for years to come.
Common Mistakes to Avoid
When installing or building an access panel for your bathtub, several common mistakes can compromise functionality, durability, or appearance. Being aware of these pitfalls can help ensure a successful project:
1. Incorrect Measurements
Failing to measure accurately can result in a panel that is too small or too large for the intended opening. Double-check all dimensions before cutting, and use a level to ensure straight lines for a proper fit.
2. Using Non-Durable Materials
Selecting materials that are not water-resistant or durable enough for a bathroom environment can lead to premature wear, warping, or mold growth. Avoid using regular drywall or untreated wood in high-moisture areas.
3. Poor Placement
Positioning the panel in an area that is difficult to access or obstructed by other fixtures can impede maintenance efforts. Always plan the placement carefully to provide clear, easy access to plumbing components.
4. Overlooking Aesthetic Integration
Installing a panel that clashes with the surrounding design can detract from your bathroom’s appearance. Neglecting to paint, tile, or otherwise blend the panel into the décor may leave an unsightly result.
5. Insufficient Framing
Skipping the step of reinforcing the panel opening with proper framing can cause the wall to weaken or crumble over time. Adequate framing is essential for a stable and secure installation.
6. Loose or Weak Fasteners
Using weak magnets, poor-quality hinges, or insufficient screws can lead to a panel that is unstable or falls off. Make sure all fasteners are secure and appropriately support the panel’s weight.
Conclusion
Creating an access panel for a bathtub is a practical solution for plumbing maintenance and repairs. By following these ten methods, you can construct a functional and aesthetically pleasing panel that provides easy access while maintaining the integrity of the bathroom’s design. So, there you have it – a quick and easy guide on how to make an access panel for bathtub.

