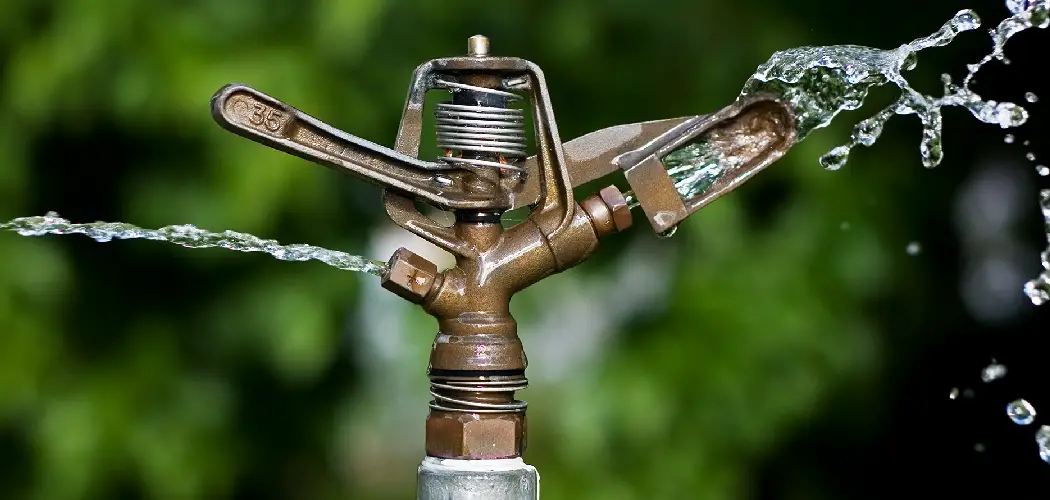
Marking sprinkler heads is a vital task for maintaining an efficient and effective irrigation system. It ensures that each head is easily identifiable, facilitating quick repairs, adjustments, or replacements when necessary.
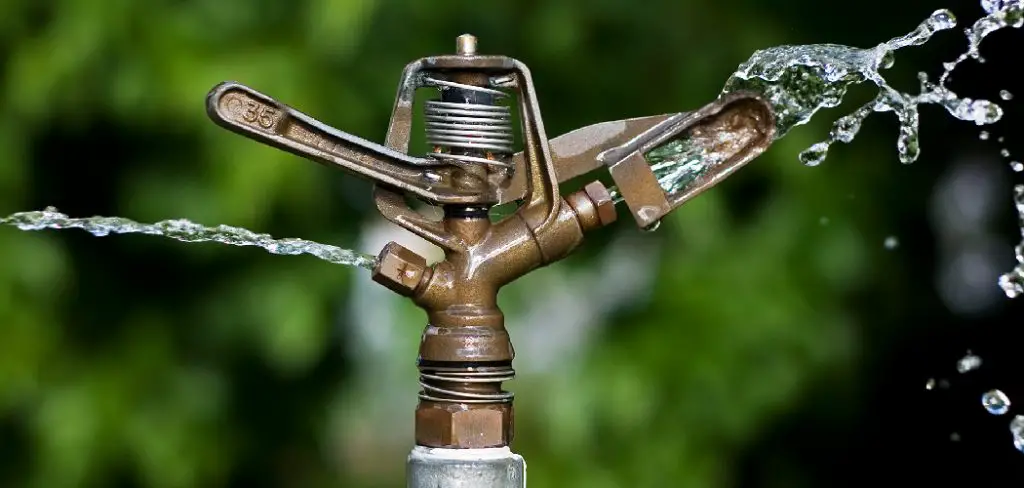
Properly marked sprinkler heads help prevent damage during landscaping or lawn maintenance activities and can significantly enhance the overall performance of the irrigation system.
In this guide, we will explore how to mark sprinkler heads, the tools required, and tips to ensure long-lasting visibility and accuracy.
Importance of Marking Sprinkler Heads
Marking sprinkler heads is essential for several reasons. Firstly, it streamlines maintenance tasks; when sprinkler heads are clearly marked, landscapers and homeowners can easily locate them, reducing the risk of accidental damage during gardening or lawn care.
Secondly, proper identification of each head allows for efficient troubleshooting, as it helps pinpoint which areas may require adjustments or repairs based on performance. Furthermore, clear markings contribute to the overall functionality of the irrigation system, ensuring that water is distributed evenly and efficiently across the designated areas.
Overall, the importance of marking sprinkler heads cannot be overstated, as it plays a crucial role in preserving the integrity of the landscape and maximizing irrigation efficiency.
Understanding Sprinkler Head Types
To effectively mark sprinkler heads, it’s important to first understand the different types of sprinkler heads commonly used in irrigation systems. Each type has its own unique functions and applications, which can impact how you approach marking them. The main types of sprinkler heads include stationary, rotating, and impact sprinklers.
- Stationary Sprinklers: These sprinklers deliver water in a fixed pattern and are ideal for small areas. They often feature adjustable nozzles to control spray distance and direction.
- Rotating Sprinklers: These are designed to rotate and provide an even distribution of water over a larger area. They are efficient for medium-sized lawns and gardens, and some models can be adjusted to change the arc or radius of coverage.
- Impact Sprinklers: Known for their broad coverage and durability, impact sprinklers use a mechanical arm that pivots to create a circular spray pattern. These are well-suited for larger spaces and can be adjusted for various distances.
Understanding these types allows for better identification and marking, ensuring proper care and maintenance, and ultimately, a more efficient irrigation system.
10 Methods How to Mark Sprinkler Heads
1. Use Brightly Colored Flags
One of the most common and effective ways to mark sprinkler heads is by using brightly colored flags.
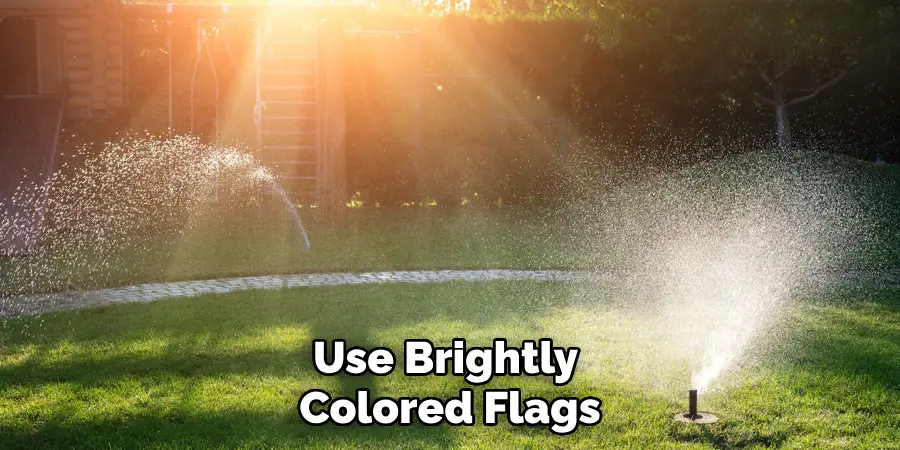
These small, plastic flags are usually attached to thin metal or plastic stakes that can be easily inserted into the ground near the sprinkler heads. The bright colors, such as orange, yellow, or red, make the sprinkler heads highly visible, even from a distance.
This method is particularly useful when you need temporary markers for activities like lawn mowing, aerating, or fertilizing. Simply place a flag next to each sprinkler head, and once the task is complete, you can remove the flags without any lasting impact on your lawn.
2. Use Spray Paint for Temporary Marking
For short-term projects, such as digging or construction work, marking sprinkler heads with temporary spray paint is a practical option. Water-soluble spray paint, available in bright colors like neon orange or blue, can be sprayed directly on the grass or soil around the sprinkler head.
This provides a clear, visible marker that lasts until the job is finished and washes away after a few rain showers or lawn waterings. When using spray paint, be careful not to paint directly on the sprinkler head itself, as this could clog or damage the nozzle. Spray around the base of the head for the best results.
3. Place Small Cones Over the Sprinkler Heads
Another simple and effective way to mark sprinkler heads is by placing small, brightly colored cones over them. Traffic cones or specialized sprinkler marking cones are ideal for this purpose. These cones are available in various sizes and colors, making them easy to spot from a distance.
The benefit of using cones is that they physically cover the sprinkler heads, offering extra protection from potential damage, especially during activities like mowing or construction. Cones are reusable and easy to remove once the project is complete, making them a cost-effective and versatile solution.
4. Install Permanent Markers Around Sprinkler Heads
For long-term marking, especially in larger landscapes or commercial properties, installing permanent markers around sprinkler heads can be highly beneficial. Permanent markers can be small metal or plastic posts that are driven into the ground near each sprinkler head.
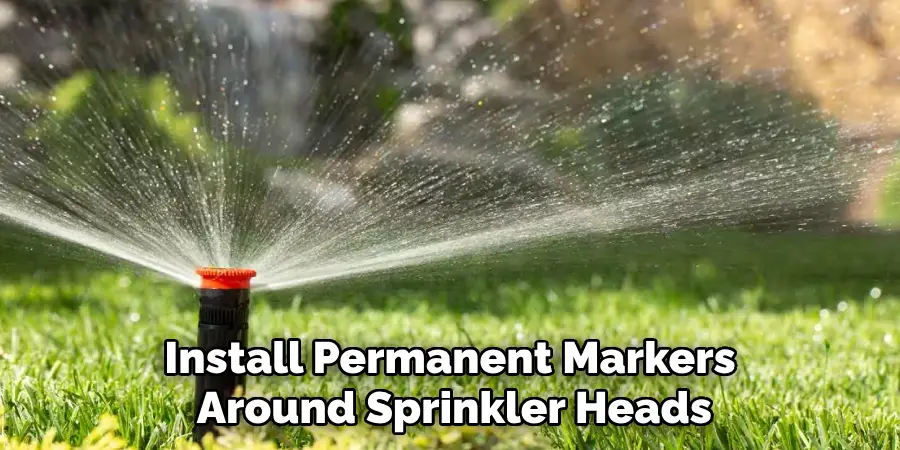
These markers often have brightly colored tops or reflective surfaces to make them easy to locate. They can be particularly useful in environments where sprinklers are regularly at risk of being covered by foliage, mulch, or turf. By installing permanent markers, you ensure that sprinkler heads remain visible for future maintenance and upgrades.
5. Use Colored Stakes with Reflective Tape
Colored stakes with reflective tape are another excellent way to mark sprinkler heads, especially in low-light conditions or during nighttime maintenance. The reflective tape catches light from flashlights, vehicle headlights, or lawn equipment, making the sprinkler heads easier to spot. Drive the stakes into the ground next to each sprinkler head, ensuring the reflective tape is positioned at a visible height.
This method is particularly useful in large properties or during winter months when the days are shorter and visibility is reduced. It’s also a good option for landscapers working early in the morning or late in the evening.
6. Create a Map of the Sprinkler Layout
While physical markers are important, creating a detailed map of your sprinkler layout is a valuable supplementary method. A map allows you to keep track of where all the sprinkler heads are located, even if they become temporarily covered by grass, dirt, or other materials.
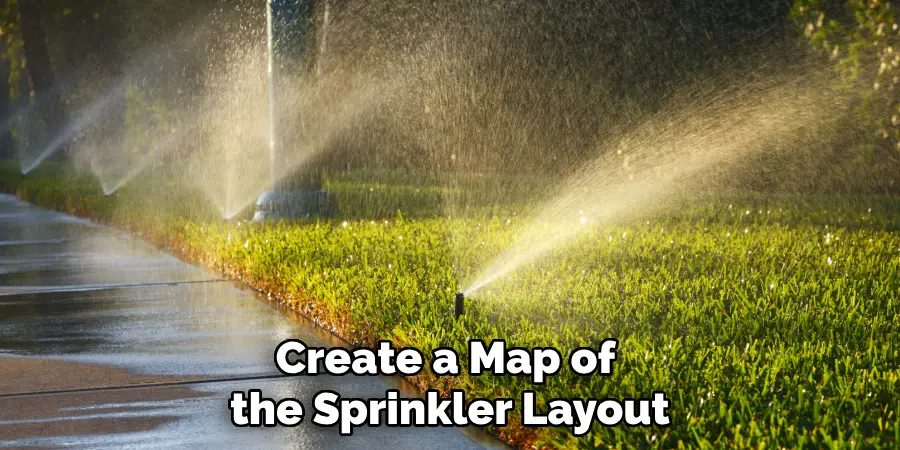
You can either draw the map by hand or use a digital tool, marking each sprinkler head’s position relative to landmarks like trees, fences, or pathways. This map can be saved for future reference, making it easier to locate sprinkler heads during repairs, upgrades, or seasonal maintenance.
7. Use Colored Garden Stakes
Colored garden stakes are another practical method for marking sprinkler heads. These plastic or wooden stakes come in various bright colors and can be easily inserted into the ground next to each sprinkler head. Garden stakes are inexpensive, widely available, and blend well with the natural landscape while still providing visibility.
This method works well for marking sprinklers when you’re performing landscaping projects or preparing your lawn for aeration. Garden stakes are durable enough to stay in place throughout the growing season and can be easily removed once the task is complete.
8. Attach Bright Ribbon or Tape to Shrubs or Trees Nearby
If your sprinkler heads are located near shrubs, trees, or other landscape features, you can mark them by attaching bright ribbon or tape to these features. Choose a brightly colored, weather-resistant ribbon or tape, such as neon pink or orange, and tie it around the base of a shrub or the trunk of a tree that’s close to the sprinkler head.
This method provides a clear, visual marker without placing anything directly on the ground. It’s especially useful in garden beds or areas with dense plantings, where traditional ground markers may not be easily visible.
9. Use GPS or a Mobile App for Sprinkler Mapping
For a more advanced and tech-savvy approach, you can use GPS or mobile apps designed for lawn and irrigation system management. Some mobile apps allow you to create a digital map of your property, including the precise location of each sprinkler head.
You can use GPS technology to pinpoint their exact coordinates, making it easier to locate sprinkler heads, even if they’re hidden under grass or foliage. This method is particularly helpful for large properties, golf courses, or commercial landscapes where manual marking may be impractical. It also provides a permanent record of your irrigation system’s layout.
10. Place Paver Stones or Decorative Rocks Around Sprinkler Heads
If you’re looking for a more aesthetically pleasing way to mark sprinkler heads, you can use paver stones or decorative rocks. Placing small paver stones or flat rocks around each sprinkler head creates a visible marker that blends seamlessly into your landscape design.
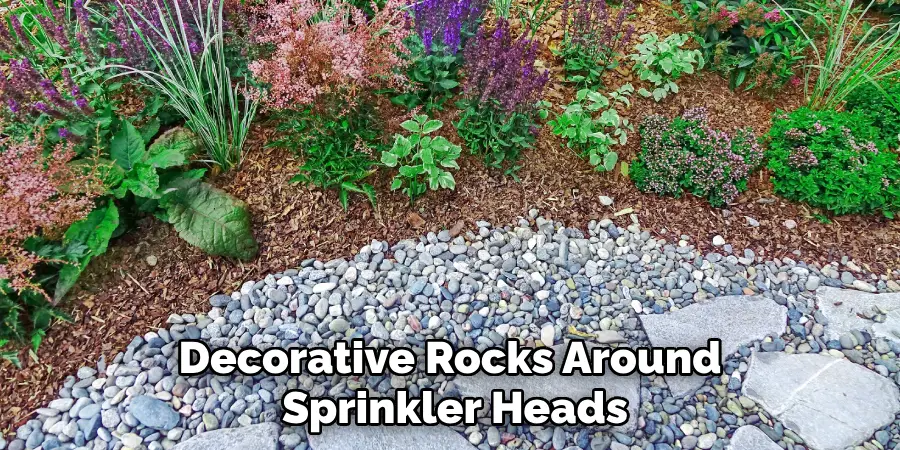
Choose materials that contrast with your lawn or garden to ensure the markers are easily noticeable. This method not only helps protect the sprinkler heads from accidental damage but also adds a decorative element to your yard. It’s a durable and long-lasting solution that works well for permanent irrigation systems.
Conclusion
Safeguarding your sprinkler heads is essential for maintaining an efficient irrigation system and protecting your investment in landscaping. By implementing a combination of these marking methods—ranging from physical markers like cones and stakes to technological solutions such as GPS mapping—you can ensure the visibility and accessibility of your sprinkler heads throughout the year.
This proactive approach not only prevents damage but also makes maintenance and upgrades much more manageable. Thanks for reading, and we hope this has given you some inspiration on how to mark sprinkler heads!

