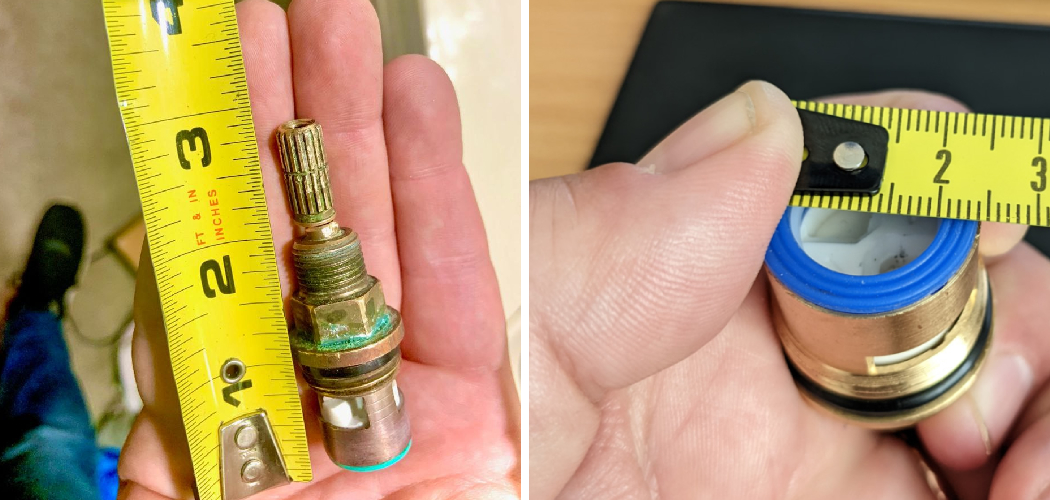
When dealing with leaky faucets or improper water flow, identifying and measuring the faucet cartridge is an essential first step in the repair process. The cartridge is a crucial component within the faucet that regulates water flow and temperature. Knowing how to accurately measure it ensures you can find the correct replacement part, saving time and preventing further issues.
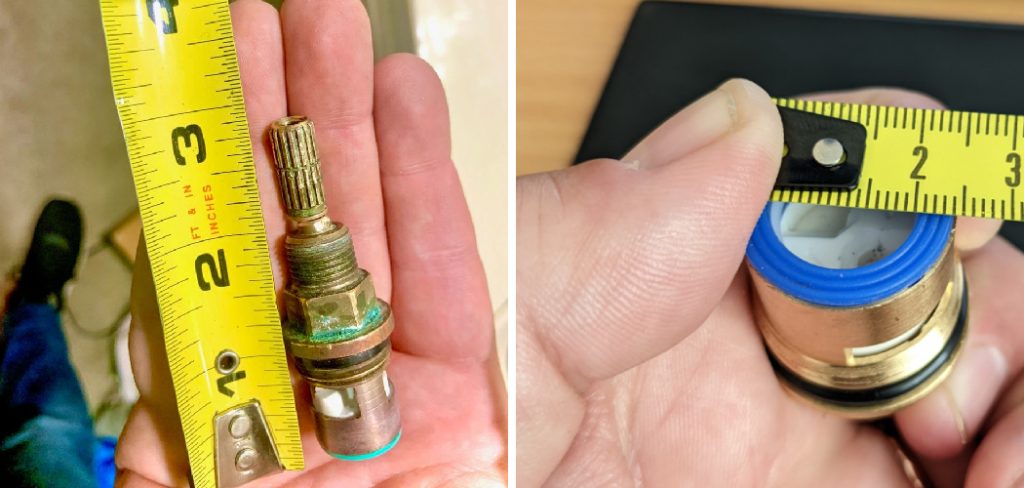
This guide on how to measure a faucet cartridge will walk you through the process of measuring a faucet cartridge with clear, step-by-step instructions.
Why Measuring a Faucet Cartridge is Important?
Measuring a faucet cartridge is crucial for maintaining the proper functionality of your faucet. An incorrectly sized or incompatible cartridge can result in leaks, poor water pressure, and difficulty in controlling water temperature. By taking the time to measure your faucet cartridge accurately, you can avoid the frustration of purchasing the wrong replacement part.
Additionally, ensuring the correct fit extends the lifespan of your faucet, prevents unnecessary water waste, and saves money on future repairs. Accurate measurements simplify the replacement process, making it an essential step for a smooth and effective fix.
Needed Materials
- Ruler or Caliper
- Pen and Paper for Note-taking
- Replacement Cartridge (Make Sure to Purchase the Correct Size and Model)
- Adjustable Wrench or Pliers (Depending on the Type of Faucet)
8 Steps on How to Measure a Faucet Cartridge
Step 1: Turn Off the Water Supply
Before beginning any work on your faucet, locate the water supply valves under the sink and turn them off completely.
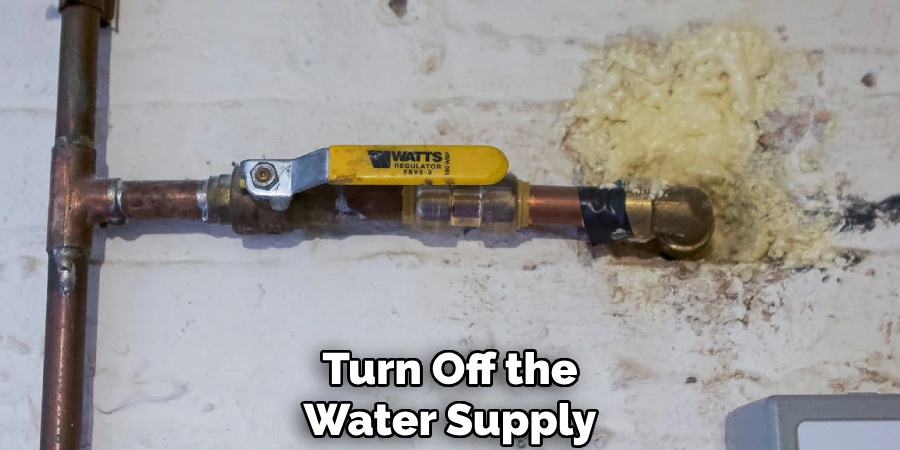
This will prevent any water from flowing while you remove and measure the cartridge. If you cannot locate the valves or if the faucet continues to drip, shut off the main water supply to your home to ensure no interruptions occur during the process. Once the water is shut off, open the faucet to release any remaining pressure.
Step 2: Remove the Handle
To access the faucet cartridge, you will need to remove the handle. Start by locating the screw that secures the handle in place. This is often hidden beneath a decorative cap, which can be gently pried off using a flathead screwdriver or similar tool. Once the screw is exposed, use the appropriate screwdriver or hex key to unscrew it carefully.
After the screw is removed, gently pull the handle off the faucet. If the handle is stuck, apply light pressure or wiggle it back and forth until it loosens. Be cautious not to apply excessive force to avoid damaging the components.
Step 3: Take Out Cartridge Retaining Clip
Once the handle has been removed, you will see the cartridge secured in place by a retaining clip. Use a pair of needle-nose pliers or a flathead screwdriver to carefully remove the retaining clip.
Take care to avoid bending or damaging the clip, as it will need to be reinstalled later. Set the clip aside in a safe place to ensure it does not get lost. This step is crucial for accessing and removing the cartridge properly.
Step 4: Pull Out Cartridge
With the retaining clip removed, you can now pull out the cartridge from the faucet assembly. Grip the cartridge firmly with your hand or use pliers if it is stuck due to sediment or mineral buildup. Gently wiggle the cartridge back and forth while pulling to loosen it.
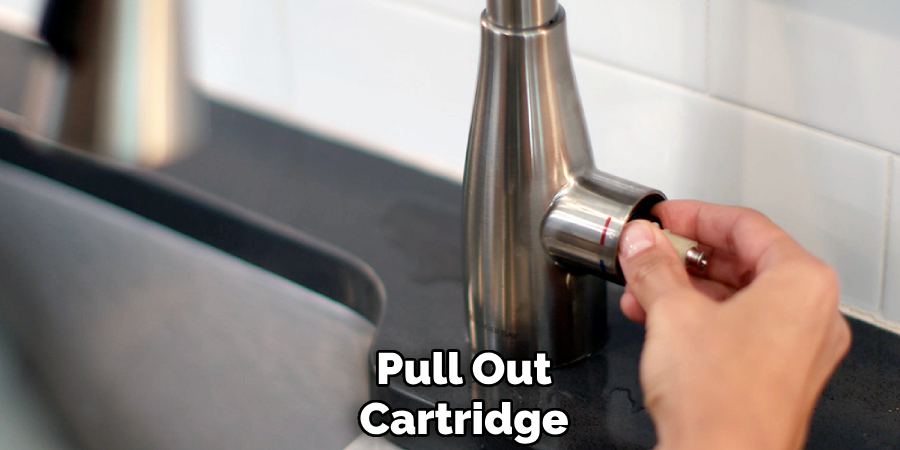
Take care not to use excessive force, as this can damage the cartridge or the faucet body. Once the cartridge is free, inspect it for wear or buildup before proceeding to the next step.
Step 5: Inspect and Clean Cartridge
With the cartridge removed, carefully inspect it for signs of damage, wear, or mineral deposits. Look for cracks, worn-out seals, or other defects that may affect the faucet’s performance. If the cartridge is still in good condition, proceed to clean it.
To clean the cartridge, use a soft-bristle brush and warm, soapy water to remove any dirt or buildup. For stubborn mineral deposits, soak the cartridge in a solution of white vinegar and water for 15-30 minutes, then gently scrub the affected areas. Rinse the cartridge thoroughly with clean water and dry it with a soft cloth before reinstalling or replacing it.
Step 6: Replace Cartridge
Once the cartridge has been cleaned and dried, or if you have a new replacement cartridge ready, reinstall it into the faucet. Carefully align the cartridge with the corresponding slots or grooves in the faucet body to ensure a proper fit. Press it firmly into place, making sure it is seated evenly and securely.
After positioning the cartridge, reattach any retaining clips or screws to hold it in place. Finally, reassemble the faucet by reinstalling the handle or other components, and ensure everything is tightened properly for optimal performance.
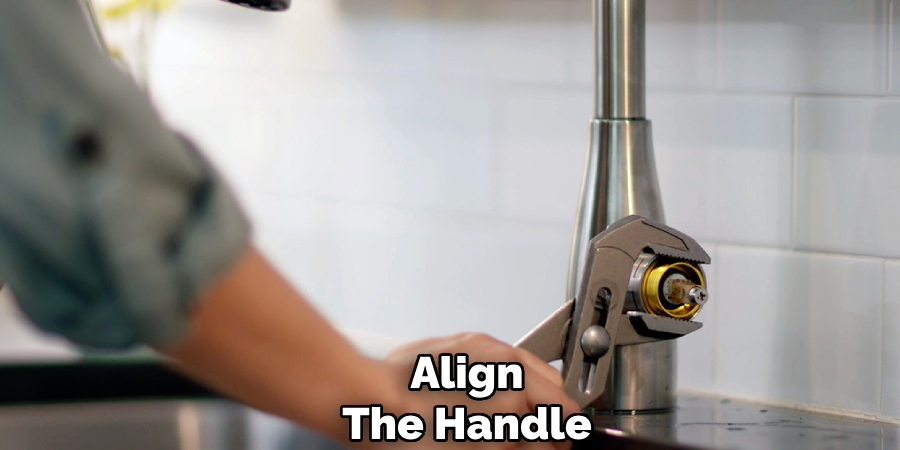
Step 7: Reattach Handle
Once the cartridge is secured, align the handle with the faucet stem. Slide the handle onto the stem, ensuring it fits snugly and aligns correctly. Secure the handle in place by tightening the screw, if applicable, using a screwdriver or hex key.
Finally, check the handle’s movement to make sure it operates smoothly and adjusts the water flow without resistance.
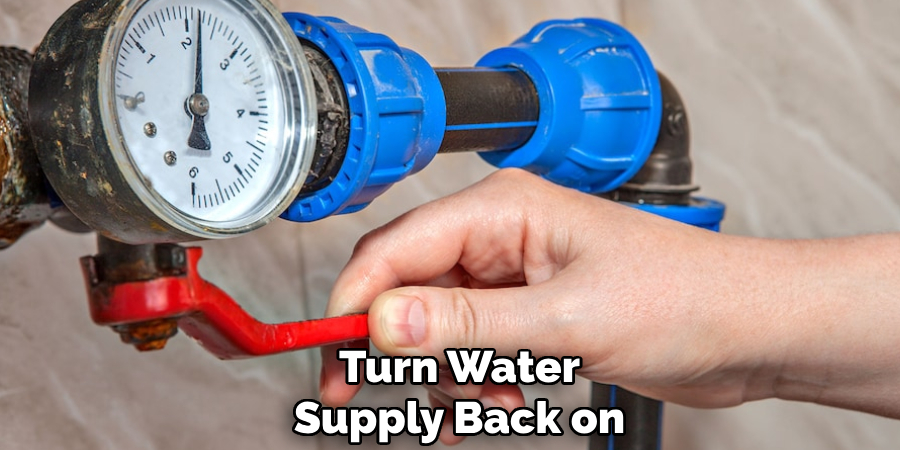
Step 8: Turn Water Supply Back On
Once everything is back in place, turn the water supply back on by turning the shut-off valve counterclockwise. Check for any leaks and make sure the faucet is functioning properly before using it again.
Following these steps on how to measure a faucet cartridge can save you time and money by avoiding the need to hire a plumber for a simple cartridge replacement. Regular maintenance of your faucet can also prevent any future issues from arising.
Do You Need to Get Support From Professionals?
While replacing a faucet cartridge can be a straightforward task for many homeowners, there are scenarios where seeking professional support might be the best course of action. If you encounter significant corrosion, damage to the faucet body, or struggle with removing the old cartridge despite following all the proper steps, a licensed plumber can help ensure the repair is done correctly and efficiently.
Additionally, if you are unsure about identifying the correct cartridge model or have concerns about working with the plumbing system, contacting a professional can provide peace of mind. Investing in expert help can save you time, prevent further damage, and guarantee long-lasting results.
Tips for Preventing Future Problems
Regular maintenance is key to preventing future issues with your cartridge faucet. Here are some tips to keep your faucet running smoothly:
- Clean the cartridge every few months to prevent mineral build-up.
- Replace worn-out parts, such as O-rings or seals, to prevent leaks.
- Avoid using harsh chemicals or abrasive cleaners on your faucet.
- Keep an eye out for any signs of wear or damage and address them promptly.
- Check for loose parts and tighten them if necessary.
- Inspect the water pressure regularly and adjust if needed to prevent excessive strain on the cartridge.
- If you have hard water, consider installing a water softener to reduce mineral buildup.
- Regularly clean and aerate the faucet head to prevent clogs.
- Use only high-quality replacement parts to ensure proper functioning and longevity of your faucet.
Remember that taking care of your faucet can save you time, money, and frustration in the long run. By following these simple maintenance tips, you can keep your faucet running smoothly for years to come.
Frequently Asked Questions
Q: How Often Should I Clean My Faucet?
A: It is recommended to clean your faucet at least once a month, but it may vary depending on the frequency of use and water quality. The more frequently you use your faucet or the harder the water is in your area, the more often you may need to clean it.
Q: Can I Use Harsh Chemicals to Clean my Faucet?
A: We do not recommend using harsh chemicals on your faucet as they can cause damage and corrosion. Instead, use mild soap and warm water to gently clean your faucet.
Q: How Can I Prevent Water Spots and Stains on my Faucet?
A: To prevent water spots and stains, always dry off your faucet after each use with a soft cloth. You can also use a diluted vinegar solution (equal parts vinegar and water) to remove any stubborn spots or stains.
Q: What Should I Do if my Faucet is Leaking?
A: If your faucet is leaking, it may be a sign of a worn-out or damaged internal part. It’s best to contact a professional plumber for repairs as soon as possible to prevent further damage and water waste.
Conclusion
By following these simple maintenance tips, you can extend the lifespan of your faucet and ensure it continues to function efficiently. Regular care and attention not only prevent costly repairs but also help conserve water and reduce waste.
A little effort goes a long way in keeping your faucet in top condition for years to come. Thanks for reading this article on how to measure a faucet cartridge.

