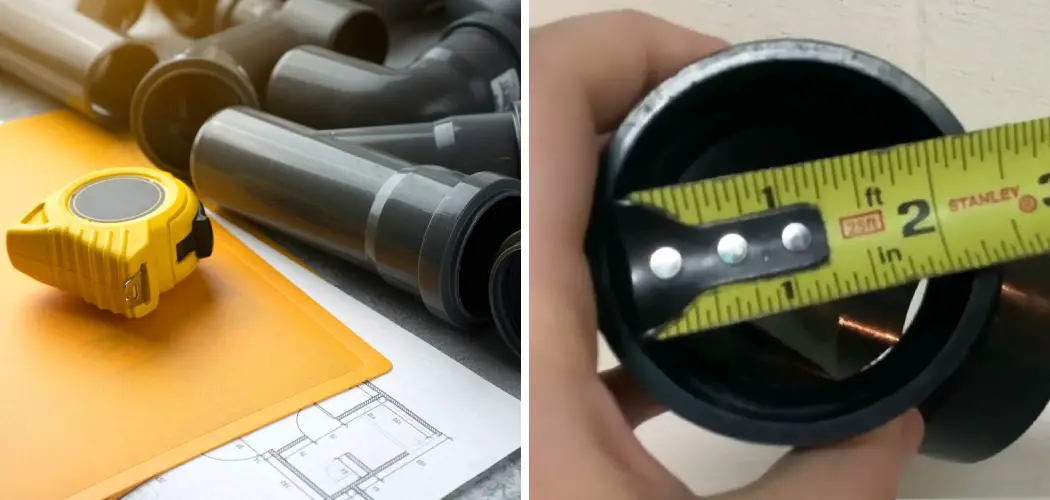
Are you looking for an easy and accurate way to measure PVC pipes? Whether you’re working on a plumbing project or need to determine the size of PVC for a DIY project, it’s important to know how to measure PVC and cut it properly.
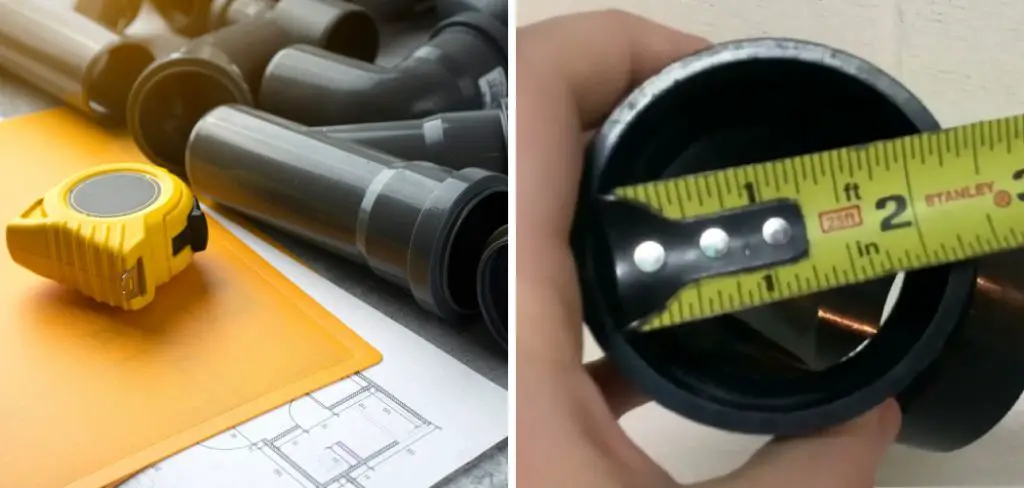
Measuring PVC (polyvinyl chloride) accurately is essential for effective project planning and execution, whether you’re working on plumbing, construction, or crafting applications. Proper measurement ensures that you cut the material to the correct length, minimizing waste and ensuring a snug fit in installations. This guide’ll outline the key steps and tools needed to measure PVC effectively, highlighting common pitfalls and best practices to achieve precise results.
By following these guidelines, you’ll be well-equipped to tackle your projects with confidence and precision.
What Will You Need?
Before we dive into the measuring process, let’s ensure you have all the necessary tools and materials. Here’s a list of essential items to have when measuring PVC:
- Ruler or Tape Measure: These tools are crucial for precision measurements.
- Marker or Chalk: Use these to mark your cutting lines on the PVC pipe.
- Hacksaw or PVC Cutter: These tools cut the PVC pipe to the desired length.
In addition to these basic items, depending on your project requirements, you may need other specialized tools, such as a miter saw for angled cuts or a deburring tool for smoothing rough edges.
10 Easy Steps on How to Measure PVC
Step 1. Determine the Length Needed:
Start by carefully assessing your project requirements to identify the specific length of PVC you need. This can depend on the layout of your plumbing system, the dimensions of your construction, or the specifications of your craft project. It’s often helpful to create a diagram or a detailed sketch that outlines where the PVC pipe will be installed and how it fits within the overall design. Take multiple measurements if necessary, prioritizing accuracy to avoid costly mistakes.
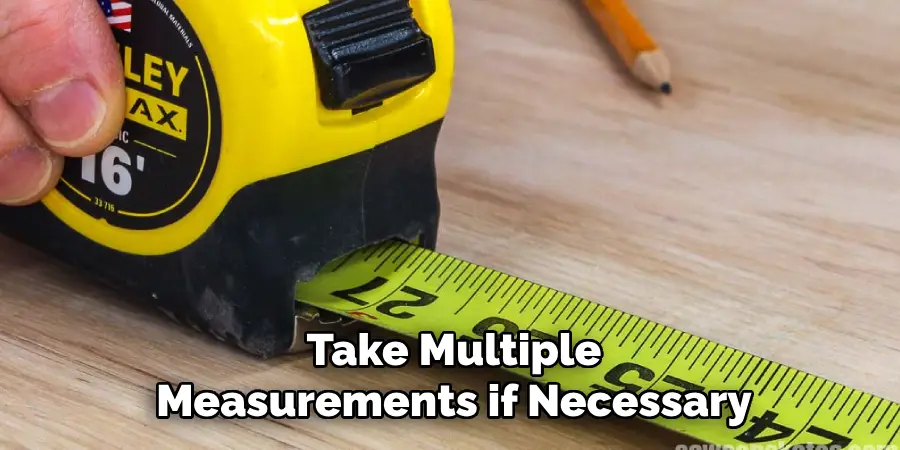
Always remember to account for the ends of the pipe that will be joined to fittings; if you’re installing it into existing structures, including a bit of extra length may help accommodate any potential adjustments. A rule of thumb is to measure twice and cut once—this practice drastically reduces the risk of error and ensures that your pieces will fit together seamlessly.
Step 2. Measure the Pipe:
Once you’ve determined the length needed, it’s time to measure the actual PVC pipe. Use your ruler or tape measure to measure from one pipe end to where you need to cut. Ensure that the tape or ruler is straight and level to avoid any discrepancies in your measurement. For added accuracy, record your measurement on a piece of paper or directly on the pipe with your marker or chalk. Double-check your measurements before proceeding to the next step to confirm that you have noted the correct length.
Step 3. Mark the Cutting Line:
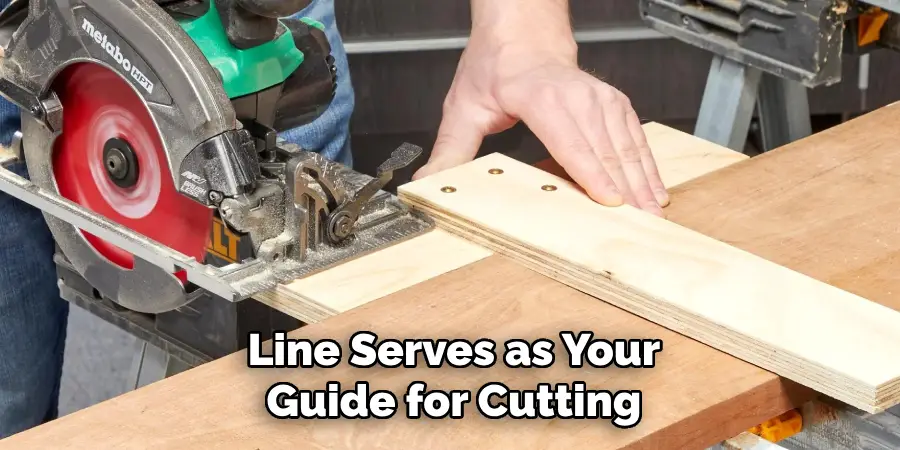
After measuring the required length, it’s essential to mark the cutting line accurately. Use your marker or chalk to draw a straight line across the pipe at the measurement point. This line serves as your guide for cutting and helps ensure a clean and precise cut. You might consider marking the line a little wider than the blade of your hacksaw or PVC cutter to increase visibility.
Take a moment to step back and verify that your mark is even and in line with the desired measurement. A well-defined cutting line will aid in achieving a straight edge and reduce the likelihood of errors during the cutting process.
Step 4. Prepare for Cutting:
Before you begin cutting the PVC pipe, it’s essential to ensure a safe and stable working environment. First, secure the pipe using a workbench or clamp to prevent it from moving while you cut. This stability allows for a cleaner cut and reduces the risk of injury. If you’re using a hacksaw, ensure the blade is sharp and in good condition; a dull blade can result in rough edges and less precise cuts.
For a PVC cutter, make sure the mechanism is functioning smoothly. Putting on safety goggles is also advisable, as small particles may fly during cutting. Once you have everything in place and your safety measures are adhered to, you’re ready to cut the pipe along your marked line.
Step 5. Cut the Pipe:
Now that you are prepared, cutting the PVC pipe along the marked line is time. If you’re using a hacksaw, position the blade firmly on the cutting line and apply even pressure as you see back and forth. It may take some time, so maintain a steady rhythm to avoid abrupt movements that could lead to uneven cuts. If using a PVC cutter, align the cutting mechanism with the marked line and gently squeeze the handles together to cut.
In either case, ensure that you keep your fingers away from the cutting area for safety. Continue cutting until the pipe is entirely severed, taking care not to force the tool, as this can damage the pipe or lead to an inaccurate cut.
Step 6. Smooth the Edges:
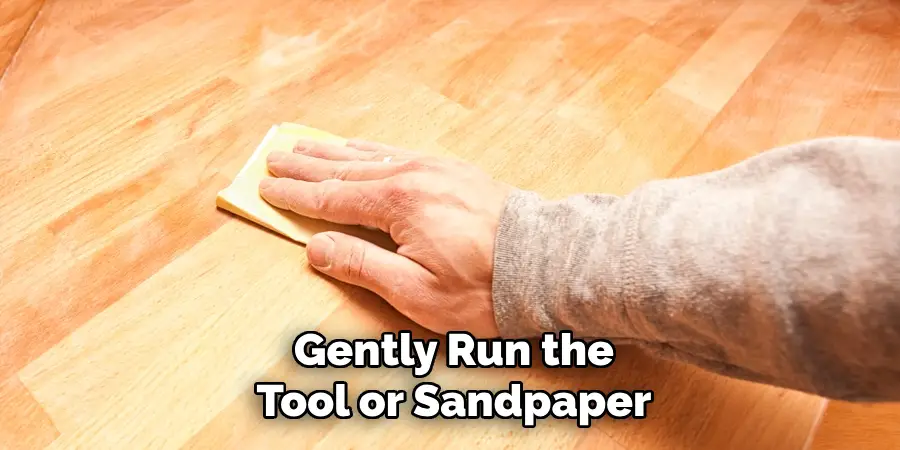
After cutting the PVC pipe, it’s crucial to smooth the edges to prevent sharp points that could pose safety hazards or interfere with fittings. Use a deburring tool or fine-grit sandpaper to smooth the cut edges carefully. Gently run the tool or sandpaper around the perimeter of the cut, removing any burrs or rough spots. This step enhances safety and ensures a better fit when connecting the pipe to fittings or other pipes, ultimately leading to a more secure and leak-free installation. Remember to clean the area thoroughly after smoothing to remove any debris left from the cutting process.
Step 7. Test the Fit:
Once you have smoothed the edges of your PVC pipe, it’s time to ensure that it fits appropriately with any fittings or other pipes you’ll be connecting it to. Begin by inserting the cut end of the pipe into the fitting or aligning it next to another piece of PVC to check for compatibility. It should slide in smoothly without excessive force while maintaining a snug fit. If there are any alignment issues or if the fit is too tight, you may need to smooth the edges further or trim the pipe to adjust the length. After confirming a good fit, you can confidently proceed to the next step, knowing that your connections will be secure and reliable.
Step 8. Clean the Pipe:
Before proceeding with assembly, it’s essential to clean the surfaces of the PVC pipe and fittings. Use a clean, dry cloth to wipe down the edges and ensure that there is no dust, grease, or debris left from the cutting and smoothing processes. This cleaning step is essential for achieving a solid bond when using adhesive or solvent cement. If desired, you can also use a PVC cleaner or primer to prepare the surfaces further, enhancing adhesion and ensuring a watertight seal. Once everything is clean, you are ready to move on to the next phase of your project.
Step 9. Apply Adhesive:
With the surfaces of the PVC pipe and fittings clean and dry, it’s time to apply the appropriate adhesive or solvent cement. Begin by selecting a PVC cement suitable for your specific application, ensuring it is compatible with both the pipe and the fittings.
Following the manufacturer’s instructions, use a brush applicator or the nozzle of the adhesive to apply a liberal amount of cement to both the pipe’s outer edge and the fitting’s inner edge. It’s crucial to work quickly, as PVC cement can set rapidly. Be sure to apply an even coating without any globs or excess that could interfere with a proper seal.
Step 10. Join the Pieces Together:
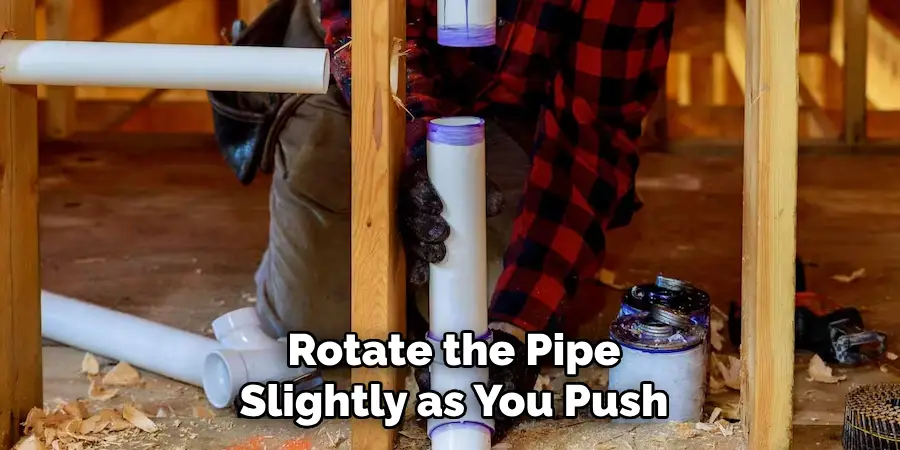
After applying the adhesive, immediately join the cut end of the PVC pipe to the fitting. Insert the pipe firmly into the fitting, ensuring it is fully seated to create a solid bond. Rotate the pipe slightly as you push it in to help distribute the adhesive evenly and establish a strong connection. Hold the pieces together for a few seconds, as recommended by the adhesive instructions, to allow initial setting. Be cautious not to twist or move the pieces excessively during this time, as it could lead to misalignment or a weaker bond.
Following these steps, you can confidently cut and join PVC pipes for various projects, from plumbing to irrigation systems.
Conclusion
Measuring PVC properly is essential for achieving precise cuts and ensuring that all connections fit seamlessly. Accurate measurements prevent waste and minimize the risk of errors during installation. Remember to use a measuring tape and mark your measurements clearly on the pipe, considering the dimensions of any fittings you plan to use.
By following the outlined steps on how to measure PVC—from establishing your cutting line to ensuring proper fitting and adhesive application—you can confidently work with PVC piping in various projects.
Ultimately, taking care in the measurement and cutting process lays the foundation for a safe and effective plumbing or construction project.

