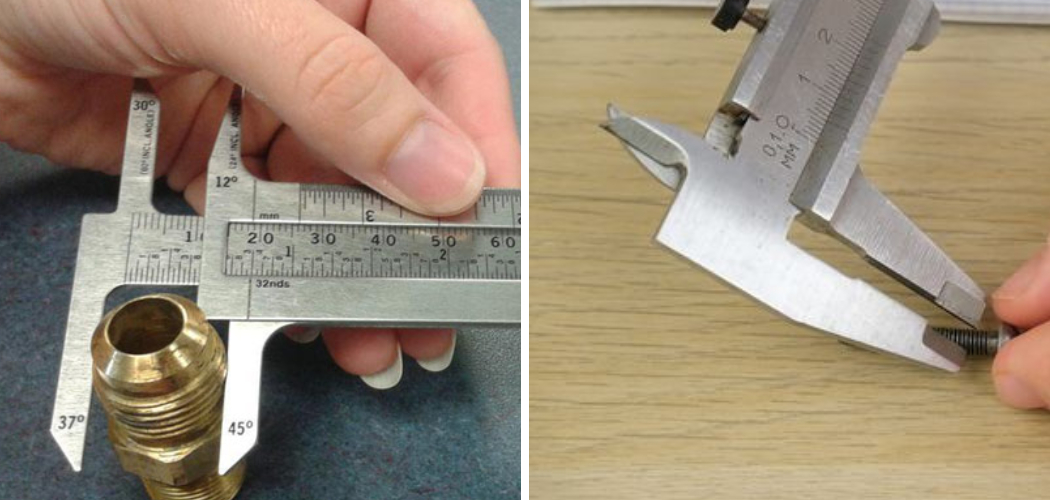
Measuring thread pitch accurately is essential for ensuring compatibility and functionality in fasteners and threaded
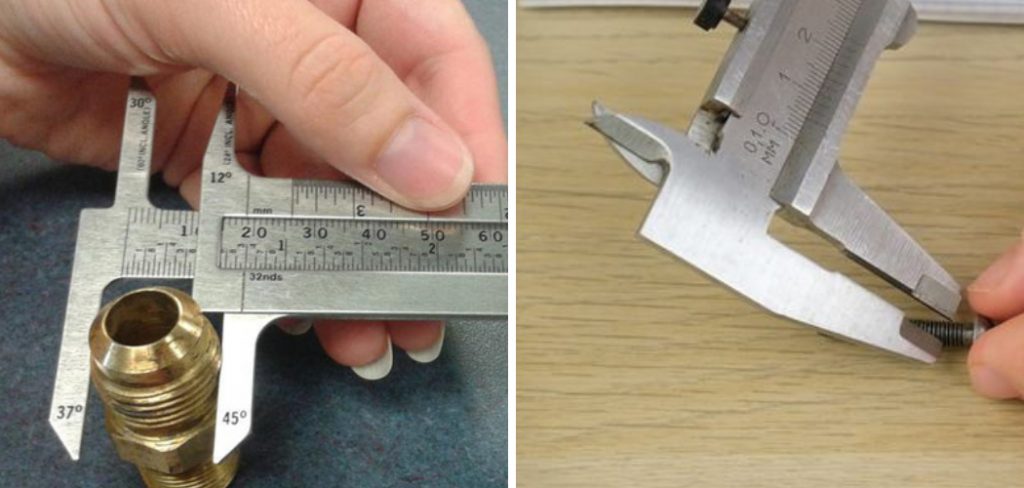
components. By using a caliper, a versatile and precise measuring tool, you can determine the thread pitch without the need for specialized equipment. This guide will walk you through the step by step process of how to measure thread pitch with calipers, ensuring reliable results even for those new to using calipers.
Common Applications of Thread Pitch Measurement
Understanding and accurately measuring thread pitch is critical in various industries and applications. One of the most common uses is in manufacturing and engineering, where precise thread specifications ensure that components fit and function correctly. Thread pitch measurement is also essential in automotive repair and maintenance, particularly when working with engine components or fasteners.
Additionally, it plays a vital role in plumbing installations, where matching thread sizes prevents leaks and ensures the reliability of pipe connections. Hobbyists and DIY enthusiasts often rely on thread pitch measurements when working on projects involving bolts, screws, or other threaded fittings. By mastering this skill, you can improve the quality and accuracy of your work across a wide range of technical and practical tasks.
Tools and Materials Needed
To measure thread pitch accurately with calipers, you will need the following tools and materials:
- Calipers: A digital or dial caliper is recommended for precise measurements. Ensure the caliper is in good condition and calibrated.
- Thread Pitch Gauge (Optional): While not necessary, a thread pitch gauge can help verify your measurements.
- Clean Cloth: Use this to clean the threads and remove any debris or grease that could affect the accuracy of your measurement.
- Light Source: Proper lighting is essential to clearly see the threads and ensure accurate readings.
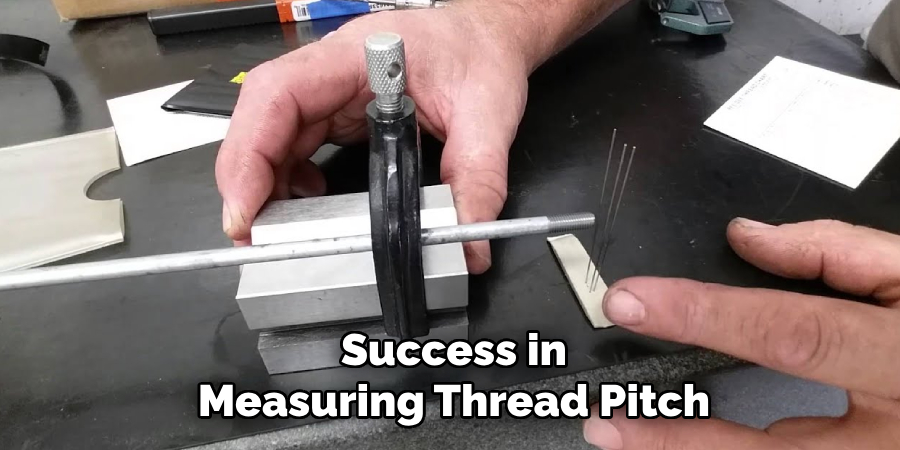
Having these tools on hand will set you up for success in measuring thread pitch with ease and precision.
10 Methods How to Measure Thread Pitch with Calipers
1. Understanding the Basics of Thread Pitch
Before using calipers, it’s important to understand what thread pitch entails. For metric threads, the pitch is the distance between threads, measured in millimeters. For imperial threads, pitch is often expressed in terms of threads per inch (TPI). Begin by familiarizing yourself with the type of thread you’re measuring. This foundational knowledge ensures you interpret your caliper readings correctly and choose the right measurement method for your application.
2. Visual Inspection of the Threads
Start by visually inspecting the threads to ensure they are uniform and undamaged. Damaged or worn threads can skew your measurements. Use a magnifying glass if necessary to examine the thread profile closely. This initial step helps you identify whether the caliper measurements will yield accurate results or if additional tools, like a thread gauge, are required.
3. Measuring the Major Diameter
The major diameter is the widest part of the thread. To measure this, open the calipers and place the jaws across the outermost edges of the threads. Make sure the calipers are perpendicular to the thread axis to avoid skewed measurements. Record the major diameter, as this is crucial for determining thread compatibility and serves as a reference for other measurements.
4. Measuring the Minor Diameter
The minor diameter is the narrowest part of the thread, typically found in the grooves. To measure this, use the inside jaws of the calipers and place them in the thread grooves. Gently adjust the calipers until they make contact with the groove walls, ensuring they remain perpendicular to the thread axis. Record the measurement, which is essential for understanding the thread’s profile.
5. Using the Depth Gauge for Pitch Measurement
Many digital calipers come with a depth gauge, which can be used to measure thread pitch. Extend the depth probe into the thread grooves, ensuring it rests at the bottom. Record the distance between adjacent grooves to determine the thread pitch. This method is particularly useful for external threads where direct measurement can be challenging.
6. Measuring Thread Pitch with a Direct Method
For a direct pitch measurement, identify two adjacent thread peaks. Use the caliper’s outside jaws to measure the
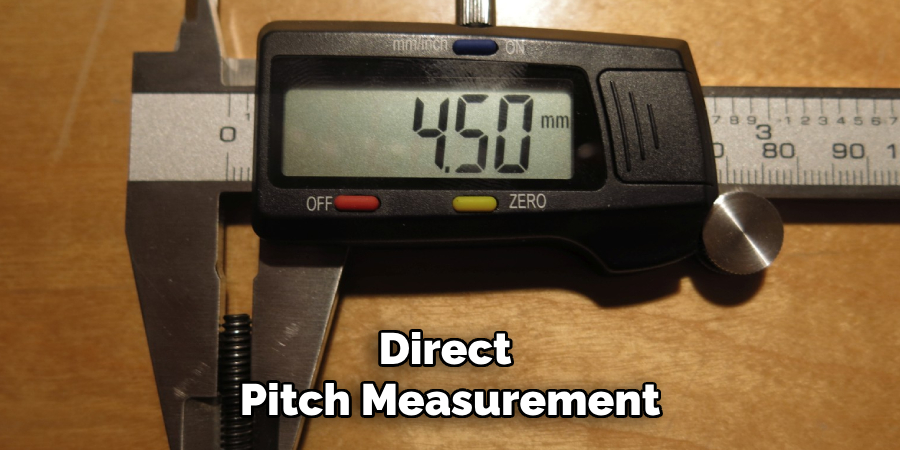
distance between these peaks. Ensure the jaws are aligned parallel to the thread’s axis for accuracy. This straightforward method works well for threads with a larger pitch, as the spacing is easier to measure directly.
7. Measuring Multiple Threads for Enhanced Accuracy
For smaller threads or those with a fine pitch, measuring the distance over multiple threads provides greater accuracy. Use the calipers to measure the distance between the first and last thread peaks over a known number of threads, such as 5 or 10. Divide this measurement by the number of threads to calculate the pitch. This method reduces the impact of measurement errors and improves precision.
8. Combining Calipers with Thread Pitch Gauges
For complex or unusual threads, combine calipers with a thread pitch gauge. Use the gauge to identify the pitch by matching the thread profile. Then, use the calipers to verify the pitch by measuring the distance between grooves or peaks as described earlier. This combination ensures a more accurate result, especially for non-standard threads.
9. Measuring Internal Threads
Measuring the pitch of internal threads can be more challenging. Use the calipers’ inside jaws to measure the distance between thread peaks inside a nut or threaded hole. If the threads are too fine or the space is confined, consider using the depth gauge to measure groove-to-groove distances. Take multiple measurements to ensure consistency.
10. Recording and Verifying Measurements
Once you’ve measured the thread pitch, verify the results by comparing them to standard thread specifications for the
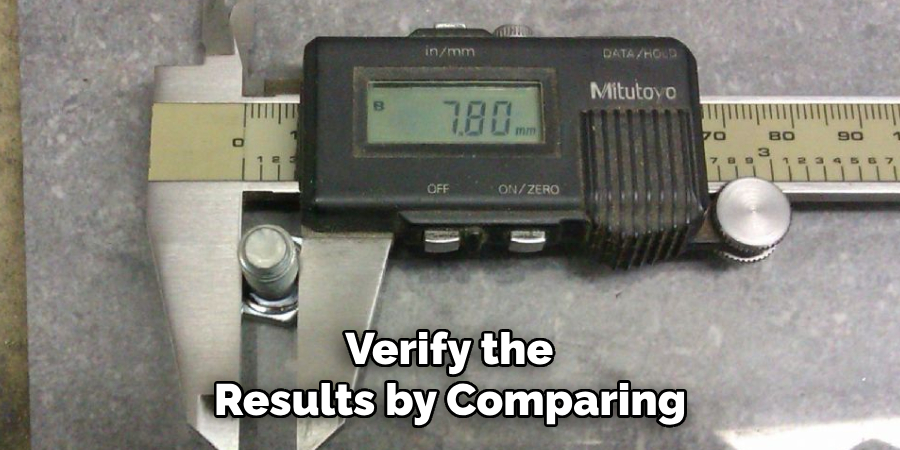
thread type. Cross-check your measurements with tables or charts for metric or imperial threads. Record all measurements, including major and minor diameters, as well as the pitch, to ensure a complete understanding of the thread’s characteristics.
Things to Consider When Measuring Thread Pitch
Accurate thread pitch measurement requires attention to several factors that can influence the results. Consider the following points:
- Thread Condition: Ensure the threads are clean and free of debris, rust, or wear. Contaminants or damage can distort measurements and lead to inaccurate readings.
- Caliper Calibration: Regularly calibrate your calipers to maintain precision. A poorly calibrated caliper can result in erroneous measurements.
- Lighting and Visibility: Proper lighting is essential for clear visibility of the threads. Insufficient light can make it difficult to position the calipers accurately.
- Operator Technique: Consistency in technique is key. Hold the calipers steady and ensure they are perpendicular to the thread axis at all times. Variations in angle or pressure can cause measurement errors.
- Environmental Factors: Temperature and humidity can affect the materials and tools used in the measurement process. For best results, measure in a controlled environment.
- Thread Specifications: Familiarize yourself with the thread standards relevant to your application, such as metric or imperial specifications. This helps you verify your measurements accurately.
- Use of Additional Tools: When dealing with complex threads, using a thread pitch gauge alongside the calipers can improve measurement reliability.
By keeping these considerations in mind, you can ensure the most accurate and reliable thread pitch measurements possible. Proper preparation and methodology are critical to achieving precise results.
Common Mistakes to Avoid
When measuring thread pitch, there are several common mistakes that can lead to inaccurate results. By being aware of these errors, you can refine your technique and achieve more precise measurements:
- Incorrect Caliper Placement: One of the most frequent mistakes is not aligning the calipers properly with the thread axis. Misalignment can lead to skewed measurements, especially when measuring major or minor diameters. Always double-check that the calipers are perpendicular to the thread.
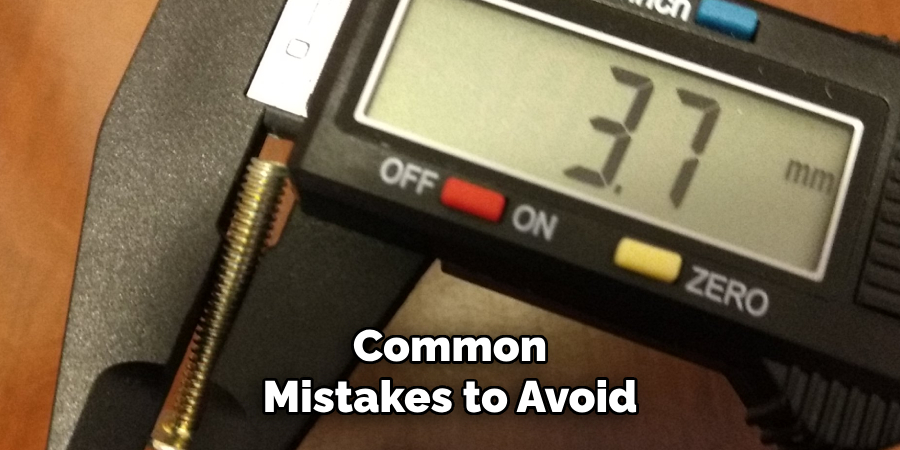
- Using Worn or Damaged Threads: Measuring threads that are worn, damaged, or covered with rust or debris can result in inaccurate readings. Clean the threads thoroughly and inspect them for wear before taking measurements.
- Neglecting Calibration: Failing to calibrate your calipers regularly can cause them to provide unreliable measurements. Always ensure your measuring tools are correctly calibrated and in good condition.
- Relying on a Single Measurement: A common error is taking only one measurement and assuming it is accurate. Variations can occur, so it is best to take multiple measurements at different points on the thread and average the results.
- Incorrect Use of Thread Pitch Gauge: When using a thread pitch gauge, improper alignment with the thread can lead to misidentification of the pitch. Ensure the gauge matches the thread grooves perfectly before confirming the pitch.
- Overapplying Pressure: Applying too much pressure with the calipers can deform the thread or cause inaccurate measurements. Use a gentle but firm touch to get an accurate reading.
- Overlooking Environmental Effects: Temperature changes, humidity, or working in an uncontrolled environment can impact both the material being measured and the measuring tools. Work in a stable environment whenever possible to minimize these effects.
- Measuring Dirty Internal Threads: When dealing with internal threads, debris or grease can interfere with accurate measurement. Ensure the threads are clean and dry before attempting to measure.
Conclusion
Measuring thread pitch with calipers requires patience, precision, and attention to detail. By following these ten methods, you can accurately determine thread pitch for a variety of applications. Whether you’re working on a DIY project or an industrial system, mastering these techniques ensures compatibility, safety, and functionality in your threaded connections. Now that you know how to measure thread pitch with calipers, try it yourself today and feel good about completing such a big DIY job!

