Mounting a toilet tank may seem like a daunting task, but with the right tools and a step-by-step approach, it can be accomplished with ease. Whether you’re replacing an old tank or installing a new one, proper alignment and sealing are essential to ensure functionality and prevent leaks.
This guide on how to mount a toilet tank will walk you through the process, providing clear instructions to help you tackle the job confidently and efficiently.
Why Mounting a Toilet Tank is Important?
A toilet tank is an essential component of a functioning toilet. It holds the water necessary for flushing and also houses the flush mechanism. Proper mounting of the tank is crucial to ensure it remains stable and doesn’t leak, as any movement or instability can lead to potential damage and costly repairs.
Additionally, mounting a toilet tank correctly plays a role in the overall appearance of the bathroom. A poorly mounted or misaligned tank can be an eyesore, whereas a properly installed one will blend seamlessly with the rest of your bathroom fixtures.
Tools You’ll Need:
Adjustable Wrench:
This tool will be used to tighten and secure bolts during the installation process.
Screwdriver:
A screwdriver is needed to remove and replace any screws on the toilet tank or bowl, depending on your specific model.
Level:
A level is essential for ensuring the tank is mounted evenly and doesn’t tilt in one direction.
Caulking Gun:
A caulking gun will be used to apply sealant between the tank and the back of the toilet bowl, preventing leaks.
8 Step-by-step Guides on How to Mount a Toilet Tank:
Step 1: Assemble the Toilet Tank
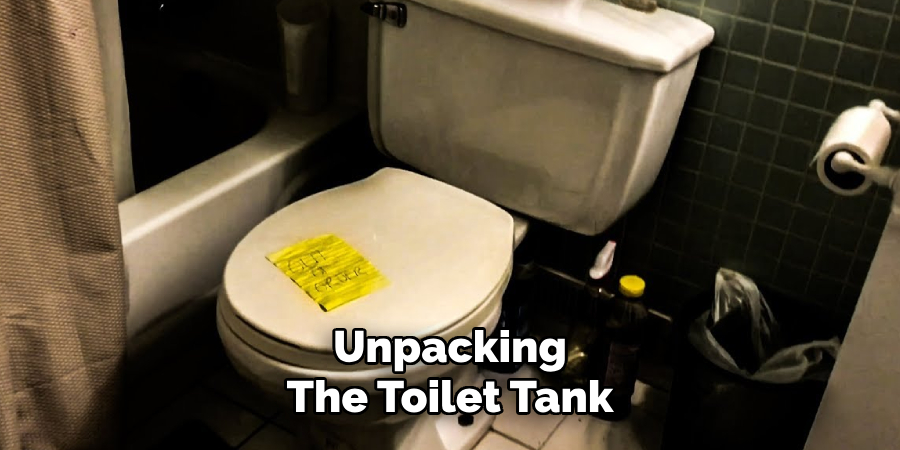
Begin by carefully unpacking the toilet tank and its components. Check that all parts are included, such as the tank bolts, rubber washers, gasket, and the flush mechanism.
Attach the flush mechanism to the inside of the tank according to the manufacturer’s instructions, ensuring it is securely tightened but not over-tightened, as this could cause damage.
Next, position the rubber gasket on the bottom of the tank where it will meet the toilet bowl. This gasket serves as a seal to prevent water from leaking during operation. Once everything is properly installed and inspected, the tank is ready to be mounted onto the toilet bowl.
Step 2: Prepare the Toilet Bowl
Before mounting the tank, make sure the toilet bowl is clean and free of any debris. If replacing an old tank, remove the existing one by loosening and removing the bolts attaching it to the bowl. You may need to use a wrench or screwdriver for this step.
Be sure to also clean off any old sealant or residue from where the new tank will be mounted. This will ensure a proper seal and prevent leaks in the future.
Step 3: Place Tank Onto Bowl & Align Bolts
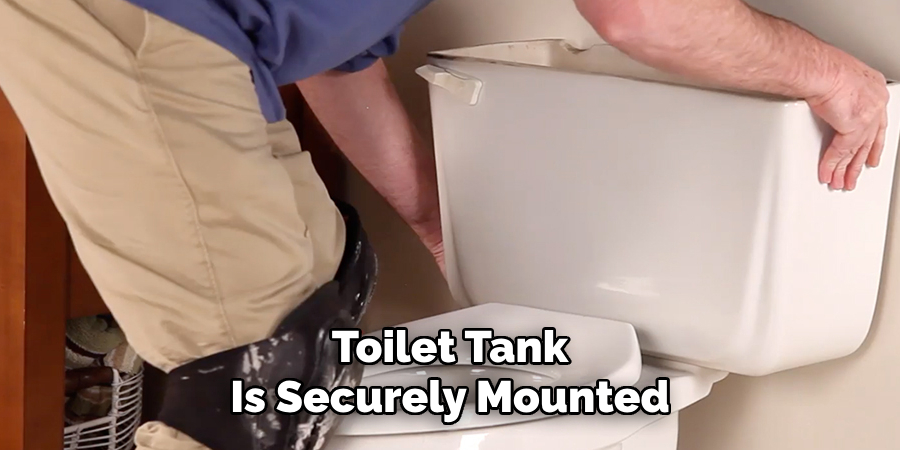
Carefully lift and place the assembled tank onto the back of the toilet bowl. Make sure it is centered and aligned with the bowl, using a level to check for any tilting.
Once the tank is in place, insert the tank bolts through the mounting holes on the bowl and secure them with rubber washers and nuts from inside the tank. Use an adjustable wrench to tighten the nuts until they are snug but not over-tightened.
Step 4: Connect Water Supply
Once the toilet tank is securely mounted and aligned, it’s time to connect the water supply. Locate the water inlet at the bottom of the tank and attach the water supply hose to it, ensuring the connection is aligned properly to avoid cross-threading.
Use your hand to tighten the connection initially, and then use an adjustable wrench to give it an additional snug turn—just enough to secure it without over-tightening, which could damage the fittings.
After the water supply hose is attached to the tank, connect the other end to the water shut-off valve on the wall. Turn the valve clockwise to ensure it is fully closed before proceeding.
Double-check all connections for tightness to prevent leaks when you turn the water back on. This step ensures the tank has a consistent water supply, which is essential for proper flushing functionality.
Step 5: Inspect & Test for Leaks
Before using the toilet, it is crucial to check for any leaks. Turn on the water supply at the wall shut-off valve and allow the tank to fill up. Check all connections, including those between the tank and bowl and the water supply hose, for any signs of leakage. If you notice even a small drip, tighten the connection slightly until it stops.
Once you are confident there are no leaks, flush the toilet several times to ensure proper function.
Step 6: Caulk Around Tank
To ensure a secure and leak-proof installation, apply a bead of caulk around the base of the toilet tank where it meets the bowl. Using a caulking gun, squeeze a thin and even line of waterproof bathroom caulk along the entire joint. This will not only help seal the connection but also provide extra stability for the tank.
After applying the caulk, use your finger or a caulk finishing tool to smooth it out for a clean, professional appearance. Be sure to wipe away any excess caulk with a damp cloth before it dries. Allow the caulk to cure as per the manufacturer’s instructions before using the toilet. This step is essential for preventing water seepage and maintaining the integrity of your installation.
Step 7: Final Inspection & Adjustments
Take a final look at the toilet tank to ensure everything is installed correctly and securely. Check for any loose bolts or connections, as well as uneven alignment. If necessary, use your tools to make any adjustments before moving on to the last step.
An error occurred during generation. Please try again or contact support if it continues.
Step 8: Flush & Enjoy Your Newly Mounted Toilet Tank!
After completing all of the above steps, it’s time to test out your newly mounted toilet tank! Give it a few test flushes and listen for any unusual noises or leaks. If everything seems to be working smoothly, you have successfully mounted your toilet tank with confidence and efficiency.
Following these step-by-step guides on how to mount a toilet tank will not only help you mount a toilet tank with ease but also ensure proper functionality and longevity. Remember to always refer to the manufacturer’s instructions for your specific model and take your time during the installation process. With these tips and tools, you can conquer any DIY project! Happy mounting!
Frequently Asked Questions:
Q: Can I Mount a Toilet Tank by Myself?
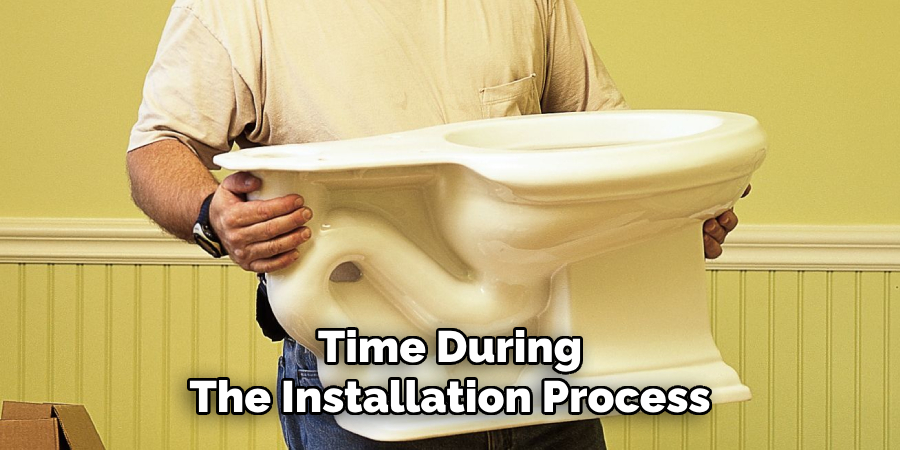
A: While it is possible to mount a toilet tank on your own, it is recommended that you have an extra pair of hands for assistance. This will not only make the process easier and faster but also ensure proper alignment and prevent any potential accidents.
Q: How Do I Know if My Toilet Tank is Installed Correctly?
A: After completing the installation, be sure to check for any leaks and test the flush functionality. If everything seems to be working properly without any issues or strange noises, then your toilet tank is most likely installed correctly.
Q: How Often Should I Inspect My Toilet Tank and Bolts?
A: It is recommended to inspect your toilet tank and bolts at least once a year for any signs of wear or damage. This will help prevent potential leaks and ensure the proper functioning of your toilet.
Q: Is it Necessary to Use Caulk Around the Base of the Toilet Tank?
A: While it is not a mandatory step, using caulk around the base of the toilet tank can provide extra stability and prevent water seepage. It also gives a cleaner, more professional look to your installation. So, it is highly recommended to use caulking for a secure and long-lasting mount.
Q: Can I Mount Any Toilet Tank on My Existing Toilet Bowl?
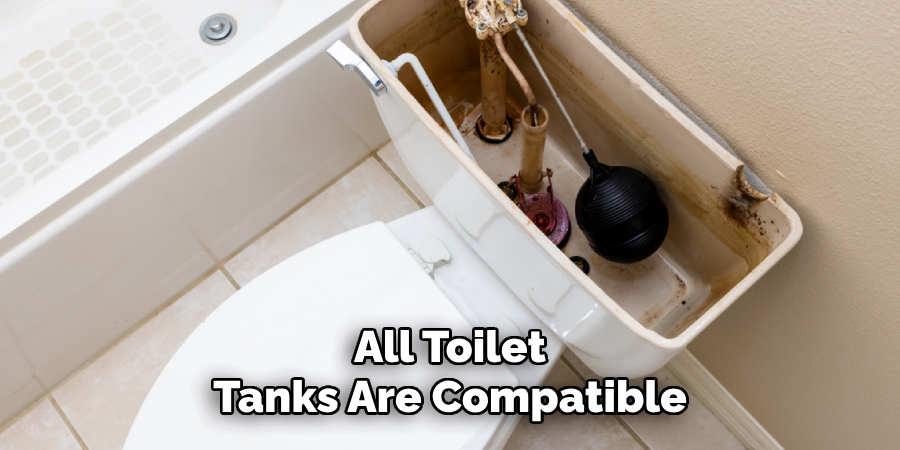
A: Not all toilet tanks are compatible with every bowl. It is important to ensure that the mounting holes on the bowl match those on the tank before attempting to install it. Refer to the manufacturer’s instructions for compatibility information or seek professional assistance if unsure.
Overall, with proper tools and techniques, mounting a toilet tank can be a simple and rewarding DIY project. Remember, always prioritize safety and take your time during the installation process to ensure a successful outcome.
Conclusion
Mounting a toilet tank may seem like a daunting task at first, but with the right tools, careful preparation, and step-by-step guidance on how to mount a toilet tank, it becomes a manageable DIY project.
By following these instructions, you can ensure a secure, leak-free, and properly functioning toilet tank that will serve you reliably for years to come.
Remember to double-check all your work at each step and take your time to achieve a professional-quality installation. With patience and attention to detail, you can complete this essential home improvement task and gain confidence in your DIY skills

