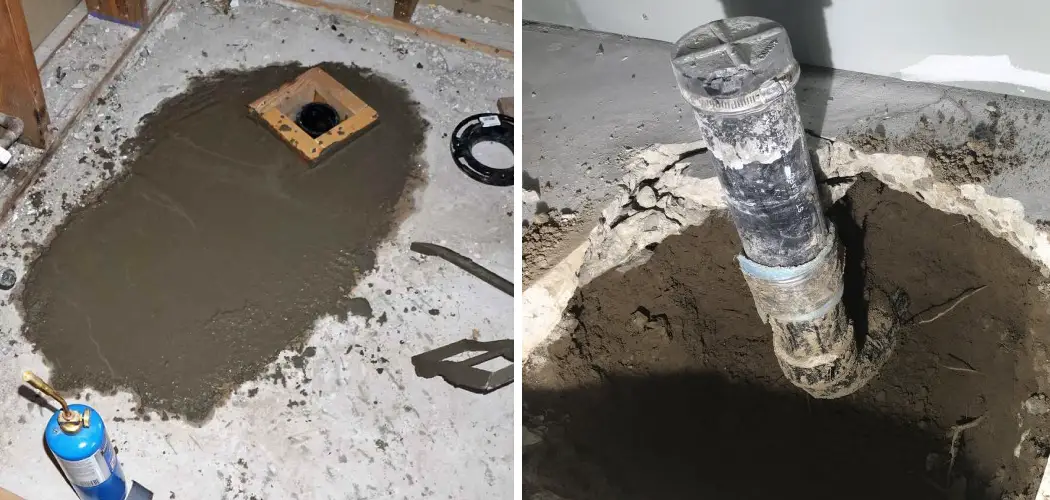
Have you been thinking of doing some maintenance to the plumbing in your home but are stuck on one project in particular – how to move a toilet drain in concrete? Moving a toilet drain is an involved process that requires some specialized tools and knowledge.
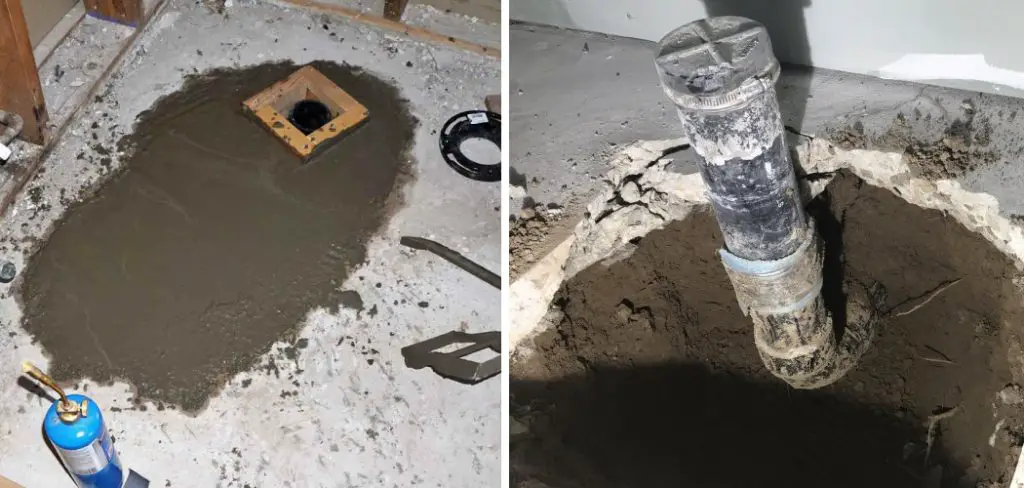
If you’re planning an upgrade to your bathroom, one of the most daunting tasks is likely to be moving a toilet drain in concrete. This laborious and detailed process requires extensive knowledge and experience and specialized tools that can complete the task safely and effectively.
With this article guide, you can take on the resource-intensive challenge of relocating or replacing a toilet drain in concrete without complexities or costly mistakes. Get ready for some hard work – but trust us when we say it will be worth it!
What Will You Need?
When it comes to relocating a toilet drain in concrete, you’ll need some specific tools and materials for the job. These include:
- A masonry drill bit
- Heavy duty power drill
- Concrete chisel or sledgehammer
- Measuring tape
- Leveler
- Toilet flange
- PVC pipe as needed
- Plumber’s putty
- Leveling compound (optional)
Once you have gathered these supplies, it’s time to get started!
10 Easy Steps on How to Move a Toilet Drain in Concrete
Step 1: Measure the Concrete
Before beginning any work on the concrete floor, it is important to measure the area carefully and accurately. Use a measuring tape to mark the existing drain pipe’s location accurately. Take note of any obstructions that might interfere with your plans.

Step 2: Mark Your Spot
Once you have measured and marked out the area where you intend to move your toilet drain in concrete, use chalk or another marking tool to indicate where you will be drilling clearly. This will make for easier alignment when installing the new toilet flange. You may need to use a leveler to ensure the area is even.
Step 3: Remove Old Drain Pipe
Using a masonry drill bit, start drilling into the existing drain pipe around its circumference until it is loose enough to remove by hand or with pliers. If necessary, use a sledgehammer or concrete chisel to break apart chunks of the pipe that are too large to remove. Be sure to wear safety goggles when doing this.
Step 4: Prepare for New Pipe Installation
Take your masonry drill bit and begin drilling a hole in the concrete floor in the spot you have previously marked. Make sure to keep it level and consistent with your measurements so that your new toilet flange will fit properly when installed. When finished, clean out any debris from inside the hole with a vacuum cleaner or brush.
Step 5: Attach Toilet Flange
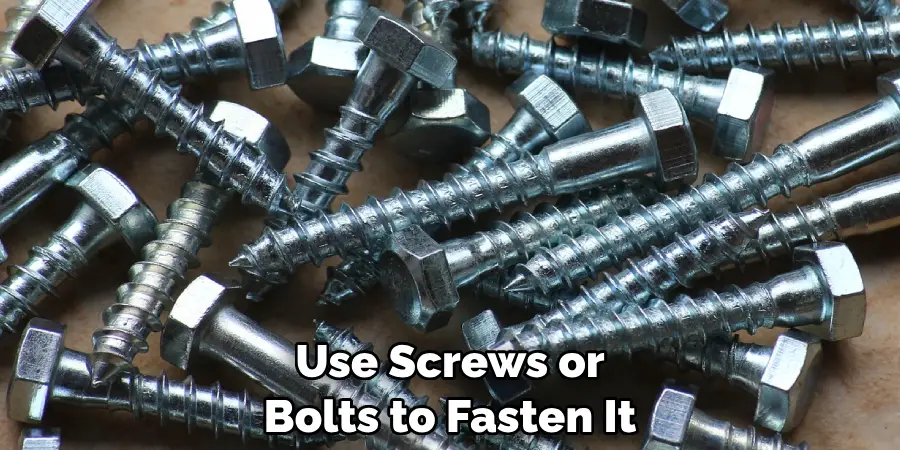
Place the toilet flange over the drilled hole and secure it in place using screws or bolts. If necessary, apply the plumber’s putty around the flange to create a tight seal. Be careful not to over-tighten the screws or bolts, which could cause damage.
Step 6: Connect New Drain Pipe
Connect the new drain pipe to the toilet flange with screws or bolts, ensuring it is secure and level. For added stability, consider using PVC pipe over metal or copper piping in the installation process. Try to make the connection as watertight as possible with the plumber’s putty or other sealant. It will save you both time and money in the long run.
Step 7: Level and Secure the Toilet Flange
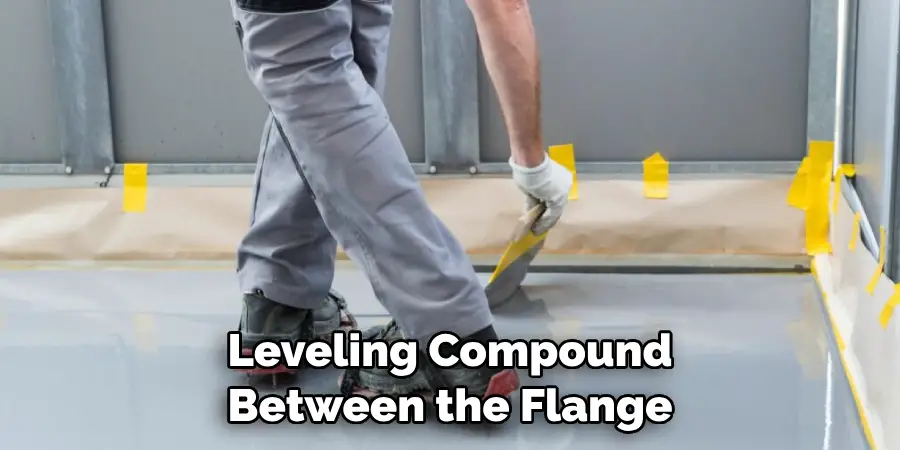
Use a leveler to ensure that your toilet flange is even with the floor’s surface. Once satisfied, use screws or bolts to fasten it into place firmly. Optionally, you may also want to apply to level compound between your flange and concrete floor for extra leak protection. As with the previous steps, be sure not to over-tighten the screws or bolts.
Step 8: Test for Leaks
Before fully completing the installation, test to see if any leaks are present. To do this, add some water to your toilet bowl and observe for any signs of leakage around the drain pipe. If all is well, move on to the final step.
Step 9: Finish Installation
Clean up any tools and materials used in the process. Use a damp cloth or rag to get rid of dust and debris left from drilling and installing the new drain pipe. Ensure all screws and bolts are securely fastened.
Step 10: Enjoy Your New Plumbing System!
Congrats! You have successfully moved a toilet drain in concrete – now it’s time to enjoy your newly upgraded plumbing system! Be sure to perform regular maintenance checks on your toilet drain to prevent future problems. Remember, moving a toilet drain in concrete is well worth it when done properly.
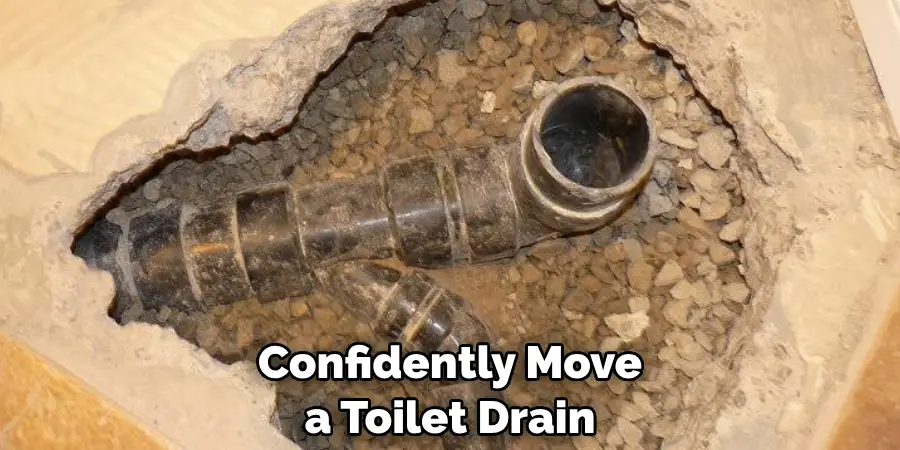
By following these steps, you can confidently move a toilet drain in concrete and upgrade your home’s plumbing for years to come!
5 Additional Tips and Tricks
- If you’re uncomfortable drilling and installing the toilet yourself, hire a professional plumber for help.
- Wear appropriate safety gear when drilling or using heavy tools.
- Measure twice, drill once – this will save you time and money in the long run!
- Always double-check that your new drain pipe is secure and level before testing for leaks.
- If using PVC pipe, ensure it is properly glued or sealed to prevent leaks.
By following these steps and tips, you can confidently move a toilet drain in concrete – no matter what size or type of plumbing project you are tackling! With the right knowledge and preparation, any job can be successfully completed – so get to work!
6 Things You Should Avoid
- Don’t forget to wear safety goggles when drilling or using heavy tools!
- Avoid over-tightening the screws or bolts when attaching the toilet flange – this can cause damage.
- Don’t skip measuring and marking out the area accurately – it is important for a successful installation.
- Avoid using metal or copper piping in your new drain pipe installation, as PVC is more secure and stable.
- Never forget to double-check that your new plumbing system is watertight before testing for leaks!
- Don’t rush – take your time and ensure that each step is completed correctly for the best results.
By avoiding these common mistakes, you can ensure a successful move of a toilet drain in concrete without costly complications down the road. With these helpful tips and tricks in mind, you’re well on your way to a successful plumbing upgrade!
How Do You Fix a Drain Pipe Under Concrete?
If you’ve noticed a leaky or damaged drain pipe under your concrete, don’t despair – there are several ways to fix the issue!
First, accurately measure and mark out the area. Then, use a masonry drill bit to remove the existing drain pipe. After that, prepare for new pipe installation by drilling a hole in the concrete floor and attaching it to the toilet flange.
Finally, connect the new drain pipe securely and check for leaks before finishing the installation. With these steps, you can confidently tackle any plumbing issues and repair them quickly and effectively!
Can Pipes Leak Under Concrete?
Yes, unfortunately, pipes can leak under concrete if not installed properly. To prevent this from happening, make sure to double-check that all connections are secure and watertight before testing for leaks.
Additionally, applying a plumber’s putty or leveling compound between the flange and floor may help create a stronger seal and reduce the chance of leaks in the future.
Another way to reduce the risk is by using PVC pipe instead of metal or copper piping – it’s more secure and stable. With careful preparation and attention to detail, you can confidently move a toilet drain in concrete and enjoy a leak-free system for years to come!
It is important to take care when installing plumbing fixtures in order to avoid costly repairs down the road – so be sure to follow these steps for a successful move of a toilet drain in concrete!
Remember that taking the time to do the job right will help ensure a long-lasting plumbing system that stands up against any future issues! With patience and attentiveness, you’re well on your way to completing the task like a pro. Good luck!
Conclusion
Moving a toilet drain in concrete isn’t as daunting of a task as it may seem. With the right steps, you can be sure your project will go as smoothly and quickly as possible.
From laying out the p-trap to using the right drill for the job, there are many different components to consider when relocating a toilet drain in concrete. The key is making sure each step in the process is handled with care and is completed correctly.
A thorough assessment of your project area will allow you to anticipate any obstacles or difficulties you may encounter before taking on moving the toilet drain in concrete.
Hopefully, this blog post on how to move a toilet drain in concrete has provided helpful guidance on how to do so properly and efficiently; just remember, if ever in doubt, it’s always best to call an experienced professional!

