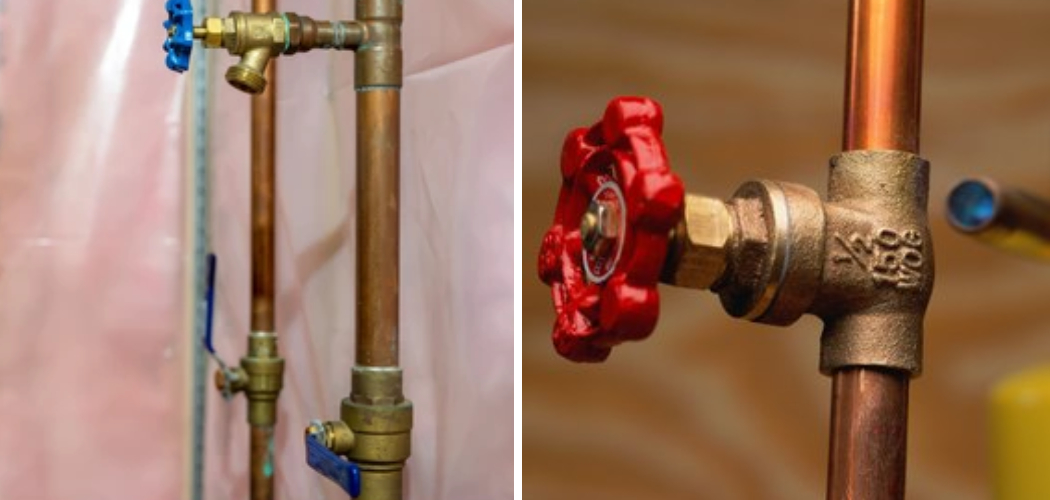
When it comes to maintaining plumbing systems, capping off a copper water pipe is an essential skill for homeowners and DIY enthusiasts alike. Whether you’re renovating your space, replacing old pipes, or simply disconnecting a water source, knowing how to properly cap a copper pipe ensures that your plumbing remains leak-free and functional. This guide will walk you through the necessary tools, materials, and step-by-step procedures for how to permanently cap off a copper water pipe, providing peace of mind for all your plumbing needs.
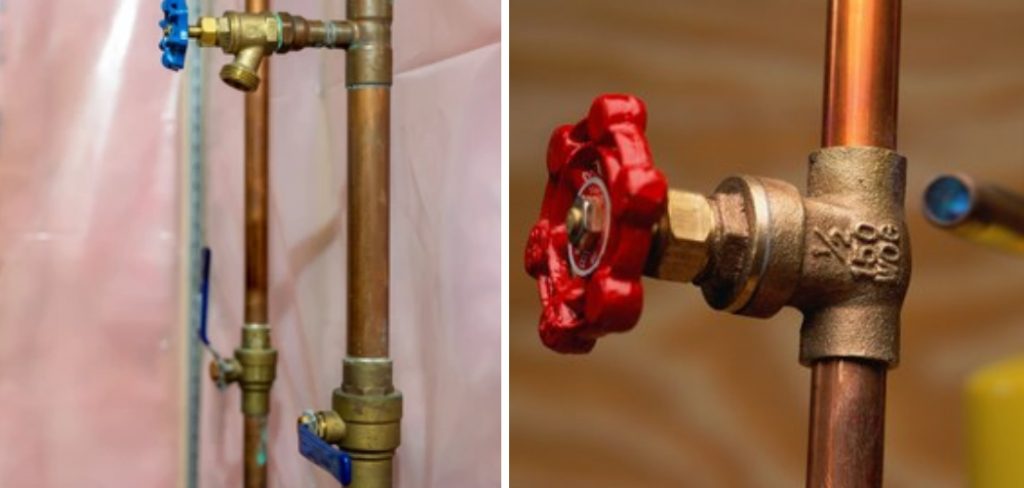
Understanding Copper Water Pipes
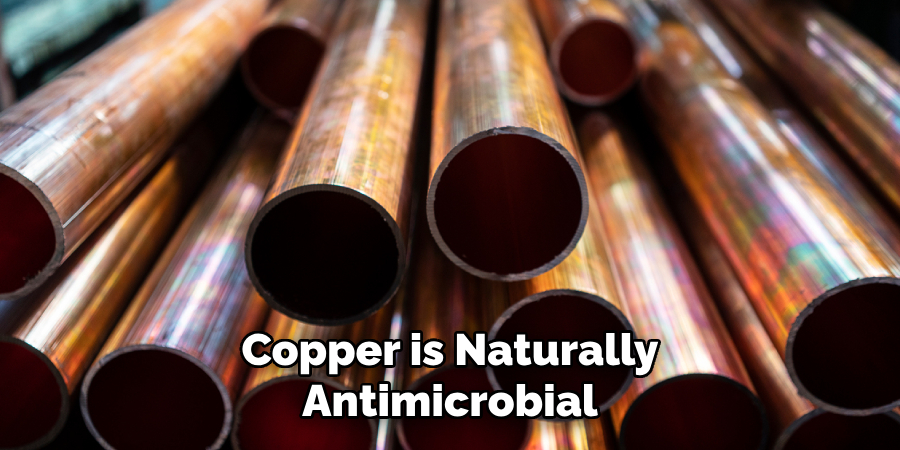
Copper water pipes have been a popular choice in plumbing for decades due to their durability, versatility, and resistance to corrosion. Available in various sizes and types, such as rigid and flexible, copper pipes are often used for both hot and cold water supply lines. Their ability to withstand high temperatures and pressures makes them an ideal material for residential and commercial plumbing systems. Additionally, copper is naturally antimicrobial, which helps maintain water quality. However, homeowners should be aware of potential issues such as oxidation if the pipes are exposed to certain conditions over time. Understanding these factors is crucial for effective maintenance and long-term functionality of copper water pipes.
Why Proper Capping is Essential
Properly capping a copper water pipe is crucial for several reasons. Firstly, it prevents water leakage, which can lead to significant structural damage, mould growth, and costly repairs. An improperly capped pipe may also create pressure imbalances within the plumbing system, potentially causing issues in other areas. Additionally, effective capping ensures the safety and reliability of the plumbing by preventing contamination from external sources. By properly sealing off unused or disconnected pipes, homeowners can maintain the efficiency and longevity of their plumbing systems, ultimately saving time and money in the long run.
10 Methods How to Permanently Cap off a Copper Water Pipe
1. Using a Soldered Copper Cap
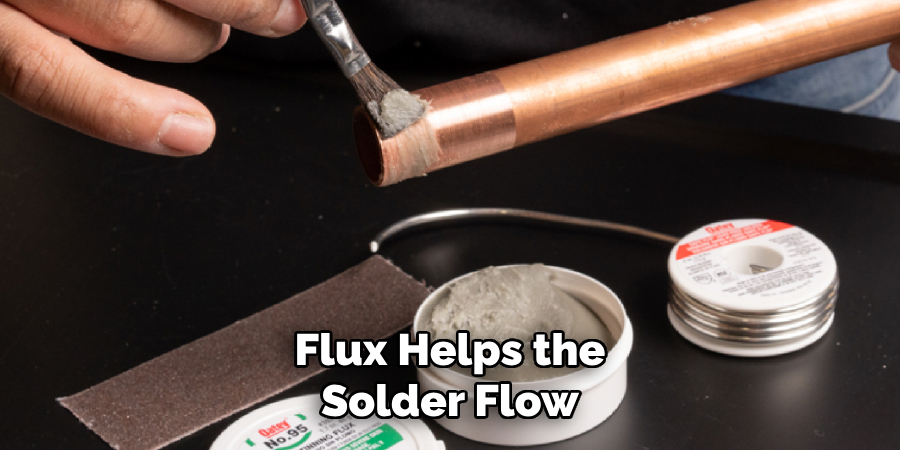
One of the most reliable ways to permanently cap off a copper water pipe is to solder a copper cap onto the pipe. Start by cleaning the end of the copper pipe and the inside of the cap using a wire brush or emery cloth to remove any oxidation or debris. Once clean, apply flux to both the pipe and the cap. The flux helps the solder flow evenly and ensures a secure seal. Heat the area with a propane torch until the flux starts to bubble, then apply solder to the joint. The solder will melt and be drawn into the connection, sealing the pipe permanently. This method is highly effective and provides a long-lasting solution.
2. Compression Fitting Cap
For those who prefer not to work with soldering, a compression fitting cap is a great alternative. These caps use a nut and a ferrule (a small ring) to create a tight seal around the pipe. To install, slide the compression nut onto the pipe followed by the ferrule, then place the cap over the end of the pipe. Tighten the nut onto the cap with a wrench, compressing the ferrule around the pipe. This method is quick and doesn’t require any heat or soldering, making it ideal for DIYers who want a reliable but less permanent solution. While compression fittings are highly durable, they may require occasional tightening.
3. SharkBite Push-to-Connect Cap
SharkBite fittings are a popular choice for capping off copper pipes without any soldering, compression, or tools. These push-to-connect fittings are designed to slide easily onto the pipe and create a watertight seal. Simply cut the pipe cleanly, remove any burrs or sharp edges, and push the SharkBite cap onto the end of the pipe until it clicks into place. The fitting contains an internal O-ring and stainless steel teeth that grip the pipe, ensuring a secure and permanent seal. This method is incredibly user-friendly and perfect for situations where you need to cap off a pipe quickly and efficiently.
4. Threaded Copper Pipe Cap
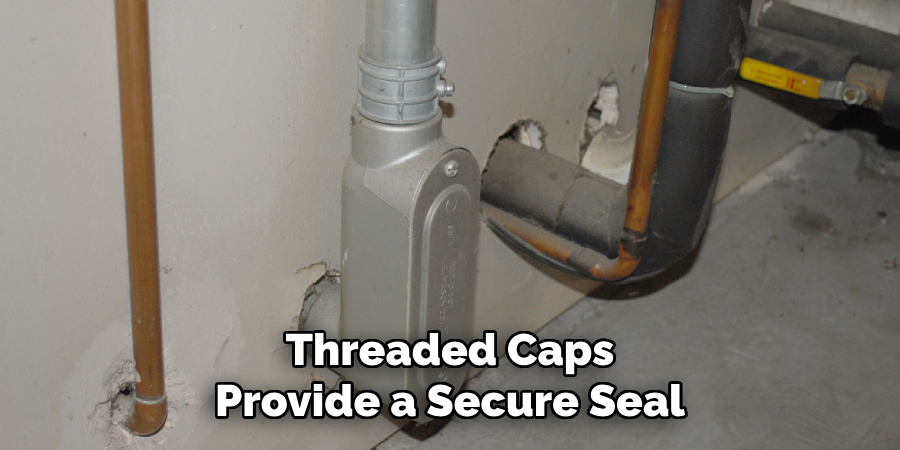
If your copper pipe is threaded, capping it off is as simple as screwing on a threaded copper cap. This method is particularly common in older plumbing systems where threaded fittings were used extensively. Before attaching the cap, apply plumber’s tape (also known as Teflon tape) to the threads of the pipe. The tape helps create a tighter seal and prevents leaks. Once the tape is applied, screw the cap onto the pipe and tighten it with a wrench. Threaded caps provide a secure seal, but it’s important to ensure the threads are not damaged or corroded before installation.
5. End-Feed Solder Cap
An end-feed solder cap is another method of permanently sealing off a copper pipe. Similar to the standard solder method, this involves applying flux to the pipe and the inside of the end-feed cap, then heating the joint with a propane torch. Once heated, solder is applied to the end-feed cap and the pipe, creating a strong, watertight connection. This method is popular in plumbing applications where a high-quality, durable seal is required. As with any soldering job, be sure to follow safety precautions when working with open flames and hot materials.
6. Copper Push-Fit Cap
A copper push-fit cap works similarly to a SharkBite fitting but is designed specifically for copper pipes. These caps are easy to install by simply pushing them onto the end of the pipe until they click into place. No soldering, threading, or compression is required, making it a quick and convenient option for capping off copper pipes. The internal mechanism grips the pipe tightly, creating a watertight seal. Push-fit caps are particularly useful in tight spaces or when you need to cap off a pipe temporarily but want a solution that could remain in place permanently if needed.
7. Using a Repair Sleeve
In some cases, you may need to cap off a copper pipe that has been damaged or is leaking. A repair sleeve, also known as a slip coupling, can be used to seal off the damaged portion of the pipe. To use a repair sleeve, first cut out the damaged section of the pipe, leaving enough space to install the sleeve. Slide the sleeve over the pipe and then solder it in place, just like you would with a standard solder cap. This method not only seals the pipe but also repairs any damage, making it a versatile option for capping off copper pipes in difficult situations.
8. Flare Cap for Copper Pipes
Flare fittings are commonly used in gas lines, but they can also be used for capping off water lines. To use a flare cap, the end of the copper pipe needs to be flared using a special flaring tool. Once flared, the cap is screwed onto the flared end of the pipe, creating a tight, leak-proof seal. This method requires a bit more skill and the use of specialized tools, but it is highly durable and can be a permanent solution for capping off copper pipes. Flare caps are most commonly used in plumbing systems that require a higher level of security against leaks.
9. Using a Sweat Cap
A sweat cap is another term for a soldered cap, but it emphasizes the process of heating the pipe and cap until the solder “sweats” into the joint. The method follows the same steps as soldering: clean the pipe and cap, apply flux, heat the joint with a torch, and then apply solder to seal the connection. This method is highly effective for creating a permanent, watertight seal. However, the term “sweat” highlights the specific technique of allowing the solder to be drawn into the joint through capillary action, creating a robust and long-lasting cap.
10. Cap the Pipe with a Crimp Cap
For those who work with crimp fittings, capping off a copper pipe with a crimp cap is a straightforward process. Crimp fittings use a ring that is compressed around the pipe to create a secure connection. To cap off a pipe using this method, first place the crimp ring over the pipe, then insert the crimp cap. Use a crimping tool to compress the ring tightly around the cap, creating a permanent seal. This method is often used in conjunction with PEX piping systems but is also compatible with copper pipes. It’s a fast and reliable way to cap off copper pipes, especially in systems that use crimping technology.
Conclusion
Capping off a copper water pipe permanently requires careful attention to detail, whether you’re using traditional soldering methods or modern push-to-connect fittings. Each method offers its own benefits depending on the tools available, your plumbing skills, and the location of the pipe.
Soldering remains one of the most reliable methods, but newer solutions like SharkBite and compression fittings offer excellent alternatives for those who prefer not to work with heat. Regardless of the method you choose, ensuring a proper seal is essential to prevent future leaks and maintain the integrity of your plumbing system. Thanks for reading, and we hope this has given you some inspiration on how to permanently cap off a copper water pipe!

