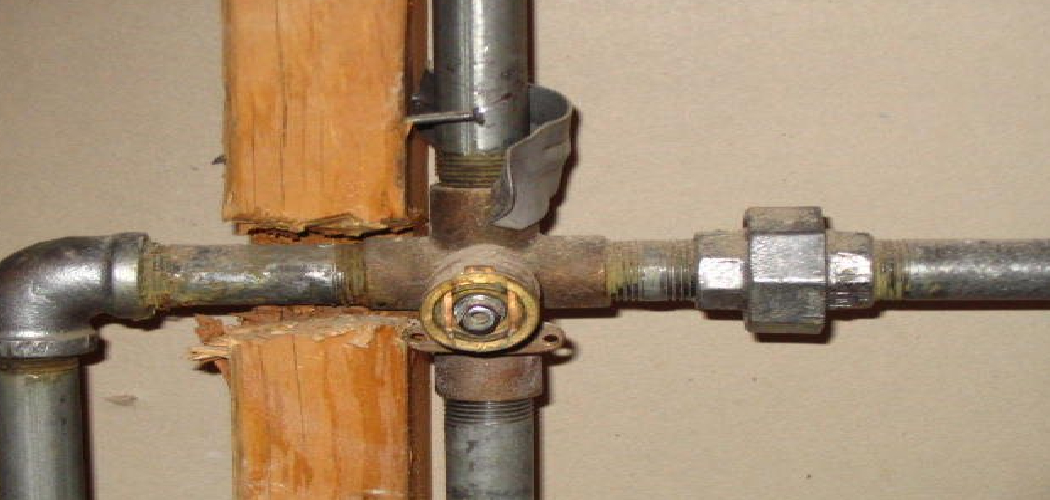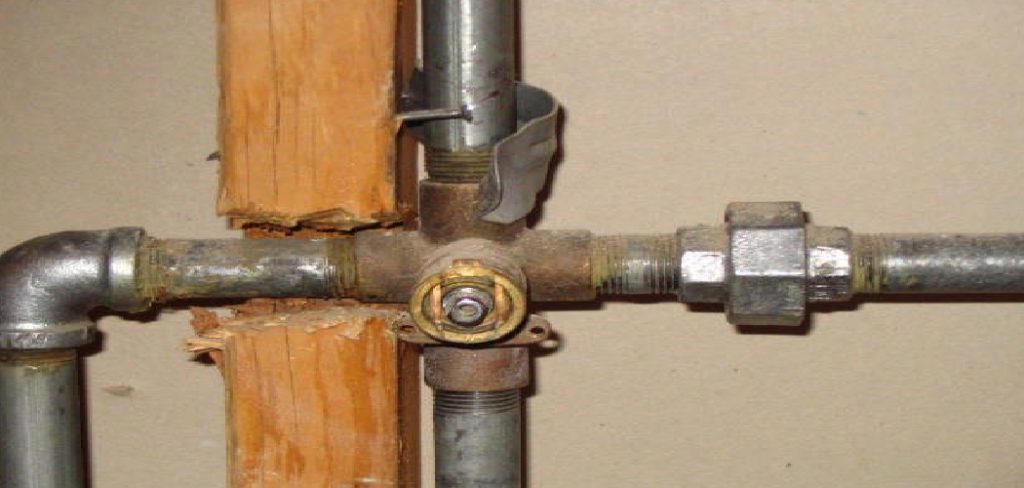
Properly piping a shower valve is an essential step in ensuring an efficient and leak-free plumbing system for your bathroom. Whether you are installing a new shower or replacing an old valve, understanding the process can save you time and money while avoiding potential issues down the line. This guide will walk you through the necessary steps of how to pipe a shower valve.
Types of Shower Valves
When selecting a shower valve, it’s important to choose the right type for your needs and plumbing system. Here are the most common types of shower valves:
- Compression Valve
Compression valves are one of the simplest and most traditional types. They consist of two handles controlling hot and cold water, and they operate by tightening a washer to stop the water flow. While inexpensive, they are more prone to leaks over time due to washer wear.
- Ball Valve
Ball valves are typically found in single-handle faucets. They use a rotating metal or plastic ball to control the flow and mix of water. These valves are durable and relatively easy to repair, making them a popular choice for many homeowners.
- Cartridge Valve
Cartridge valves use a movable cartridge to control water flow and temperature. They can be single-handle or double-handle and are known for their smooth operation and reliability. They are also relatively straightforward to maintain or replace.
- Thermostatic Valve
Thermostatic valves allow precise control over water temperature by automatically balancing hot and cold water inputs. These valves are ideal for households with fluctuating water temperatures, providing added comfort and safety.
- Pressure-Balancing Valve
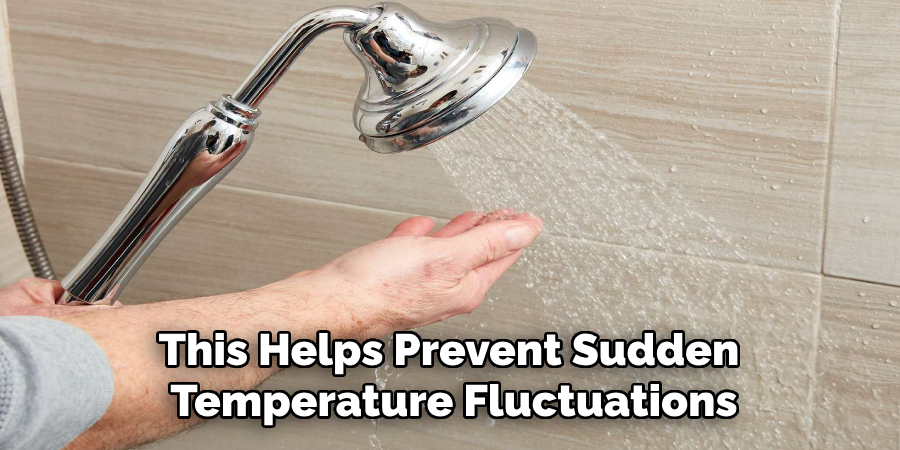
A pressure-balancing valve maintains consistent water temperature by adjusting the flow of hot and cold water based on pressure changes in the plumbing system. This helps prevent sudden temperature fluctuations, which are common when other water fixtures are in use.
Each valve type has its own advantages and is suited to different preferences, plumbing systems, and budgets. Understanding these types will help you make an informed decision for your shower installation or renovation project.
Tools and Materials Needed
When installing or replacing a shower valve, having the right tools and materials on hand is essential for a smooth and successful project. Below is a list of commonly required items:
Tools
- Adjustable wrench
- Screwdriver (both flathead and Phillips)
- Pipe cutter or hacksaw
- Plumber’s tape (Teflon tape)
- Torch or soldering kit (for copper pipe installations)
- Level
- Utility knife
- Pliers
- Measuring tape
Materials
- New shower valve
- Pipe fittings (as needed for your plumbing system)
- Replacement pipes or connectors (if necessary)
- Silicone caulk or waterproof sealant
- Water supply lines
Having these tools and materials readily available helps ensure your workflow is efficient and minimizes unexpected delays during the installation process.
10 Methods How to Pipe a Shower Valve
1. Select the Correct Valve Type for Your Shower System
The first and most foundational step is selecting the appropriate shower valve for your setup. Shower valves come in several types: pressure-balancing, thermostatic, and diverter valves. Pressure-balancing valves maintain a steady water temperature by compensating for pressure changes, while thermostatic valves let you set a precise temperature.
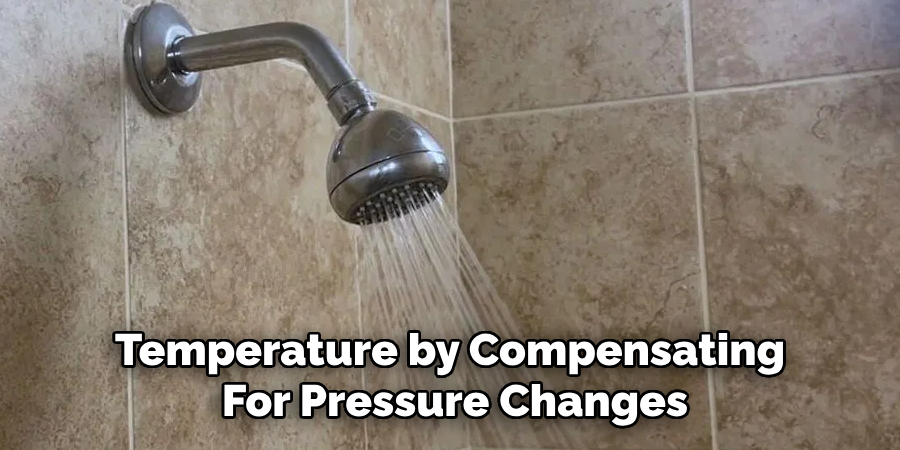
Diverter valves allow the control of water flow between showerheads or tub spouts. Make sure the valve you choose matches your plumbing design and fixture layout. A careful selection prevents future rework and ensures compatibility with your water supply system and end-use preferences.
2. Determine Valve Placement and Height
Once you’ve chosen a valve, determine the most ergonomic and functional height for placement. A common installation height for a shower valve is 38 to 48 inches from the shower floor. Mark this location on the studs and verify it with a measuring tape. Take into account user height and whether the valve will also serve a tub spout, in which case it must be installed at a height that accommodates a drop to the tub. Use a level to ensure your marks are even, as crooked valves not only look unprofessional but can hinder performance.
3. Prepare the Framing and Mounting Block
Before installing the valve itself, ensure the framing is ready. Shower valves are mounted between wall studs, typically secured to a horizontal mounting block for support. Cut a 2×4 to fit between the studs and secure it in place using wood screws. The mounting block provides a stable base to hold the valve and align it flush with the finished wall surface. Some valves come with a plaster guard or depth guide—use this to ensure proper depth to avoid future issues with the wall or trim.
4. Shut Off the Water Supply and Drain the System
Before cutting into any plumbing lines, shut off the water supply at the main valve. Open faucets and drain valves throughout the house to release any residual pressure. This step prevents messy and damaging leaks during installation. Verify with a pressure gauge or simply by observing dry pipes that water flow has ceased completely. A safe and dry workspace is essential when soldering or gluing pipes, and it reduces the chance of injury or error.
5. Dry Fit the Valve and Pipes to Check Alignment
Place the shower valve and dry-fit the connecting pipes before making any permanent joints. This step helps you verify all measurements and ensures the pipes will fit securely without tension. Dry-fitting also allows you to confirm that the hot and cold water inlets are correctly aligned with the corresponding supply lines and that the outlet to the showerhead (and tub spout, if applicable) is properly placed. Mark each pipe section for cutting using a permanent marker to avoid mistakes during the final assembly.
6. Cut and Deburr Pipes for Clean Joints
After confirming your layout, use a pipe cutter or hacksaw to cut copper, PEX, or CPVC piping to the required lengths. For copper, deburr the inside and outside of each cut end using a deburring tool or utility knife. Deburring is crucial because rough edges can prevent proper sealing or cause turbulence in the water flow. For PEX piping, use a designated PEX cutter for smooth edges. Neatly cut and clean piping ensures strong, leak-free joints during final installation.
7. Securely Connect the Water Supply Lines
Connect the hot and cold water supply lines to the designated inlets on the valve—typically hot on the left and cold on the right. For copper pipes, this means cleaning and fluxing the ends, then soldering them with a propane torch. For PEX, crimp or clamp the connections using approved fittings and tools. Always double-check that the connections are secure and appropriately oriented. Secure the supply lines with pipe brackets to prevent movement, which could strain the joints over time and lead to leaks.
8. Install Showerhead and Tub Spout Outlets
The next step is to run the pipe upward from the valve to the showerhead elbow and, if applicable, downward to the tub spout. Shower risers should be straight and secured to a drop-ear elbow mounted to a blocking board. The tub spout line typically requires a straight, unobstructed ½-inch or ¾-inch pipe, depending on the manufacturer’s recommendation, and should be no longer than 6 to 8 inches to avoid backflow. Use a level to check vertical alignment. Secure everything properly and ensure all joints are correctly fitted before proceeding.
9. Test the System for Leaks and Flow Accuracy
Once all connections are made, turn the water supply back on and test for leaks. Open the valve and allow water to flow to the showerhead or tub. Inspect each joint carefully—especially soldered or crimped connections—for any signs of dripping or moisture. Let the system run for a few minutes to ensure stable pressure and temperature control. Address any leaks by re-soldering, re-crimping, or tightening fittings as needed. Thorough testing now prevents costly drywall removal or repairs later.
10. Insulate and Secure Pipes before Wall Closure
After verifying the system is leak-free, insulate the pipes using foam sleeves or fiberglass wrap—especially in exterior walls where freezing is a concern. This helps maintain temperature and prevents pipe bursts in colder climates. Secure all piping with straps or clamps to reduce movement and noise from water hammer.
Finally, install the valve’s protective plaster guard if included, and take final depth measurements before enclosing the wall. Your final step should be documenting pipe locations with photos or measurements for future reference before drywall or tile goes up.
Conclusion
Piping a shower valve is a precise process that rewards thorough preparation and attention to detail. From selecting the right valve to verifying pressure-tight connections, each step plays an integral role in ensuring your shower works reliably and efficiently. The ten methods above outline a comprehensive path toward success, whether you’re a seasoned DIYer or a first-time renovator.
With the right tools, materials, and safety in mind, you can confidently complete your shower valve installation and enjoy flawless performance for years to come. Thanks for reading our blog post on how to pipe a shower valve! We hope you found it helpful and informative.

