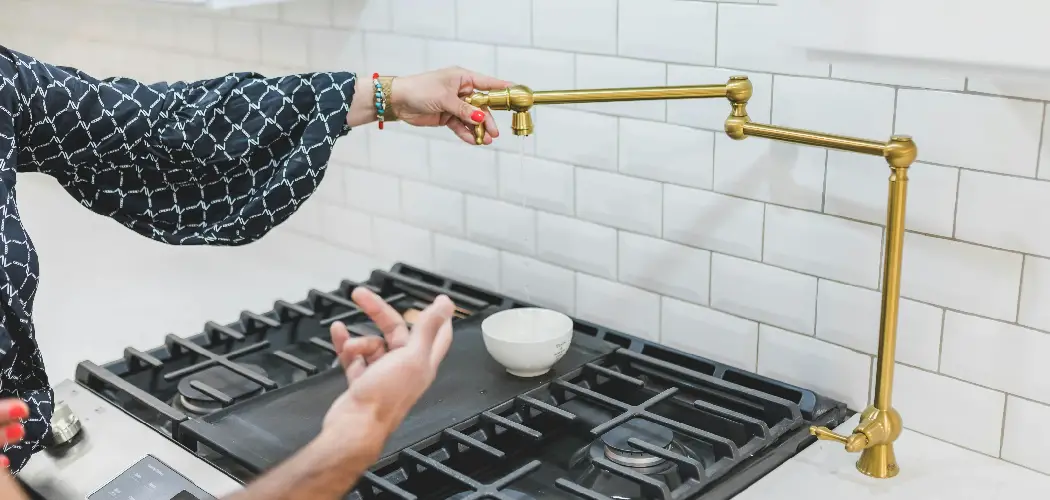
Installing a pot filler in your kitchen can greatly enhance its convenience and functionality. A pot filler is an additional faucet installed near the stove, specifically designed for filling pots directly where you cook. This innovation not only saves time during meal preparation but also eliminates the need to carry heavy pots of water from the sink to the stove, reducing the risk of spills and potential injury. Understanding how to plumb a pot filler can seem daunting, but it’s a manageable task with the right guidance.
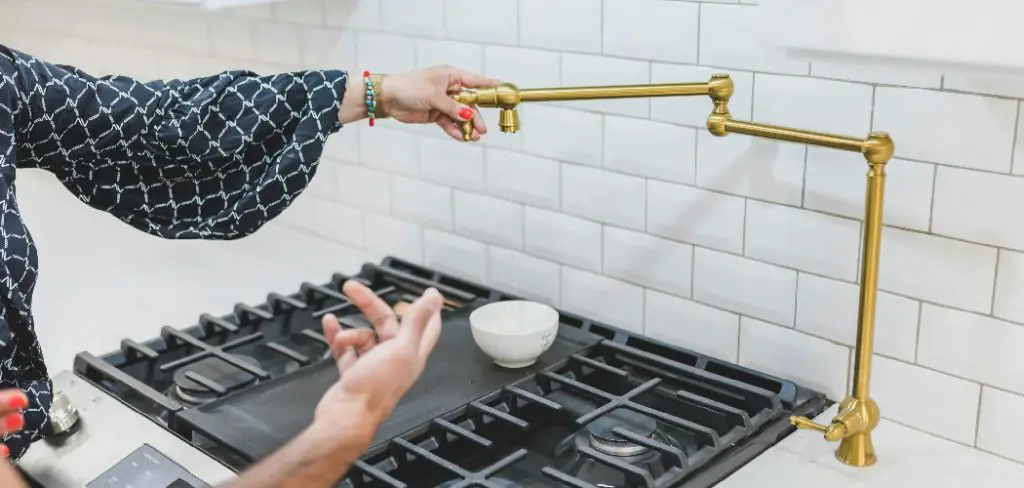
This guide will walk you through the entire process, starting with planning and ensuring you have the necessary tools and materials. We will then move on to the installation steps, detailing how to mount the pot filler and connect it to your water supply. Finally, we’ll cover the necessary steps to ensure all connections are secure and functioning correctly.
Planning and Preparation
Location Selection
Choose a spot above the stove that is within reach and convenient for use. Typically, placing the pot filler 12-18 inches above the cooking surface is ideal. This height allows for easy access while providing ample space for various pot sizes. Ensure the location is not obstructed by cabinetry or other fixtures and allows for the smooth operation of the pot filler arm.
Check Plumbing Access
Before proceeding with the installation, verify that there is access to a cold water supply line behind the wall where the pot filler will be installed. Assess whether the existing plumbing can accommodate a new fixture without requiring extensive modifications. This step is crucial to avoid any unexpected complications during the installation process.
Tools and Materials Needed
- Pot Filler Faucet The main fixture is to be installed.
- Shut-off Valve: Prevents water flow during maintenance or repair.
- Copper or PEX Pipe: Used to connect the pot filler to the water supply.
- Pipe Fittings and Connectors: These are necessary for joining pipe sections.
- Pipe Cutter: This is used to cut pipes to the required length.
- Drill and Drill Bits: These are required to create holes in the wall.
- Pipe Wrench: Used for tightening and securing connections.
- Teflon Tape: Ensures a watertight seal on threaded connections.
- Safety Gear (gloves, goggles): Protects you from potential hazards during installation.
With careful planning and proper preparation, you’ll set a solid foundation for installing your pot filler efficiently and effectively.
Turn Off the Water Supply
Before starting the installation, it’s crucial to turn off the water supply to prevent any accidents or leaks. Locate the main water shut-off valve for your home, which is usually found near your water meter or where the main water line enters the house. Turn this valve to the off position to stop the flow of water into your plumbing system. After shutting off the main supply, open the nearest faucet to the installation site, allowing any remaining water in the lines to drain out.
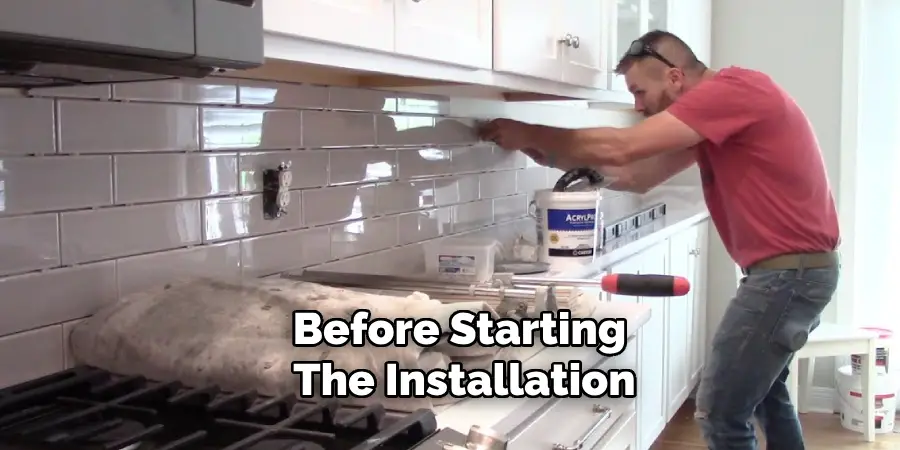
This will reduce the pressure in the pipes and minimize the risk of water leakage during the installation process. Ensuring that the water supply is fully turned off and the lines are drained will create a safer and more controlled environment for working with your plumbing.
Run the Water Line
Access the Wall Cavity
- Use a Stud Finder to Locate and Mark the Studs in the Wall Behind the Stove:
- This ensures that you won’t hit any studs or structural elements that could complicate the installation when you cut into the drywall.
- Cut a Hole in the Drywall to Access the Plumbing Area Where the Water Line Will Be Installed:
- Make sure the hole is large enough to work comfortably but as small as possible to maintain the wall’s integrity. A drywall saw or utility knife can be used to make precise cuts.
Install the Shut-Off Valve
- Identify the Nearest Cold Water Supply Line:
- Trace existing plumbing lines in your kitchen to find the most accessible point to branch off a new water line.
- Cut Into the Existing Cold Water Line Using a Pipe Cutter:
- Ensure that the cut is clean and straight to facilitate a secure connection with the new fittings.
- Install a T-fitting Onto the Cut Section of the Pipe to Branch Off a New Line:
- Apply Teflon tape to the threads if necessary to ensure a leak-free connection. Tighten the T-fitting securely.
- Attach a Shut-off Valve to the New Branch Line:
- This valve is crucial as it will allow you to control the water flow to the pot filler independently. Secure the valve firmly in place to ensure it can be easily operated.
Run the New Pipe
- Measure and Cut the Necessary Length of Pipe (Copper or PEX) to Reach From the Shut-off Valve to the Location of the Pot Filler:
- Accurate measurement is important to avoid unnecessary joints, which could become potential leak points.
- If Using Copper Pipe, Clean and Solder the Connections:
- Cleaning the pipe ends and fittings with a wire brush and applying flux will ensure a strong, leak-proof connection when soldered.
- If Using Pex, Use the Appropriate Connectors and Crimping Tool:
- Follow the manufacturer’s instructions for cutting, fitting, and crimping PEX as improper connections can lead to leaks.
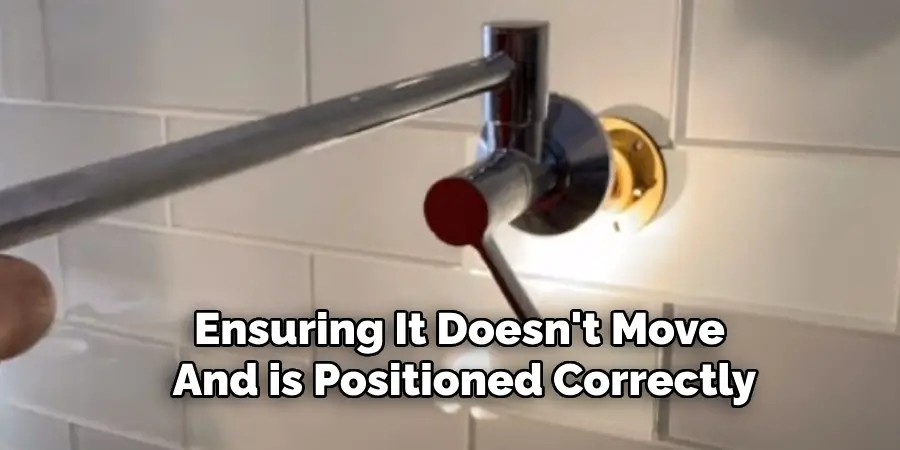
- Secure the Pipe Inside the Wall Cavity, Ensuring It is Well-supported and Positioned Where the Pot Filler Will Be Installed:
- Use pipe straps or clamps to secure the pipe to the wall studs, ensuring it doesn’t move and is positioned correctly for the pot filler installation.
Drill Hole for Pot Filler
- Drill a Hole in the Wall at the Chosen Location for the Pot Filler Faucet:
- The hole should be just large enough to allow the pipe to pass through and connect to the pot filler. Use a drill bit that’s appropriate for the size of the pipe being used.
- Pull the End of the Pipe Through the Hole, Ready for the Faucet Installation:
- Ensure that the pipe is not kinked or stressed as you pull it through. It should be positioned neatly and prepared for the final connection to the pot filler faucet.
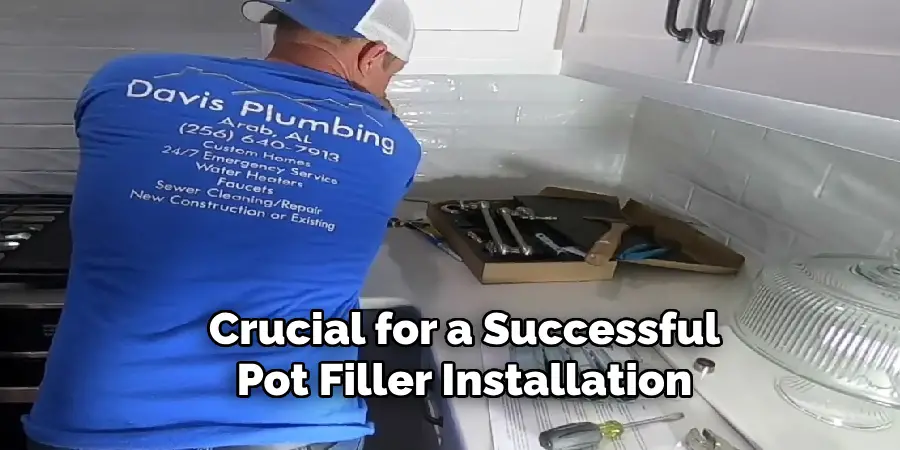
Running the water line correctly is crucial for a successful pot filler installation. By following these steps meticulously, you’ll ensure that your pot filler has a reliable water supply and is securely supported within the wall cavity. Once the pipe is in place, you’re ready to proceed with mounting the pot filler and making the final connections.
How to Plumb a Pot Filler: Install the Pot Filler Faucet
Step 1: Apply Teflon Tape
- Wrap Teflon Tape Around the Threads of the Pipe:
- This step ensures a watertight seal, preventing potential leaks where the faucet connects to the pipe. Apply the tape clockwise, covering the threads completely but without overlapping excessively.
Step 2: Attach the Faucet
- Follow the Manufacturer’s Instructions to Attach the Pot Filler Faucet to the Pipe:
- Each faucet may have specific guidelines, so reading the provided manual is essential.
- Typically, This Involves Screwing the Faucet Onto the Pipe and Securing It With a Pipe Wrench:
- Carefully thread the faucet onto the pipe, ensuring it goes on straight to avoid cross-threading that could damage both the pipe and the faucet. Use a pipe wrench to tighten the connection securely, but avoid over-tightening which could strip the threads or crack the fixture.
Step 3: Mount the Faucet
- Secure the Pot Filler Faucet to the Wall Using the Provided Mounting Hardware:
- Align the faucet with the pre-drilled hole where the pipe extends from the wall.
- Ensure the Faucet is Level and Securely Attached:
- Use a level to check that the pot filler is perfectly horizontal. Adjust as necessary before fully tightening the mounting screws. Confirm that the faucet feels stable and firmly attached, with no wiggle or play in the joints.
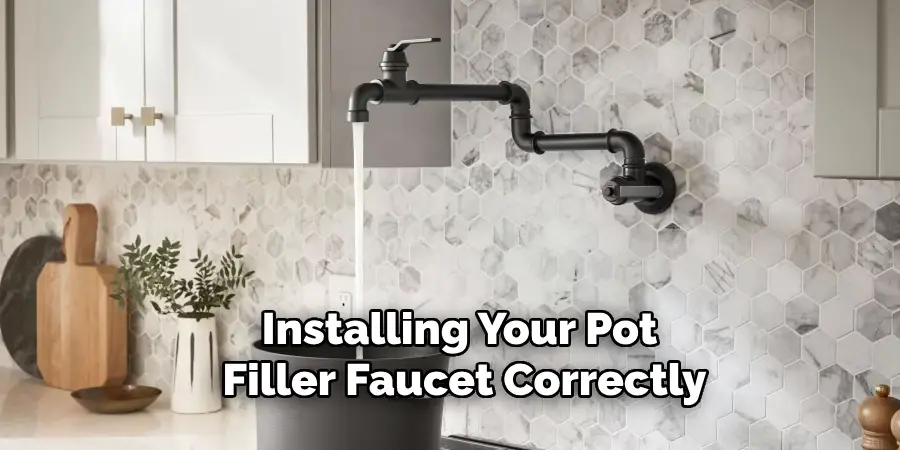
Installing your pot filler faucet correctly will enhance your kitchen’s functionality and add a professional touch to its aesthetic. You’ll ensure a secure and leak-free installation by carefully following these steps.
Test the Installation
Turn On the Water Supply
- Open the Main Water Shut-off Valve and the Shut-off Valve for the Pot Filler:
- This step re-establishes the water supply to your newly installed pot filler, allowing you to check the functionality and integrity of the system.
Check for Leaks
- Inspect All Connections for Any Signs of Leaks:
- Carefully examine each joint and fitting along the new water line and around the faucet. If any leaks are detected, tighten the connections as needed to eliminate them.
Test the Faucet
- Turn on the Pot Filler Faucet and Check for Proper Water Flow and Operation:
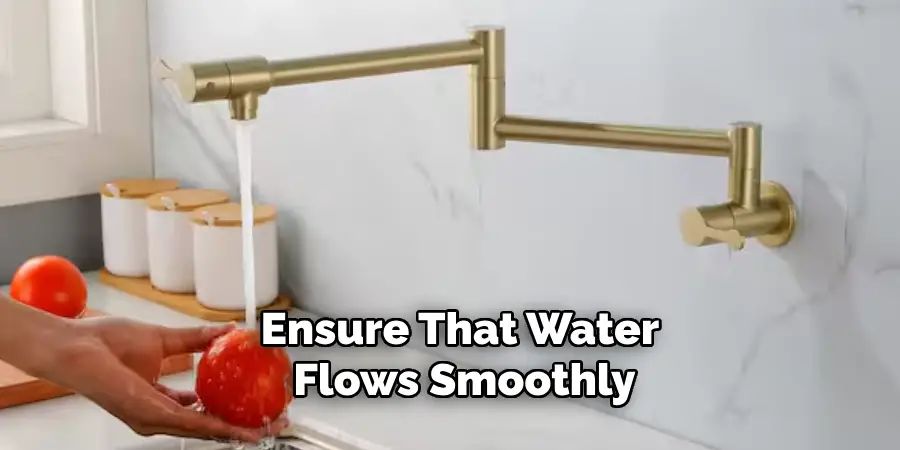
- Ensure that water flows smoothly from the faucet without any issues, verifying that the installation is successful and the pot filler operates as expected.
Finish the Wall
Patch the Drywall
- Repair the Hole Cut in the Drywall Using a Drywall Patch and Joint Compound:
- Begin by trimming any rough edges around the hole to ensure the patch will have a smooth surface to adhere to.
- Place the drywall patch over the hole, ensuring it fits snugly. If needed, cut the patch to size using a utility knife.
- Apply a layer of joint compound around the hole and press the patch into place.
- Cover the patch with a second layer of joint compound, feathering the edges to blend with the surrounding wall. Allow this to dry thoroughly.
Sand and Paint
- Sand the Patched Area Smooth:
- Once the joint compound is completely dry, use fine-grit sandpaper to sand the area until it is level with the rest of the wall.
- Be gentle and thorough to avoid damaging the wall or the patch. Wipe away dust with a damp cloth.
- Paint to Match the Surrounding Wall:
- Choose a paint that matches your wall color. If you have some leftover paint from the original painting, use that for an exact match.
- Apply a primer to the sanded area if the joint compound requires it. Let it dry.
- Use a brush or roller to apply paint over the patched area, ensuring even coverage. Allow each coat to dry before applying additional coats as needed.
- Blend the edges of the painted area with the rest of the wall to achieve a seamless finish.

Completing these steps will restore the appearance of your wall, making it look as if no modifications were made. This ensures your kitchen maintains its aesthetic appeal while accommodating the new pot filler faucet.
Conclusion
In this guide on how to plumb a pot filler, we have gone through a comprehensive series of steps to help you install this convenient kitchen fixture. Beginning with planning and preparation, you chose the location and measured the water line. Then, you installed the water line, ensuring it was secure and properly positioned within the wall cavity.
Drilling a hole for the pot filler and pulling the pipe through was the next step, followed by applying Teflon tape to ensure a watertight seal. Attaching and mounting the faucet required precision and adherence to manufacturer instructions. Finally, we focused on testing the installation by turning on the water supply, checking for leaks, and verifying proper operation. The last step involved patching and painting the wall to restore the kitchen’s aesthetic appeal.
There are numerous benefits to having a pot filler in your kitchen. It offers the convenience of filling large pots directly on the stove, reducing the need to carry heavy pots of water from the sink. This added functionality can significantly enhance your cooking experience, making meal prep more efficient and enjoyable.
As a final tip, always prioritize safety when working with plumbing. If you are unsure about any step in the process, do not hesitate to consult a professional plumber. Their expertise can ensure that the installation is carried out correctly and safely, giving you peace of mind and a reliable addition to your kitchen.
You can check it out to Install a Freestanding Tub Faucet

