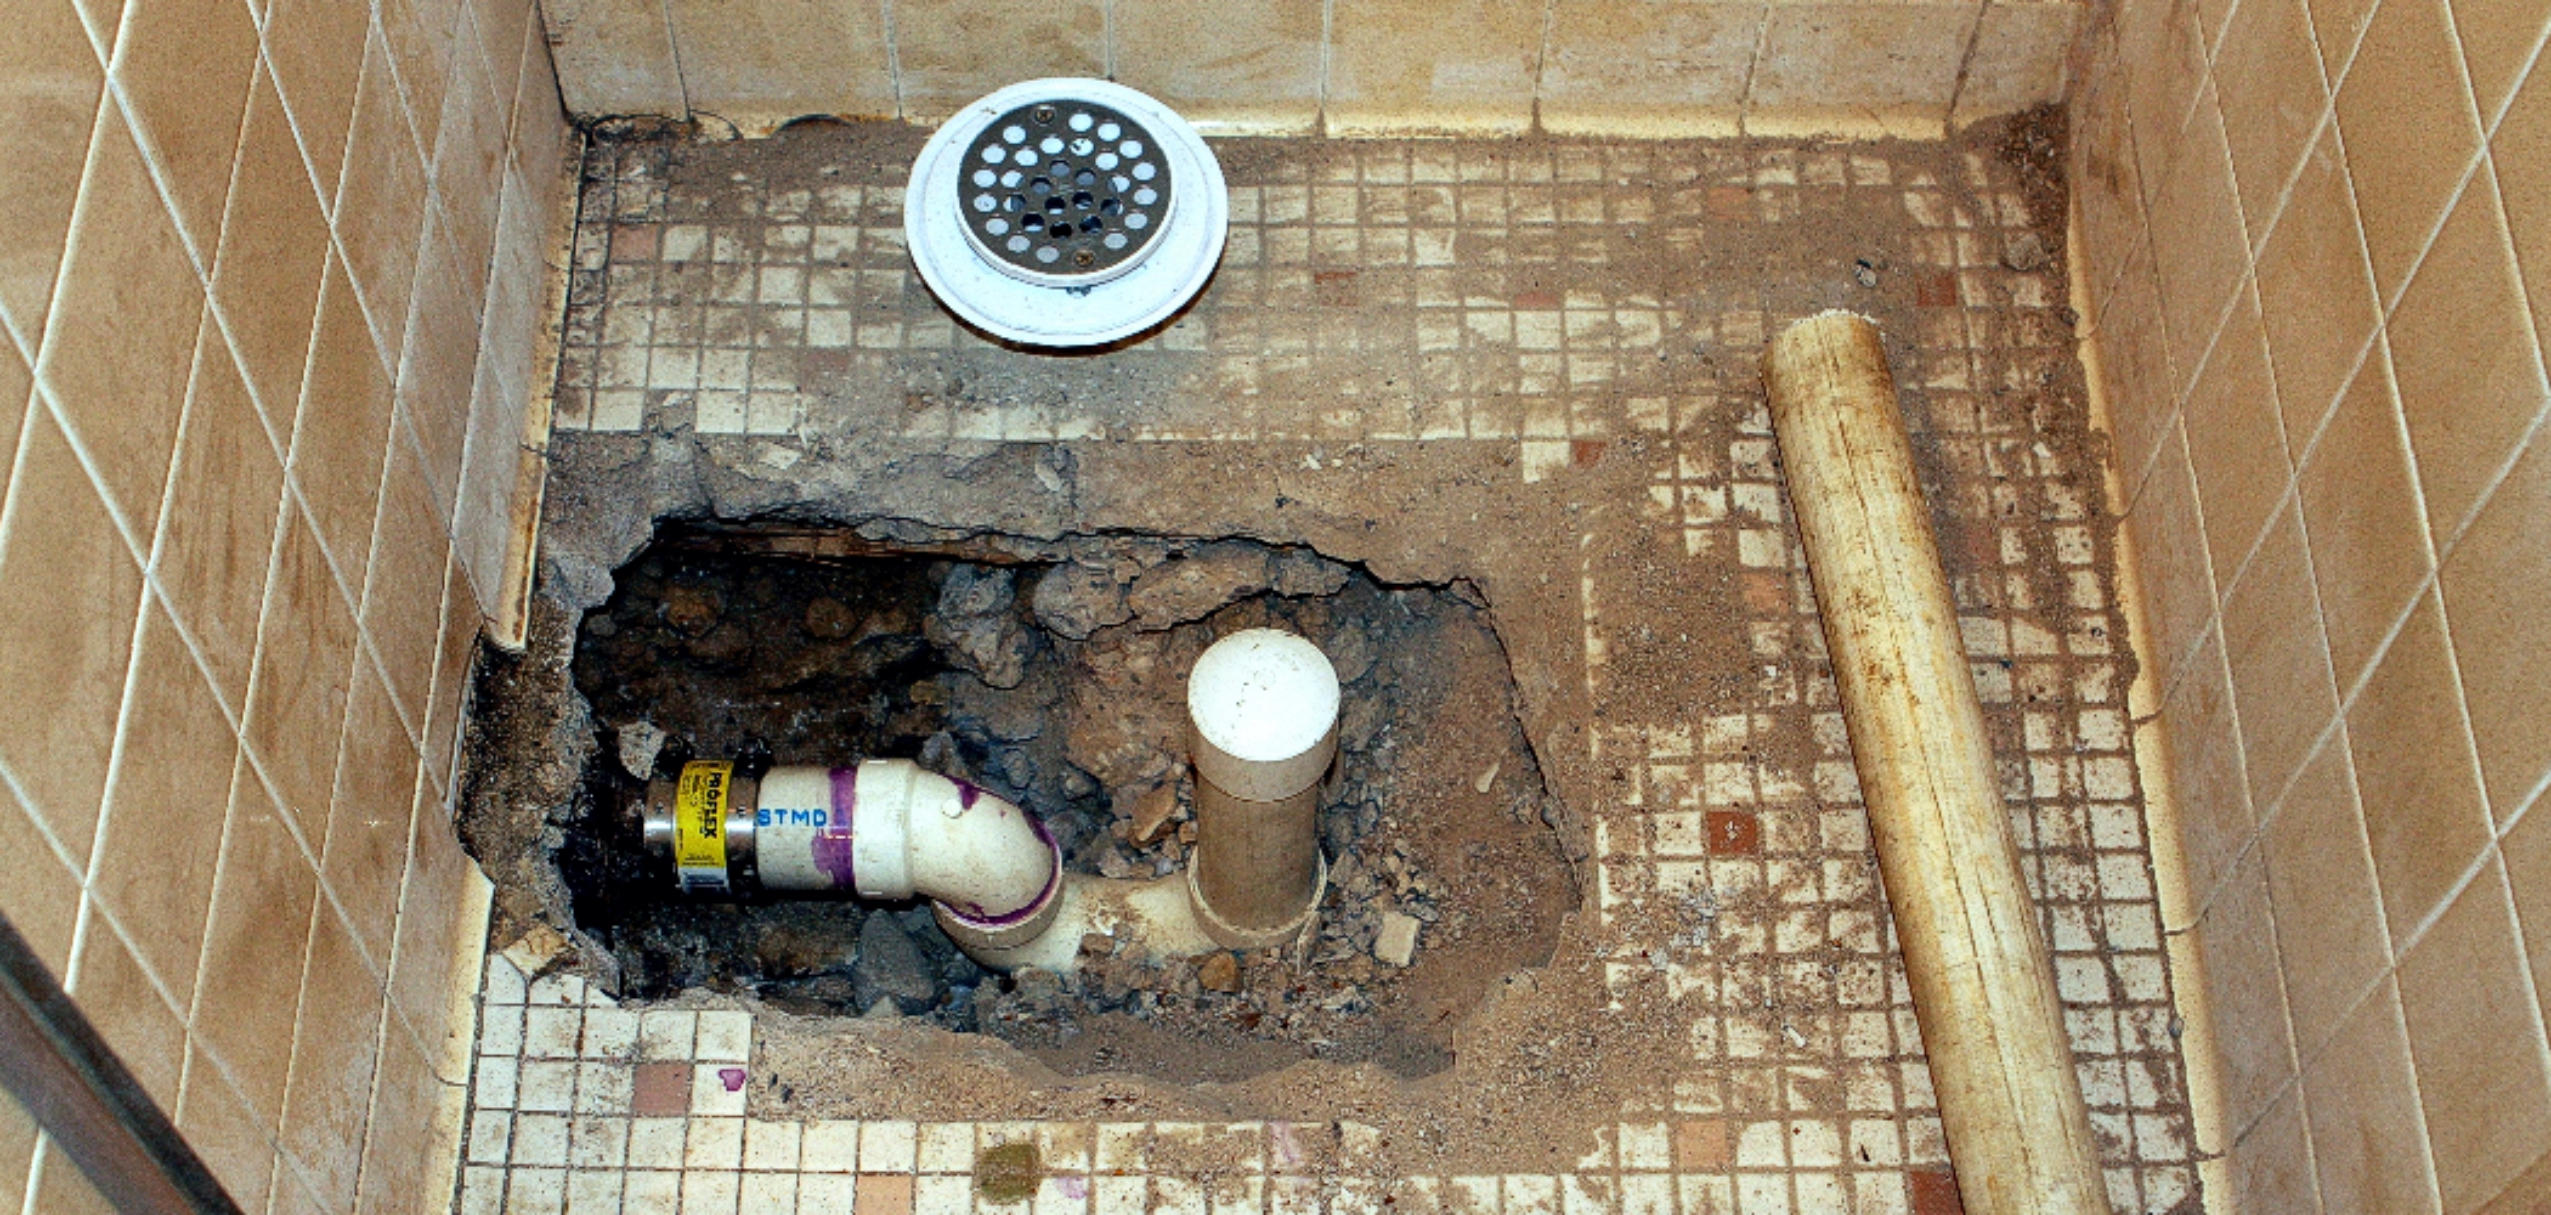
Installing a shower drain may seem daunting, but with the right guidance and a clear understanding of the components involved, it can be a straightforward process. This document provides a detailed diagram alongside step-by-step instructions to help you successfully plumb a shower drain.
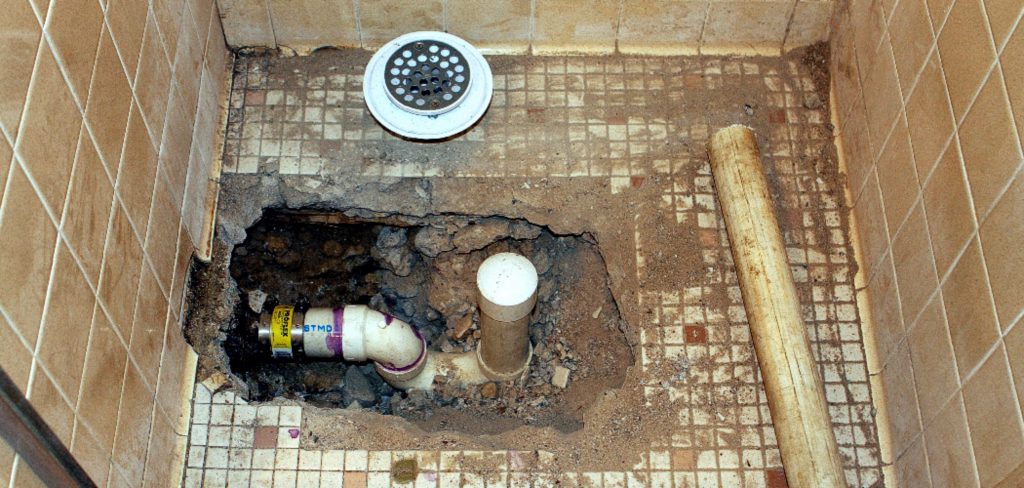
Whether you’re a seasoned DIY enthusiast or a first-time homeowner looking to tackle a home improvement project, this guide on how to plumb a shower drain diagram aims to equip you with the knowledge needed to achieve a proper and efficient shower drainage system. Let’s dive into the essentials of plumbing a shower drain, ensuring functionality and durability for your bathroom.
What is a Shower Drain?
A shower drain is a crucial component of a bathroom’s plumbing system, designed to direct waste water away from the shower area and prevent flooding. Typically placed at the lowest point of the shower floor, it uses gravity to ensure efficient drainage.
Shower drains come in various shapes and sizes, including linear and traditional round designs, and are often fitted with strainers to catch hair and debris, preventing clogs.
Understanding the function and installation of a shower drain is essential for maintaining a clean and functional bathroom, as a well-installed drain helps to avoid leaks and water damage, ultimately contributing to the longevity of your plumbing system.
Needed Materials
Before beginning the installation process, it’s important to gather all necessary materials to ensure a smooth and efficient plumbing experience. Here is a list of items you may need:
Shower Drain Assembly (Including Strainer, Flange, Gasket, and Bolts):
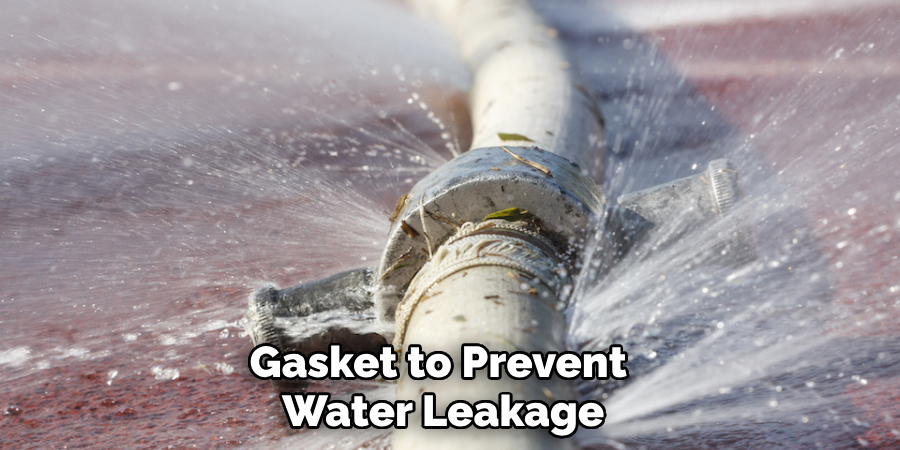
This is the main component of your shower drain, consisting of a strainer to catch debris, a flange to secure the drain in place, a gasket to prevent water leakage, and bolts to fasten it all together. Ensure that the assembly is compatible with your shower base and plumbing setup before purchasing.
PVC Piping and Fittings:
PVC piping is commonly used for shower drains due to its durability and resistance to corrosion. Alongside the piping itself, you may also need fittings such as elbows and couplings depending on the layout of your drainage system.
Pipe Wrenches:
These are used for tightening fittings and ensuring a secure connection between pipes. A pair of channel-lock pliers may also come in handy for holding pipes in place.
Plumber’s Putty or Silicone Caulk:
These sealants are used to create a watertight seal between the shower drain assembly and the shower base. Plumber’s putty is typically used for metal drains, while silicone caulk is recommended for plastic drains.
8 Step-by-step Guides on How to Plumb a Shower Drain Diagram
Step 1: Prepare the Shower Base
Before you begin the installation of your shower drain, it is essential to prepare the shower base properly. Start by ensuring that the area is clean and free from any debris or old materials from previous plumbing work. If your shower base is not already installed, position it in the desired location and check that it is level.
Using a level tool, adjust the base as needed to achieve a slight slope toward the drain area, usually around 1/4 inch per foot, to facilitate proper drainage. Once the base is secure and level, mark the location for the drain, ensuring it aligns with the plumbing underneath. This preparation will set the stage for a successful and efficient drain installation.
Step 2: Install the Strainer and Flange
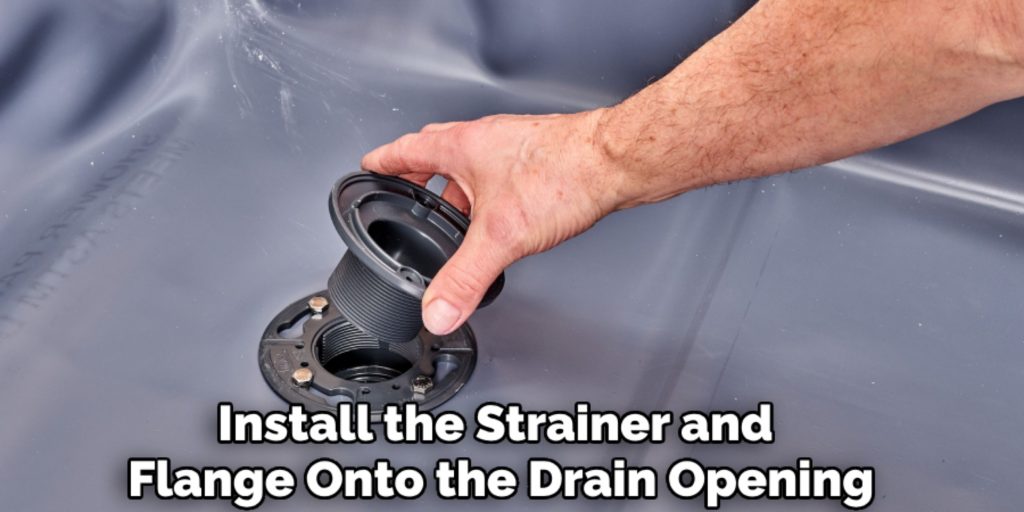
With the shower base prepared, it’s time to install the strainer and flange onto the drain opening. Place the strainer on top of the opening, followed by the rubber gasket and then the flange.
Secure all components together using bolts provided with your drain assembly. Use a wrench or pliers to tighten them evenly but not too tight as this may cause damage to the gasket.
It is important to note that some shower drains come with pre-installed strainers, so this step may not be necessary in those cases.
Step 3: Connect the PVC Piping
Using a pipe cutter or a hacksaw, cut a piece of PVC piping to fit between the drain outlet and the plumbing below. It is recommended to use elbows and couplings as needed to create a smooth connection between pipes.
Dry-fit all pieces together before securing them in place to ensure proper alignment and fit.
Once satisfied with the positioning, use PVC cement to attach fittings and joints, providing a secure connection for your plumbing system. It is important to follow manufacturer instructions when using PVC cement, as it may require a specific drying time before use.

Step 4: Position the Shower Drain Assembly
With the piping in place, carefully lower the shower drain assembly onto the flange and gasket, ensuring that it aligns with the strainer on top of the base. Tighten any bolts or screws provided to secure the assembly in place.
You may also choose to apply the plumber’s putty or silicone caulk around the edge of the drain assembly to create a watertight seal between it and the shower base.
Step 5: Connect the Drainage Pipes
Next, connect the drainage pipes from your plumbing system to the PVC piping attached to the shower drain assembly. Again, use PVC cement to secure all fittings and joints.
It is important to double-check that all connections are tight and leak-free before proceeding. The completed plumbing system should be able to efficiently direct water away from the shower area.
Step 6: Test for Leaks
Before completing the installation, it is crucial to test your newly installed shower drain for any leaks. Run water through the shower and observe if there is any dripping or pooling around the drain area. If so, tighten fittings as needed or apply more sealant until all leaks have been eliminated.
You may also want to wait a few hours and re-test to ensure that the drain is leak-free after the sealant has fully dried.
Step 7: Finishing Touches
With your shower drain installed and leak-tested, it’s time to focus on the finishing touches that will enhance the overall appearance and functionality of your shower.
Begin by clearing away any remaining debris or excess materials from the installation process to ensure a clean look. Next, you may wish to install any desired shower trays or tiles around the drain to create a seamless appearance.
If you’ve used plumber’s putty or silicone caulk, make sure it is smoothed out and visually appealing. Lastly, give the drain a final inspection to ensure everything is correctly aligned and secure. Now, your shower area is ready for use, combining aesthetics with optimal performance.
Step 8: Maintenance and Care
To ensure the longevity of your newly installed shower drain, it is essential to perform regular maintenance and care.
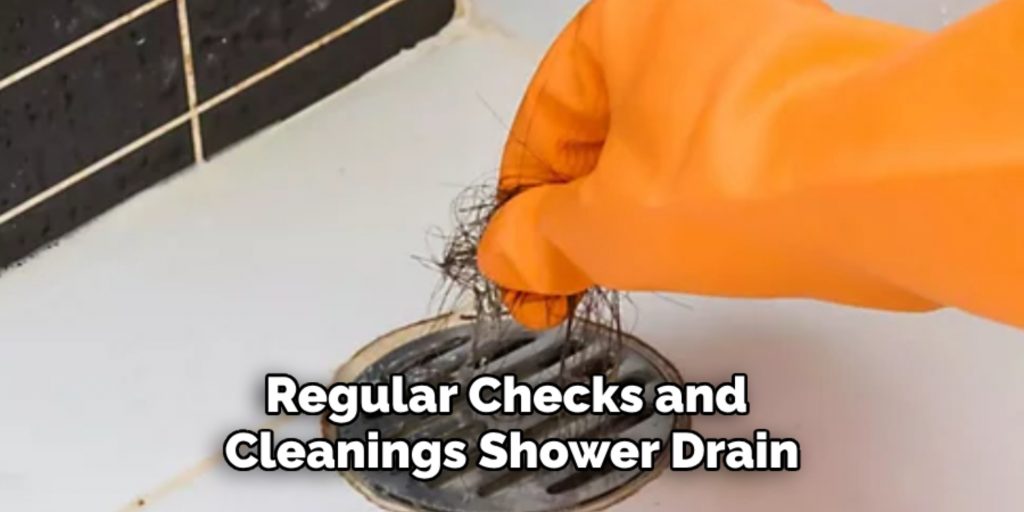
This includes keeping the drain strainer clean by removing any debris or hair buildup periodically. You may also want to use a mild cleaning solution on the drain and surrounding area to prevent any potential clogs.
Furthermore, if you notice any leaks or issues with drainage over time, it’s essential to address them promptly before they become more significant problems. By properly maintaining your shower drain, you can extend its lifespan and keep your shower functioning as intended for years to come.
Following these step-by-step guides on how to plumb a shower drain diagram will allow you to successfully install and maintain your shower drain, ensuring proper drainage and preventing any potential issues.
Remember to always use quality materials and follow manufacturer instructions for a seamless and stress-free installation process. Happy plumbing!
Frequently Asked Questions
Q: Can I Install a Shower Drain Without a Base Already in Place?
A: Yes, you can still install a shower drain without a base by following the same steps mentioned above. However, it may be more challenging to achieve the proper slope for drainage without the base in place. We recommend seeking professional assistance if you are unsure about this step.
Q: Can I Use Any Type of Cleaner on My Shower Drain?
A: It is recommended to use mild cleaning solutions specifically designed for shower drains to avoid any potential damage or corrosion. Harsh chemicals may also cause harm to the environment, so it is best to opt for eco-friendly options when possible.
Q: How Often Should I Check and Clean My Shower Drain?
A: It is advisable to perform regular checks and cleanings on your shower drain at least once a month. This will help prevent any clogs or buildup that could lead to larger plumbing issues in the future. Additionally, be sure to check after any use of hair products or excessive shedding to prevent potential clogs.
By following these steps and keeping up with regular maintenance, you can ensure that your shower drain continues to function efficiently and effectively for years to come.
Conclusion
In summary, properly installing and maintaining your shower drain is crucial for the functionality and longevity of your plumbing system.
By following the step-by-step instructions on how to plumb a shower drain diagram outlined above, you can ensure that your shower drain is not only efficient but also contributes to a clean and aesthetically pleasing shower environment.
Regular maintenance and promptly addressing any issues will help avoid potential complications and extend the life of your installation. With the right techniques and materials, you can enjoy a seamless shower experience for years to come.

