Plumbing in a tiny house presents unique challenges and opportunities that are distinct from traditional homes. Due to limited space and the necessity for efficient systems, it’s essential to approach the plumbing design with both practicality and creativity in mind.
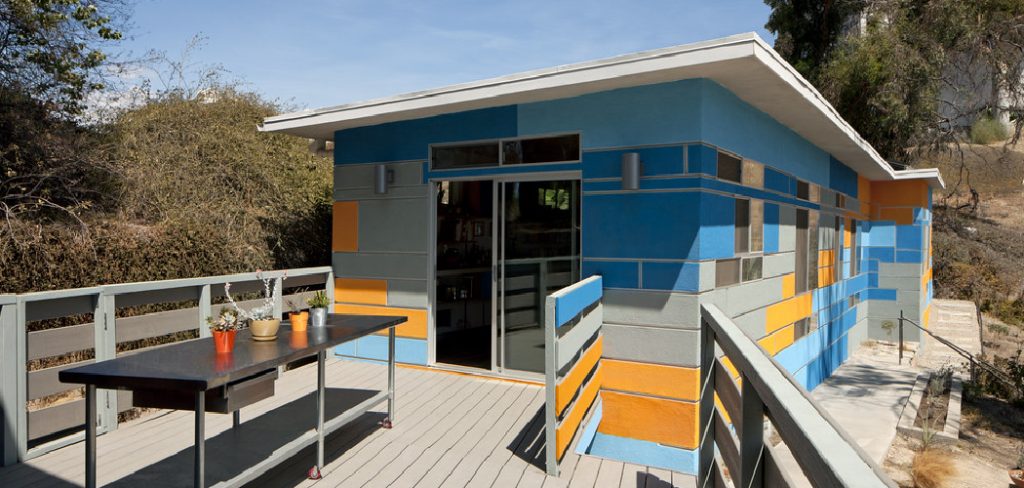
This guide on how to plumb a tiny house aims to provide insightful tips and best practices for installing and maintaining plumbing systems specifically tailored for tiny houses.
By understanding the essentials of water supply, drainage, and waste management, you’ll be equipped to create a functional and comfortable living environment in your compact dwelling.
Whether you’re a seasoned DIY enthusiast or a first-time builder, this introduction will pave the way for a successful plumbing journey in your tiny house.
Why Plumbing is Crucial for Tiny Houses
Plumbing is one of the most critical components of a tiny house, as it directly impacts the functionality and livability of the space. In such compact environments, efficient plumbing systems ensure that every gallon of water is utilized wisely, allowing for necessary amenities like cooking, cleaning, and personal hygiene without squandering.
Moreover, the constraints of a tiny house mean that plumbing must be cleverly designed to save space while still providing reliable water supply and drainage.
Good plumbing not only enhances comfort but also contributes to the overall safety of the structure, preventing issues such as leaks, clogs, or sewer backups, which can be particularly problematic in confined living quarters. As tiny house owners seek to live sustainably, thoughtful plumbing design also supports conservation efforts by optimizing water usage and minimizing waste.
Needed Materials
Before diving into the specifics of plumbing a tiny house, it’s essential to have all the necessary materials on hand. Here are some items you’ll need to gather before beginning your plumbing project:
PEX Tubing:
This flexible plastic tubing is commonly used in tiny house plumbing due to its durability, ease of installation, and versatility. PEX tubing is available in various sizes and colors, making it suitable for both hot and cold water supply lines.
Drain Pipes:
For efficient drainage in a tiny house, you’ll need to install pipes with a diameter of at least 2 inches. Using PVC or ABS pipes is recommended due to their lightweight nature and resistance to corrosion.
Faucets and Fixtures:
Choosing the right faucets and fixtures is crucial for optimizing space and water usage. Consider low-flow options that are suitable for small sinks or showers, as well as compact designs that fit well within the limited dimensions of a tiny house.

Water Heater:
Depending on your needs, you can opt for either an electric or propane tankless water heater, which are both compact and energy-efficient options for tiny houses.
Water Pump:
If your tiny house is not connected to a municipal water supply, you’ll need a water pump to draw water from a well or other source. Make sure to choose a pump that can handle the specific demands of your plumbing system.
6 Simple Step-by-step Guidelines on How to Plumb a Tiny House
Step 1: Plan the Layout
Before installing any plumbing, it’s crucial to meticulously plan the layout of your plumbing system. Start by sketching a floor plan of your tiny house, marking areas where you intend to place sinks, showers, toilets, and appliances that require water connections. Consider the proximity of these fixtures to reduce the amount of piping needed, which can save space and materials.
Identify key water supply lines and waste drainage routes, ensuring that they comply with local building codes and regulations. Additionally, think about accessibility for maintenance; plumbing components should be easy to reach for repairs or inspections. By carefully planning the layout, you’ll create a more efficient plumbing system that maximizes functionality in your tiny living space.
Step 2: Install the Water Supply System
The first step in installing your plumbing system is to connect the main water supply line to your house. This can be done either through a municipal connection or by using a well or other water source, depending on your location.
Once you have a primary water source, it’s time to install PEX tubing for individual fixtures and appliances throughout the tiny house. Consider using flexible hoses for showerheads and faucets to make future replacements easier.
Step 3: Assemble the Drainage System
After successfully installing the water supply system, the next step is to set up the drainage system, which is essential for efficiently removing wastewater from your tiny house. Begin by installing the drainpipes, ensuring that they have a consistent downward slope of at least 1/4 inch per foot to allow for proper gravity drainage.
Use PVC or ABS pipes for their lightweight and durable properties. Connect the sink, shower, and toilet drainage to a central waste line, directing it towards an appropriate waste disposal system, whether that be a septic tank or a greywater system, in alignment with local regulations.
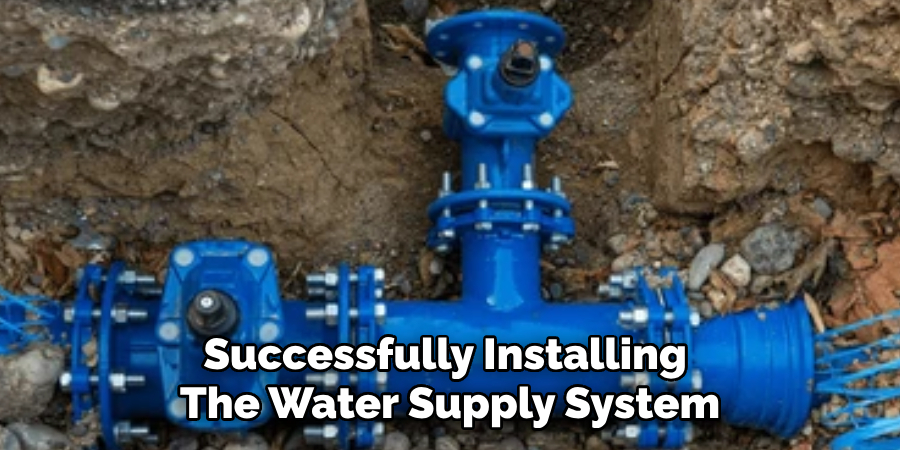
It’s important to install traps at each fixture to prevent sewer gases from entering your living space, and don’t forget to secure all connections with fittings and solvent cement. Regularly check for leaks during the assembly process, as a tight seal is critical for effective drainage and to maintain a healthy living environment.
Step 4: Install the Water Heater and Pump
With the water supply and drainage systems in place, the next crucial step is to install the water heater and pump, ensuring a steady and reliable source of hot water for your tiny house.
If you’ve opted for a tankless water heater, it’s essential to follow the manufacturer’s instructions for installation, typically involving connecting it to the PEX tubing and ensuring proper venting if using a propane model. For electric tankless water heaters, be sure to have the necessary electrical work done to avoid overloading the system.
Next, install the water pump if your tiny house isn’t connected to a municipal water supply. Position the pump close to your water source and connect it to the main water line using PEX tubing. Ensure that the pump is securely mounted to minimize vibration and noise when in operation.
Additionally, a pressure switch should be installed to automatically control the pump’s operation based on water demand. Lastly, all connections for leaks should be checked, and both the water heater and pump should be tested to confirm they are functioning correctly, providing the comfort and convenience essential for tiny living.
Step 5: Add Finishing Touches
Once the main plumbing components are installed and tested, it’s time to focus on adding the finishing touches that enhance both functionality and aesthetics in your tiny house. Start by installing sink and shower fixtures, ensuring they are securely fastened and leak-free. If you chose low-flow options, test the water flow to ensure efficiency while still providing adequate pressure.
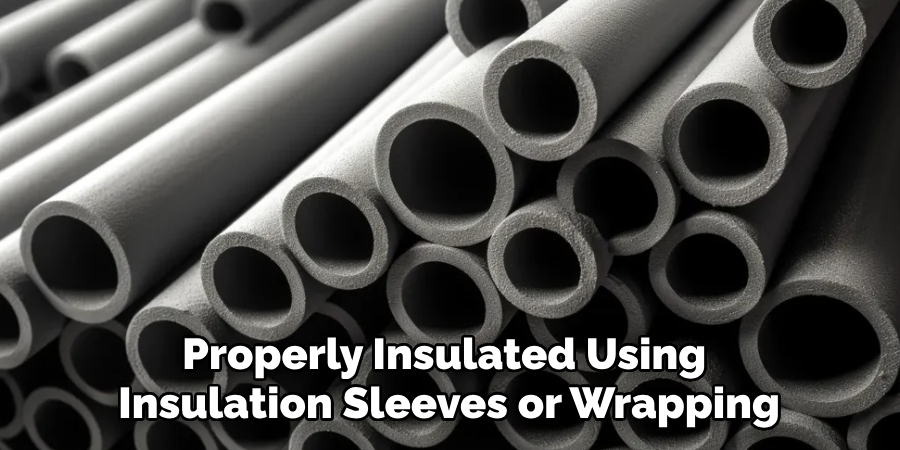
Next, you can add insulation to your plumbing pipes, particularly those that are exposed or located in colder areas, to prevent freezing and improve energy efficiency. Consider using insulation sleeves or wrapping, especially around hot water lines. Additionally, check the water heater settings to optimize energy use, adjusting the temperature to a comfortable level while minimizing energy consumption.
Step 6: Inspect and Maintain Regularly
After completing your plumbing installation, it’s crucial to establish a routine for inspection and maintenance to ensure the longevity and efficiency of your system. Start by checking for leaks around all connections, including faucets, pipes, and fixtures. Regularly inspect the water heater and pump for any signs of wear or corrosion, as these components are vital for the reliable operation of your plumbing.
Additionally, monitor the drainage system for clogs by ensuring water flows freely and efficiently; consider using a mixture of vinegar and baking soda as a natural cleaner for minor build-ups. Seasonal checks are also advisable to account for changes in temperature that may affect pipe insulation.
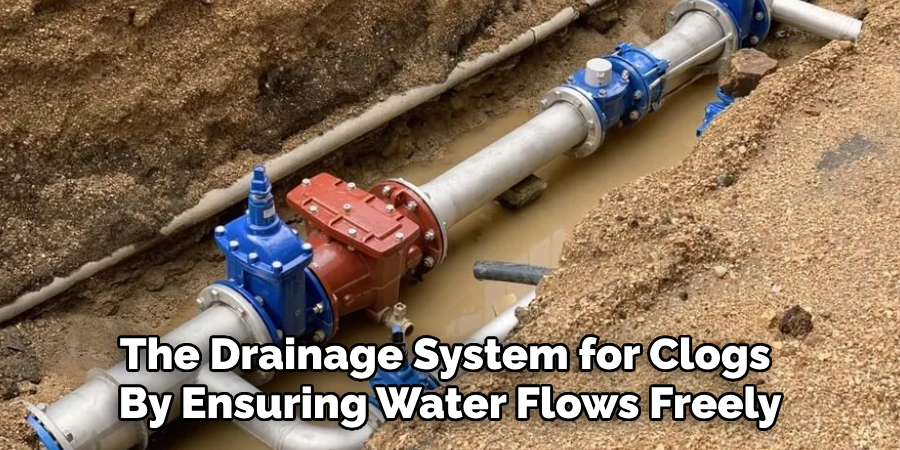
By proactively maintaining your plumbing system and addressing minor issues before they escalate, you can make sure your tiny house remains a comfortable and sustainable living space.
Frequently Asked Questions
Q: Can I Install My Tiny House Plumbing System Myself?
A: Installing a plumbing system can be a complex task, and it’s highly recommended to hire a professional plumber for proper installation. This ensures that your system adheres to local building codes and regulations while ensuring its functionality and safety. However, if you have experience and knowledge in plumbing, it is possible to install the system yourself.
Q: What Material Should I Use for My Tiny House Plumbing System?
A: The most commonly used materials for tiny house plumbing systems are PEX tubing for water supply lines and PVC or ABS pipes for drainage. These materials are lightweight, durable, and easy to work with, making them ideal choices for a compact living space.
Q: How Do I Prevent the Freezing of My Tiny House Plumbing?
A: To prevent freezing in your tiny house plumbing system, ensure that all exposed pipes or those located in colder areas are properly insulated using insulation sleeves or wrapping. Additionally, keep your tiny house heated and consider installing heat tape on vulnerable pipes to maintain a consistent temperature.
With these steps on how to plumb a tiny house, you can successfully install a reliable and efficient plumbing system in your tiny house, providing the essential comforts of home while living sustainably. Remember to consult with professionals and adhere to local regulations for a safe and functional installation process.
Conclusion
In conclusion, installing an efficient plumbing system in a tiny house is a vital aspect of ensuring comfort and functionality in a limited space. By following the outlined steps on how to plumb a tiny house—from laying out the system to regular maintenance—homeowners can create a reliable and sustainable environment.
Proper planning and consideration of local regulations not only enhance the overall living experience but also contribute to the longevity of the plumbing infrastructure.
Whether it involves selecting the right materials or ensuring accessibility for repairs, each detail plays a crucial role in crafting a tiny home that meets the needs of its occupants, allowing for a harmonious blend of convenience and simplicity in modern living.

