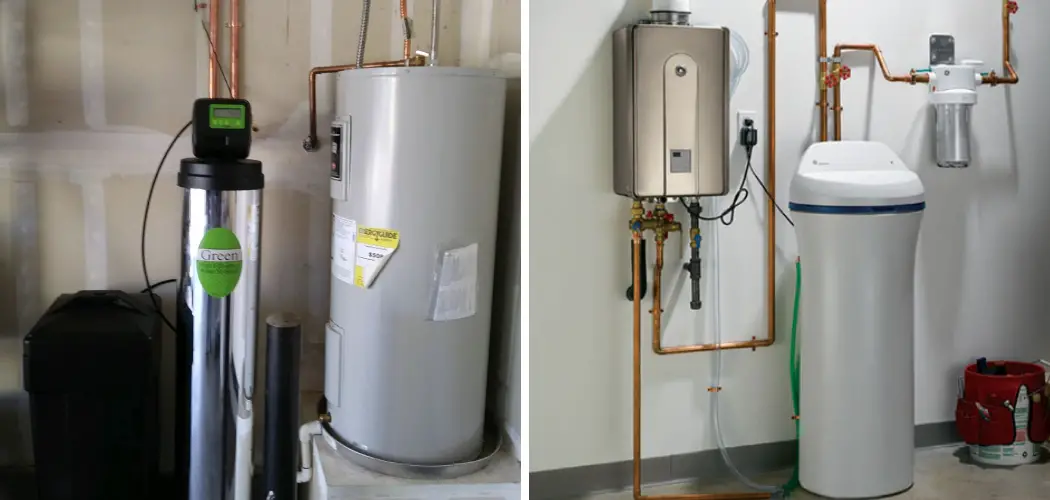
Are you looking for a way to soften your water efficiently? You must know how to plumb a water softener loop. Installing a water softener loop can be an effective solution, but the process of plumbing it in might seem daunting. Don’t worry – whether you’re new to DIY repair and renovation or a seasoned pro, this guide will walk you through all the steps needed to successfully plumb a water softener loop yourself.
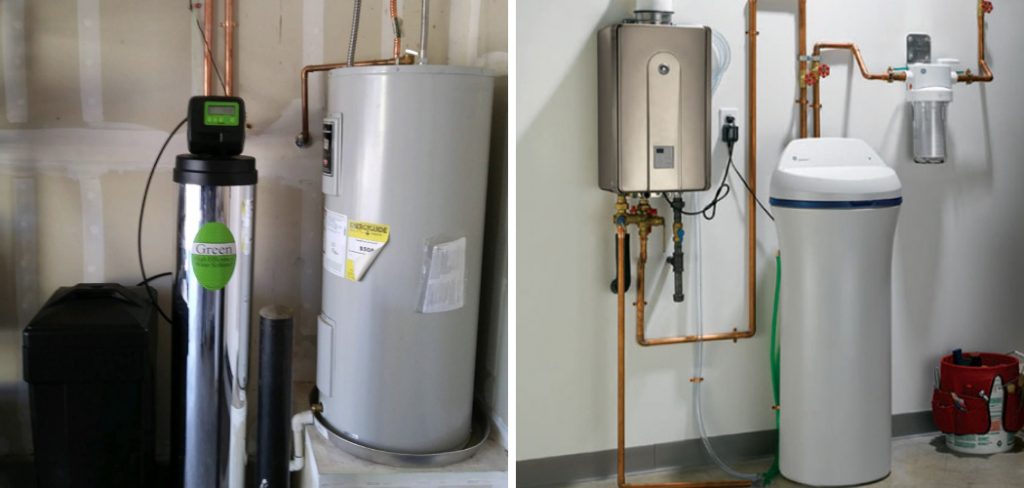
In addition to detailing how each stage works, we’ll uncover why it’s important that things are done correctly and offer advice on troubleshooting common issues that may arise. Read on if you’re interested in learning more about plumbing a water softener loop!
Tools You Will Need
- Wrenches: A wrench set that includes both adjustable and ratcheting wrenches should cover all your needs.
- Pipe Cutters: You’ll need these to cut the pipe as you fit them into place.
- Teflon Tape: This is used to ensure watertight seals when connecting pipes.
- PVC Primer and Cement: This is the glue that holds the pipes together.
- SharkBites: These are used to connect PEX tubing with other types of piping, like copper or CPVC.
6 Easy Steps on How to Plumb a Water Softener Loop
1. Locate the Main Water Line
Installing a water softener in your home can save you from the drawbacks of hard water, but it can be an intimidating task. To ensure safety and success, turning off the main water line is a must before you proceed. Before beginning the job, you’ll need to locate the main shut-off valve.
Depending on the layout of your home and plumbing system, this may take some investigating; it’s usually found near the water heater or along an outside wall where pipes go into the ground. Once the valve is identified, you can use it to turn off the water supply safely; then you’re ready to plumb a loop for your new water softener!
2. Connect the Main Waterline
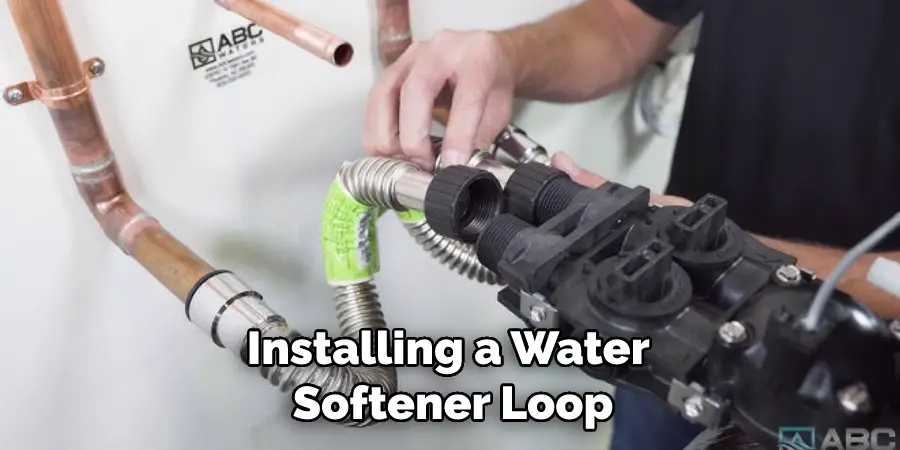
Installing a water softener loop can be an easy way to soften your water supply and protect it from hard minerals. The first step is to cut a section of pipe to connect the main waterline with the inlet side of the loop, for which you will need a reliable pipe cutter.
Carefully measure the length of the section you need and mark it off before slowly feeding it into the pipe cutter, rotating it repeatedly until all the way through. Finally, remove any sharp edges that result from cutting as these can cause issues down. With proper care and attention throughout this process, your water softener loop should easily plumb up in no time!
3. Use Teflon Tape
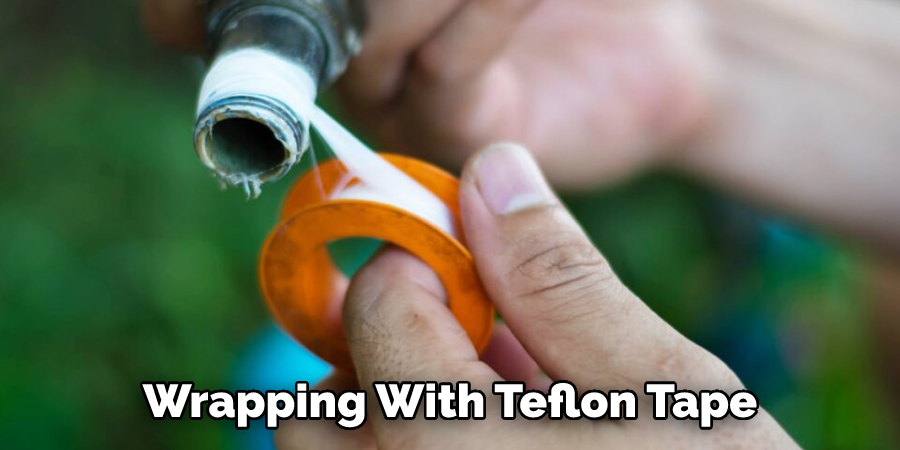
When plumbing a water softener loop, it’s of utmost importance to use Teflon tape on all threaded connections before assembly with wrenches. Not only does this help ensure a tight seal and avoid costly leaks, but it is also advised to stop any water contamination due to exposed metal threads.
Measure out an appropriate length of tape for each connection and wrap the thread from start to finish at least three times in the same direction. This will ensure that the tape adheres properly before use. Always check for any damage or missing pieces after wrapping with Teflon tape and before tightening the two nuts together with a wrench – doing so will prevent future problems like drainage trouble or corrosion.
4. Connect the Pipes
After identifying and measuring the materials needed for the water softener loop, it is time to assemble it. To successfully achieve a reliable connection between pipes, PVC primer, and cement should be used. As a first step in this process, clean off any dust or dirt from the pipe surfaces that need to be joined together.
After cleaning, use the primer on both of the pieces being connected, paying extra attention to make sure all surface areas of the pipe are properly covered before adding the cement. Once both pieces have been primed correctly, apply the cement on one end of the pipe, press them together firmly, and hold them in place until they are securely connected.
This process is essential in helping ensure that water securely passes through the loop while also ensuring overall system efficiency.
5. Connect Pex Tubing
Installing a water softener loop requires the connection of various types of piping. PEX tubing is made from cross-linked polyethylene and is an ideal choice for this application since it is corrosion-resistant and so flexible that it can be routed around walls, ceilings, and floors with ease.
To ensure secure connections between types of piping, consider using SharkBites Push-To-Connect fittings. With their easy-to-use installation design, these tiny wonders require no solder or glue to provide a reliable and secure fit. Simply push the SharkBite fittings onto the ends of your pipe, whether PEX, copper or CPVC – eliminating the need for expensive tools or special skills!
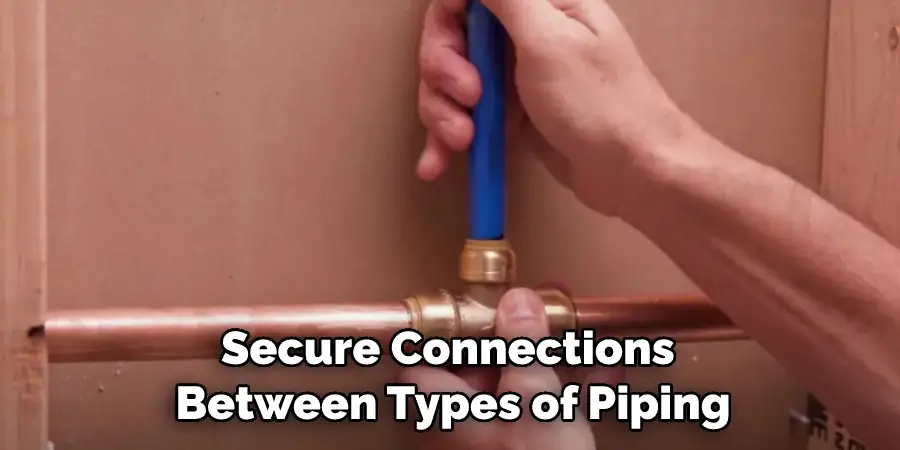
This simple fitting can solve any challenging plumbing situation when installing your water softener loop.
6. Check for Leaks Around All Connections
After all of the hard work of connecting a water softener loop, it is important to make sure the process was completed correctly. First, you will want to turn on the main water supply and run each faucet individually to ensure that no leaks are coming from any connection.
Then, you can use the newly created softener loop as intended. Listening closely should alert you if there are any drips or minor leaks that need attending before using your new installation. It’s better to be safe than sorry, so always check for potential issues before running the water through the softener loop.
Tips to Plumb a Water Softener Loop
- Cut the PEX tubing to the desired length using a sharp knife or a tubing cutter. Make sure that the cut is straight and clean.
- Slide a copper sleeve over each end of the PEX tubing.
- Use a heat gun or a hair dryer to heat the copper sleeves. This will help to create a tight seal when you solder the copper fittings onto the tubing.
- Solder a copper elbow onto each end of the PEX tubing, being careful not to overheat the PEX tubing.
- Solder a copper tee onto one of the copper elbows.
- Cut another piece of PEX tubing to connect the tee to the water softener unit. Make sure that this piece is long enough so that there is no risk of kinking when you install it.
- Solder a copper elbow onto the other end of this piece of PEX tubing.
- Solder a copper cap onto this elbow. This will be where you connect your water supply lines to the loop.
- Connect your water supply lines to the copper cap, being sure to use appropriate fittings and connections for your particular type of plumbing system.
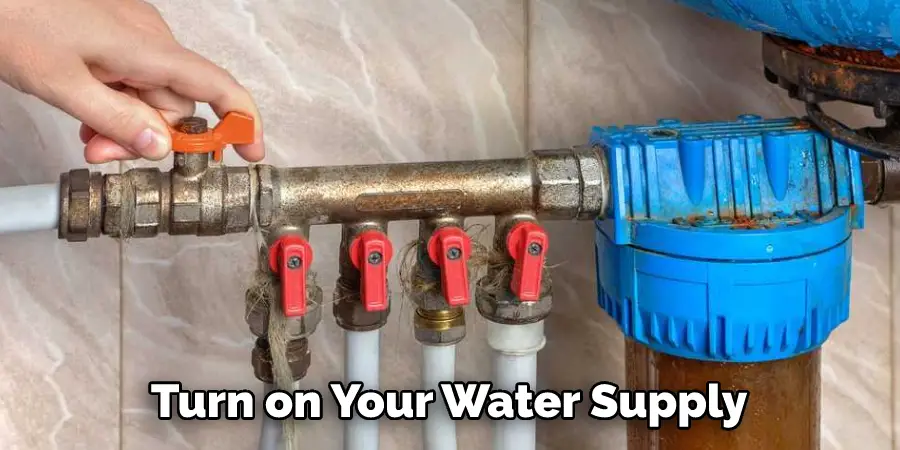
- Turn on your water supply and check for leaks at all of the soldered joints.
What do You Need To Know Before Starting To Install Your Own Water Softener Loop?
If you are looking to install your water softener loop, there are a few things you should know before getting started. To begin, it is important to assess whether your home can handle the water softener’s space and power needs, as well as make sure that the model of water softener you choose is designed for residential use.
Once these considerations have been taken into account, installation of the water softener will require a basic understanding of plumbing and electrical work. You may need to hire a professional plumber to ensure that the system starts and functions correctly.
Moreover, after the initial installation is done you must ensure periodic maintenance on your system to keep it running at its top capability. Following these guidelines will help promote optimal efficiency and performance from your water softener loop.
How To Make Sure Your Water Softener Loop Is Secure And Leak-Free?
Installing a water softener loop can be a great way to provide your home or business with an endless supply of softened water. However, it’s important to ensure that the loop is secure and free from leaks to prevent costly damage and wastage. To guarantee that your water softener line is safe and reliable, you should carry out routine checks for wear and tear as well as fix loose fittings and connections as soon as you discover them.
If necessary, you can call in experienced technicians who use modern tools to detect any potential issues that could lead to leakage. Additionally, drain off any standing water in the system during snowy periods or if atmospheric pressure changes, so that ice and expanded air don’t cause blocks or breaks. Taking such preventive measures will keep your water softener system functioning properly with minimal cost or stress.
How To Use SharkBites For Easier Installing Of A Water Softener Loop?
Installing a water softener loop in your home can be time-consuming and require dedication and patience. Making the process simpler, SharkBites are an excellent solution for any plumbing DIYer. Using this product, you’ll need two SharkBite 90° elbows and two SharkBite straight connectors.
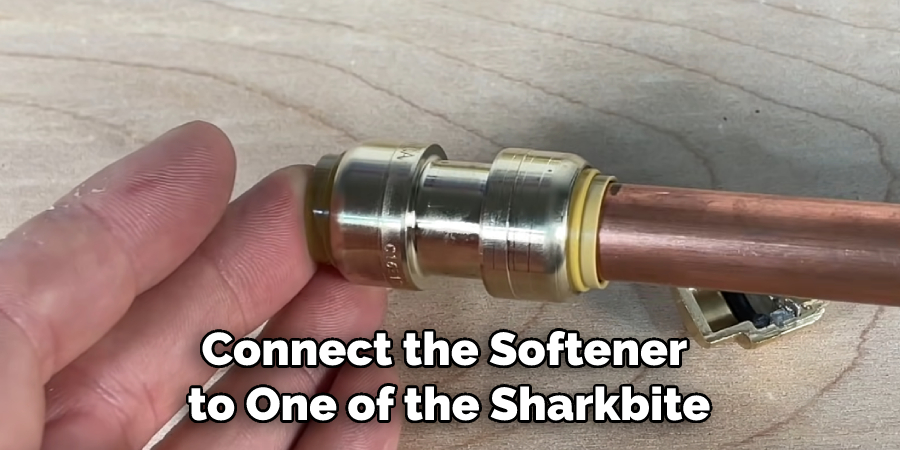
To begin the installation, simply connect the softener to one of the SharkBite straight connectors before attaching it to one of the elbows. Once that’s done, run a pipe from the softener to the elbow on the other side of your system. That’s where you’ll use your second straight connector and then attach the second elbow completing the loop.
It’s just that fast and simple to ease the burden of installing a water softener loop thanks to SharkBite’s convenient system.
Conclusion
Doing the work yourself might seem daunting at first, but with these guidelines, you’ll find the job to be straightforward and achievable. You should carefully determine how to plumb a water softener loop. From installing a softener loop to connecting it to your cold water inlet valve, these steps will ensure you have a working system in no time.
Remember to always wear protective gear when installing new equipment and take extra safety precautions when dealing with water. By following all necessary instructions and recommendations, you’ll be sure that your installation was successful and effective. Plumbing a water softener loop is a great way to keep your home safe from hard water damage and enjoy soft, clean water for years to come!

