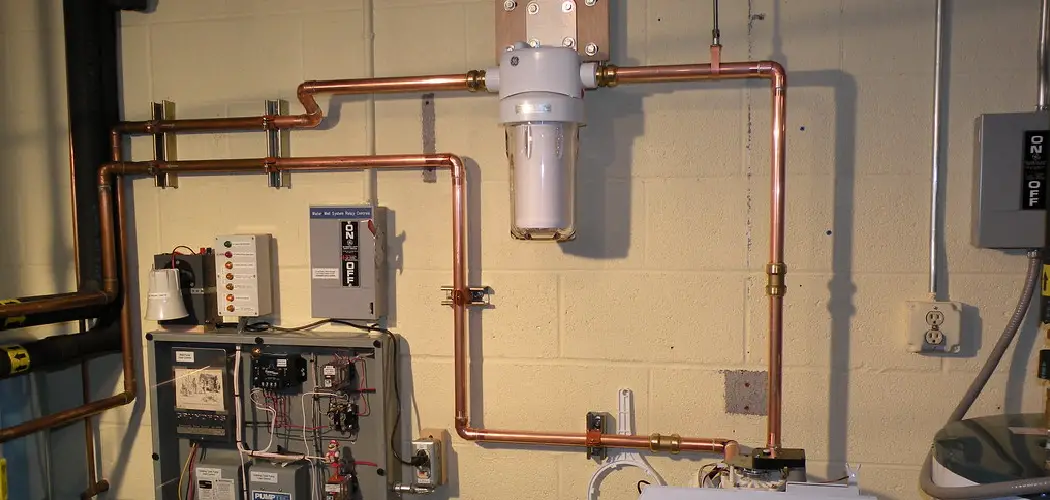
Water is essential for our daily lives, and having access to clean and healthy water is paramount for our well-being. Installing a whole-house water filter is one effective way to ensure clean water in your home.
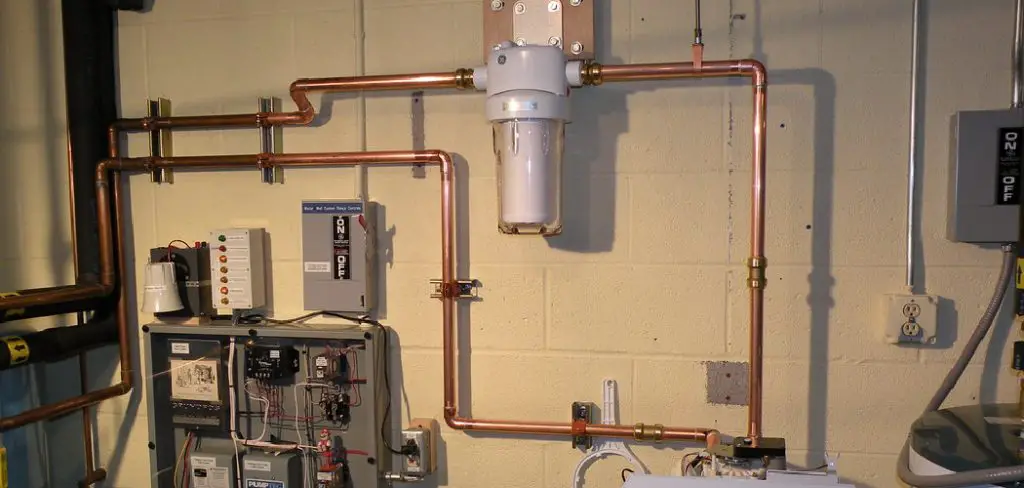
A whole-house water filter traps contaminants and impurities, providing clean and safe water for your household needs. If you’ve decided on installing a whole house water filter, but don’t know where to start, don’t worry. In this blog, we’ll guide you on how to plumb a whole house water filter from start to finish.
Can You Plumb a Whole House Water Filter?
Water is an essential element for human health. Keeping it clean and safe is crucial. When it comes to household plumbing, a water filter can make all the difference. But can you plumb a whole house water filter? The answer is yes! A whole-house filter system removes contaminants from the water before entering your home’s plumbing.
These filters are typically installed near the water main and require specialized skills to plumb. Hiring a professional plumber is highly recommended to ensure that your filter gets installed correctly and lasts for years. A whole-house water filter can improve the taste of your drinking water and benefit your skin and hair and extend the life of your appliances. Don’t hesitate to invest in the health of your home’s water supply.
7 Steps to Follow on How to Plumb a Whole House Water Filter
Step 1: Identify the Best Location
Before you start plumbing the whole house water filter, you need to find a suitable location for the installation. Usually, a whole house water filter is installed near the water main, where the water enters the home. It should be conveniently located for easy maintenance and access. Make sure the area is dry and well-ventilated, and there’s enough space to accommodate the filter and the plumbing connections.
Step 2: Shut Off the Water Supply
Turn off the main water supply to the house. This step ensures that no water flows through the pipes while you install the filter. Also, turn off the water heater and release the pressure in the entire system by opening all the faucets.
Step 3: Install the Filter
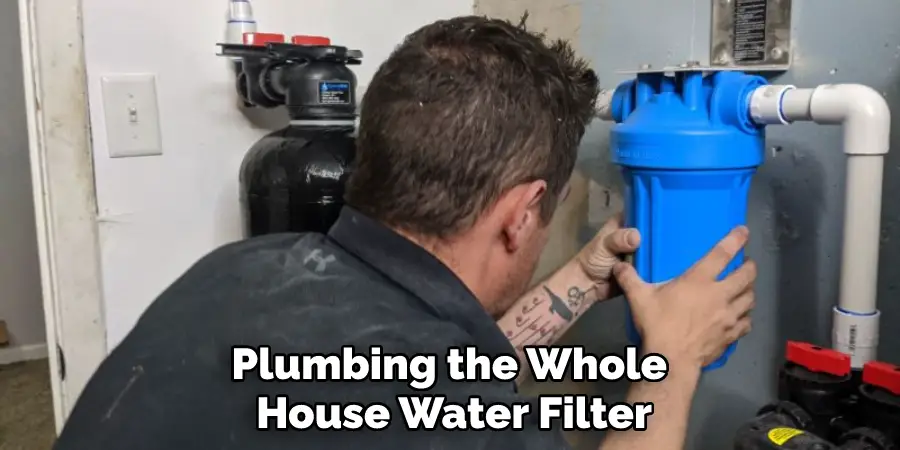
Once you’ve located the perfect spot for the installation, it’s time to install the filter. Follow the manufacturer’s instructions for installation, and make sure to mount the filter securely to the wall. Depending on the type of filter system you purchase, you may need to install additional components like valves, brackets, and fittings.
Step 4: Connect the Plumbing
After installing the filter, connect the plumbing. First, install the inlet and outlet valves to the filter unit and connect them to the main water supply. Use a pipe wrench to tighten them securely. Next, connect the filter to the bypass pipe using a T-shaped pipe fitting. You may also need to install additional connectors and valves according to the manufacturer’s instructions.
Step 5: Test the System
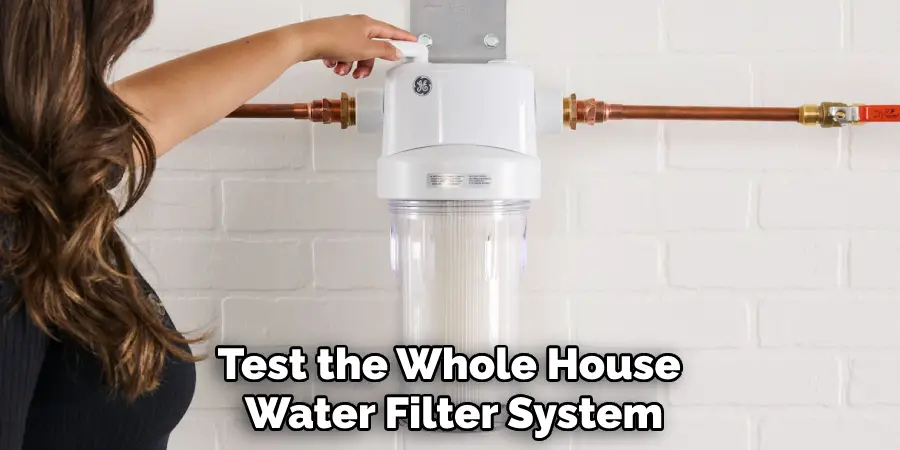
Once you’ve connected all the plumbing, it’s time to test the whole house water filter system. Turn on the main water supply, and open the valves on both ends of the filter unit. Check for any leaks or drips in the plumbing joints and tighten the fittings if necessary. Finally, run water from several faucets in your home to flush the system and remove any air.
Step 6: Turn the System On
After testing, turn on the bypass valves to activate the filter system. You’ll need to change the filter cartridge periodically according to the manufacturer’s instructions. Also, keep an eye out for any leaks or dripping from the plumbing connections, and make sure they’re properly tightened.
Step 7: Maintenance
Proper maintenance is essential for the proper functioning of a whole-house water filter. Make sure to check and replace the filter cartridge regularly and inspect all the plumbing connections for leaks or drips.
Additionally, you should flush out the system periodically to maintain water pressure and prevent any buildup of sediment in the pipes. Following these simple steps will ensure your whole house water filter system works properly and efficiently.
Now that you know how to plumb a whole house water filter, you’re ready to start the installation process! All you need is basic plumbing knowledge, the right tools and materials, and patience. Plumbing a whole house water filter may seem complicated, but following these seven steps will make it a breeze.
5 Considerations Things When You Need to Plumb a Whole House Water Filter
1. The first thing you need to consider when you are looking to plumb a whole house water filter is the type of filter that you want to use. You can choose from a few different types of filters, and each has its own set of benefits and drawbacks. The most common type of filter is a carbon filter, which is effective at removing chlorine, lead, and other contaminants from your water.
2. You also need to consider the filter size you want to use. The size of the filter will determine how much water it can filter and how often you will need to replace the filter cartridges. If you have a large family or use a lot of water, you must choose a larger filter.
3. Another consideration is the flow rate of your water. The flow rate is the amount of water that can flow through the filter in a given period of time. If you have a high flow rate, you will need to choose a larger filter.
4. You also need to consider the pressure drop of your water. The pressure drop is the difference in pressure between the water before it enters the filter and after it exits the filter. If you have a high-pressure drop, you will need to choose a higher-quality filter.
5. Finally, you need to consider the cost of the filter. Various factors go into determining the cost of a filter, including the type of filter, the size of the filter, and the brand name. You should shop around and compare prices before making your final decision.

Benefits of Plumb a Whole House Water Filter
There are many benefits to installing a whole house water filter, but none quite compare to the convenience and peace of mind that comes with knowing all of your home’s water is clean and healthy.
With a whole house water filter, you won’t have to worry about contaminants such as lead, chlorine, or bacteria affecting your drinking water, showering water, or even laundry water. The filter will clean all of the water that comes into your home, making it easier to keep everything from your plumbing fixtures to your clothing in good condition.
Additionally, a whole-house water filter can save you money in the long run by reducing the need for bottled water and prolonging the life of your appliances. When it comes to your family’s and home’s health, a whole-house water filter is a wise investment that can pay off in more ways than one.
4 Common Mistakes People Make When Trying to Plumb a Whole House Water Filter
1. Not Choosing the Right Filter
One of the most common mistakes people make when plumbing a whole house water filter is not choosing the right one for their needs. There are various types of filters available on the market, and it is important to choose one designed to remove the specific contaminants present in your water supply.
2. Not Installing the Filter Properly
Another common mistake people make when installing a whole house water filter is not installing it properly. If the filter is not installed correctly, it will not be able to remove contaminants from your water supply effectively. It is important to follow the instructions carefully and make sure that the filter is installed properly before using it.
3. Not Maintaining the Filter Properly
Another mistake people often make is not properly maintaining their whole house water filter. It is important to regularly clean and replace the filter cartridge to ensure it works effectively. Additionally, it is important to check the filter’s pressure gauge regularly to ensure it is operating within the proper range.
4. Not Knowing When to Replace the Filter
One final mistake people often make when using a whole-house water filter is not knowing when to replace the filter cartridge. Over time, the filter will become clogged with contaminants and will no longer be effective at removing them from your water supply. It is important to check the manufacturer’s recommendations and replace the filter when necessary.
Conclusion
Installing a whole-house water filter doesn’t have to be complicated. By following the steps outlined above and consulting with the manufacturer’s instructions, you can enjoy clean and healthy water in your home. In addition to removing harmful contaminants, a whole-house water filter can also extend the lifespan of your plumbing fixtures and appliances.
So, take the initiative today and install a whole house water filter to ensure that your loved ones have access to clean and safe water. Thanks for reading our post about how to plumb a whole house water filter.

