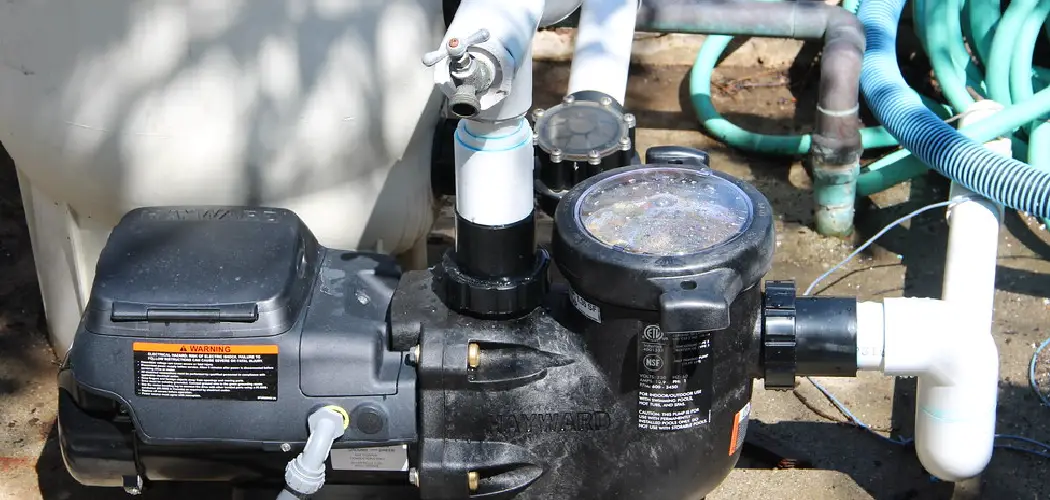
Are you planning to install a new pool pump or replace your old one? Plumbing a pool pump may seem daunting, but with the right tools and techniques, it can be done quickly.
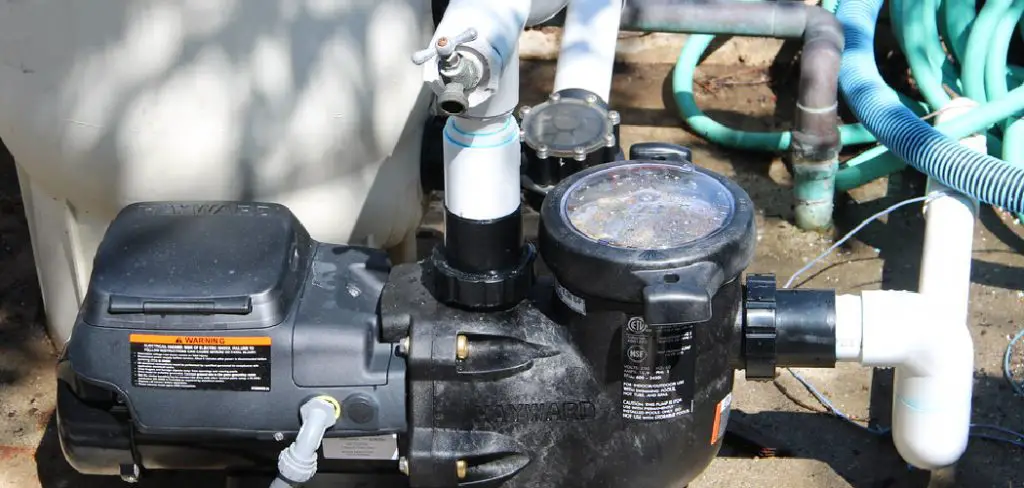
How to plumb pool pump is crucial for maintaining efficient water circulation and filtration in your swimming pool. A well-plumbed pump not only ensures that water is effectively moved through the filtration system but also helps in keeping the pool clean and clear. Whether you’re installing a new pump or replacing an existing one, understanding the basic plumbing principles and components involved is essential.
In this guide, we will walk you through the steps, tools, and best practices for plumbing a pool pump, ensuring that your setup runs smoothly and reliably for many swims.
What Will You Need?
Before getting started, gathering all the necessary tools and materials is important. Here’s a list of what you’ll need:
- Pool pump
- PVC pipes
- PVC primer and cement
- Pipe cutter or hacksaw
- Pipe fittings (elbows, couplings, Teflon tape)
- Thread sealant
- Screwdriver
- Wrenches
- Measuring tape
- Level
Once you have all these tools and materials ready, let’s dive into the steps for plumbing your pool pump.
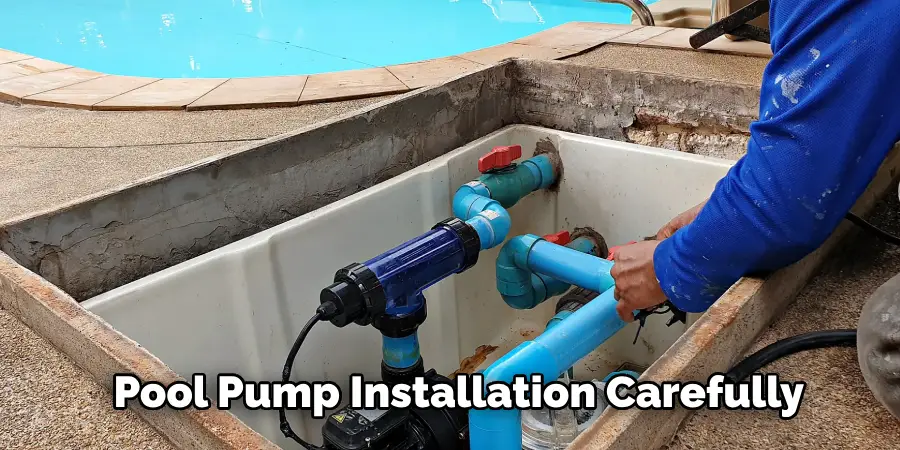
10 Easy Steps on How to Plumb Pool Pump
Step 1: Plan Your Setup
Before diving into the plumbing process, take the time to plan the layout of your pool pump installation carefully. This involves determining the optimal location for the pump, ideally close to the pool, to minimize the length of piping and reduce friction loss in the system.
Considerations such as access to electricity, proximity to the filtration system, and drainage options should also influence your positioning. Sketch a simple diagram illustrating how the pump connects to the pool and filtration system, marking where the PVC pipes need to run.
Additionally, account for any bends or turns that could require additional fittings, and ensure there’s enough space around the pump for maintenance and service access. A well-thought-out plan will streamline the installation process and enhance the overall efficiency of your pool’s water circulation.
Step 2: Prepare the Area
Once you have a solid plan, the next step is to prepare the area where your pool pump will be installed. Clear any debris, dirt, or existing equipment from the designated location to create a clean working environment. Make sure the surface is level and stable — this ensures that your pump will operate efficiently and reduces the risk of any vibration or movement once it’s in place.
If installing on a soft surface, consider using a concrete pad or similar base to provide adequate support. Additionally, ensure that you have easy access to a power source, as the pump will require electrical connection soon.
Step 3: Assemble the Necessary Tools
Gather all your tools and materials before starting the installation. Having everything at hand will help prevent interruptions and make the process more efficient.
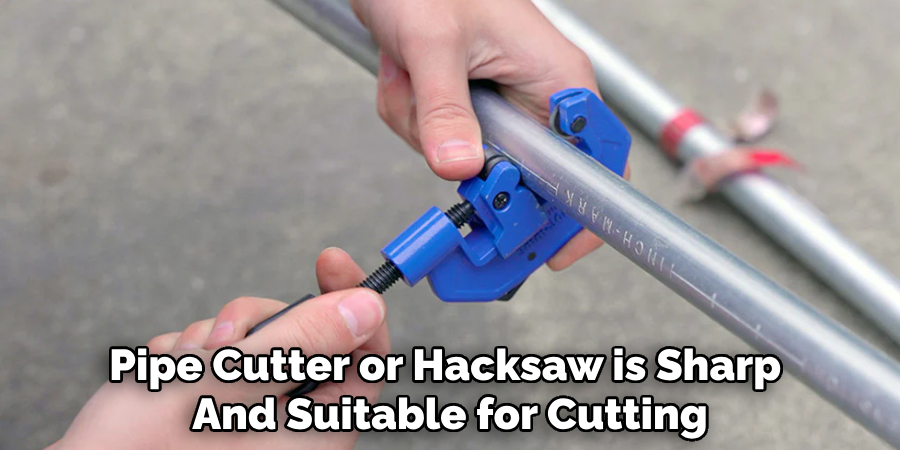
Check that your pipe cutter or hacksaw is sharp and suitable for cutting PVC. Ensure that all fittings and connectors are compatible with your pipe size, and double-check the pool pump manual for any specific requirements. Keep your measuring tape, level, screwdriver, and wrenches nearby to facilitate a seamless setup.
Step 4: Install the Pump
With the area prepared and tools assembled, begin the installation by placing the pool pump in your planned location. Use a level to ensure that the pump sits flat, as an uneven surface can lead to operational problems in the future. Once positioned correctly, secure the pump in place if necessary.
Some pumps may come with mounting brackets or bolts to fix them to the ground, while others may simply require a more stable placement.
Step 5: Connect the PVC Pipes
Carefully measure and cut the PVC pipes according to your planned layout. Use a pipe cutter for a clean cut, as rough edges can interfere with the seal when connecting fittings. After cutting, clean the ends of the pipes to remove any debris.
Apply PVC primer to both the outside of the pipe and the inside of the fitting, followed by PVC cement. Quickly assemble the pipes and fittings before the cement dries, ensuring a snug and secure connection. Repeat this process for all necessary connections, following your initial diagram as a guide.
Step 6: Add the Valve
Incorporating a valve into your plumbing setup is crucial for controlling the water flow in and out of the pool pump. Choose an appropriate location for the valve – typically on the intake line before the pump. Install it following the same procedure as the PVC pipes.
Make sure the valve’s handle is accessible for easy operation, allowing you to open or close the flow of water as needed for maintenance or emergencies. If installing a check valve, ensure it’s positioned correctly with the arrow indicating the direction of water flow.
Step 7: Test Connections for Leaks
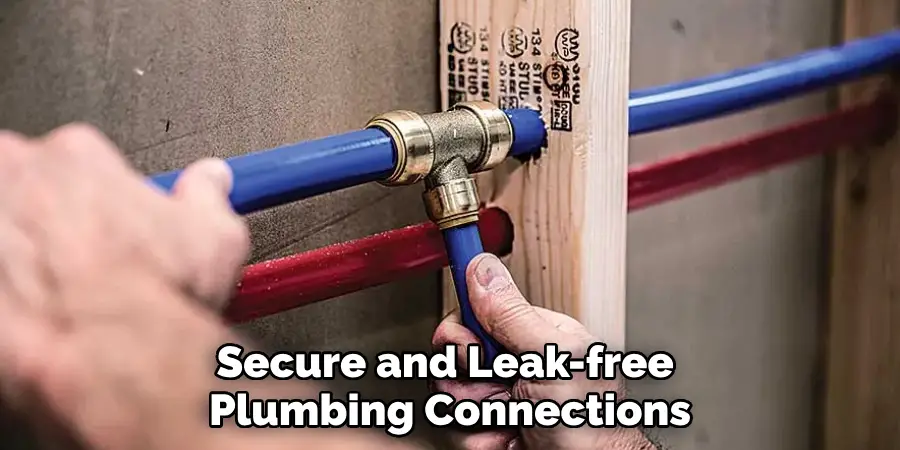
After all the plumbing connections are made, testing for leaks before proceeding further is essential. Begin by ensuring that all joints and fittings are securely attached. Once you feel confident in the integrity of your setup, turn on the pool pump to initiate water flow.
Carefully observe each connection point for any signs of leaks or drips. It may be helpful to use a cloth or paper towel to wipe around fittings, allowing you to see any moisture that could indicate a leak. If you detect any leaking, power down the pump immediately and verify the connection’s integrity. You may need to disassemble the affected area, reapply primer and cement, and reassemble to ensure a proper seal.
Remember that a leak, no matter how small, can compromise the efficiency of your pool pump system, leading to water wastage or reduced pressure in the filtration process. Once you have confirmed that all connections are leak-free, you can proceed to the next steps with the assurance that your installation is sound.
Step 8: Connect Electrical Wiring
With secure and leak-free plumbing connections, it’s time to connect the electrical wiring to your pool pump. First, ensure the power source is turned off to avoid electrical hazards. If the pump requires hardwiring, consult the manufacturer’s manual for specific wiring instructions and safety measures.
Use a screwdriver to carefully attach the pump wires to the power supply’s corresponding wires, ensuring proper color matching (e.g., black to black, white to white, and green or bare for ground). For pumps with a plug, simply plug it into the appropriate electrical outlet.
Once the connections are made, securely close any junction boxes or access panels to protect the wiring. After everything is connected correctly, turn the power back on and check the pump’s operation to ensure it powers up correctly.
Step 9: Prime the Pump
Once your electrical connections are complete and the pump is securely in place, it’s necessary to prime the pump before it can effectively circulate water. Priming involves removing air from the pump and its plumbing, allowing water to flow freely.
To do this, locate the pump’s priming port, usually on the unit’s top or side. Fill the pump housing with water through this port until it is completely full. If your pump has a strainer lid, be sure it’s securely closed after priming. Afterward, the pump should be started and the operation monitored; it should begin to draw water from the pool immediately.
Keep an eye on the water level in the pump and listen for any unusual noises, which could indicate that air is still trapped. If necessary, turn off the pump and repeat the priming process until you achieve steady water flow.
Step 10: Monitor and Maintain the Pump
After successfully priming the pump and confirming its operation, monitoring its performance is essential. If available, keep an eye on the pump’s pressure gauge to ensure it’s operating within the manufacturer’s recommended range.
Periodically check the strainer basket for debris, cleaning it out as needed to maintain optimal efficiency. Additionally, inspect all plumbing connections and electrical wiring for any signs of wear or leakage during routine maintenance checks.
Regular attention to your pool pump will help prolong its lifespan and ensure that your pool remains clean and inviting. Always refer to the manufacturer’s instructions for specific maintenance guidelines, and consider scheduling professional maintenance if any issues arise beyond routine checks.
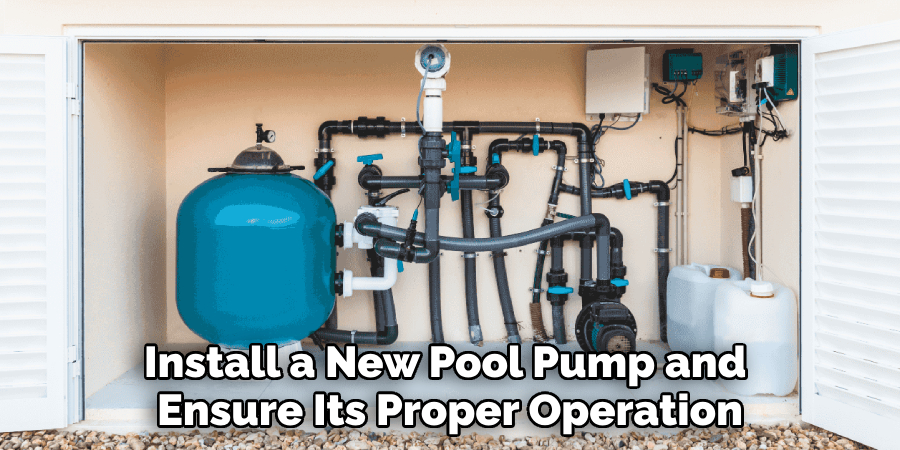
By following these steps, you can successfully install a new pool pump and ensure its proper operation.
Conclusion
Successfully plumbing a pool pump is a multifaceted process ensuring proper circulation and maintenance of your pool’s water.
By following the outlined steps—securing the pump, connecting pipes, adding valves, testing for leaks, wiring the pump, priming it, and performing regular maintenance—, you can create a reliable and efficient system that extends the life of your equipment while providing a safe and enjoyable swimming environment.
Consistent monitoring and adherence to manufacturer instructions will further safeguard against potential issues.
Hopefully, the article on how to plumb pool pump has provided you with the necessary knowledge to complete this essential task and enjoy your pool for years. Happy swimming!

