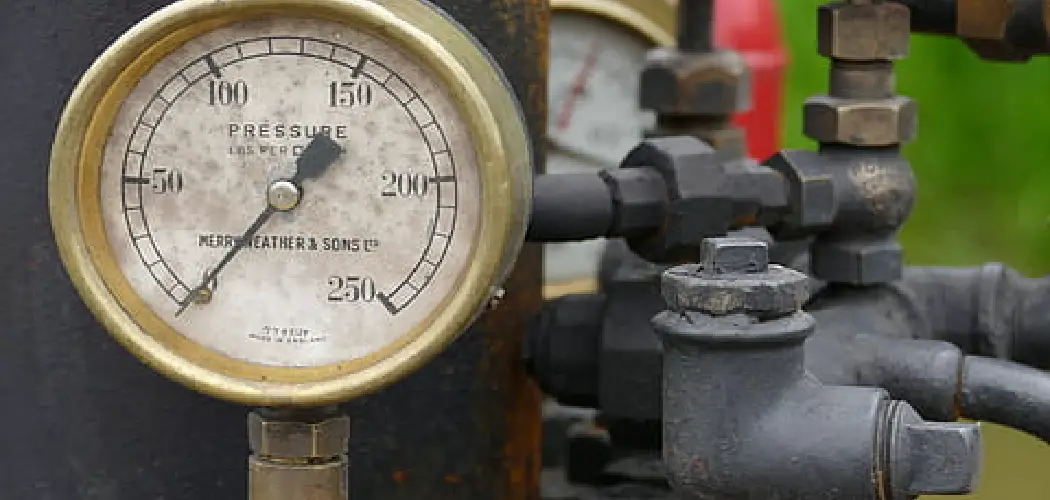
Leaks in your plumbing system can be a major problem, leading to water damage, mold growth, and high utility bills. One effective way to detect and prevent leaks is by pressure testing your plumbing system. Pressure testing involves simulating the flow of water through your pipes and checking for leaks under high pressure.
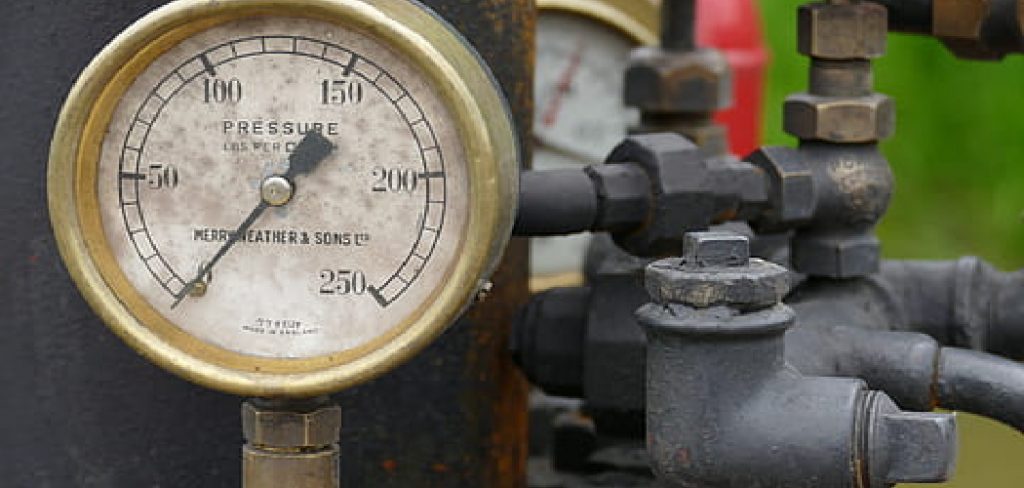
In this blog post, we’ll show you how to pressure test plumbing for leaks using simple tools and techniques that any DIYer can master. So let’s get started and ensure that your plumbing is leak-free, safe, and reliable.
Can You Pressure Test the Plumbing for Leaks?
Plumbing leaks can be a big headache for homeowners, but can you pressure test the plumbing to prevent them? The answer is yes! By conducting a pressure test, you can help detect any weak points in your plumbing system before they become a bigger problem down the line.
This can save you time, money, and the stress of dealing with a major plumbing leak. So, if you suspect any issues with your plumbing, it’s a good idea to call in a professional who can perform a pressure test and put your mind at ease.
Why Should You Pressure Test Plumbing for Leaks?
When it comes to plumbing, there are few things more frustrating than discovering a leak. From the annoyance of constantly dripping faucets to the potential for major water damage and expensive repairs, leaks can cause all sorts of headaches. That’s why pressure testing plumbing is so important. This process involves pressuring the plumbing system to ensure no leaks are present.
Doing so lets you identify any problem areas before they become major issues. Regularly pressure testing your plumbing can save you money in the long run and help keep your home safe from water damage. So, if you haven’t pressure tested your plumbing recently, it’s time to get started!
7 Steps to Follow on How to Pressure Test Plumbing for Leaks
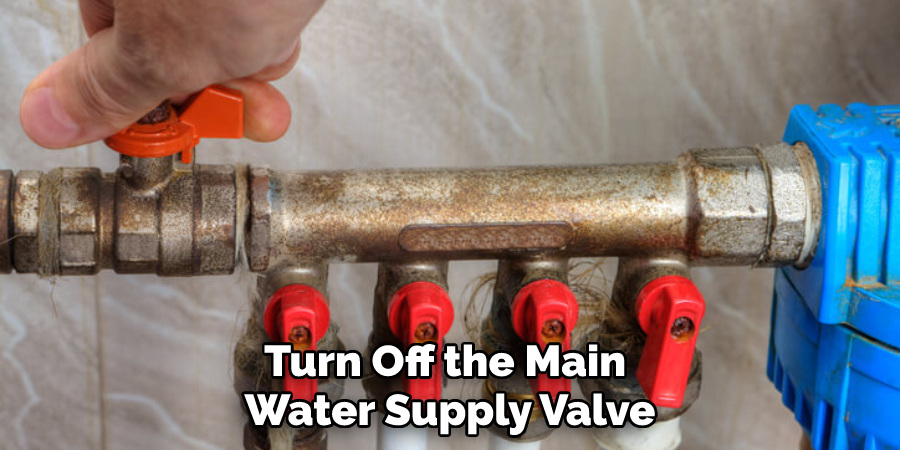
Step 1: Turn Off the Water Supply and Drain the System
Before you begin the pressure test, you need to turn off the main water supply valve and drain the pipes completely. This will ensure that there is no water in the system that could affect the accuracy of the test or cause damage to your fixtures and appliances. To drain the pipes, simply open all the faucets and flush the toilets until the water stops flowing.
Step 2: Attach the Pressure Gauge and Adaptor
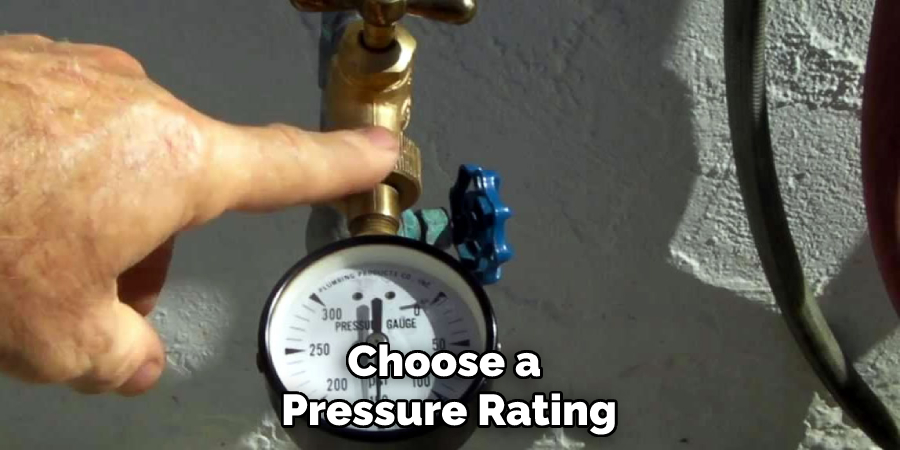
Next, you need to attach a pressure gauge and adaptor to your system. The pressure gauge will measure the pressure inside your pipes, while the adaptor will create a closed system that allows you to pump air into your pipes.
You can buy a pressure gauge and adaptor at your local hardware store or rent one from a plumbing supply company. Follow the manufacturer’s instructions to attach the gauge and adaptor to your system properly.
Step 3: Pump Air Into the System
Now it’s time to pump air into your pipes and increase the pressure to the desired level. Most experts recommend a pressure of around 60 psi, but this may vary depending on your system and local building codes. Use a compressor or hand pump to inflate the system gradually, and be careful not to exceed the recommended pressure, as this could damage your pipes and fixtures.
Step 4: Check for Leaks
Once you’ve reached the desired pressure, it’s time to start checking for leaks. Begin by inspecting all visible plumbing components, such as pipes, fittings, valves, and faucets. Look for signs of water dripping, spraying, or hissing, or listen for the sound of air escaping.
Use a soap solution or leak detector spray to locate any leaks that are hard to see or hear. Apply the solution to the suspected area and look for bubbles, which indicate a leak is present.
Step 5: Fix Any Leaks
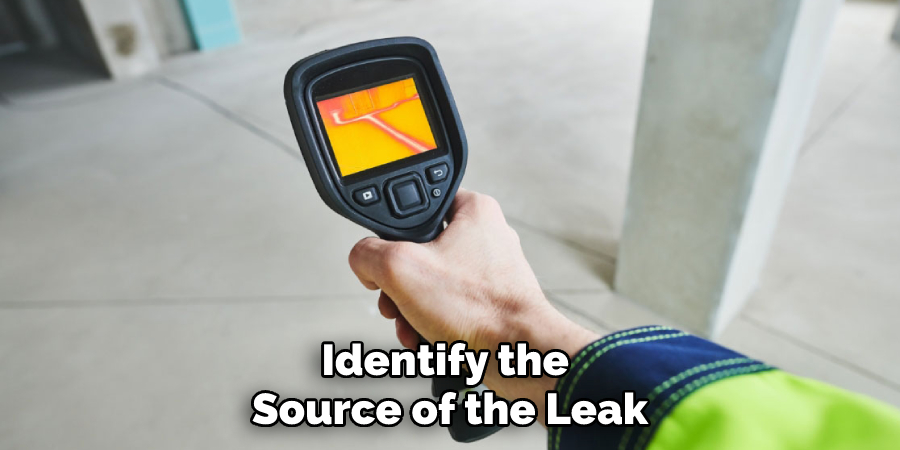
If you do find any leaks during the pressure test, don’t panic! Most leaks are minor and can easily be fixed with simple tools and techniques. Identify the source of the leak and turn off the air compressor or pump. Then, use a wrench, pliers, or pipe cutter to tighten loose fittings, replace damaged parts, or apply sealant or tape as needed. Restart the pressure test and repeat the leak detection process until your system is completely leak-free.
Step 6: Turn Off the Air Compressor or Pump
Once you’ve identified and fixed all leaks, it’s time to turn off the air compressor or pump. This will help prevent any further damage from excessive pressure and reduce your energy costs. Be sure to release the pressure slowly before turning off the system, as this will help prevent air bubbles from forming in the pipes.
Step 7: Reopen the Water Supply Valve
After you’ve turned off the compressor or pump, you can go ahead and reopen the main water supply valve. This will allow normal water to flow back into your system and ensure that all of your fixtures and appliances are working properly. Make sure to check for any leaks again before using your plumbing system.
That’s it! You’ve now learned how to pressure test plumbing for leaks. Remember to follow all safety precautions and use the right tools and techniques when working with your system. With a little bit of patience, you can ensure that your plumbing is running smoothly and safely.
5 Considerations Things When You Need to Pressure Test Plumbing for Leaks
1. Type of Plumbing
The first consideration when pressure testing plumbing for leaks is the type of plumbing that needs to be tested. The most common types of plumbing are PVC, copper, and galvanized steel. Each type of plumbing has its own unique pressure testing requirements.
2. Pressure Rating
The second consideration is the pressure rating of the plumbing. The pressure rating is the maximum amount of pressure that the plumbing can withstand before it fails. It is important to choose a pressure rating that is appropriate for the type of plumbing being tested.
3. Test Pressure
The third consideration is the test pressure. The test pressure is the amount of pressure that will be applied to the plumbing during the test. It is important to choose a test pressure that is appropriate for the type of plumbing being tested and the desired results of the test.
4. Test Duration
The fourth consideration is the test duration. The test duration is the amount of time that the plumbing will be under pressure during the test. It is important to choose a test duration that is appropriate for the type of plumbing being tested and the desired results of the test.
5. Safety Precautions
The fifth and final consideration is safety precautions. Pressure testing can be dangerous if not done properly. It is important to take all necessary safety precautions when performing a pressure test, such as wearing proper safety gear and using proper tools and equipment.
By taking into consideration these five considerations when performing a pressure test, you can ensure that your plumbing is properly tested for leaks and will remain safe and functioning for many years to come. So if you need to pressure test plumbing for leaks, make sure to keep these five considerations in mind.
4 Common Mistakes People Make When Trying to Pressure Test Plumbing for Leaks
1. Not Bleeding the Air Out of the System
One of the most common mistakes people make when trying to pressure test plumbing for leaks is not bleeding the air out of the system. If there is air in the system, it will compress when water is added, giving you an inaccurate reading. To avoid this, be sure to open all faucets in the house and let the water run until it is clear.
2. Not Checking for Cracks or Holes in the Fixtures
Another common mistake people make is not checking for cracks or holes in the fixtures before starting the test. If there are any cracks or holes, water will leak out, and you will not be able to test the system accurately. Be sure to check all fixtures for cracks or holes and repair them before starting the test.
3. Not Closing All Valves Before Starting the Test
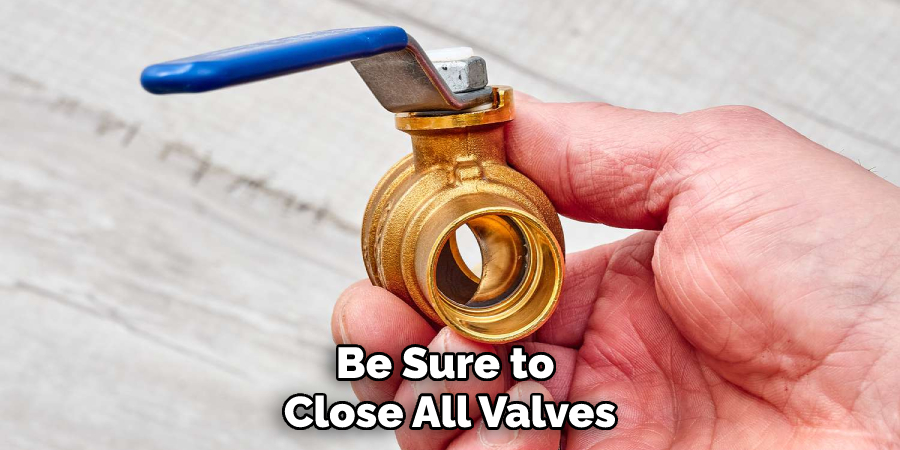
If you forget to close all valves before starting the test, water will leak out of any open valves and give you an inaccurate reading. Be sure to close all valves in the system before starting the test so that you can get an accurate reading.
4. Not Testing for a Long Enough Period of Time
Finally, another common mistake people make is not testing for a long enough period of time. You should ideally test for at least 24 hours so that you can be sure that there are no leaks in the system. If you do not test for long enough, you may miss a small leak that could cause big problems down the road.
Conclusion
Congratulations, you’ve just learned how to pressure test your plumbing system for leaks like a pro! By following these simple steps, you can prevent costly water damage, save money on your utility bills, and ensure that your plumbing system is safe, reliable, and efficient. If you’re not confident in your DIY skills or encounter major problems during the test, don’t hesitate to contact a professional plumber.
A licensed plumber can help you diagnose the issue, recommend the best solution, and provide high-quality repairs that will last for years to come. Now that your plumbing is leak-free, sit back, relax, and enjoy the peace of mind that comes with a job well done! Thanks for reading our post about how to pressure test plumbing for leaks.

