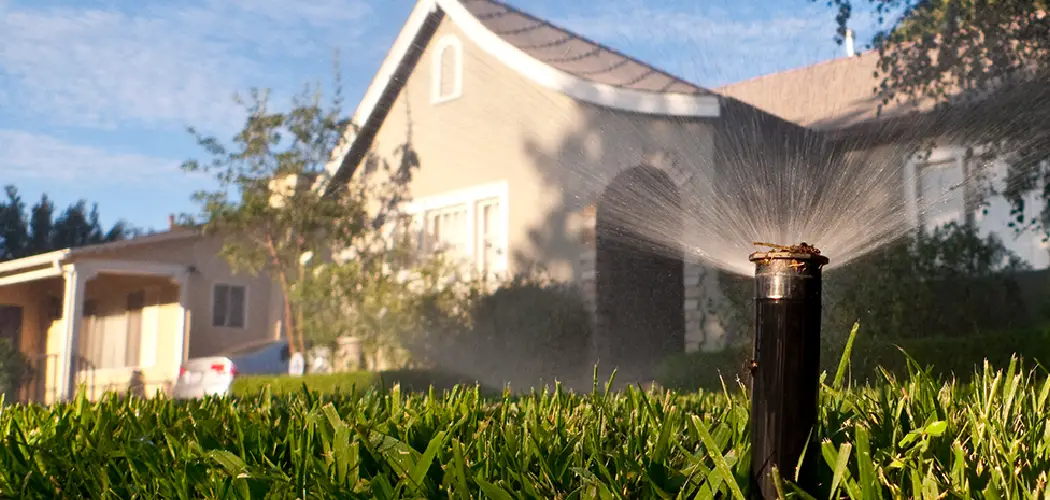
Protecting your sprinkler system in winter is crucial to prevent damage from freezing temperatures. As the temperature drops, any water left in your pipes can freeze and expand, leading to broken pipes and damaged sprinkler heads. Failing to winterize your sprinkler system can result in costly repairs and even the need for a complete system replacement. Learning how to protect sprinkler system in winter can save you time, money, and hassle.
The process typically involves draining the water from your system, insulating exposed parts, and using a specialized blowout method to ensure no water remains trapped. By following these steps, you can ensure your sprinkler system remains in excellent condition for the next growing season. Taking the time to properly winterize your system is a small investment that pays off in the long run.
Turn Off the Water Supply
Protecting your sprinkler system during winter begins with ensuring that no water remains in the pipes, which can freeze and cause damage. The first step is to locate the main shut-off valve for your sprinkler system. This valve is typically found in areas like the basement, crawl space, or utility room. Once you have identified the main shut-off valve, turn it off to stop the flow of water to your sprinkler system. This step is crucial to prevent any new water from entering the pipes.
After turning off the main valve, you need to drain any remaining water from the system. To do this, open the drain valve, which is usually situated close to the main shut-off valve. Opening this valve will allow any trapped water to escape from the pipes. Ensuring that all residual water has been drained significantly reduces the risk of freezing and expanding, which can lead to broken pipes and costly repairs. By carefully completing this step, you lay a solid foundation for the rest of the winterization process, effectively safeguarding your sprinkler system from the harsh winter temperatures.
Turn Off the Timer or Controller
Once you have turned off the water supply and drained your sprinkler system, the next crucial step is to turn off the timer or controller. This ensures the system doesn’t accidentally turn on during the winter months, which could lead to damage. Locate your sprinkler system’s timer or controller, which is typically installed near the main shut-off valve or in a centralized location in your home.
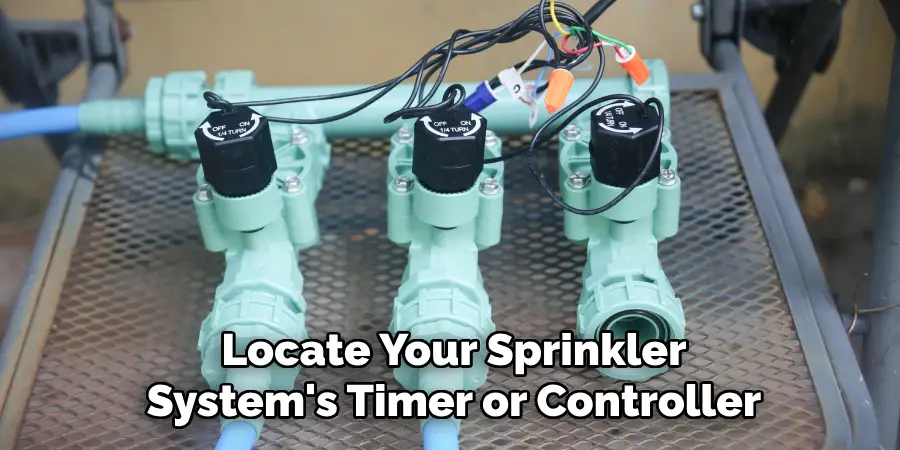
If your controller has a “rain” or “off” mode, switch it to that setting. This simple action will prevent the system from activating and trying to operate without water, which can damage the components. For added protection, consider disconnecting the controller altogether and storing it indoors. Moving the controller indoors shields it from freezing temperatures and potential moisture damage, ensuring it remains in good working condition for the next growing season. By completing this step, you take another vital precaution in safeguarding your sprinkler system through the winter.
How to Protect Sprinkler System in Winter: Drain the Pipes
Ensuring that all water is removed from your sprinkler system is essential to avoid freezing and potential damage. Depending on your system setup, there are several methods to achieve this. Here, we’ll cover three common methods: the manual drain valve method, the automatic drain valve method, and the blow-out method.
Manual Drain Valve Method:
- Open All Manual Drain Valves: Begin by locating the manual drain valves throughout your sprinkler system. These valves are typically positioned at low points or ends of the piping. Open all of them to allow water to flow out of the pipes.
- Sequential Steps: Start with the drain valve closest to the main shut-off valve and work your way to the farthest valve. This ensures that you systematically clear each section of the piping.
- Leave Valves Open: Make sure to leave the valves open for an extended period to ensure all the water has drained out completely. If necessary, gently tilt the pipes or tap them to help dislodge any trapped water.
Automatic Drain Valve Method:
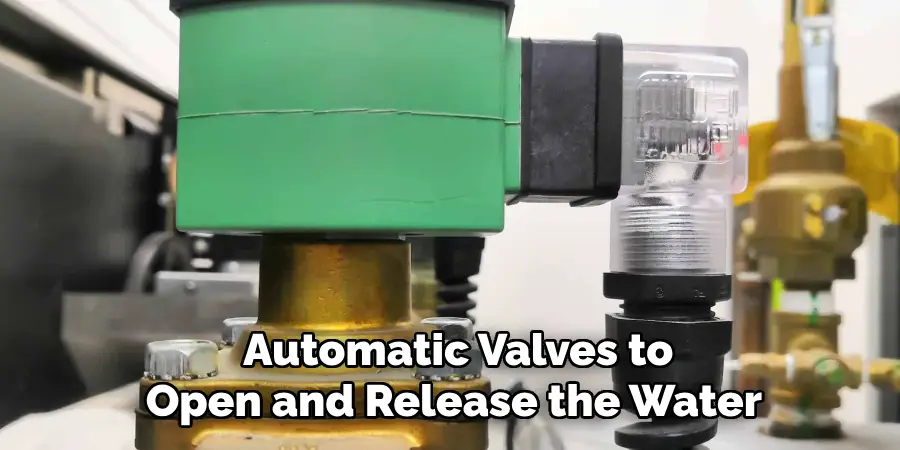
- Activate Automatic Drain Valves: If your system is equipped with automatic drain valves, you can drain the pipes by simply turning off the water supply. The system’s pressure will drop, prompting the automatic valves to open and release the water.
- Check the Valves: Go around and check each automatic drain valve to ensure they have opened properly and all water has been drained from the pipes. It’s important to verify this step as a valve failing to open can result in water being trapped and potentially freezing.
Blow-Out Method:
- Acquire an Air Compressor: Rent or purchase an air compressor that matches your system’s cubic feet per minute (CFM) requirements. It’s critical to ensure the compressor’s CFM rating is suitable to avoid damaging your system.
- Connect to Blow-Out Port: Locate the blow-out port, which is generally near the main shut-off valve. Securely attach the air compressor hose to the blow-out port.
- Open Compressor Valve Slowly: Gradually open the compressor valve to increase the pressure slowly. This controlled introduction of air pressure helps force water out of the sprinkler heads without damaging the pipes.
- Zone-by-Zone Process: Start with the sprinkler zone furthest from the compressor and blow air through it until only air comes out of the heads, indicating that the water has been expelled. Move systematically to the next closest zone and repeat the process for each zone in your system.
- Monitor Air Pressure: Throughout this procedure, be extremely cautious not to exceed the recommended air pressure for your system. Excess pressure can damage sprinkler heads and piping, leading to costly repairs.
By following these methods, you can thoroughly drain your system and significantly reduce the risk of winter damage. This crucial step ensures that your sprinkler system remains in good condition and ready to function when the next growing season arrives. Properly draining your pipes now will save you from potential headaches and costly repairs down the line.
How to Protect Sprinkler System in Winter: Insulate Exposed Components
Wrapping exposed pipes, backflow preventers, and other sprinkler system components is essential to safeguard them from freezing temperatures. Begin by covering exposed piping with insulation material such as foam pipe insulation or heat tape. This helps maintain a stable temperature around the pipes, preventing the water inside from freezing and causing damage. Secure the insulation with weatherproof tape or zip ties to ensure it remains in place throughout the winter months.
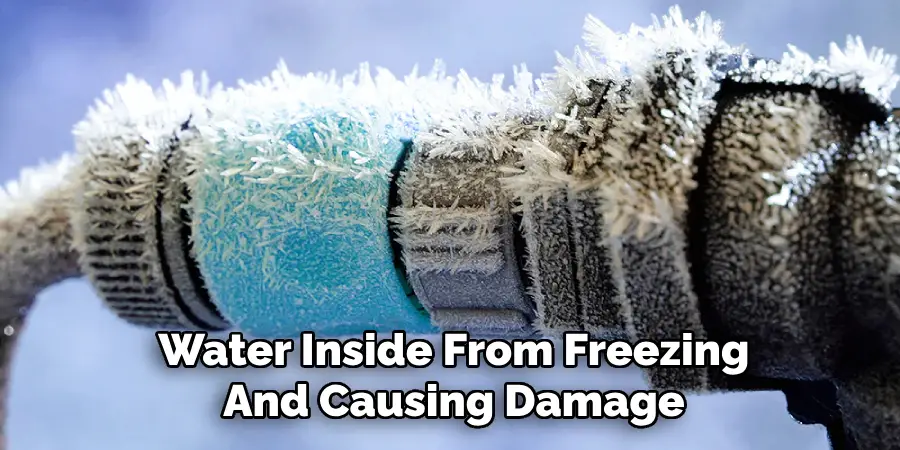
Additionally, consider using specially designed insulated covers for backflow preventers and above-ground valves. These covers provide an extra layer of protection against extreme cold and can be easily fitted over the components. By carefully insulating these exposed parts, you significantly reduce the risk of freezing and bursting, thus preserving the integrity of your sprinkler system for the next season. Ensuring proper insulation is a key step in the overall winterization process.
Check and Maintain
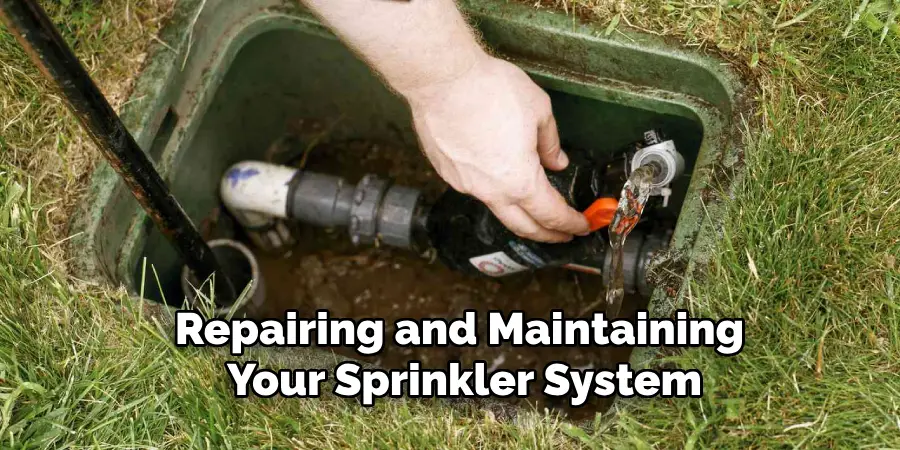
Before completing the winterization of your sprinkler system, it’s crucial to inspect it for leaks or damaged components. Start by conducting a thorough visual check of all the pipes, valves, sprinkler heads, and other system parts. Look for signs of wear, cracks, or leaks that could compromise the system’s operation.
Repair or replace any damaged parts you identify during this inspection. Addressing these issues now ensures that your system will be in good condition and ready to perform optimally when the next growing season arrives. Ignoring minor problems can lead to significant failures and higher repair costs in the future.
Throughout the winter months, periodically check the insulation and coverings you’ve applied to exposed components. Wind and weather can disrupt these protective layers, reducing their effectiveness. Ensure that the insulation remains securely in place and that there are no gaps or exposed areas that could allow freezing temperatures to damaging the system.
By diligently inspecting, repairing, and maintaining your sprinkler system, you protect your investment and ensure that it will function efficiently year after year. This proactive approach reduces the likelihood of winter damage and extends the lifespan of your sprinkler system, saving you time and money in the long run.
Frequently Asked Questions (FAQs)
1. What Is the Best Time to Start Winterizing My Sprinkler System?
The ideal time to start winterizing your sprinkler system is before the first frost of the season. Typically, this is in late autumn, but the exact timing can vary depending on your geographic location. Keeping an eye on local weather forecasts and initiating the process when nighttime temperatures start to approach freezing is crucial to prevent any potential damage.
2. Can I Use Household Air Compressors for The Blow-Out Method?
While you can use a household air compressor for the blow-out method, it is important to ensure that the compressor’s cubic feet per minute (CFM) rating matches your system’s requirements. Using an inadequate compressor might not effectively evacuate the water, while an overly powerful one can damage the sprinkler heads or pipes. It’s often recommended to rent or purchase a compressor specifically suitable for this task.
3. What Should I Do if I Find a Leak During My Pre-Winter Inspection?
If you discover a leak during your pre-winter inspection, it’s essential to address it immediately. Depending on the severity and location of the leak, you may need to replace worn components such as gaskets, seals, or sections of pipe. In some cases, professional repair services may be necessary.
Fixing these issues promptly will prevent water loss, protect against further damage during winter, and ensure your sprinkler system is ready for spring.
Conclusion
Properly winterizing your sprinkler system is essential to prevent damage and costly repairs that freezing temperatures can cause. By following the outlined steps, you ensure your system’s longevity and operational efficiency when warm weather returns. Start by turning off the water supply and disabling the timer or controller. Drain the pipes using one of the recommended methods and insulate all exposed components to safeguard them from freezing. Regularly check and maintain the system throughout the winter to address any potential issues promptly.
Remember, scheduling a reminder to winterize your sprinkler system each year before the first freeze can save you from extensive damage and expensive repairs. If you’re unsure about any step in the process, consider consulting a professional for assistance. By adhering to these practices, you’ll master how to protect sprinkler system in winter, ensuring it remains in excellent condition season after season.
You can check it out to to Aerate Lawn With Sprinkler System

