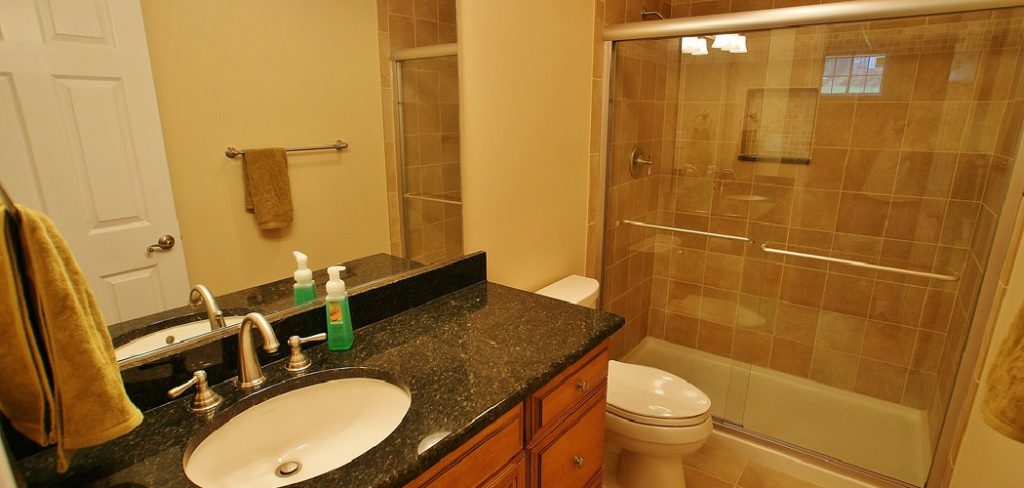
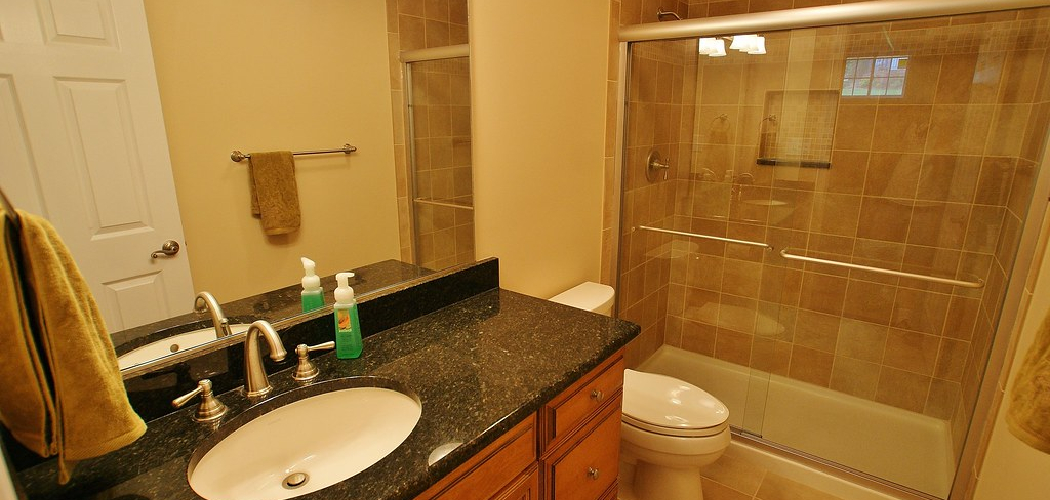
Are you planning on adding a bathroom to your basement but don’t have existing plumbing? Don’t worry. It’s possible to put a bathroom in a basement without plumbing.

How to put a bathroom in a basement without plumbing can seem like a daunting task, but with careful planning and the right approach, it’s entirely feasible. Whether you’re looking to create a guest suite, increase your home’s value, or simply have an additional restroom, this guide will navigate you through the key steps to successfully add a bathroom without the need for extensive plumbing.
We’ll explore alternative solutions, including using macerating toilets, greywater systems, and clever design strategies to ensure your new space is functional, comfortable, and up to code. With the right tools and techniques, you can transform your basement into a convenient and stylish bathroom that meets your needs.
What Will You Need?
Before adding a bathroom to your basement without plumbing, gathering all the necessary supplies and materials is important. Some essential items you may need include:
- Macerating toilet or greywater system
- Plumbing fixtures (sink, shower, etc.)
- PVC pipes and fittings
- Drill and drill bits
- Hammer and nails/screws
- Waterproofing materials (e.g., sealant, waterproof membrane)
- Insulation materials (e.g., foam insulation, fiberglass batts)
- Drywall
- Tile or other flooring material
- Paint or wallpaper for walls
If you want to add a bathroom to your basement, you may also need to purchase permits from your local government.
10 Easy Steps on How to Put a Bathroom in a Basement Without Plumbing
Step 1: Determine the Location
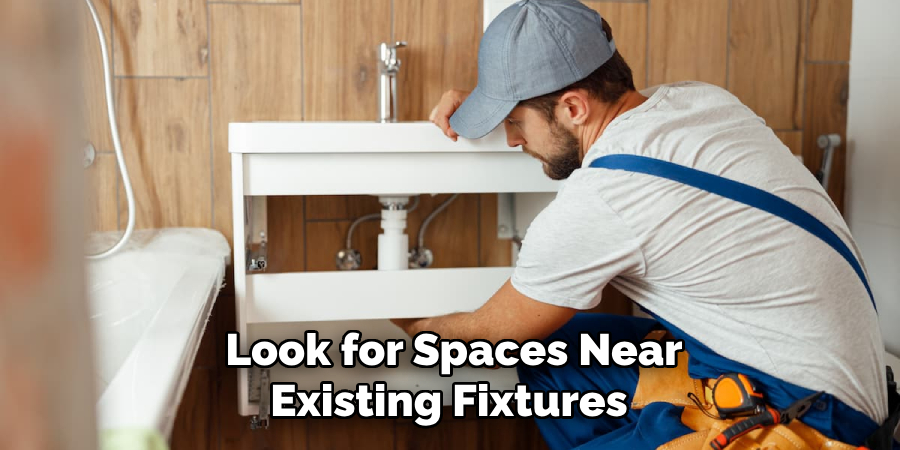
Choosing the right location for your basement bathroom is crucial for functionality and convenience. Consider areas easily accessible from other parts of the house, mainly if the bathroom will serve guests or family members frequently. Look for spaces near existing fixtures, such as a utility sink or laundry area, as this can simplify your setup. Assess the ceiling height, as lower ceilings might limit your choice of fixtures or design options.

Additionally, check for existing vents and windows; proper ventilation is essential to prevent moisture buildup and maintain air quality. Once you’ve pinpointed an ideal spot, it’s a good idea to sketch out your plans or use design software to visualize how the bathroom will fit into the space, helping you maximize the layout and ensure everything flows appropriately within the environment.
Step 2: Plan the Layout
After determining the location of your basement bathroom, the next step is to plan the layout. This involves deciding where each fixture will be placed, including the toilet, sink, and additional items, such as a shower or bathtub. Start by measuring the available space to ensure everything fits comfortably without appearing cramped.
- Toilet Placement: The macerating toilet typically requires a minimum distance of 10-15 feet from the discharge point to the holding tank, so consider this when locating it. Positioning the toilet away from direct sightlines for privacy is also advisable.
- Sink and Shower Arrangement: Place the sink near the entrance for convenience, mainly if guests use the bathroom. If a shower is included, ensure enough clearance around it for easy access. Consider how the plumbing will connect, even if it doesn’t involve traditional methods, as this will impact your layout.
- Ventilation and Lighting: Plan for an adequate ventilation source, especially since basements can be prone to moisture. Position a window nearby or include an exhaust fan to help manage humidity levels. When it comes to lighting, incorporate both ambient and task lighting—overhead lighting combined with sconces around the mirror can create a well-lit space.
Creating a clear plan with scaled drawings or using design software can help visualize the space and ensure that everything works harmoniously together. Remember to leave enough room for movement and accessibility, adhering to any local building codes or accessibility requirements.
Step 3: Acquire Necessary Permits
Before installing your basement bathroom, you must check with your local government or building authority about any required permits. Building codes vary widely based on location, and obtaining the necessary licenses will ensure that your project adheres to safety regulations and local standards. This step is crucial for compliance and avoiding potential fines or complications during future home inspections or when selling your property. Once you have acquired the required permits, keep them on hand as you move forward with the renovation process.

Step 4: Prepare the Space
With permits in hand, the next step is to prepare the space for your new bathroom. This involves clearing out any furniture or items that may be in the way and ensuring that the floor is level and ready for new installation. You might need to adjust the existing flooring to support the latest fixtures. It may also be beneficial to clean and inspect the walls for moisture or mold issues, addressing these problems before you begin the build. Finally, ensure that any electrical wiring needed for lighting and fans is accessible and meets safety standards, laying the foundation for a smooth installation process.
Step 5: Install the Macerating Toilet or Greywater System
Once the space is prepped, you can begin the installation of the macerating toilet or greywater system. From the macerating toilet, follow the manufacturer’s instructions for the setup, ensuring you have the proper discharge point and the electrical components are safely installed. For greywater systems, it’s crucial to connect all discharge points, such as sinks and showers, to the tank according to local regulations. Be precise with plumbing connections, as any leaks can lead to significant issues later. Properly installing these systems is vital for ensuring usability and compliance with health standards.
Step 6: Install Fixtures and Plumbing
With your toilet and greywater system in place, installing the remaining fixtures is time. Begin with the sink, ensuring it connects properly to the drainage system if applicable. If you included a shower, now is the time to install it with the necessary plumbing connections. Make sure all fixtures are secured and adequately sealed to prevent leaks. This step may require additional piping or fittings, so keep handy the PVC materials you gathered earlier. Once everything is installed, run a test to verify that all plumbing works as intended without any leaks or clogs.

Step 7: Add Waterproofing
Apply waterproofing materials to safeguard your basement bathroom from moisture damage. Start by using a waterproof membrane on the walls and floors, especially in areas around the shower or sink where water exposure is likely. Utilize sealant around the fixtures to create additional barriers against leaks, ensuring long-lasting durability. This step not only protects your renovations but also enhances the overall comfort and longevity of your new bathroom space.
Step 8: Finish Walls and Flooring
After the waterproofing is complete, you can proceed with finishing the walls and flooring. Install drywall where needed, making sure to use moisture-resistant boards in areas that are prone to humidity. Once the walls are in place, you can move on to tiling or laying the chosen flooring material. For the flooring, opt for water-resistant options that can withstand the basement environment, such as vinyl, tile, or treated wood. This step will dramatically impact the aesthetics and functionality of your bathroom, so take your time to ensure everything is installed neatly and correctly.
Step 9: Install Lighting and Ventilation
With the walls and flooring finished, don’t overlook the importance of lighting and ventilation in your basement bathroom. Install overhead lights and additional fixtures such as sconces near the mirror, to enhance visibility and functionality. Make sure that the ventilation system, whether it’s an exhaust fan or an operable window, is strategically positioned to manage humidity and maintain air quality effectively. Proper lighting and ventilation are critical for creating a welcoming atmosphere in your new bathroom.
Step 10: Final Touches and Inspection
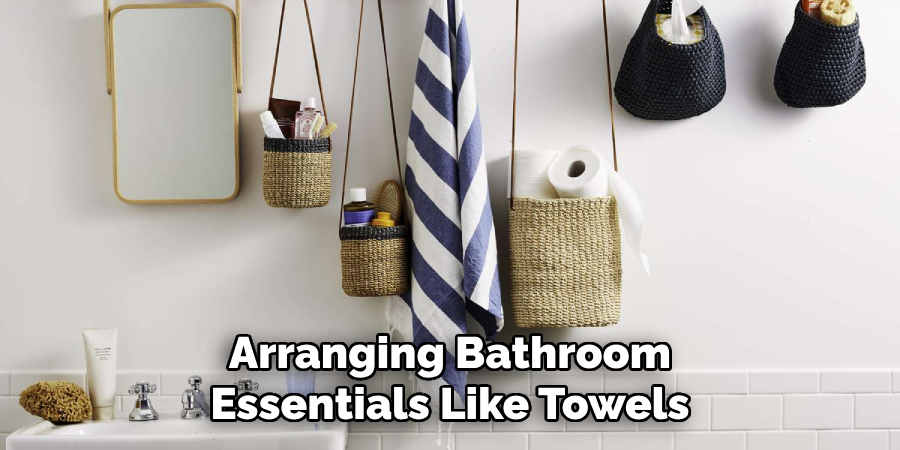
The final step involves adding the finishing touches to your basement bathroom. This includes painting or wallpapering the walls to add personality, installing any decorative elements, and arranging bathroom essentials like towels and toiletries. Once everything is in place, conduct a thorough inspection of your work, checking each fixture for functionality and ensuring all installations meet local building codes. Finally, once you are satisfied, it’s time to enjoy your newly created bathroom space.

By following these steps, you can successfully install a basement bathroom that is not only functional but also adds value and comfort to your home. Remember to always prioritize safety and compliance with regulations throughout the process.
Conclusion
How to put a bathroom in a basement without plumbing may seem daunting, but by following the outlined steps, you can create a practical and stylish space that enhances your home’s functionality.
Utilizing systems like macerating toilets and greywater solutions allows you to circumvent the need for extensive plumbing work while adhering to safety standards and local regulations. Ensuring proper waterproofing, ventilation, and careful fixture installation further enhances the usability and longevity of your new bathroom.
Ultimately, with careful planning and execution, you can transform your basement into a comfortable and valuable area for relaxation and convenience.

