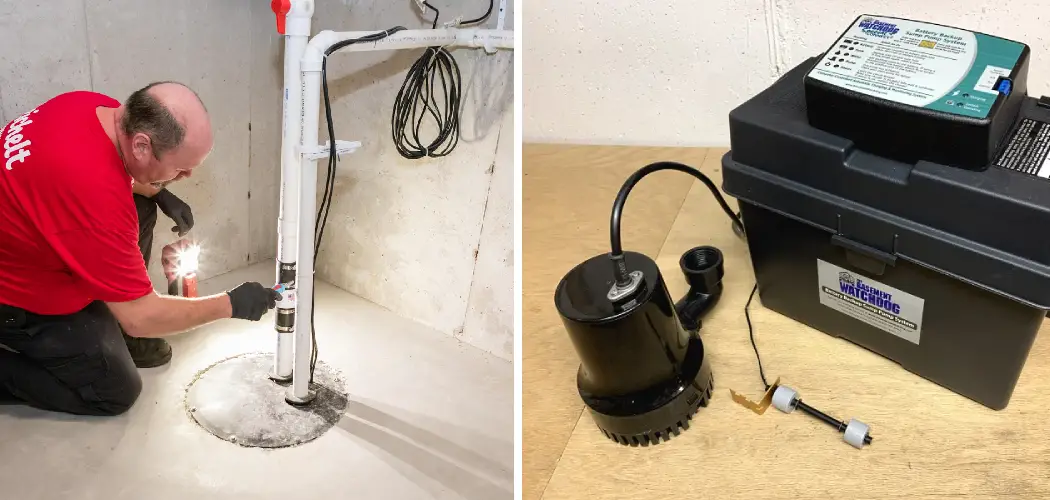
The vitality of a properly functioning sump pump battery cannot be overstated, especially in areas prone to heavy rainfall or flooding. This component is critical in ensuring that your sump pump operates efficiently during power outages, safeguarding your basement from water damage and the resulting costly repairs.
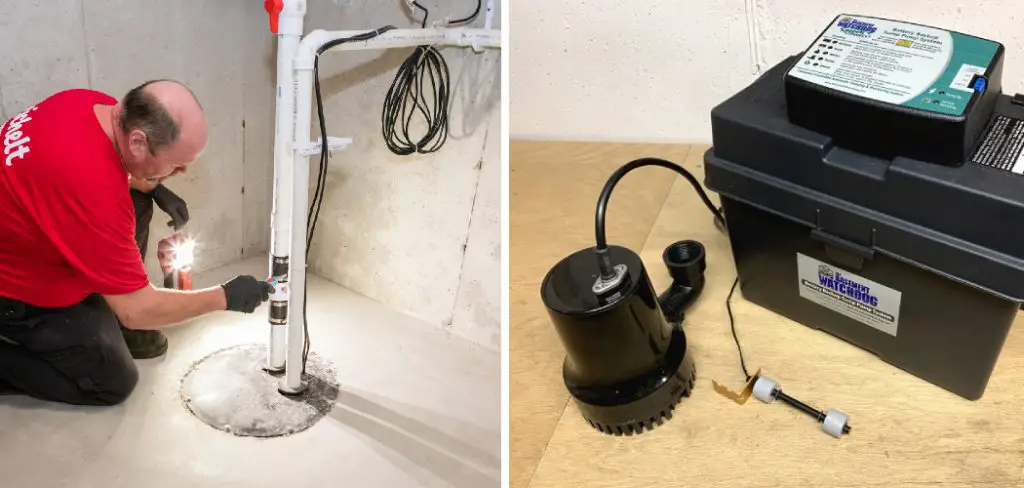
Sump pump battery backup systems provide an additional layer of security against basement flooding. These systems kick into action when the primary power supply is disrupted, ensuring continuous operation of your sump pump. Understanding the functionality and maintenance of these systems is essential for optimal performance.
This article aims to provide readers with a comprehensive guide on how to recharge sump pump battery, along with the importance of maintenance and regular check-ups. By equipping homeowners with this knowledge, we aim to enhance the reliability and functionality of their sump pump backup systems, ensuring they are prepared for any situation.
Understanding Sump Pump Batteries
A. Types of Sump Pump Batteries
Sump pump systems typically utilize one of two types of batteries: Deep Cycle or Absorbent Glass Mat (AGM). Deep Cycle batteries are designed for prolonged usage and can discharge a significant portion of their capacity while maintaining performance. They are a reliable choice for sump pump systems due to their endurance and ability to recharge repeatedly.
On the other hand, AGM batteries offer the advantage of being maintenance-free and spill-proof. Their sealed design allows for installation in various positions without the risk of leakage, making them a safer and more flexible option for many homeowners.
B. Importance of Regular Maintenance and Charging
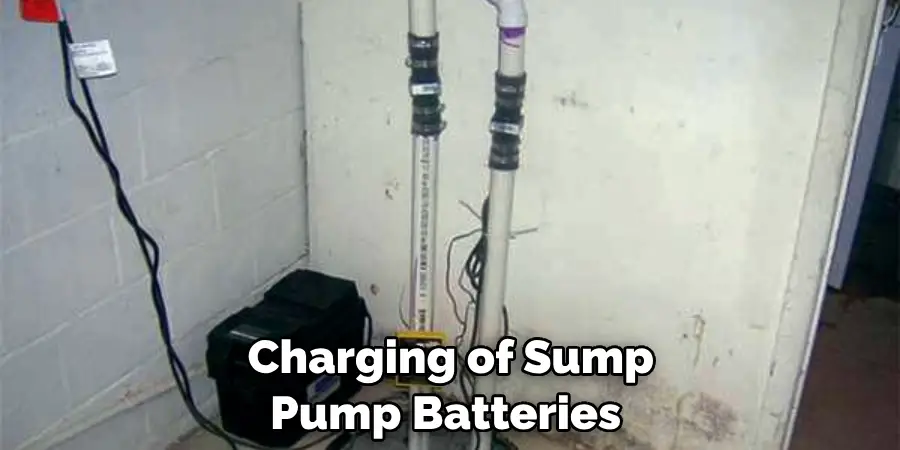
Regular maintenance and charging of sump pump batteries are crucial for ensuring the uninterrupted operation of the sump pump system, particularly during emergencies. A well-maintained battery can be the difference between a dry and a flooded basement.
Periodic checks and charging extend the battery’s life and improve the sump pump’s overall efficiency and reliability. It is recommended that the sump pump battery be inspected and charged at least every three to four months to prevent failure when it’s most needed.
C. Signs of a Low or Depleted Battery
Recognizing the signs of a low or depleted battery can prevent unexpected sump pump failures. Some common indicators include the sump pump not turning on during a power outage, the battery backup system issuing warning signals or beeps, and visible signs of battery swelling or leakage.
A significant drop in battery power level or inability to hold a charge are also red flags that the battery may need to be charged or replaced. By staying vigilant and addressing these signs early, homeowners can ensure their sump pump is always ready to operate effectively.
Safety Precautions
When dealing with electrical devices and batteries, like those integral to sump pump systems, taking appropriate safety precautions is paramount to prevent accidents and ensure a safe working environment. This section highlights essential safety measures that should never be overlooked during the maintenance process.
A. Importance of Safety Gear (e.g., Gloves, Safety Glasses)
Before beginning any work on your sump pump battery, it is crucial to wear appropriate safety gear. Durable gloves and safety glasses protect against accidental spills, splashes from battery acid, and potential debris.
This protective wear not only minimizes the risk of physical injury but also enhances the focus and confidence needed when handling potentially hazardous materials.
B. Turning Off Power to the Sump Pump
Always turn off the sump pump’s power before proceeding to ensure a safe maintenance or replacement process.
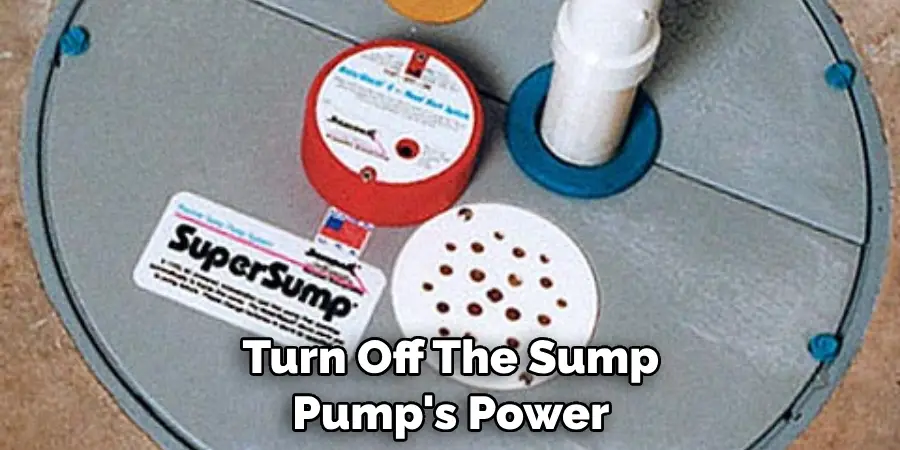
This can typically be done at the electrical panel by switching off the circuit breaker connected to the pump. Taking this step prevents the risk of electrical shock and protects both the equipment and the individual performing the work.
C. Working in a Well-Ventilated Area
Batteries, especially when charging or if damaged, can release harmful gases. Therefore, working in a well-ventilated area is critical to avoid inhaling these potentially dangerous fumes.
Whether you are inspecting, charging, or replacing your sump pump battery, ensure that the space is airy or that there is sufficient airflow to disperse any emitted gases safely.
Adhering to these safety precautions not only ensures the well-being of the individual performing the maintenance but also extends the longevity and reliability of the sump pump system. Safety should always be the top priority, as it is the foundation for effective maintenance routines.
How to Recharge Sump Pump Battery: Checking Battery Charge Level
Ensuring your sump pump battery is adequately charged is crucial for its reliability, especially during unexpected power outages. This section guides homeowners through several methods for checking the battery’s charge level.
A. Inspecting Battery Charge Indicator (if available)
Many modern sump pump batteries are equipped with a charge indicator that provides a quick visual assessment of the battery’s current charge level. This indicator could be in the form of LED lights or a gauge on the battery itself.
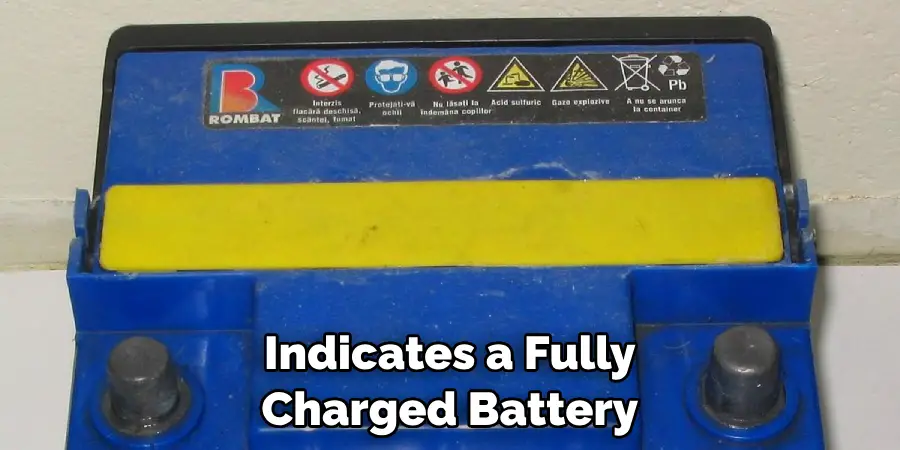
A green light or a full gauge typically indicates a fully charged battery, while a red light or a low reading suggests it needs charging. It’s essential to familiarize yourself with the specific indicators on your battery to interpret these signals accurately.
B. Testing Battery Voltage with a Multimeter
For a more precise measurement of your sump pump battery’s charge level, using a multimeter is recommended. To test the battery voltage, set the multimeter to the DC voltage setting that exceeds your battery’s voltage rating. Then, connect the multimeter’s probes to the battery’s corresponding positive and negative terminals.
A fully charged 12-volt battery should display a reading of around 12.6 to 12.8 volts. Readings below 12.4 volts indicate a partially discharged battery and anything under 12 volts signifies a significantly depleted battery that requires immediate charging.
C. Verifying Battery Charge Status with a Battery Tester
A battery tester is a tool specifically designed to evaluate batteries’ health and charge status, providing a straightforward way to ensure your sump pump’s battery is functioning optimally.
When using a battery tester, simply connect the device to the sump pump battery’s terminals according to the manufacturer’s instructions. The tester will then give a detailed report, including the battery’s current charge level and potentially its ability to hold charge. This information is invaluable for determining whether a battery needs to be recharged or replaced.
How to Recharge Sump Pump Battery: Recharging the Battery
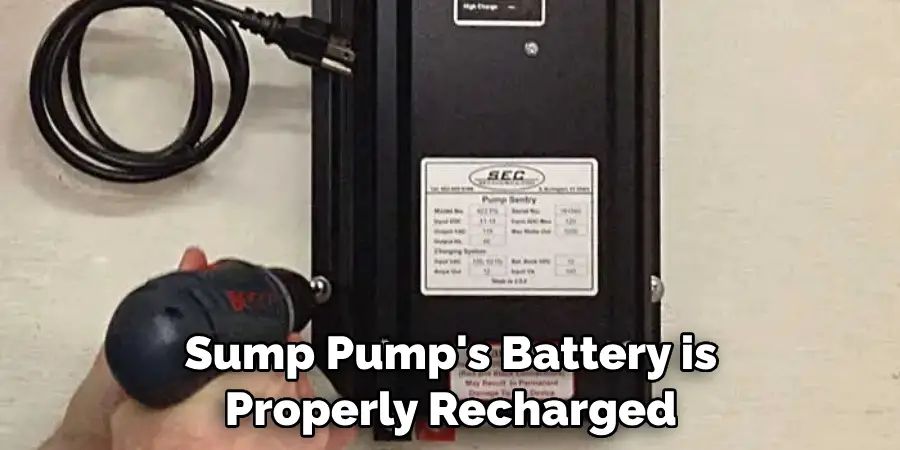
Ensuring your sump pump’s battery is properly recharged is fundamental to its readiness and effective operation, especially during critical times of need. This section offers advice on how to recharge your sump pump battery efficiently and safely.
A. Using a Battery Charger Specifically Designed for Deep Cycle Batteries
When it comes to recharging your sump pump battery, using a battery charger that is specifically designed for deep cycle batteries is crucial. Deep cycle batteries, such as those used in sump pump systems, are made to be discharged and recharged repeatedly.
Chargers for deep cycle batteries are engineered to deliver a charge at a rate that is safe and appropriate for the battery’s design, ensuring optimal charging without overcharging or damaging the battery. It’s important to select a charger with an output voltage that matches your battery’s voltage rating to guarantee an effective charging process.
B. Connecting the Charger to the Battery Terminals
Before connecting the charger, make sure the power to the sump pump and the charger is turned off to avoid any electrical hazards. Connect the charger’s clips to the battery terminals, attaching the red clip to the positive (+) terminal and the black clip to the negative (-) terminal.
Once the charger is properly connected to the battery, you can turn the power on to begin the charging process. Ensuring a secure connection to the terminals will facilitate an efficient charge and prevent potential issues during the recharging process.
C. Following Manufacturer Instructions for Charging
It’s imperative to follow the manufacturer’s instructions closely when recharging your sump pump battery. The instructions will detail the recommended charging rate and the duration for charging, which are crucial for maintaining the battery’s longevity and performance.
Overcharging the battery can lead to damage, while undercharging may result in insufficient power being stored, jeopardizing the sump pump’s reliability. Some chargers are equipped with automatic shutoff features that stop the charging process once the battery reaches full capacity, significantly reducing the risk of overcharging.
If your charger has such features, ensure they are activated according to the instructions. Additionally, monitor the charging process periodically to confirm that everything is proceeding as expected.
Charging Time and Procedure
Charging your sump pump battery effectively is integral to ensuring your system’s reliability, particularly during periods when it is most needed. This chapter outlines the steps for calculating charging time, monitoring the charging progress, and safely disconnecting the charger upon completion.
A. Determining Charging Time Based on Battery Capacity and Charger Output
The time it takes to charge a sump pump battery fully depends on two main factors: the battery’s total capacity (measured in Ampere-hours or Ah) and the charger’s output (measured in Amperes or A).
To approximate the charging time, divide the battery’s capacity by the charger’s output rate. For example, if a battery has a capacity of 75 Ah and the charger’s output is 15 A, the charging time would be approximately 5 hours.
However, this calculation assumes 100% charging efficiency, which is rarely true. Realistically, it’s advisable to factor in an additional 10-20% of the calculated time to account for inefficiencies in the charging process.
B. Monitoring Charging Progress
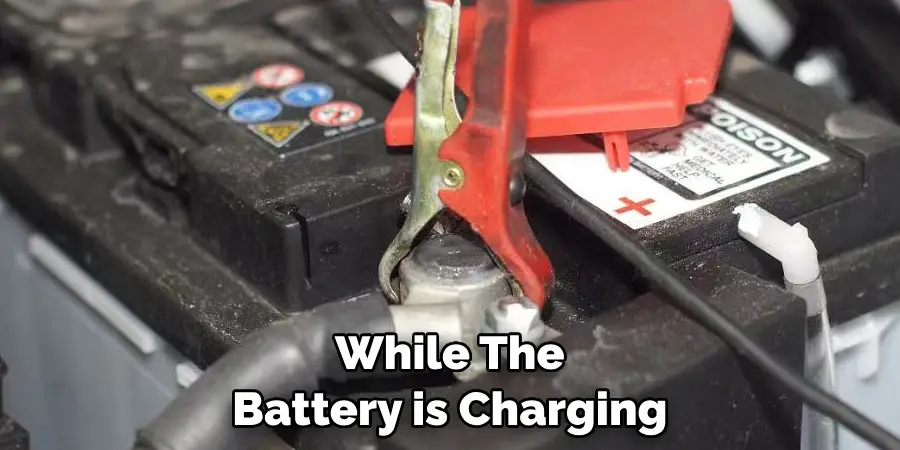
While the battery is charging, it’s essential to periodically monitor its progress. Some chargers feature built-in indicators showing the current charge level or the estimated time remaining until the battery is fully charged. If your charger does not have these features, you can use a multimeter to measure the battery’s voltage, as described previously.
Regular monitoring not only ensures that the battery is charging as expected but also helps prevent overcharging, which can shorten the battery’s lifespan and reduce its efficiency.
C. Disconnecting the Charger When Charging is Complete
Once the battery reaches full charge, it’s crucial to disconnect the charger promptly to prevent overcharging.
If your charger is not equipped with an automatic shutoff feature, you will need to manually monitor the charging process and disconnect the charger when the battery is fully charged. Always ensure that you first turn off the charger before disconnecting it to avoid sparks or short circuits.
After disconnecting, check the battery and the charger for any signs of overheating or damage. Confirm that the battery’s voltage is within the expected range for a fully charged battery to ensure it’s ready for use.
Testing the Recharged Battery
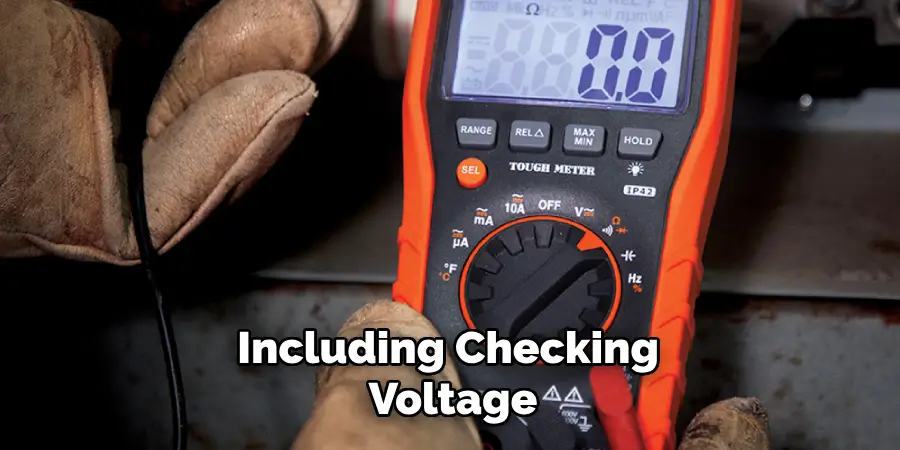
After charging your sump pump battery, it’s crucial to test its performance to ensure it’s in optimal condition to handle its duties. This chapter covers the steps to accurately test the recharged battery, including checking voltage and load capacity and running a test with the sump pump.
A. Testing Battery Voltage After Charging
The first step in testing your recharged battery is to check its voltage to ensure it has been charged to the proper level. Depending on the battery’s specific recommendations, a fully charged deep cycle battery typically shows a voltage reading between 12.6 to 12.8 volts or higher. A multimeter is used to measure the voltage across the battery terminals.
A voltage reading within the expected range indicates a successful charge. However, if the voltage is significantly lower than expected, it may suggest that the battery did not charge correctly, or there might be an underlying issue with the battery itself.
B. Checking Battery Load Capacity
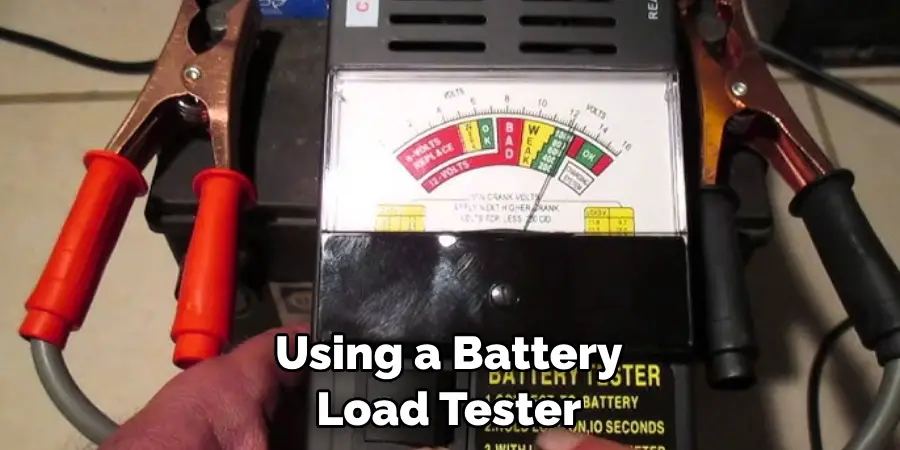
Next, assessing the battery’s load capacity is essential to verify it can perform under the sump pump’s operational demands. A load test can be conducted using a battery load tester, which applies a specific load (in amperes) to the battery for a set period, typically around 10-15 seconds.
After the load test, the battery’s voltage should not drop below 9.6 volts. This test helps identify any potential weaknesses or failure points in the battery, ensuring it can sustain the sump pump’s workload during crucial times.
C. Performing a Test Run with the Sump Pump
Finally, conducting a test run of the sump pump with the freshly charged battery is imperative. This process involves simulating a flooding event by filling the sump pit with water to activate the pump. Observe the pump’s operation closely during this test run. It should run
Maintaining the Battery
Maintaining your sump pump battery is essential for ensuring that your basement remains dry during heavy rainfall and power outages. Regular maintenance not only extends the life of the battery but also enhances the overall efficiency and reliability of your sump pump system. Here are key practices to keep your battery in optimal condition.
A. Regularly Checking Battery Charge Level
To prevent unexpected failures, it’s crucial to regularly check the charge level of your sump pump battery. A battery with a charge below optimal levels may not have enough power to run the sump pump effectively during critical times.
Monthly checks are recommended; use a multimeter to monitor the battery’s voltage. A reading of 12.6 volts or higher typically indicates a fully charged battery, while anything lower suggests it may need recharging.
B. Keeping Battery Terminals Clean and Corrosion-Free
Battery terminals can become corroded over time due to the chemical reactions occurring within the battery. This corrosion can impede the battery’s ability to charge and discharge efficiently, potentially leading to failures.
To maintain clean and corrosion-free terminals, inspect them regularly, cleaning any buildup with a solution of baking soda and water. After cleaning, apply a small amount of petroleum jelly or a commercial terminal protector to prevent future corrosion.
C. Replacing Old or Faulty Batteries as Needed
Batteries don’t last forever and will eventually need to be replaced. The typical lifespan of a sump pump battery is between 3 and 5 years, but this can vary based on usage patterns and maintenance.
Signs that a battery may need replacement include difficulty holding a charge, reduced performance during test runs, or visible damage and swelling of the battery case. Replacing old or faulty batteries promptly ensures your sump pump remains ready to protect your home from flooding at all times.
Adhering to these maintenance tasks can significantly extend the life of your sump pump battery and ensure your system’s reliability when it’s needed most. Regularly checking the battery’s charge level, keeping the terminals clean and corrosion-free, and replacing old or faulty batteries will keep your sump pump in peak condition, offering peace of mind and protecting your property against water damage.
Professional Assistance
Seeking professional assistance for your sump pump battery system is critical in ensuring its longevity and efficiency.
This section will guide you through understanding when to call for expert help, how to consult with specialists and the importance of hiring qualified technicians for specific tasks.
A. Knowing When to Seek Professional Help
It’s essential to recognize the signs that indicate the need for professional intervention with your sump pump system. These signs include frequent battery failures, recurrent sump pump malfunctions, or issues beyond basic maintenance, such as electrical problems or sump pump installation errors.
Additionally, if your system is aging or you plan to upgrade for higher efficiency, professional advice can be invaluable in making informed decisions.
B. Consulting with Sump Pump or Battery Experts
Consulting with experts specialized in sump pumps and battery systems can provide insights into the latest technologies, best practices in maintenance, and personalized recommendations based on your specific needs. These professionals can assess your current system, suggest improvements, or advise on the compatibility of various batteries with your sump pump model.
A consultant can also help you understand the intricacies of sump pump battery backup systems and how to optimize your setup for reliability during power outages.
C. Hiring Qualified Technicians for Battery Replacement or Maintenance
Hiring qualified technicians is paramount for tasks requiring technical expertise, such as battery replacement, system upgrades, or comprehensive maintenance checks. These individuals possess the knowledge and skills to perform intricate procedures safely and efficiently, ensuring your system operates at peak performance.
Qualified technicians are also adept at diagnosing and resolving complex issues that may not be apparent to the untrained eye. When selecting a technician, look for certifications, years of experience, and positive customer reviews to ensure high-quality service.
By understanding when and how to seek professional assistance, you can ensure that your sump pump battery system remains a reliable safeguard for your home against flooding. Expert consultation and employing qualified technicians for specialized tasks can significantly enhance the performance and lifespan of your system, providing peace of mind during adverse weather conditions.
Conclusion
In this comprehensive guide, we have navigated through the essential steps and considerations for maintaining a sump pump battery system. Ensuring your home’s protection against flooding requires attention to detail and regular maintenance.
One critical aspect we covered is how to recharge sump pump battery to maintain optimal performance levels. Key components in this process are regularly checking the battery’s charge level, understanding the need to keep the terminals clean, and knowing when to replace an old or faulty battery.
Safety cannot be overstated when dealing with electrical systems and water. Adhering to safety guidelines, performing routine maintenance, and preparing for unexpected weather events or power outages will ensure the longevity and reliability of your sump pump system.
The ultimate goal is to ensure the reliability and functionality of your sump pump backup system. By following the steps outlined, including understanding how to recharge a sump pump battery, engaging in regular maintenance, and seeking professional assistance when necessary, you can safeguard your property from water damage, ensuring peace of mind during heavy rainfall or power outages.

