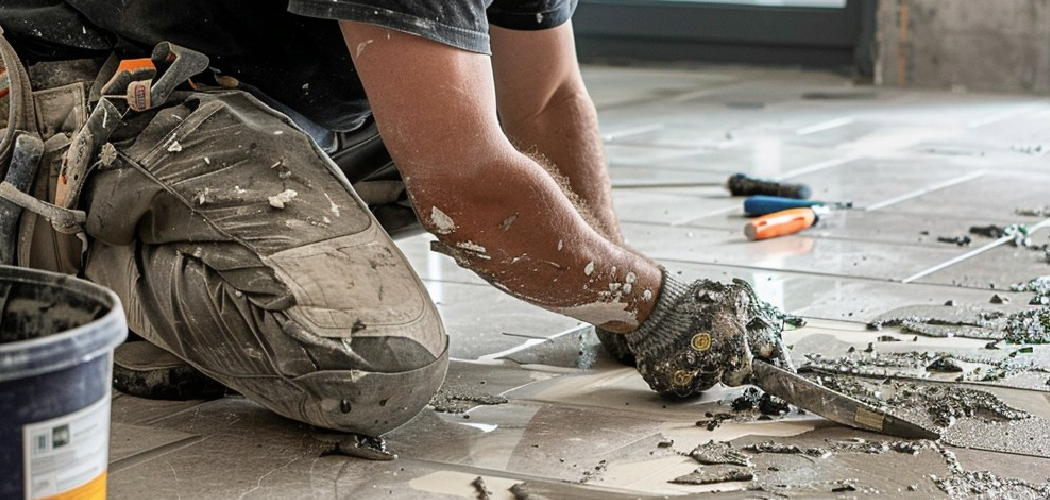
Regrouting a tub is a practical and cost-effective way to restore its appearance and functionality. Over time, grout can become discolored or cracked, leading to potential water damage and mold growth. This guide will take you step by step
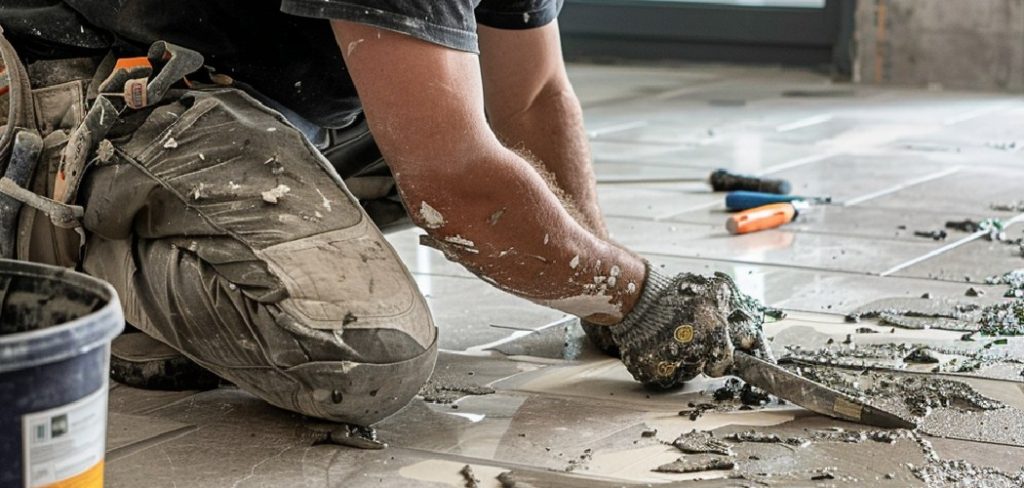
through the process of how to regrout a tub, helping you achieve a safe and professional result. By regrouting your tub, you ensure a watertight seal, while giving your bathroom a fresh and polished look. With the right tools and steps, this task is manageable even for DIY enthusiasts.
Why Regrouting is Essential for Bathroom Maintenance
Regrouting is a key aspect of bathroom maintenance that helps preserve both the aesthetics and structural integrity of your space. Over time, grout can weaken due to constant exposure to water, soap scum, and cleaning chemicals, making it more likely to crack or erode. Damaged grout allows moisture to seep behind tiles, which can lead to mold, mildew, and even structural damage to the walls or flooring. By regrouting, you restore a strong, protective barrier that prevents water infiltration and extends the lifespan of your bathroom surfaces. Additionally, fresh grout enhances the visual appeal of your bathroom, making it look clean and well-maintained.
Signs It’s Time to Regrout Your Tub
Recognizing when it’s time to regrout your tub can save you from more extensive repairs down the line. Some common signs include visible cracks or gaps in the grout, which can allow water to penetrate and cause damage beneath the surface. Discoloration or persistent staining, even after thorough cleaning, is another indication that grout has deteriorated. If you notice areas of grout that feel loose or are crumbling, this is a clear signal it needs replacing. Additionally, if mold and mildew continue to appear despite proper cleaning, it could mean the grout has lost its waterproof properties.
Tools and Materials Needed
Before you start regrouting your tub, it’s important to have all the necessary tools and materials ready. Here’s what you’ll need:
Tools:
- Grout Removal Tool or Utility Knife – To scrape out the old grout effectively. A grout saw or oscillating multi-tool can make the process quicker and easier.
- Vacuum or Brush – To remove debris and dust after scraping out the old grout.
- Grout Float – To spread and press the new grout into the gaps evenly.
- Sponge – For cleaning excess grout from the tiles.
- Bucket – To hold water for cleanup.
- Trowel or Mixing Paddle – For mixing the grout to the right consistency.
- Caulking Gun – If recaulking is also needed around edges or corners.
Materials:
- Grout – Choose the appropriate grout type (sanded or unsanded) depending on the tile and gap size.
- Grout Sealer – To protect the grout from stains and moisture after application.
- Caulk – For a watertight seal in corners or where the tub meets the walls.
- Cleaning Supplies – Tile cleaner or a mild cleaning solution to prepare the surface.
- Protective Gear – Gloves and safety goggles to protect your hands and eyes during the process.
Having all these tools and materials organized before starting will make the regrouting process smoother and more efficient.
10 Methods How to Regrout a Tub
1. Assessing the Condition of the Existing Grout
Before beginning the regrouting process, carefully examine the current state of the grout. Look for visible cracks, discoloration, or missing sections. If you notice any mold or mildew, it may have penetrated beneath the surface, necessitating a complete removal and reapplication. Additionally, tap on the tiles gently to check for any hollow sounds, which might indicate that the adhesive beneath them has weakened. Identifying these issues early on will help you determine the extent of the regrouting required and whether any tile replacement is necessary.
2. Choosing the Right Grout Type for Your Tub
Selecting the appropriate grout is crucial for ensuring longevity and performance. Grout comes in different types, each suitable for specific applications. Epoxy grout is highly resistant to moisture and stains, making it an excellent choice for tubs and showers. Sanded grout, which contains fine sand particles, is ideal for wider gaps between tiles, providing extra

durability. On the other hand, unsanded grout is best for narrow grout lines, as it adheres smoothly without cracking. Understanding the distinctions between these grout types will help you make an informed decision based on your tub’s specific requirements.
3. Removing the Old Grout Carefully
Using a grout removal tool, such as a grout saw, oscillating multi-tool, or a rotary tool with a carbide blade, begin the process of extracting the old grout. Work carefully to avoid damaging the surrounding tiles. Start with the topmost grout lines and gradually work your way down. Holding the tool at a controlled angle helps ensure precision. Once the majority of the old grout is removed, use a vacuum or a damp cloth to clear away any loose debris. This step is crucial for preparing a clean and even surface for the new grout application.
4. Thoroughly Cleaning the Tile Surface and Gaps
After grout removal, thoroughly clean the exposed tile edges and grout lines to eliminate any remaining dust, debris, or mold. A mixture of water and white vinegar or a commercial tile cleaner works effectively for this purpose. Use a small scrub brush or an old toothbrush to reach into tight crevices, ensuring all remnants of the previous grout are cleared away. Allow the area to dry completely before proceeding. Ensuring a spotless surface enhances adhesion and prevents contamination of the new grout.
5. Mixing the New Grout to the Correct Consistency
Follow the manufacturer’s instructions when preparing the grout mixture. Use a clean bucket and gradually add water to the grout powder while stirring continuously to avoid clumps. Aim for a smooth, peanut butter-like consistency that is easy
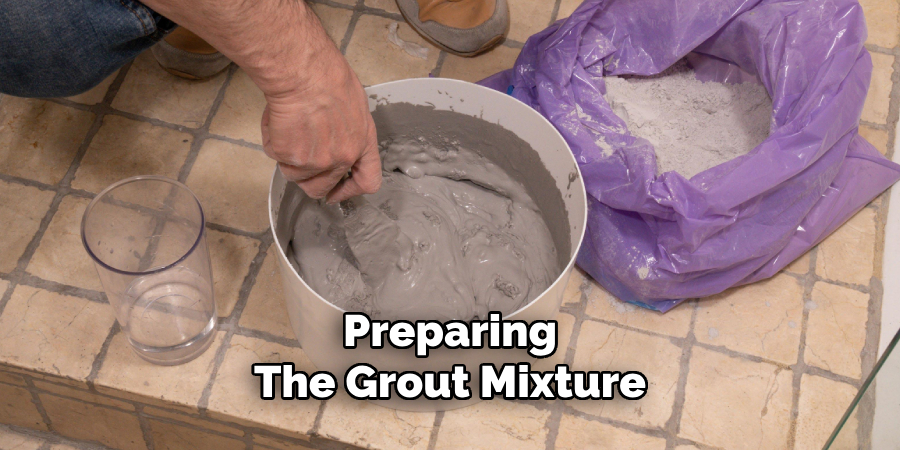
to spread yet firm enough to stay in place. Allow the grout to sit for a few minutes (a process called slaking) before applying it, as this enhances the overall bonding properties. If using pre-mixed grout, ensure it is well-stirred and ready for application.
6. Applying the Grout Evenly and Effectively
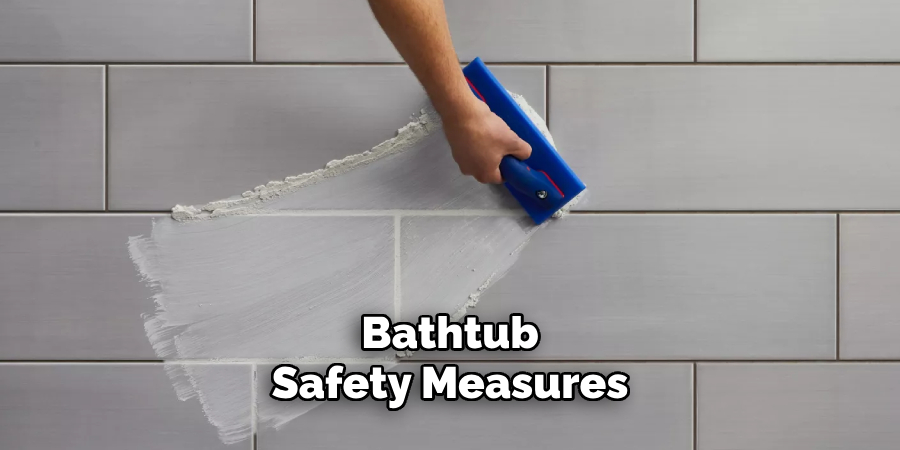
Using a rubber grout float, spread the grout over the tiles at a 45-degree angle, pressing it firmly into the gaps to ensure complete filling. Work in small sections to maintain control over the application process. Hold the float at an angle and use diagonal strokes to push the grout deep into the spaces while minimizing excess buildup. Be sure to check for any air pockets or inconsistencies as you work, as these can weaken the grout over time. Repeat the process until all grout lines are adequately filled.
7. Wiping Off Excess Grout Without Disturbing the Lines
After allowing the grout to set for about 15-20 minutes, take a damp sponge and gently wipe away excess grout from the tile surfaces. Rinse the sponge frequently to avoid smearing grout haze across the tiles. Use light pressure to clean the surface without pulling grout from the lines. If any grout haze remains after the initial wipe, let the grout dry for a few hours and then buff it off with a soft, dry cloth. Properly cleaning at this stage ensures a polished and professional-looking finish.
8. Allowing Proper Curing Time Before Exposure to Water
Grout requires adequate time to cure before being exposed to moisture. Refer to the manufacturer’s guidelines, but generally, grout should be left to dry for 24-48 hours before using the tub. During this time, avoid any water contact or excessive humidity to prevent premature weakening of the grout. To speed up the curing process, ensure proper ventilation in the bathroom by running a fan or opening windows. Following the recommended drying time is crucial for achieving a durable and watertight grout seal.
9. Sealing the Grout to Enhance Durability and Water Resistance
Applying a high-quality grout sealer is essential for protecting the new grout from moisture infiltration, staining, and mold growth. Choose a penetrating grout sealer for the best long-term results. Use a small brush, roller, or applicator bottle to
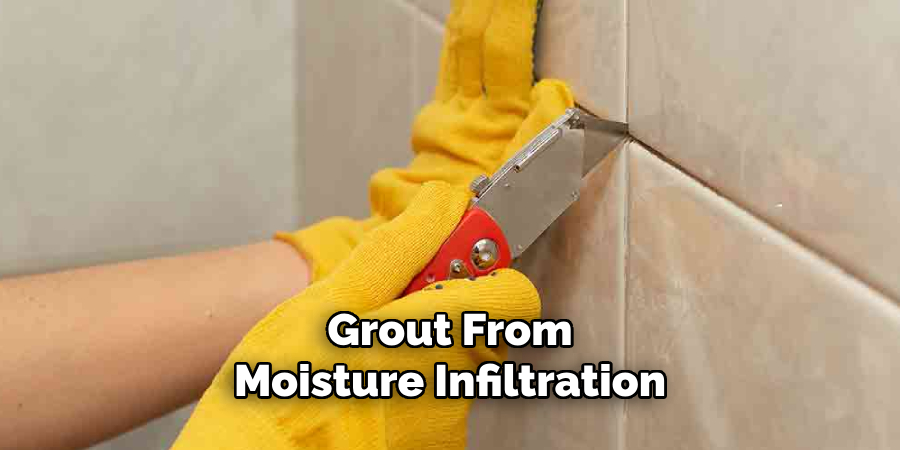
apply the sealer evenly along the grout lines. Allow it to absorb for the recommended time before wiping away excess sealer from the tiles. Reapply the sealer periodically (every six months to a year) to maintain maximum protection and keep the grout looking fresh.
10. Maintaining the Grout for Long-Lasting Results
To extend the life of your newly applied grout, establish a routine maintenance schedule. Clean the grout lines regularly with a pH-neutral cleaner to prevent dirt and soap scum buildup. Avoid harsh chemicals and abrasive scrubbers that could degrade the grout over time. After each use of the tub, dry the area with a towel or squeegee to minimize moisture retention, which can lead to mold and mildew growth. Proactive care will help preserve the integrity and appearance of your grout for years to come.
Conclusion
Regrouting a tub is a meticulous process that requires careful preparation, precise application, and consistent maintenance. By following these ten methods, homeowners can achieve a watertight, visually appealing, and long-lasting tub surround. With the right techniques and materials, your bathroom can maintain its clean and polished look while providing the necessary protection against water damage. So, there you have it – a quick and easy guide on how to regrout a tub.

