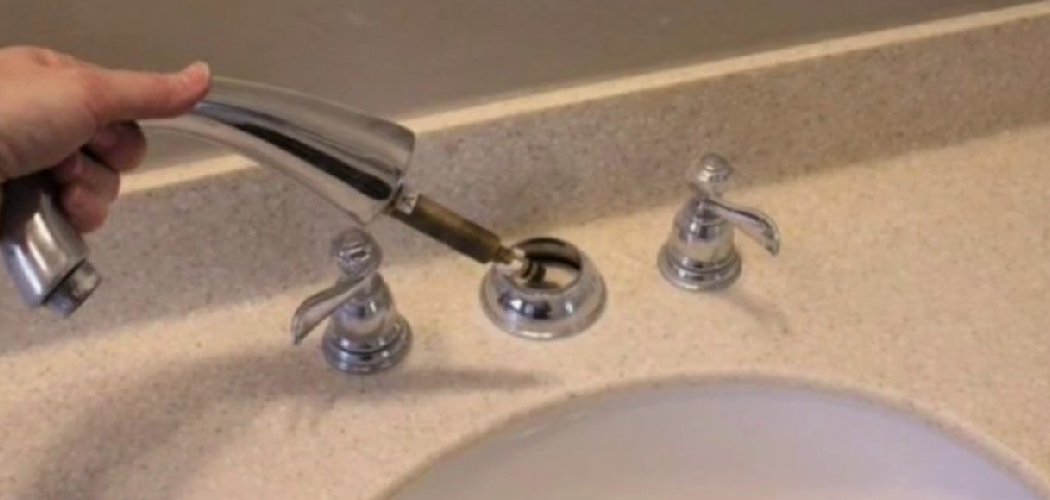
Replacing a bathroom faucet can seem like a daunting task, but carefully removing the old faucet is the first step in transforming your sink. Whether you’re upgrading your fixtures or addressing a leak, learning how to properly remove a bathroom faucet is an essential skill for any DIY enthusiast.
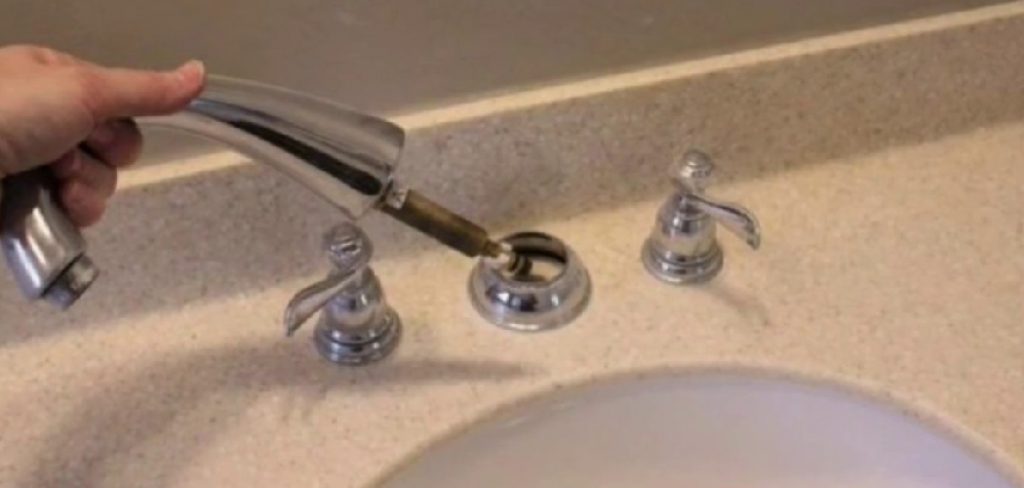
With the right tools and a bit of patience, you can easily prepare your sink for a fresh new look. This guide on how to remove a bathroom faucet from a sink will walk you through the process step by step, ensuring a safe and hassle-free removal.
Why Remove a Bathroom Faucet?
Before diving into the steps of removing a bathroom faucet, it’s important to understand why you might need to do this task. Here are some common reasons for removing a bathroom faucet:
Upgrading your fixtures: If you’re looking to update the style or functionality of your sink, removing the old faucet is necessary before installing a new one.
Needed Materials
Aside from the new faucet you’ll be installing, here are some materials you will need to successfully remove a bathroom faucet:
- Adjustable Wrench
- Slip Joint Pliers
- Bucket or Towel for Catching Water
- Penetrating Oil (if Your Faucet is Stuck)
- Plumber’s Putty or Caulking (for Reinstallation)
12 Steps on How to Remove a Bathroom Faucet From a Sink
Step 1: Remove Any Items
Before starting, clear the area around the sink to avoid damage or obstruction during the process. Remove personal items, toiletries, or decorations from the countertop.
Additionally, check below the sink and take out any stored items to create enough workspace and prevent them from getting wet or dirty. This preparation ensures a safe and efficient workflow.
Step 2: Turn Off the Water Supply
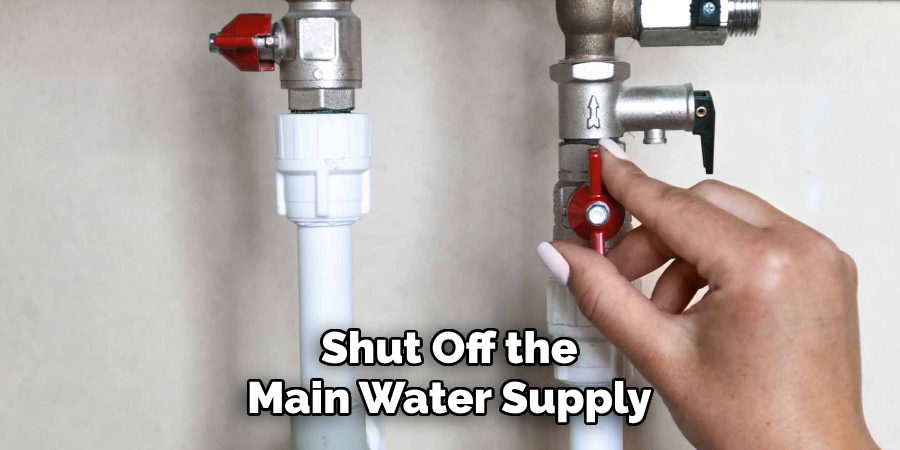
Locate the water supply valves underneath the sink and turn them off by twisting in a clockwise direction.
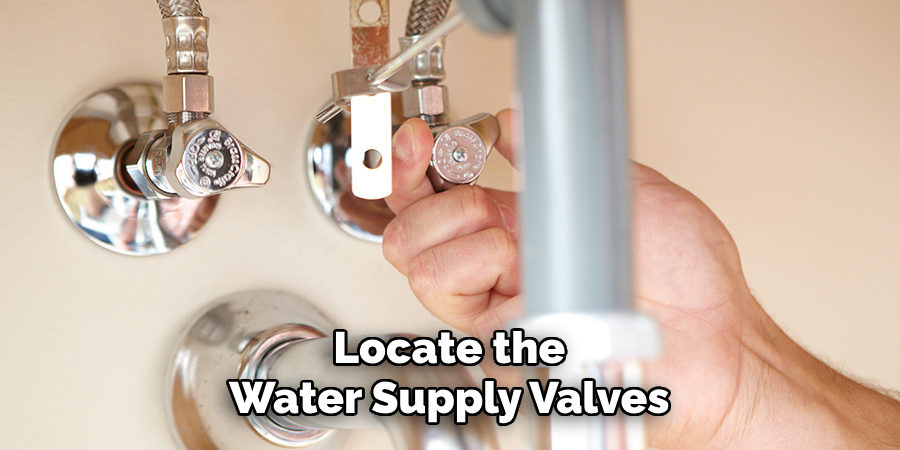
This step will prevent any water from flowing out while you work on removing the faucet. If your bathroom does not have individual shut-off valves, turn off the main water supply to avoid any potential leaks or accidents.
Step 3: Release Pressure
After shutting off the water supply, turn on the faucet to release any remaining water in the pipes and relieve pressure. Allow the water to run until it stops completely.
This step ensures that no water is left in the system, making it easier and cleaner to proceed with removing the faucet.
Step 4: Remove Drain Lines
Before proceeding with the faucet removal, disconnect the drain lines connected to the sink. Place a bucket or towel underneath to catch any residual water that may spill during the process. Loosen the slip nuts securing the drain lines using an adjustable wrench or your hands.
Carefully detach the drain pipes and set them aside. This step clears the workspace and prevents any potential water mess while you continue with the faucet removal process.
Step 5: Remove Sink Stopper
To remove the sink stopper, begin by locating the horizontal pivot rod beneath the sink, which connects to the stopper mechanism. Unscrew the retaining nut securing the pivot rod and gently pull the rod out of the drainpipe.
This will release the stopper, allowing you to remove it from the sink basin. If the stopper is stuck due to grime or buildup, use a mild cleaning solution or warm water to loosen it. Clean the stopper and the surrounding area thoroughly before proceeding with the next steps.
Step 6: Loosen Mounting Nuts
Locate the mounting nuts that secure the sink drain assembly to the underside of the sink. Using an adjustable wrench or pliers, carefully loosen these nuts by turning them counterclockwise.
Be cautious not to apply excessive force, as this can damage the surrounding components. Once the nuts are sufficiently loosened, you can remove them by hand to prepare for the next steps in disassembling the drain assembly.
Step 7: Remove Old Faucet
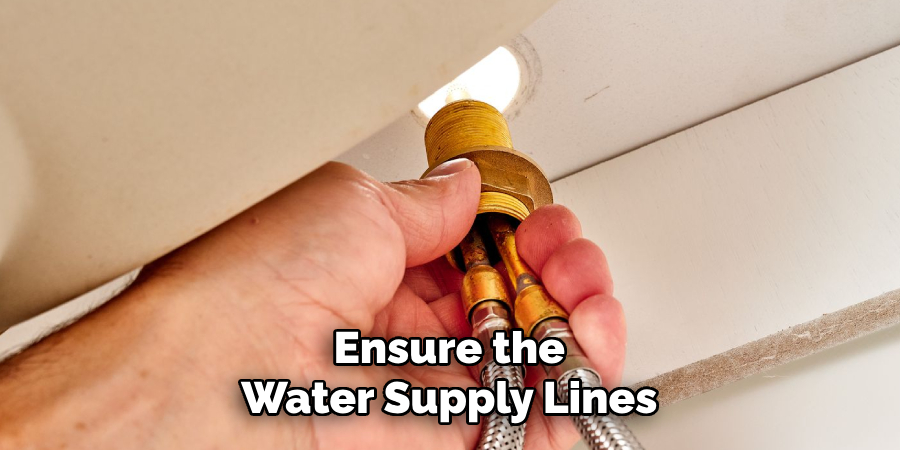
Before removing the old faucet, ensure the water supply lines are disconnected to avoid any leaks or spills. Locate the mounting nuts or screws securing the faucet to the sink or countertop. Using an appropriate tool, such as an adjustable wrench or a screwdriver, carefully loosen and remove these fasteners.
Once the fasteners are removed, gently lift the faucet assembly from its position. If the faucet is stuck due to old sealant or debris, carefully use a putty knife to break the seal, taking care not to scratch the surface. Clean the space thoroughly to prepare for the installation of the new faucet.
Step 8: Place New Faucet
Position the new faucet into the designated holes on the sink or countertop. Ensure that the faucet is aligned correctly according to the manufacturer’s instructions. If your faucet includes a deck plate, place it properly beneath the faucet before securing it in place.
Hold the faucet steady, and check that it sits evenly on the surface to avoid any tilting or instability during use.
Step 9: Secure Mounting Nuts
From underneath the sink, attach the mounting nuts to the threaded shanks of the faucet. Tighten the nuts by hand first to ensure proper alignment, then use a wrench or a basin wrench to securely fasten them.
Be cautious not to overtighten, as this could damage the faucet or the sink. Double-check that the faucet remains level and secure before moving on to the next step.
Step 10: Reattach Water Supply Lines
Reconnect the hot and cold water supply lines to the corresponding threaded shanks of the faucet. Ensure each connection is properly aligned to avoid cross-threading.
Using an adjustable wrench, tighten the connections securely, but be careful not to overtighten, as this could cause damage to the threads or lead to leaks. Once the supply lines are reattached, verify that they are secure and free from obstruction.
Step 11: Turn On the Water Supply
Locate the shut-off valves for both the hot and cold water supply under the sink. Slowly turn each valve counterclockwise to open them and restore the water flow. Once the valves are fully open, check for any leaks at the connections.
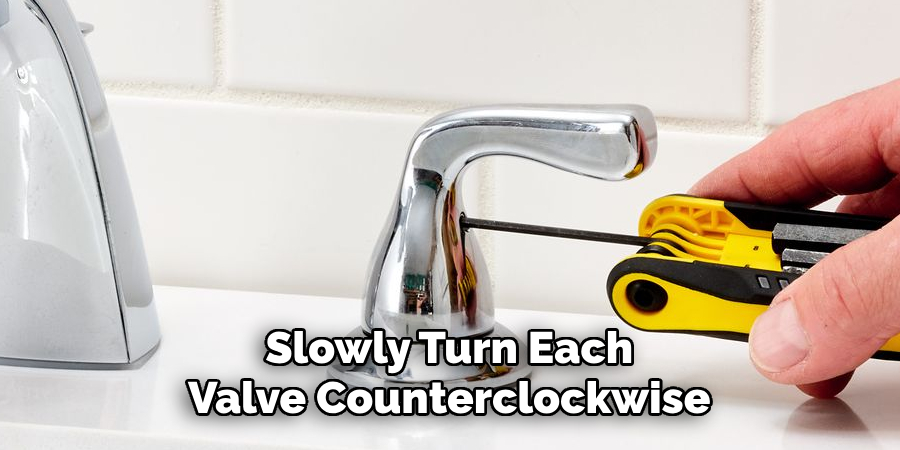
If leaks are present, gently tighten the connections as needed without overtightening. Finally, turn on the faucet to ensure both hot and cold water are flowing properly and that the installation is complete.
Step 12: Clean Up
With the installation complete, gather all your tools and any leftover materials. Dispose of any packaging or debris appropriately. Wipe down the area around the sink to remove dust or water spots caused during the installation process. Ensure the workspace is tidy, and everything is put back in its place. Congratulations, your project is now finished!
Following these steps on how to remove a bathroom faucet from a sink will result in a successful and stress-free sink installation. Remember to always read the manufacturer’s instructions carefully and follow safety precautions. If you encounter any difficulties or have questions, don’t hesitate to contact a professional for assistance. Happy plumbing!
Additional Tips
- Use caution when handling sharp tools and materials.
- Always shut off the water supply before beginning any plumbing project.
- Double-check all connections for leaks before finishing the installation.
- Consider adding caulking around sinks and fixtures for a more finished look and to prevent water leakage.
- Regularly check and clean the aerator on your faucet to ensure proper water flow.
- Inspect pipes and connections periodically for signs of damage or wear, such as cracks or rust, and replace as needed.
- Avoid using harsh chemicals in your drains as they can cause damage over time. Instead, try using natural methods like baking soda and vinegar to clear clogs.
- When choosing plumbing fixtures, consider not only the aesthetic but also the functionality. For example, opt for a low-flow toilet to save water or a touchless faucet for convenience and hygiene.
- Stay informed about any local building codes or regulations that may affect your plumbing. This will help ensure that any upgrades or repairs you make are up to code and won’t cause any issues in the future.
Frequently Asked Questions
Q1: How Often Should I Have My Plumbing Inspected?
A: It is recommended to have your plumbing system inspected at least once a year to catch any potential issues early on and prevent costly repairs down the line.
Q2: Can I Attempt to Fix a Plumbing Issue Myself?
A: While some minor issues can be tackled with DIY methods, it is always best to consult a professional plumber for more complex or potentially hazardous problems. Improper repairs can lead to further damage and safety hazards.
Q3: How Can I Prevent Clogs in My Drains?
A: To prevent clogs, avoid flushing anything other than toilet paper and human waste down the toilet. For your sinks and showers, use a strainer to catch hair and other debris before it goes down the drain. Regularly pouring hot water down your drains can also help break up any buildup.
Q4: What Should I Do If I Find a Leak?
A: If you find a leak, it is important to act quickly. Shut off the main water supply to prevent further damage and potential flooding. Then, call a professional plumber to assess and fix the leak. If it is a small leak, you may be able to temporarily seal it with duct tape until the plumber arrives. Regularly checking for leaks and addressing them promptly can save you from costly repairs in the future.
Conclusion
Proper maintenance and timely action are crucial for ensuring the longevity and efficiency of your plumbing system. By keeping an eye out for issues like clogs and leaks and addressing them promptly, you can prevent minor problems from turning into costly repairs.
Regular inspections and seeking professional assistance when needed will help keep your plumbing running smoothly and your home protected. Thanks for reading this article on how to remove a bathroom faucet from a sink.

