Are you tired of dealing with a clogged sink? Removing the drain from your bathroom sink may be the solution you need. With a few simple tools and some basic knowledge, you can successfully remove the drain and clear any debris causing the blockage.

How to remove a drain from a bathroom sink can seem like a daunting task, but with the right tools and a step-by-step approach, it can be accomplished efficiently. Whether you’re replacing an old drain, unclogging a blockage, or undertaking a renovation project, understanding the proper method is crucial for preventing damage to your plumbing and sink.
This guide will walk you through the necessary preparations, tools, and techniques to safely and effectively remove a drain from your bathroom sink, ensuring a smooth process and a successful outcome.
What Will You Need?
Before you begin, ensure you have all the necessary tools and materials to complete the task. Here’s a list of items that will come in handy:
- Screwdriver (Phillips or flathead, depending on your sink)
- Pliers
- Wrench
- Bucket or container
- Clean rag or towel
- Putty knife
Some additional materials that may be needed include:
- Plumbers putty or sealant (if reinstalling the drain)
- Silicone caulk (if required for sealing during installation)
10 Easy Steps on How to Remove a Drain From a Bathroom Sink
Step 1: Turn Off the Water Supply
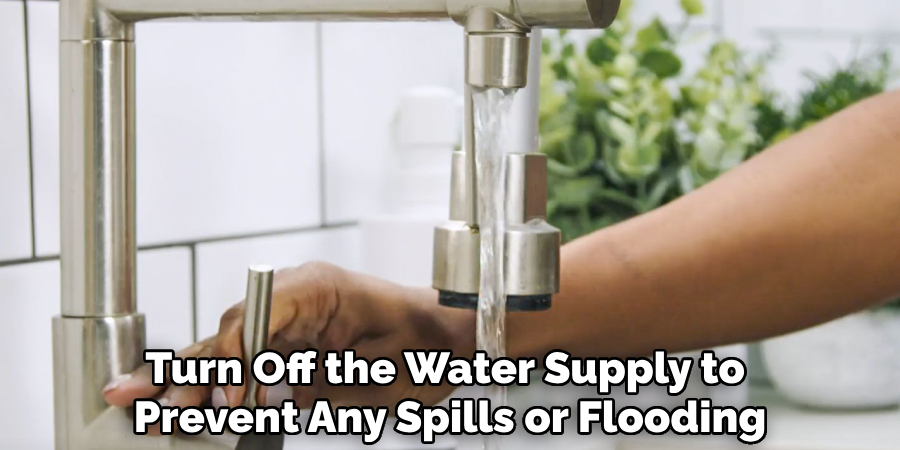
Before you start working on your bathroom sink, it’s crucial to turn off the water supply to prevent any spills or flooding while you remove the drain. Locate the shutoff valves under the sink, where the water lines connect to the faucet. Turning these valves clockwise will effectively close the water supply.
If you don’t have shutoff valves accessible, you may need to turn off the main water supply for your home. Once the water is off, turn on the faucet to drain any remaining water in the lines and relieve pressure. Ensure the sink is completely dry before proceeding to the next steps, as this will help you avoid mess and make it easier to see what you’re doing.
Step 2: Clear the Area Under the Sink
With the water supply turned off, it’s essential to clear the area under the sink. Remove any items that may obstruct access, such as cleaning supplies, personal items, or spare plumbing parts.
This will provide you with a clean workspace to work efficiently and minimize the risk of losing or damaging items during the process. Additionally, placing a bucket or container underneath the sink will help catch any residual water that may leak out when you remove the drain. Ensuring that your workspace is organized will make the following steps much more accessible.
Step 3: Disconnect the P-Trap
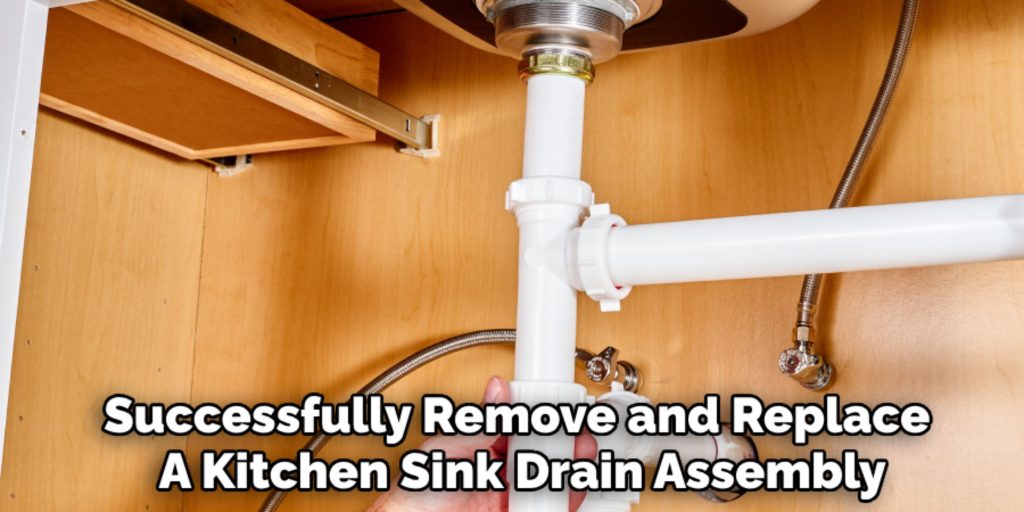
The P-trap is the curved pipe beneath your sink that connects to the drain. To remove it, use a wrench to loosen the slip nuts on both ends of the P-trap. Keep your bucket or container underneath to catch any water that may spill out when you disconnect it.
Once the nuts are loosened, carefully slide the P-trap off and set it aside. Inspect the P-trap for any blockages while you have it removed, as this could help identify potential sources of clogs in the future.
Step 4: Remove the Drain Assembly
Once the P-trap is disconnected, you can remove the drain assembly. Locate the mounting nut under the sink that holds the drain in place. This is typically a circular or hexagonal nut that needs to be loosened. Using your wrench or pliers, carefully turn the nut counterclockwise until it becomes loose enough to remove by hand.
Once the nut is free, gently lift the drain assembly out of the sink. Take care not to scratch the sink surface while doing this, as it can cause damage. A little wiggling may help free it up if the drain seems stuck. Once the drain is removed, inspect the area for any remaining debris or buildup that may need to be cleaned before installing a new drain.
Step 5: Clean the Drain Opening
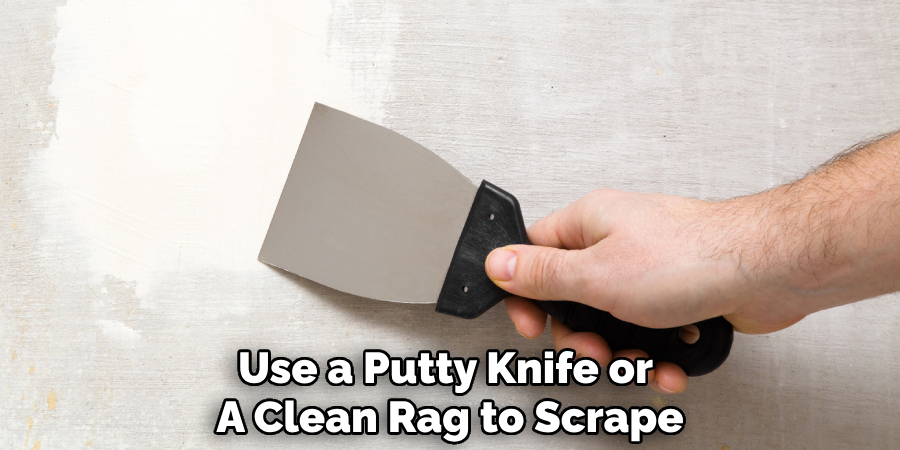
With the drain assembly removed, cleaning the drain opening thoroughly is essential. Use a putty knife or a clean rag to scrape away any remaining debris, old plumber’s putty, or sealant from around the edges of the opening. This will ensure a proper seal when you install the new drain.
Pay close attention to any buildup that might have accumulated, as this can hinder the performance of your new drain and lead to future clogs. Once the area is clean and smooth, inspect it for any signs of damage or wear that may need to be addressed before reinstalling or replacing the drain.
Step 6: Inspect and Prepare for Installation
After cleaning the drain opening, take a moment to inspect the condition of the drain assembly components you plan to reuse. Look for any signs of wear, such as cracks or corrosion on the mounting nut or the drain itself. If any parts appear damaged, it’s best to replace them to avoid future leaks.
If you’re installing a new drain, ensure that it matches the size and style of the previous drain and fits well in the opening. Before proceeding with the installation, gather your plumber’s putty or sealant and silicone caulk, if required, as these will be essential for creating a watertight seal during the installation process.
Step 7: Apply Plumber’s Putty
With the drain opening prepped and all components inspected, it’s time to apply the plumber’s putty around the lip of the new drain. Take a small amount of putty and roll it into a rope about the thickness of a pencil.
Carefully place this putty around the circumference of the drain’s flange, ensuring an even distribution. This layer of putty is crucial for creating a watertight seal once the drain is installed. Make sure the putty is applied evenly to prevent any leaks after installation. Once the putty is in place, proceed to the next step: set the drain into the sink.
Step 8: Install the Drain Assembly
Now that the plumber’s putty has been applied, carefully position the new drain assembly into the drain opening. Press down firmly to ensure that the flange is seated evenly against the sink surface and that the putty compresses, forming a seal. While holding the drain in place, secure the mounting nut from underneath the sink.

Use your wrench to tighten the nut by turning it clockwise, and do not overtighten it as this could damage the sink or the drain itself. Once it feels snug, verify that the drain assembly is aligned correctly and securely. A tight yet gentle fit will help prevent potential leaks and ensure a long-lasting installation.
Step 9: Reconnect the P-Trap
With the drain assembly installed, it’s time to reconnect the P-trap. Position the P-trap back in place and align the slip nuts on both ends with their corresponding fittings. Hand-tighten the nuts first, ensuring that they are engaging properly. Then, use your wrench to tighten them further, but remember not to overdo it.
A secure yet delicate connection will keep the plumbing in good shape while allowing for future adjustments if necessary. After reconnecting, double-check that the bucket or container is still positioned underneath to catch any residual water or leaks during the next steps.
Step 10: Turn On the Water Supply and Test for Leaks
After everything is securely in place, it’s time to turn the water supply back on. If you initially shut off the valves under the sink, turn them counterclockwise to restore water flow. In the case where the main supply was turned off, ensure that it’s opened as well. Once the water is back on, test the sink by running water and observing the newly installed drain.
Carefully inspect the connections at both the drain assembly and P-trap for any signs of leaks. If you notice any leaking, it may be necessary to tighten the connections a bit more or reapply the plumber’s putty if required. Once you’ve confirmed that everything is functioning correctly and securely, you can tidy up the area and replace any items you had previously cleared out from under the sink.
By following these simple steps, you can successfully remove and replace a kitchen sink drain assembly. With proper maintenance and occasional cleanings, your new drain should provide years of trouble-free use.
Conclusion
In summary, successfully removing and replacing a drain from a bathroom sink requires careful preparation and attention to detail.
By following the outlined steps on how to remove a drain from a bathroom sink—starting from detaching the existing drain assembly to ensuring proper sealing with plumber’s putty—you can mitigate potential issues that arise from leaks or improper fittings. It’s essential to inspect each component during the process, as wear and tear can compromise the integrity of the drain system.
Additionally, while reassembling, maintaining a gentle yet secure connection is vital for future adjustments should any plumbing issues arise. Once everything is securely reconnected and tested for leaks, you can enjoy peace of mind knowing that your bathroom sink is functioning optimally.
Regular maintenance and timely inspections will ensure that your drain continues to perform efficiently and remains free from obstructions, providing a practical and functional addition to your home’s plumbing system.

