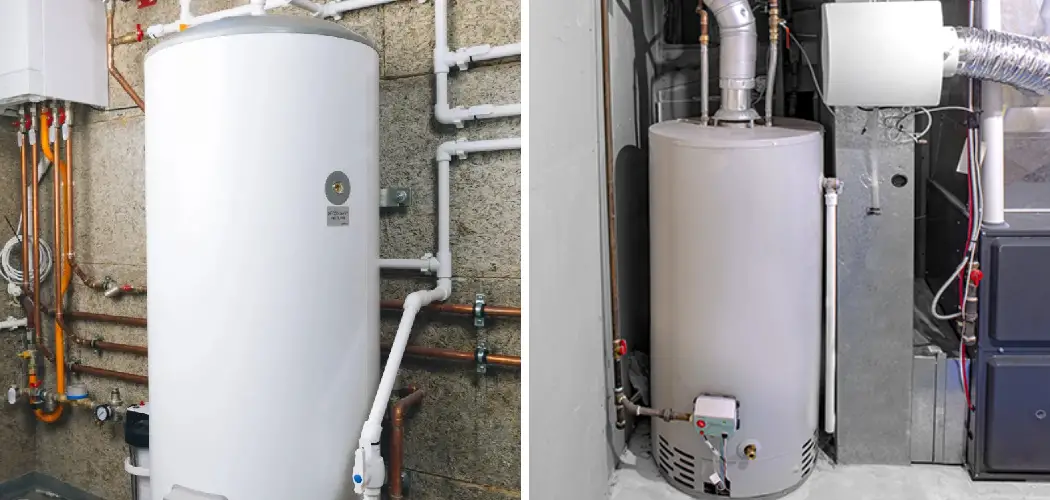
Removing a gas water heater may seem like a daunting task, but with the right approach and guidance, it can be done safely and efficiently. Whether you’re upgrading to a new model, relocating the heater, or making repairs, knowing how to remove a gas water heater is essential.
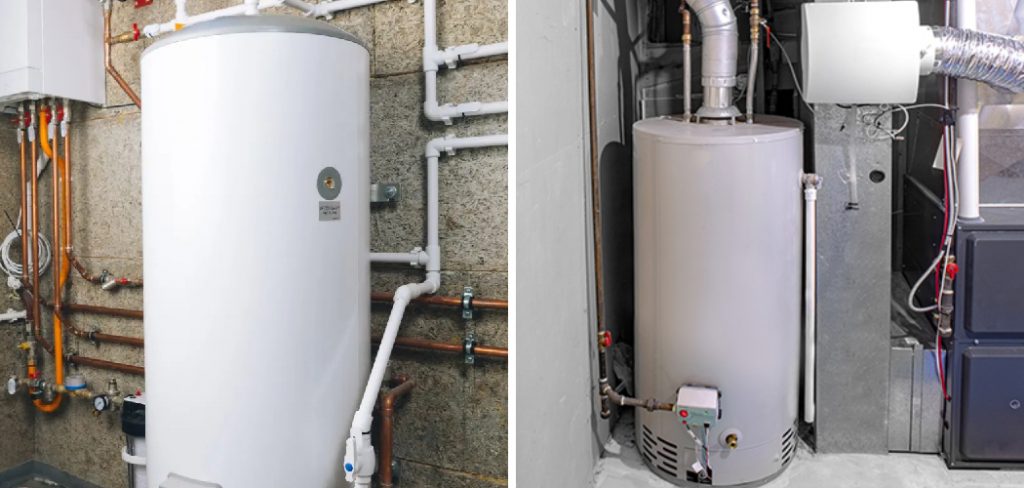
This process involves several steps, including shutting off the gas and water supply, disconnecting the various connections, and safely disposing of the old unit. Additionally, proper planning and preparation are key to ensure that the removal process goes smoothly without causing any damage to the surrounding area or posing safety risks.
In this article, we’ll provide you with a detailed guide on removing a gas water heater, covering each step thoroughly to help you complete the task with confidence and peace of mind.
Reasons for Removing a Gas Water Heater
There are multiple reasons why you might find yourself needing to remove a gas water heater. Some of the most common motivations include the natural aging of the unit, where wear and tear over time lead to inefficiency or failure. Upgrading to a more energy-efficient model is another reason, as newer models can significantly reduce energy bills and have a lower environmental impact.
Additionally, relocating the water heater due to home renovations or repairs necessitating its removal or shifting to a more optimal location for performance and safety reasons. Lastly, leaks or damages that cannot be repaired or are too costly compared to the price of a new unit, making removal the more viable option. Whatever the reason, it’s crucial to approach the removal process with care to avoid personal injury or damage to your home.
Importance of Safe Removal Practices
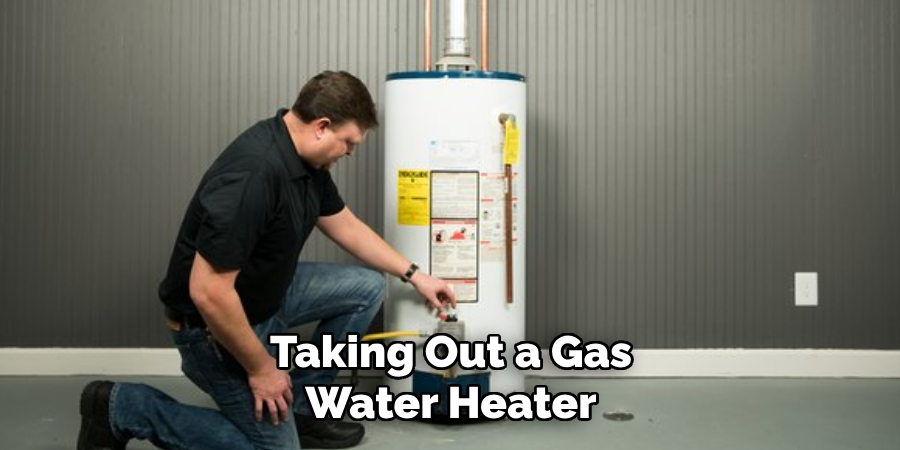
Ensuring safe removal practices when taking out a gas water heater cannot be overstated. This procedure involves handling gas lines, which can pose significant risks of leaks and explosions if not managed correctly. Additionally, water heaters are generally heavy and awkward to maneuver, which can lead to physical injury through straining or dropping the unit.
Incorrect disconnection of the water supply can also result in flooding and water damage to the surrounding area. Furthermore, proper disposal of the old water heater is important for environmental safety and compliance with local regulations.
By adhering to safety guidelines and wearing the appropriate protective gear, you can mitigate these risks and protect yourself, your property, and the environment. Safe removal practices not only ensure a smooth process but also lay the groundwork for a successful installation of the new unit or whatever subsequent project you have planned.
Preparing for Removal
Before initiating the removal process of a gas water heater, preparation is key to ensuring a smooth and safe operation. Start by gathering all necessary tools and protective gear, including adjustable wrenches, pipe wrenches, a gas leak detector, gloves, and eyewear. Ensuring you have the right equipment on hand will prevent delays and protect against potential hazards.
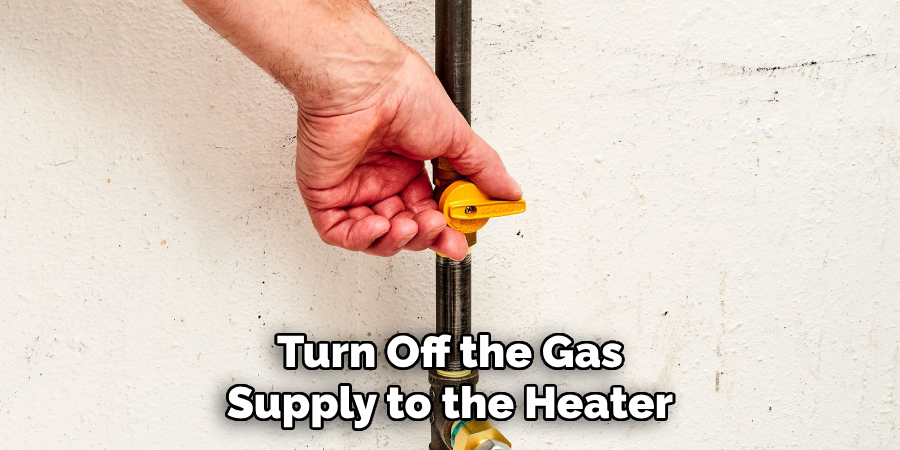
Next, it is crucial to turn off the gas supply to the heater to eliminate the risk of gas leaks or exposure. Locate the gas shut-off valve and turn it to the “off” position. For added safety, you may also want to shut off the main gas line to the house, particularly if you cannot verify the gas is completely shut off to the unit.
Similarly, shutting off the water supply is a vital step to prevent flooding or water damage. Find the cold water shut-off valve leading to the water heater and turn it off. If your water heater uses a gate valve, consider using a channel lock or pipe wrench to aid in turning it if it is stiff or hard to move.
Drain the water heater next by connecting a garden hose to the drain valve located at the bottom of the tank. Open the drain valve and allow the water to flow out until empty. This may take some time depending on the size of your tank and the initial water temperature. To facilitate a faster draining process, open a hot water tap elsewhere in the house to allow air into the system.
Gathering Necessary Tools and Materials
To efficiently and safely remove a gas water heater, having the correct tools and materials at your disposal is essential. Here is a comprehensive list of what you’ll need:
- Adjustable Wrenches: These are crucial for loosening and tightening the connections to the gas supply and water lines.
- Pipe Wrenches: These provide the grip and leverage needed for the pipes that are too large or stubborn for the adjustable wrenches.
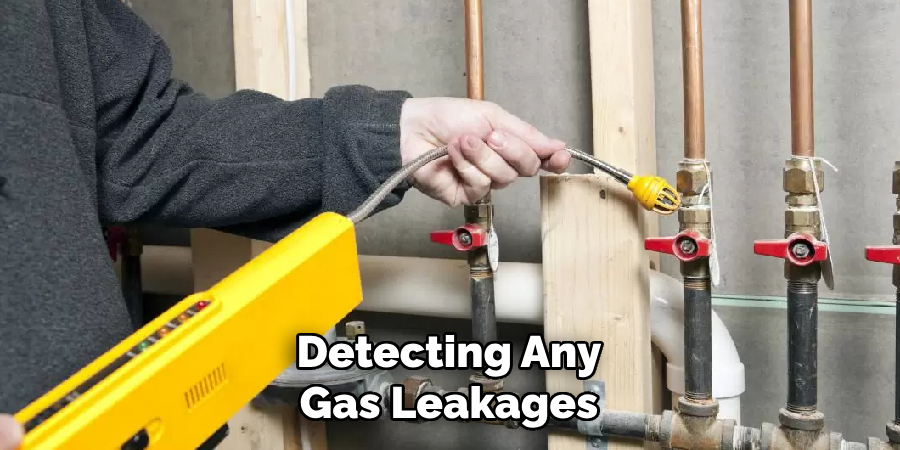
- Gas Leak Detector or Soapy Water Solution: For safety, detecting any gas leakages as soon as disconnection occurs is vital. A commercial gas leak detector or a homemade soapy water solution (which bubbles if gas is escaping) can be used.
- Non-Contact Voltage Tester: This ensures no electrical currents are running through any nearby electrical wires, providing an additional safety measure.
- Plumbers Tape: Also known as Teflon tape, used to reseal threaded pipe connections to ensure they are airtight and watertight.
- Gloves: Heavy-duty gloves protect your hands from sharp edges and any debris.
- Protective Eyewear: To safeguard your eyes from any unexpected splashes or particulates.
- Garden Hose: Necessary for draining the water from the tank.
- Bucket: Useful for catching any residual water during disconnection.
- Towel or Rags: For cleaning up any spills or drips that occur as the water drains or as connections are disconnected.
- Flashlight or Work Light: To enhance visibility, especially if working in a dimly lit area or during the evening.
- Dolly or Appliance Hand Truck: Water heaters are heavy and bulky. A dolly or hand truck is essential for safely moving the old unit out and transporting the new unit into position.
Turning Off Gas Supply and Water Lines
The first crucial step in the removal process of a gas water heater is to ensure the gas supply and water lines are properly turned off. This prevents leaks and water damage during the removal process.
Turning Off the Gas Supply
- Identify the Gas Shutoff Valve: This valve is typically located near the water heater or along the gas line running to it. It may be a lever or a knob.
- Turn Off the Valve: Turn the valve to the “off” position. If it is a lever, turn it so it’s perpendicular to the gas line. If it is a knob, turn it clockwise until it stops.
- Ensure Complete Shutoff: After turning off the valve, wait a few moments and use a gas leak detector or soapy water solution to check for any leaks around the valve. No gas should be flowing to the water heater.
Turning Off the Water Supply
- Locate the Cold Water Shutoff Valve: This valve is found on the cold water pipe leading into the water heater. It is crucial to shut this off to stop the flow of water into the unit.
- Shut Off the Valve: Turn the valve clockwise to close it. If the valve is stiff or cannot be turned by hand, use a channel lock or pipe wrench to assist.
- Check for Complete Shutoff: After closing the valve, open a hot water tap elsewhere in the house to release any pressure and ensure no more water is flowing into the tank.
By meticulously following these steps, you will effectively halt the supply of gas and water to the water heater, setting a safe stage for the subsequent removal steps.
Disconnecting the Gas Water Heater
With the gas supply and water lines securely turned off, the next phase involves disconnecting the gas water heater from these utilities to ensure it can be safely removed.
Disconnecting the Gas Line
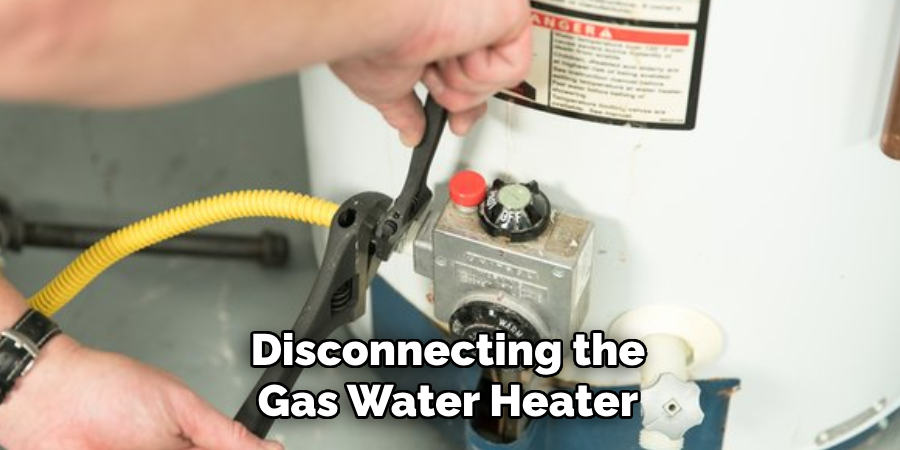
- Locate the Union Fitting: Find the union fitting that connects the gas supply line to the water heater. This fitting is usually located close to the shutoff valve.
- Use Wrenches to Disconnect: Using two adjustable wrenches, hold one wrench on the union fitting and use the other to turn the nut on the gas line. It’s important to prevent the pipes from twisting to avoid damaging the gas line.
- Check for Gas Leaks: Once disconnected, use a gas leak detector or soapy water solution to ensure there are no leaks from the open line. Ensure safety by keeping the area well-ventilated.
Disconnecting the Water Lines
- Identify the Hot and Cold Water Connections: These are typically located at the top of the water heater. The cold water inlet is often marked with blue, and the hot water outlet with red.
- Drain Any Remaining Water: Before fully disconnecting, ensure any remaining water in the pipes is drained to avoid spills. A bucket or towels can be useful for catching any drips.
- Use Wrenches for Disconnection: Utilize adjustable or pipe wrenches to loosen the nuts securing the hot and cold water pipes to the water heater. Once loosened, carefully detach the pipes.
Ensuring Everything is Prepared for Removal
After the gas and water lines have been successfully disconnected, double-check all connections to ensure they are fully separated and that there are no leaks or pressures remaining in the lines. It’s also a good idea to briefly go over the work area to make sure no tools or materials obstruct the path for removal of the water heater. Remove any debris or hazards that could impede the removal process or pose a risk during the removal.
Now that the gas water heater is disconnected from the gas supply, water lines, and any electrical connections (if applicable), it is ready to be safely removed. The next steps will focus on the safe lifting and transportation of the old water heater unit out of its current location.
10 Methods How to Remove a Gas Water Heater
1. Shut Off the Gas Supply:
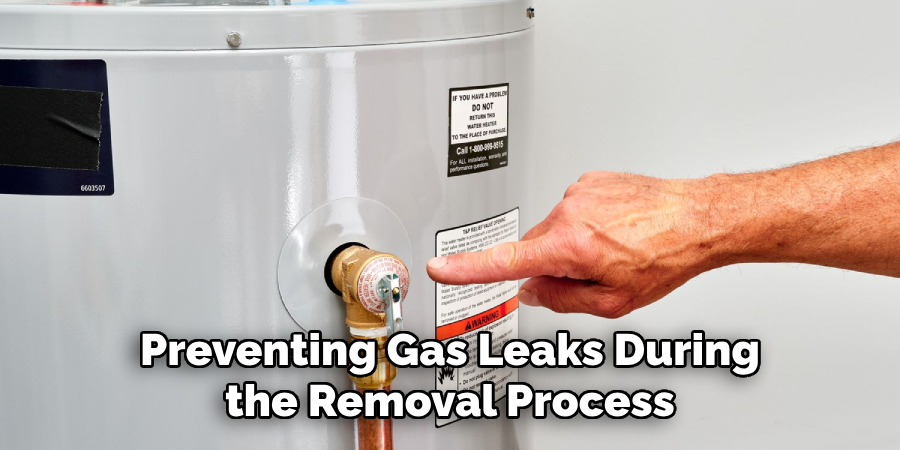
Begin by turning off the gas supply to the water heater. Locate the gas shut-off valve on the gas line leading to the heater and turn it to the “off” position. This step is crucial for preventing gas leaks during the removal process.
2. Turn Off the Water Supply:
Locate the water shut-off valve on the cold water inlet pipe connected to the water heater. Turn the valve clockwise to shut off the water supply to the heater. This prevents water from flowing into the tank during the removal process.
3. Allow the Water Heater to Cool:
Before starting the removal process, allow the water heater to cool down completely. Gas water heaters can reach high temperatures during operation, posing a burn risk if handled while hot. Wait several hours or overnight for the heater to cool down before proceeding.
4. Disconnect the Gas Line:
Using an adjustable wrench, loosen the connection between the gas supply line and the gas control valve on the water heater. Once loosened, carefully disconnect the gas line from the control valve. Be cautious to avoid damaging the gas line or causing gas leaks.
5. Turn Off the Pilot Light:
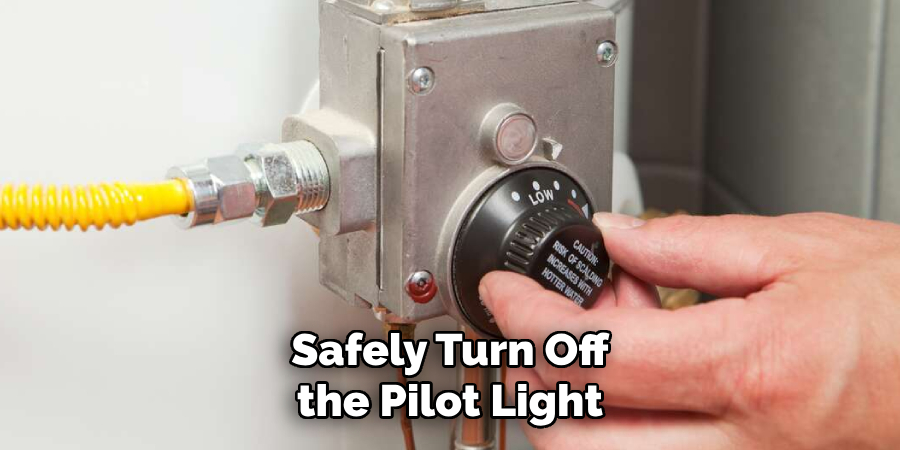
If your gas water heater has a pilot light, ensure that it is extinguished before proceeding with the removal. Follow the manufacturer’s instructions to safely turn off the pilot light, typically by turning the control knob to the “pilot” position and then extinguishing the flame.
6. Disconnect the Water Lines:
Next, disconnect the water lines connected to the water heater. Use an adjustable wrench to loosen the fittings connecting the hot and cold water supply lines to the water heater. Once loosened, carefully disconnect the water lines and allow any remaining water to drain into a bucket or drain pan.
7. Drain the Water Heater:
Before removing the water heater, it’s essential to drain the remaining water from the tank. Connect a garden hose to the drain valve located near the bottom of the water heater and direct the other end to a nearby drain or outdoor area. Open the drain valve and allow the water to drain completely.
8. Disconnect the Vent Pipe:
If your gas water heater is vented through a chimney or vent pipe, disconnect it from the water heater. Use a screwdriver or wrench to loosen the clamps or screws securing the vent pipe to the draft hood or flue collar. Once detached, carefully remove the vent pipe from the water heater.
9. Remove the Water Heater:
With all connections disconnected, it’s time to remove the water heater from its location. Enlist the help of a friend or family member to assist with lifting and maneuvering the heater, as it can be heavy and awkward to handle. Carefully lift the water heater away from its location and set it down in a safe area.
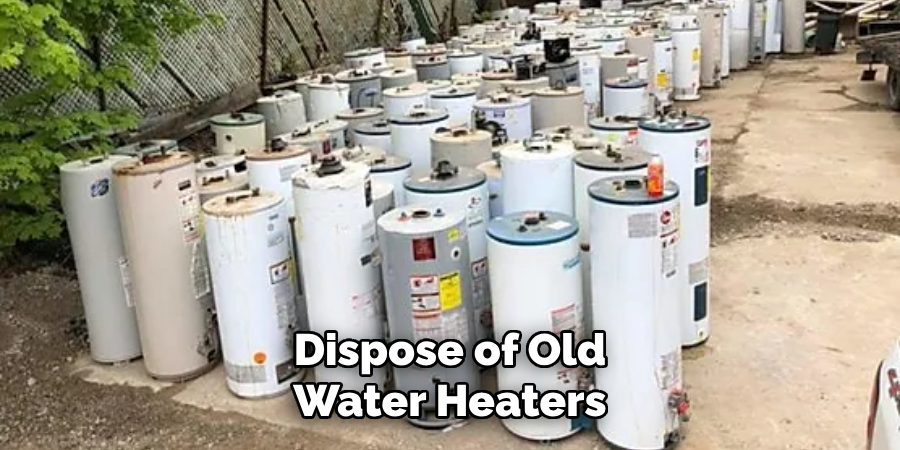
10. Dispose of the Old Water Heater:
Once the water heater is removed, you’ll need to dispose of it properly. Check with your local waste management or recycling center for guidelines on how to dispose of old water heaters. Some centers may offer recycling programs for metal appliances, while others may require you to schedule a special pickup or drop-off.
Safety Precautions and Considerations
Before beginning the removal process of a gas water heater, it is essential to take certain safety precautions to ensure a safe and efficient operation. Here are some critical safety considerations:
- Wear Protective Gear: Always wear appropriate protective clothing, including gloves and eye protection, to guard against potential splashes of water or contact with metal edges.
- Ventilate the Area: Ensure adequate ventilation in the area where the water heater is located to prevent the accumulation of potentially harmful gases.
- Avoid Sparks and Flames: Since you are dealing with gas lines, it is crucial to avoid creating sparks or flames near the gas line to prevent the risk of fire or explosion.
- Check for Gas Leaks: After disconnecting the gas line, always check for any signs of gas leaks. If you detect a gas leak, do not proceed. Evacuate the area and call a professional.
- Properly Lift the Heater: Gas water heaters can be cumbersome and heavy. Use proper lifting techniques and, if possible, seek assistance when moving the heater to prevent injuries.
- Follow Local Codes and Regulations: Be aware of and comply with local building codes and regulations regarding water heater installation and disposal. This may include permits or specific procedures for disposing of the old unit.
- Consult Professionals When Unsure: If at any point during the removal process you are unsure of the correct action to take or if the situation seems dangerous, consult with a professional. It’s better to err on the side of caution when dealing with potentially hazardous materials and equipment.
By adhering to these safety precautions and considerations, you can help ensure a smooth and safe removal of your gas water heater.
Conclusion
In conclusion, safely removing a gas water heater requires careful preparation, adherence to safety protocols, and proper disposal methods. By following the step-by-step guide outlined in this article, homeowners can effectively navigate the removal process and avoid potential hazards. Thoroughly preparing the area, disconnecting gas and water lines, and lifting the heater with caution are crucial steps to ensure a smooth removal process.
Additionally, disposing of the old water heater responsibly, considering drainage and environmental impact, is essential for sustainable practices. Remember, prioritizing safety precautions such as ventilation, protective gear, and professional inspection of gas lines is paramount to prevent accidents or gas leaks. Thanks for reading, and we hope this has given you some inspiration on how to remove a gas water heater!

