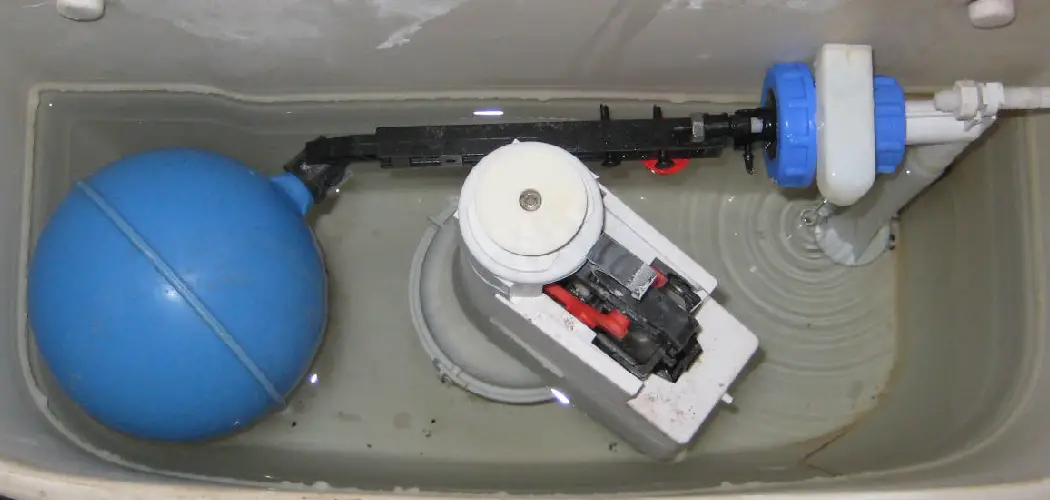
When it comes to maintaining a well-functioning toilet, one often overlooked component is the toilet flapper. This small but vital part plays a critical role in regulating water flow from the tank to the bowl during flushing. Over time, hard plastic flappers can become warped, cracked, or deteriorated, leading to leaks and inefficient flushing.
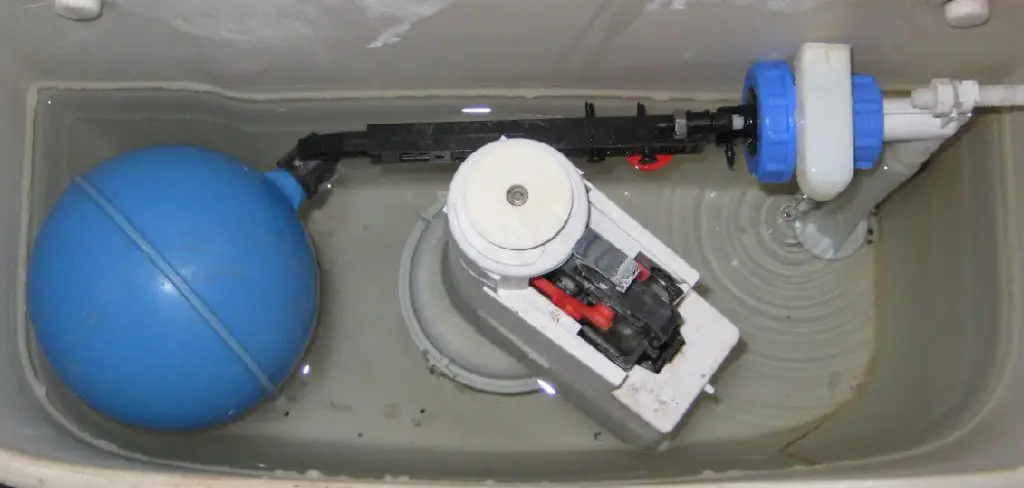
Knowing how to remove and replace a hard plastic toilet flapper can not only save you money on water bills but also ensure your toilet operates smoothly, increasing its lifespan. In this guide, we will walk you through how to remove a hard plastic toilet flapper, making toilet maintenance a breeze.
The Toilet Flapper’s Role in the Toilet System
The toilet flapper serves as a crucial valve within the toilet system, effectively controlling the release of water from the tank into the bowl during each flush. When the toilet handle is pressed, the flapper lifts, allowing water to flow rapidly from the tank to the bowl, facilitating the flushing process. This mechanism creates the necessary pressure to empty the bowl of waste. Once the tank has emptied, the flapper falls back into place, sealing the drain and preventing any water leakage.
A properly functioning flapper is essential not only for efficient flushing but also for maintaining the toilet’s water conservation qualities, as leaks caused by a faulty flapper can significantly increase water consumption and utility bills. Proper care and prompt replacement of the flapper, when necessary, can help ensure the system operates effectively and sustainably.
Importance of Addressing Flapper Issues
Addressing flapper issues promptly is crucial for the overall performance of your toilet. A faulty flapper can lead to constant water leaks, resulting in higher water bills and unnecessary strain on your plumbing system. Over time, these leaks can cause water waste, which is detrimental to the environment and can contribute to larger plumbing problems if left unaddressed. Moreover, a malfunctioning flapper can impair the flushing mechanism, leading to incomplete flushes that require multiple attempts to clear the bowl.
By regularly inspecting and replacing the flapper as needed, homeowners can maintain optimal flushing efficiency, enhance water conservation efforts, and prolong the lifespan of their toilet system. Neglecting this small component can lead to more significant repair costs down the line and reduced comfort in your home.

10 Methods How to Remove a Hard Plastic Toilet Flapper
1. Turn Off the Water Supply
Before you begin removing a hard plastic toilet flapper, the first step is to turn off the water supply to the toilet. Locate the shutoff valve, usually found near the base of the toilet, and turn it clockwise to stop the flow of water. This step is crucial because it prevents water from refilling the tank while you work, giving you a dry and safe environment to access the flapper. After turning off the water, flush the toilet to empty the tank, ensuring that there’s no water left that could interfere with the removal process.
2. Remove the Toilet Tank Lid
After the water supply is turned off and the toilet tank is empty, carefully remove the toilet tank lid and set it aside. The tank lid is typically made of heavy ceramic, so handle it with care to avoid dropping or damaging it. Removing the tank lid gives you access to the internal components of the toilet, including the flapper, flush valve, and chain. Take a moment to inspect the tank’s layout and identify the flapper’s position, which is usually located at the base of the flush valve.
3. Disconnect the Flapper Chain
The flapper is connected to the toilet handle via a metal or plastic chain. To remove the flapper, you’ll first need to disconnect this chain. The chain is typically attached to a hook or lever on the toilet handle. Unclip the chain from the handle, allowing the flapper to move freely. Be mindful of the chain’s length, as you’ll need to adjust or replace it when installing a new flapper. If the chain is rusty or damaged, you may also want to replace it as part of the flapper replacement process.
4. Inspect the Mounting Arms
Hard plastic toilet flappers are usually attached to the flush valve via two mounting arms that clip onto pegs or posts on either side of the valve. These arms hold the flapper in place and allow it to pivot during the flushing process. To remove the flapper, inspect these mounting arms to see how they’re attached.
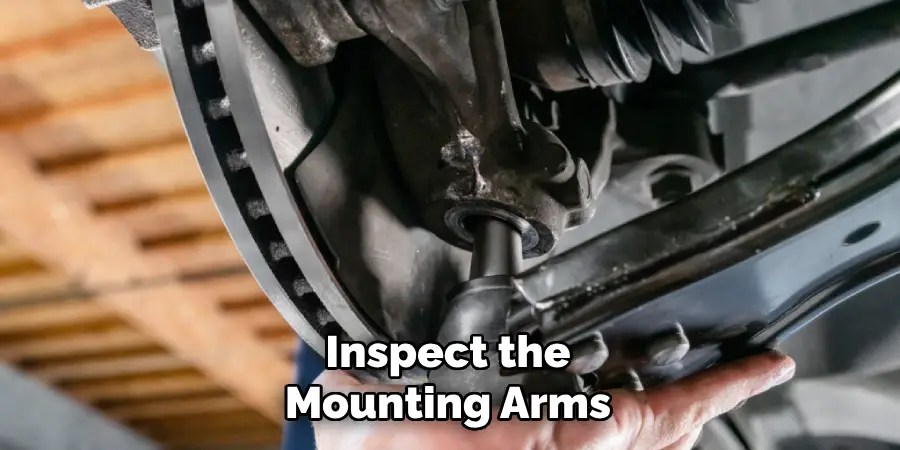
In most cases, the flapper arms simply snap onto the pegs, and you can remove the flapper by gently pulling the arms off the posts. Be careful not to apply too much force, as you don’t want to break the pegs or damage the valve.
5. Use Pliers for Stubborn Flappers
If the flapper’s mounting arms are tight or difficult to remove by hand, you may need to use pliers to help loosen them. Grab a pair of adjustable pliers and gently grip one of the flapper arms near the peg. Apply slow, even pressure to lift the arm off the peg without damaging the plastic. Repeat this process on the other side to fully detach the flapper from the flush valve. If the flapper is old or stuck, the pliers can provide the extra leverage needed to free it.
6. Soak the Flapper in Warm Water
Sometimes, hard plastic flappers become stiff or brittle over time, making them difficult to remove. If you’re having trouble detaching the flapper, try soaking it in warm water. First, remove any loose parts of the flapper that you can, then fill a bucket or container with warm (not boiling) water. Submerge the flapper and its mounting arms in the water for 10 to 15 minutes. The heat will help soften the plastic, making it more flexible and easier to remove without breaking.
7. Loosen Mineral Deposits
If your toilet is located in an area with hard water, mineral deposits may have built up around the flapper, making it difficult to remove. To loosen these deposits, use a vinegar solution or a calcium, lime, and rust remover (CLR). Apply the solution around the base of the flapper and let it sit for several minutes to dissolve any buildup.
Once the deposits have softened, use a soft cloth or brush to clean the area. This process can help make the removal easier by reducing the friction caused by the mineral buildup.
8. Remove the Flapper by Cutting It
In some cases, especially with older toilets, the hard plastic flapper may be so deteriorated or stuck that it cannot be removed by hand or with pliers. If this happens, consider cutting the flapper off using a utility knife or scissors. Carefully cut through the plastic mounting arms or the base of the flapper, avoiding any damage to the flush valve or other internal components.
This method is a last resort but can be effective when dealing with stubborn or broken flappers. After cutting, be sure to remove any remaining plastic pieces from the flush valve.
9. Inspect the Flush Valve for Damage
Once you’ve successfully removed the hard plastic flapper, take a moment to inspect the flush valve for any signs of damage or wear. The flush valve should be smooth and free of cracks, as any damage could lead to leaks or poor performance. If you notice any issues with the flush valve, you may need to replace it along with the flapper.
This is a more involved process but necessary if the valve is compromised. If the valve is in good condition, clean it with a cloth before installing a new flapper.
10. Install the New Flapper
With the old flapper removed and the flush valve inspected, it’s time to install the new flapper. Choose a replacement flapper that matches the design of your toilet and is made of durable materials, such as rubber or flexible plastic. Attach the new flapper to the flush valve by snapping the mounting arms onto the pegs. Ensure that the flapper is positioned correctly and moves freely.
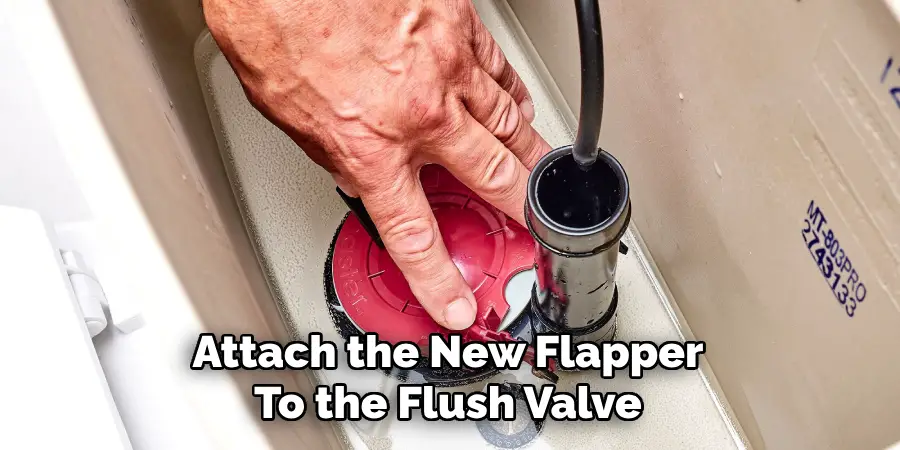
Reattach the chain to the toilet handle, adjusting the length so that the flapper opens and closes fully without slack. Once everything is in place, turn the water supply back on and test the toilet for proper flushing.
Conclusion
In conclusion, removing a hard plastic toilet flapper involves a series of steps that range from disconnecting the flapper chain to inspecting the flush valve for damage. By following these detailed methods, you can safely remove and replace the flapper without damaging your toilet. Whether it’s using pliers for stubborn parts or soaking the flapper in warm water to soften it, these approaches provide flexibility depending on the condition of the flapper and your toilet’s plumbing system. Hopefully, this article gave you some helpful tips about how to remove a hard plastic toilet flapper successfully, so now that you have the proper knowledge on how to get the job done, why not give it a try today?

