Replacing a kitchen sink faucet can seem like a daunting task, but with the right tools and a little guidance, it’s a manageable project for anyone. Whether you’re dealing with a leaky faucet, upgrading to a newer design, or simply making a style change, removing the old faucet is the first step.
This guide on how to remove a kitchen sink faucet will walk you through the process step by step, ensuring a smooth and efficient removal.
Why Remove a Kitchen Sink Faucet?
Before we dive into the steps of removing a kitchen sink faucet, it’s helpful to understand why you might need to do this in the first place. Here are some common reasons for replacing a kitchen sink faucet:
Leaks
A leaky faucet is not only annoying but can also waste gallons of water and cause damage to your sink and cabinets. If your faucet is leaking, it’s important to address the issue as soon as possible by either repairing or replacing it.
Wear and Tear
Over time, everyday use can cause wear and tear on your kitchen sink faucet. This can result in reduced water pressure or difficulty turning the handles. If you notice these issues, it may be time for a replacement.
Style Upgrade
Your kitchen sink faucet is not only functional but also adds to the overall style of your kitchen. If you’re looking to update the look of your kitchen, replacing the old faucet with a new one can make a big difference.
Improper Installation
If your current faucet was not installed correctly, it may lead to leaks or drips, which can be a nuisance and also waste water. In this case, replacing the faucet with a new one and ensuring proper installation can solve the issue.
Conserving Water
Newer faucets come with features such as aerators that help conserve water by mixing air into the stream of water, reducing its flow rate without affecting the pressure. This not only saves water but can also save you money on your water bill.
Needed Materials
- New Faucet
- Plumber’s Tape
- Wrench or Pliers
- Towel or Rag
11 Step-by-Step Guidelines on How to Remove a Kitchen Sink Faucet
Step 1: Turn Off the Water Supply
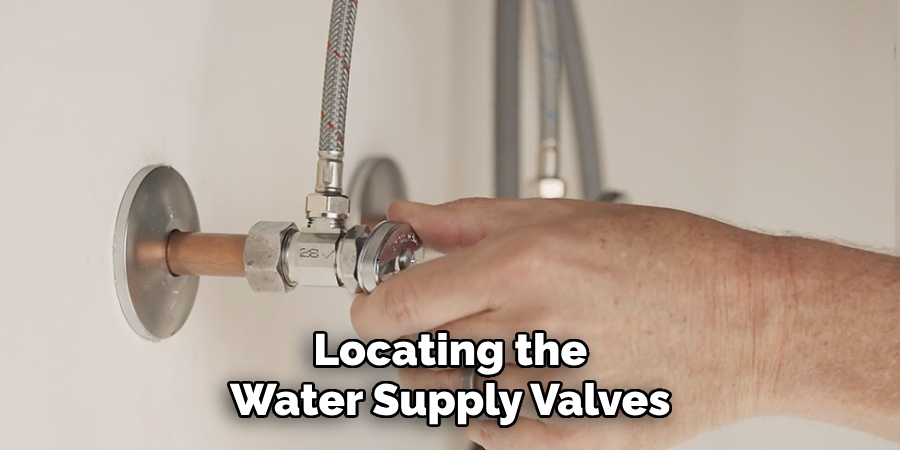
Begin by locating the water supply valves under your sink. These are typically found at the back of the cabinet beneath the sink. Turn both the hot and cold water supply valves clockwise until they are fully closed to prevent water from flowing to the faucet.
Once the valves are shut, turn the faucet on to release any residual water in the pipes. This ensures that the area you’re working in stays dry during the process.
Step 2: Prepare Your Work Area
Before you begin removing the faucet, take a moment to prepare your work area. Clear out any items stored under the sink to provide enough space to maneuver tools and access the faucet easily. Place a bucket or a shallow pan under the sink to catch any water that might drip during the process.
Lay down a towel or an old cloth to keep the cabinet floor dry and protect it from scratches or damage caused by tools. Having a flashlight or a work light on hand can also be helpful for illuminating tight spaces.
Step 3: Remove the Old Faucet
Begin by shutting off the water supply to the faucet. Locate the valves under the sink and turn them clockwise until fully closed. Open the faucet to release any remaining water in the lines and relieve pressure. Use an adjustable wrench or pliers to disconnect the water supply lines from the faucet. Be cautious, as a small amount of water may still be present in the lines.
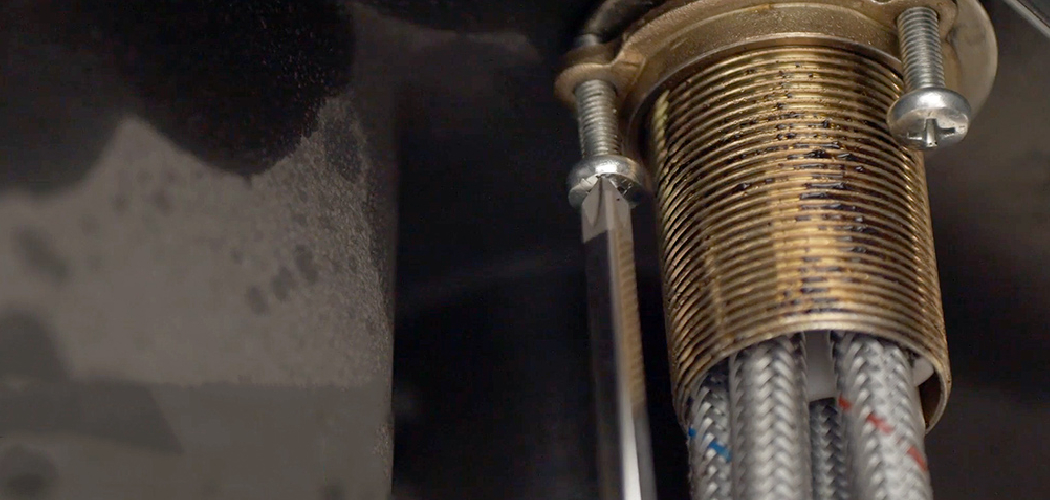
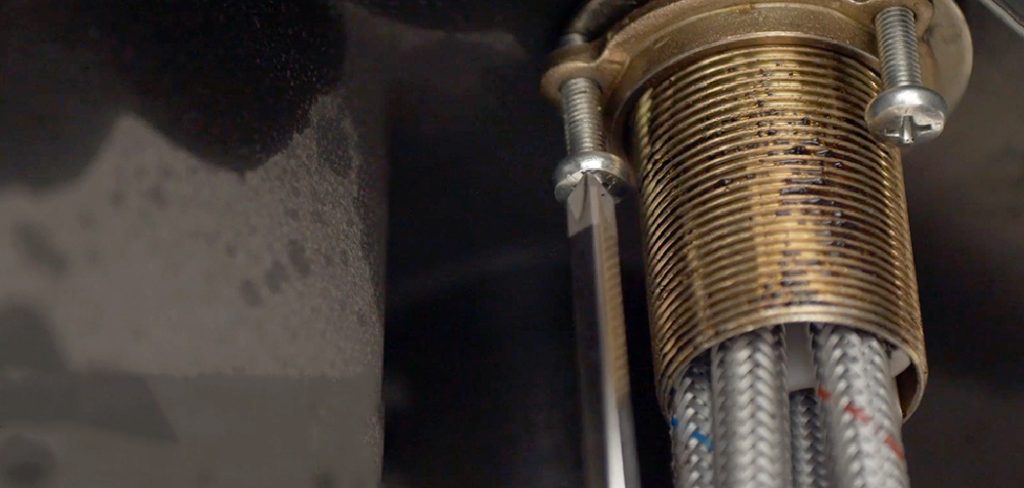
Next, locate the mounting nuts securing the faucet to the sink. These are typically found underneath the sink basin. Using a basin wrench, carefully loosen and remove the nuts. If the nuts are corroded or stuck, applying a penetrating lubricant can help loosen them. Once the mounting nuts are removed, gently lift the old faucet out from the top of the sink. Clean the area around the faucet holes to remove any debris, old sealant, or grime, ensuring a smooth surface for installing the new faucet.
Step 4: Disconnect the Sprayer
If your faucet includes a sprayer attachment, you’ll need to disconnect it before proceeding. Locate the sprayer hose under the sink, which is typically connected to the diverter or directly to the faucet base.
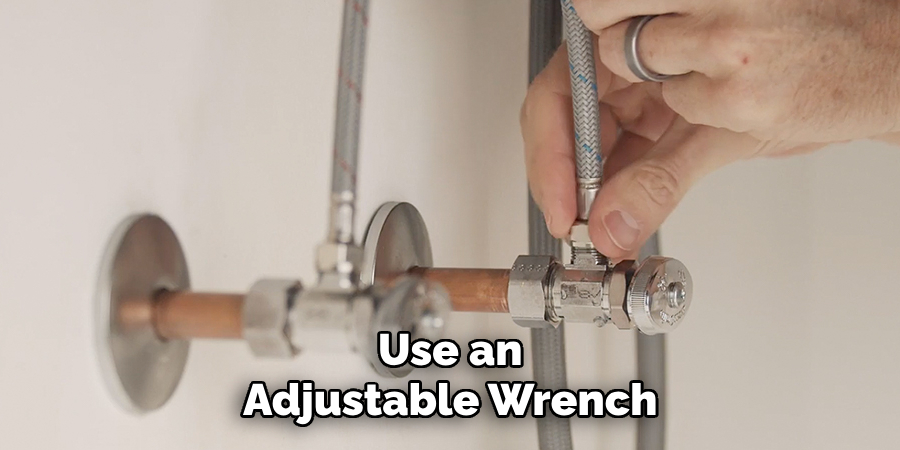
Use an adjustable wrench or pliers to unscrew the coupling that secures the sprayer hose. Once disconnected, carefully pull the sprayer hose out through the top of the sink. Be sure to keep any connectors or washers intact, as these may be needed depending on the configuration of your new faucet.
Step 5: Remove the Old Faucet
With the sprayer hose removed, it’s time to detach the old faucet. Begin by locating the mounting nuts underneath the sink that secure the faucet to the countertop. Use a basin wrench or an adjustable wrench to loosen and remove these nuts. Once the nuts are removed, carefully lift the old faucet out from the top of the sink.
Check for any remaining sealant or debris around the faucet opening and clean the area thoroughly to ensure a smooth installation surface for the new faucet.
Step 6: Clean and Prepare Sink Surface
Before installing the new faucet, take the time to inspect the sink surface around the faucet openings. Use a mild cleaner and a non-abrasive cloth or sponge to remove any remaining grime, old sealant, or debris.
For stubborn residue, a plastic scraper can be used carefully to avoid scratching the sink. Ensuring the area is completely clean and dry will provide a proper seal and prevent any leaks once the new faucet is installed. This step is essential for a secure and long-lasting installation.
Step 7: Install New Faucet
Position the new faucet over the designated openings in the sink, aligning it according to the manufacturer’s instructions. Thread the mounting hardware, such as nuts or brackets, onto the faucet’s base from underneath the sink, securing it firmly but not over-tightening to avoid damage.
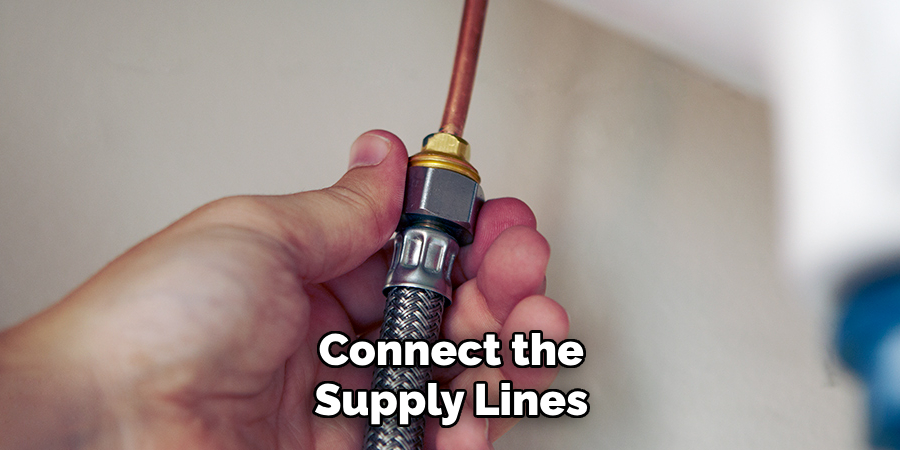
Once the faucet is steady, connect the supply lines to the corresponding hot and cold water valves. Use an adjustable wrench to tighten them, ensuring a snug fit without overtightening. Double-check all connections to make sure they are secure before moving on to the next step.
Step 8: Reconnect Water Supply
Turn the hot and cold water supply valves back on by twisting them counterclockwise. Open both valves fully to allow water to flow into the faucet. Next, check for any leaks at the connections by running the faucet for a few moments.
If leaks are present, turn off the water supply and tighten the connections further as needed. Once no leaks are detected, proceed with cleaning up the work area to complete the installation process.
Step 9: Test New Faucet
With the water supply on and no leaks detected, test the functionality of the new faucet. Turn on both the hot and cold water to ensure smooth and consistent water flow. Adjust the handles or controls to check the water pressure and confirm that they operate correctly.
Additionally, inspect whether the faucet swivels as intended, if applicable. Lastly, check for proper water temperature to verify that the connections to the hot and cold lines are accurate. If everything works as expected, your new faucet installation is complete!
Step 10: Clean Up
After completing the installation and testing the faucet, take a moment to clean up the workspace. Remove any tools, materials, or debris that were used during the process. Wipe down the sink and surrounding area to ensure it’s free from dust, fingerprints, or water spots.
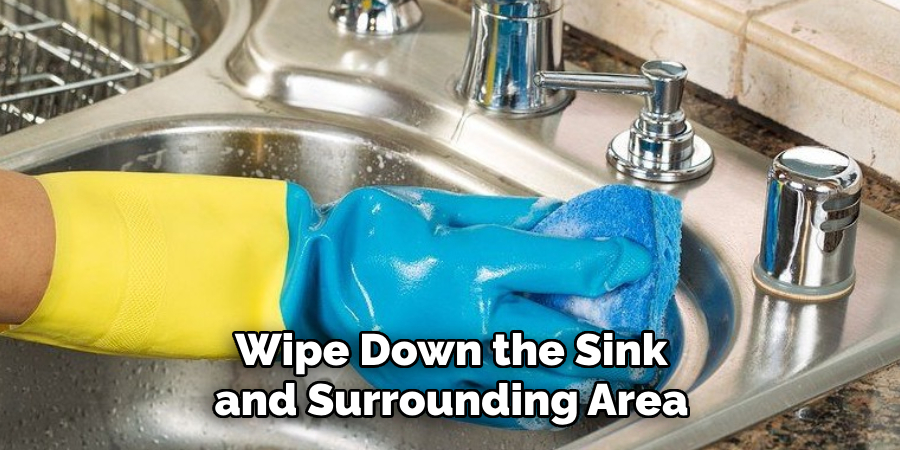
Properly dispose of old fixtures or parts, as well as any packaging from the new faucet, in accordance with local recycling or waste disposal guidelines. A tidy workspace ensures a polished finish and leaves your kitchen or bathroom looking refreshed and ready for use.
Step 11: Maintenance
To keep your new faucet in optimal condition, it’s important to conduct regular maintenance. Periodically check for any leaks around the base or connections and tighten if necessary. Clean the faucet with a soft cloth and a non-abrasive cleaner to prevent the buildup of grime or water stains. Avoid using harsh chemicals or scrubbing pads, as these can damage the finish.
Following these maintenance tips on how to remove a kitchen sink faucet will ensure that your faucet remains in top condition and prolongs its lifespan.
Additional Tips
- Make sure to turn off the water supply before beginning any installation work.
- Have all necessary tools and materials at hand before starting the installation process.
- Follow the manufacturer’s instructions carefully for best results and to avoid damaging your new faucet.
- Use Teflon tape or plumber’s putty when installing new components such as a drain stopper or soap dispenser.
- Regularly clean and maintain your faucet to avoid the buildup of bacteria and mineral deposits.
- If you encounter any issues during installation, consult a professional plumber for assistance.
- Consider installing a water softener if your area has hard water to prevent damage to your new faucet and prolong its lifespan.
- When choosing a new faucet, consider the style and functionality that best fit your needs and complements your bathroom or kitchen decor.
- Don’t forget about proper ventilation in your bathroom or kitchen to prevent mold buildup and maintain the longevity of your new faucet.
Frequently Asked Questions
Q1: How Do I Know When It’s Time to Replace My Faucet?
A1: If your faucet is leaking, constantly dripping, or difficult to turn on and off, it may be time to replace it. Another indicator is if the faucet’s finish is corroded or damaged beyond repair.
Q2: Can I Replace My Faucet by Myself?
A2: Yes, depending on your level of DIY experience and comfort with plumbing tasks. However, it is recommended to hire a professional plumber for more complex installations or if you are unsure about the process.
Q3: How Do I Choose the Right Faucet for My Bathroom or Kitchen?
A3: Consider the style and functionality that best fits your needs and complements your bathroom or kitchen decor. Look for features like water-saving options, easy-to-clean designs, and durable finishes.

Conclusion
Choosing the right faucet and ensuring proper installation are key aspects of maintaining both functionality and style in your bathroom or kitchen. While some tasks can be done independently, consulting a professional is often the best choice for complex installations.
By considering features like durability, water efficiency, and design compatibility, you can make an informed decision that enhances both the utility and aesthetic of your space. Thanks for reading this article on how to remove a kitchen sink faucet.

