Removing a steel bathtub can seem like a daunting task, but with the right tools and a clear plan, it can be done efficiently. Whether you’re remodeling your bathroom or replacing a damaged tub, understanding the steps involved will
help you complete the task safely and effectively. This guide provides detailed instructions on how to remove a steel bathtub.
Why You Might Need to Remove a Steel Bathtub
There are several reasons why you might need to remove a steel bathtub. One common reason is to upgrade your bathroom with a newer, more modern tub that better fits your style or needs. Over time, steel bathtubs can become scratched, chipped, or rusted, which might warrant their replacement for both aesthetic and functional purposes.
Additionally, if you’re renovating your bathroom, replacing the bathtub may be a key part of updating the overall design or improving the layout. In some cases, structural or plumbing issues might necessitate removing the tub to access hidden problems, such as leaks or damaged supports, ensuring the bathroom remains safe and functional. Whatever the reason, understanding why you’re removing the tub will help you plan effectively for the project.
Tools and Materials Needed
Before starting the removal process, gather all the necessary tools and materials to ensure the job runs smoothly. Here’s a list of items you’ll need:
- Safety Gear: Gloves, safety goggles, and a dust mask to protect yourself from sharp edges, debris, and dust.
- Wrench or Adjustable Pliers: For disconnecting plumbing connections, such as the drain and faucet attachments.
- Screwdriver (Flathead and Phillips): To remove screws securing fixtures and panels.
- Utility Knife: To cut through caulking or sealants around the edges of the tub.
- Pry Bar or Crowbar: For gently prying the tub away from the wall or floor if it is tightly secured.
- Reciprocating Saw (if needed): For cutting through the steel bathtub into smaller sections, making it easier to remove.
- Bucket and Towels: To catch and clean up any water that may spill during disconnection.
- Drop Cloths or Cardboard: To protect the bathroom floor from damage and make cleanup easier.
- Flashlight or Work Light (optional): To illuminate tight or dark areas, especially around plumbing components.
Having these tools and materials at hand will help you work safely and efficiently while minimizing potential delays.
10 Methods How to Remove a Steel Bathtub
1. Assess the Work Area and Plan the Removal
Before starting, assess the bathroom layout to determine how the bathtub is installed and the best way to remove it. Identify obstacles such as walls, cabinets, or fixtures that may interfere with removal. Measure the bathtub and doorways to ensure you have a clear path for extraction. Planning ahead will help avoid unnecessary delays and complications during the process.
2. Turn Off the Water Supply
Before disconnecting the bathtub, shut off the water supply to avoid leaks or flooding. Locate the main shutoff valve or the dedicated valves for the bathtub. Turn them off and open the bathtub faucet to drain any remaining water in the pipes. This step is crucial to prevent water damage and ensure a mess-free removal.
3. Disconnect the Plumbing Fixtures
Use a wrench to disconnect the water supply lines, drain pipes, and overflow assembly. If the bathtub has a built-in showerhead, remove it along with the faucet and spout. Be sure to place a bucket under the drain pipe to catch any residual water. Plug the drain to prevent debris from falling into the plumbing system.
4. Remove the Surrounding Wall or Tile
Most steel bathtubs are installed against tiled walls or enclosures. To access the tub, remove at least 6-12 inches of tiles or
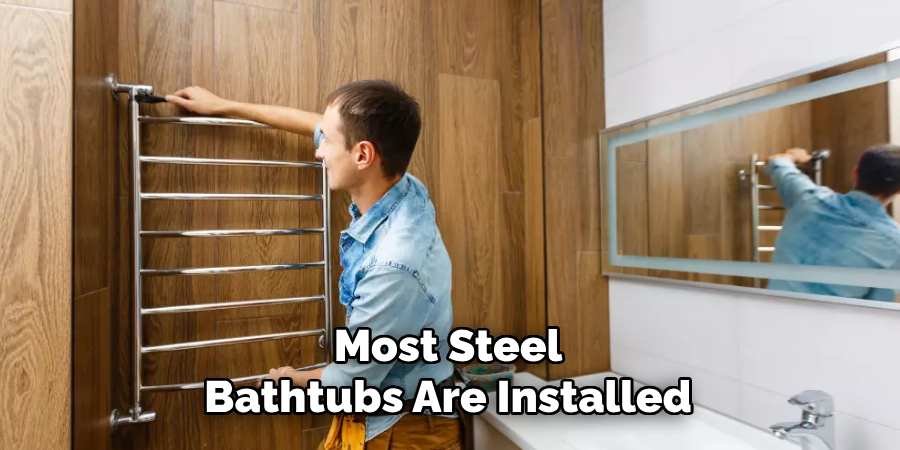
drywall from the tub’s perimeter using a utility knife or reciprocating saw. Be cautious when cutting near plumbing lines or electrical wiring. Removing the wall covering provides clearance for lifting and removing the tub.
5. Detach the Bathtub from the Floor and Wall
Steel bathtubs are typically secured to the studs with screws or nails along the flange. Use a screwdriver or pry bar to remove these fasteners. If caulk or adhesive was used along the edges, carefully cut through it with a utility knife. This step ensures the bathtub is fully detached and ready for removal.
6. Break the Seal and Loosen the Tub
Once the bathtub is detached, gently rock it back and forth to loosen it from its position. If the tub is stuck due to old adhesive or sealant, use a pry bar to carefully lift it away from the floor. Be patient and apply steady force to avoid damaging the surrounding walls or flooring.
7. Prepare for Heavy Lifting and Support the Tub
Steel bathtubs are heavy, often weighing over 300 pounds. Enlist the help of at least one other person to lift and maneuver the tub safely. Use wooden planks or dollies to support the bathtub and reduce the strain on your back. Wearing gloves and protective gear will also help prevent injuries.
8. Lift and Tilt the Bathtub for Easier Removal
To remove the tub from the bathroom, tilt it onto its side to fit through doorways. If space is limited, consider cutting the
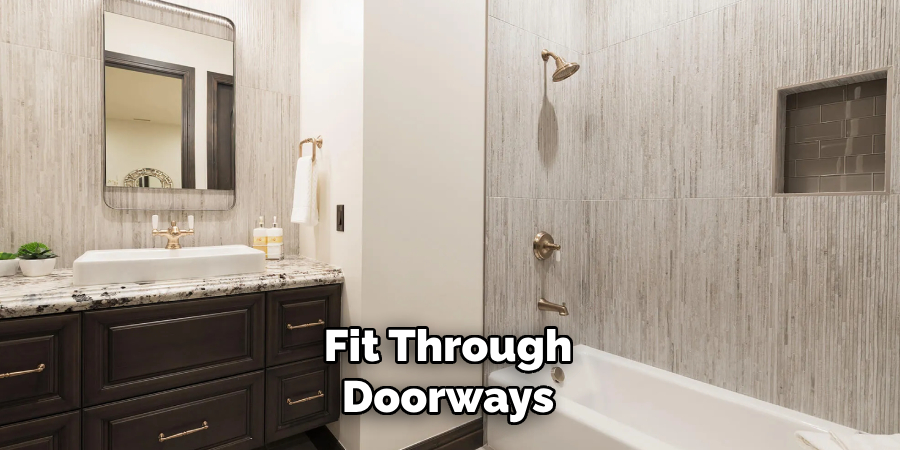
bathtub into smaller sections using a reciprocating saw with a metal-cutting blade. This method is especially useful for tight spaces where maneuvering a full-size tub is impractical.
9. Safely Transport the Tub Out of the House
Once the bathtub is removed, transport it carefully through hallways and out of the house. Use furniture sliders or a moving dolly to ease the process. Be mindful of walls and door frames to prevent accidental damage. If the bathtub is too large or heavy to move intact, cutting it into smaller pieces beforehand will make disposal easier.
10. Dispose of the Old Bathtub Responsibly
Depending on local regulations, you may need to take the old bathtub to a recycling center, landfill, or waste disposal facility. Some metal scrapyards accept steel bathtubs for recycling. If the bathtub is still in good condition, consider donating it to a salvage yard or a local charity that accepts building materials.
Things to Consider When Removing a Steel Bathtub
Removing a steel bathtub is a complex process that requires careful preparation and attention to detail. Here are some key factors to consider to ensure a successful and safe removal:
- Weight of the Bathtub: Steel bathtubs are extremely heavy, often requiring multiple people for safe handling. Plan ahead and gather enough help to lift and transport the tub without risking injuries.
- Condition of the Plumbing: Before starting the removal, inspect the plumbing connections for signs of rust or wear. Fragile pipes or fittings may require extra care to avoid damage during disconnection.
- Potential for Hidden Damage: Removing a bathtub may reveal issues such as water damage, mold, or rot in the surrounding wall or floor. Be prepared to address these problems once the tub is out.
- Disposal Requirements: Research local regulations for disposing of steel bathtubs. Some areas require specific recycling, while others allow landfill disposal. Knowing your options in advance can prevent delays.
- Protecting Surrounding Areas: Use drop cloths, cardboard, or padding to protect the bathroom floor and nearby fixtures from scratches or damage during the removal process.
- Tools and Safety Gear: Ensure that all necessary tools and safety gear are readily available before you begin. Using the right equipment will make the process smoother and safer.
Common Mistakes to Avoid
When removing a steel bathtub, several common mistakes can complicate the process or lead to costly damage. Here are some of the most frequent errors and how to avoid them:

- Failing to Turn Off the Water: Forgetting to shut off the water supply can result in leaks or flooding when disconnecting the plumbing. Always ensure the water is completely turned off before starting.
- Not Protecting the Bathroom Floor: Heavy steel bathtubs can easily scratch or damage the bathroom floor if precautions are not taken. Use drop cloths, plywood, or thick padding to safeguard the flooring.
- Using the Wrong Tools: Attempting to remove screws, nails, or pipes with improper tools can lead to frustration and potential damage. Equip yourself with the right tools, such as a reciprocating saw, wrench, and pry bar, to make the process smoother.
- Neglecting Proper Safety Measures: Skipping gloves, safety goggles, or sturdy work boots can increase the risk of injuries from sharp edges, dropped tools, or heavy lifting. Always prioritize safety by wearing appropriate protective gear.
- Underestimating the Weight of the Tub: Many people underestimate how heavy a steel bathtub can be, leading to injuries or accidents. Ensure you have enough people to assist with the lifting and moving process.
- Cutting Through Plumbing or Wiring by Mistake: When removing sections of the wall or tile, it’s easy to accidentally damage hidden pipes or electrical wiring. Use caution and inspect the area before cutting with power tools.
- Forgetting to Plug the Drain: Removing the tub without plugging the drain could result in debris falling into the plumbing system, potentially causing clogs. Always cover the drain before dismantling the tub.
Conclusion
Removing a steel bathtub requires careful preparation, the right tools, and safety measures to ensure a successful process. By following these ten methods, you can safely disconnect, lift, and transport the bathtub without causing damage to your home. Whether replacing the tub with a new model or remodeling the bathroom entirely, taking the right approach will make the job more manageable and efficient. So, there you have it – a quick and easy guide on how to remove a steel bathtub.

