It can be incredibly frustrating trying to remove a stuck hose nozzle from your garden hose – you could be wasting valuable time fighting with it or using up precious water trying to loosen the grip.
And if you’ve ever attempted to connect multiple sprinklers at once, chances are you ran into another problem— how do I get the multi-hose adapter to work correctly? With so many complications in getting your job done right, it’s no wonder that so many gardeners need help when it comes to most effectively connecting multiple sprinklers and setting up their hoses for successful performance.
In this blog post, we will guide you through step-by-step instructions on how to remove a stuck hose nozzle. By now understanding these processes, we promise that keeping your outdoor watering system running smoothly will become much easier!
What Will You Need?
Before we dive into the steps, let’s make sure you are prepared with everything you need to get the job done. Here is a list of materials you will need:
- Pliers or wrench
- Lubricant (such as WD-40)
- Clean cloth
- Gloves (optional)
- A bucket of water
Once you have gathered these materials, you will be ready to start the process of removing your stuck hose nozzle.
10 Easy Steps on How to Remove a Stuck Hose Nozzle
Step 1: Assess the Situation
Before you start pulling or twisting, take a moment to assess how badly your nozzle is stuck. Is it just a little tight? Or has it been on there for years and refuses to budge? Knowing this beforehand can help you determine the best course of action.
Step 2: Apply Lubricant
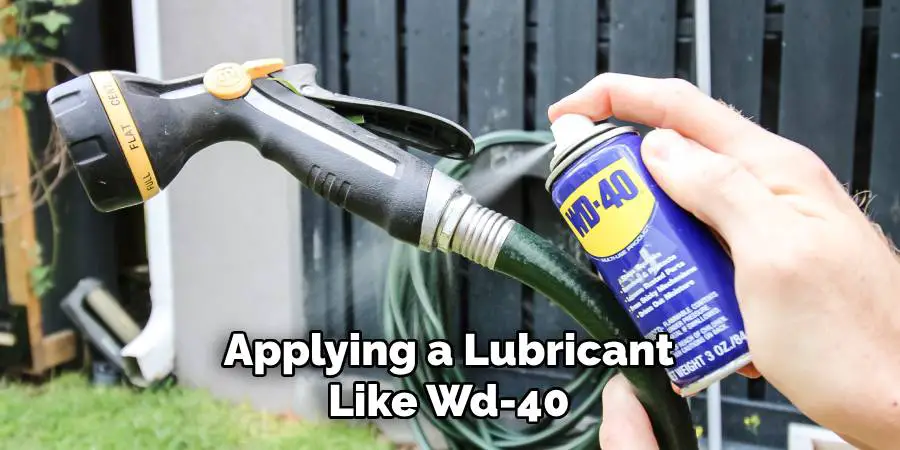
If the nozzle is very tight or stuck, applying a lubricant like WD-40 can make the removal process more accessible. Spray the lubricant onto the area where the nozzle meets the hose, making sure to cover it thoroughly.
Allow the lubricant to sit for a few minutes to penetrate and loosen the rust or dried gunk that may be causing the nozzle to stick. Remember to wipe any excess lubricant off with a clean cloth to avoid slipping in the next steps.
Step 3: Use Pliers or Wrench
Wrap a clean cloth around the hose just below the nozzle to protect it from any potential damage. With your gloves on, grasp the nozzle with a pair of pliers or a wrench and the hose with your other hand. Twist the nozzle counterclockwise while maintaining a firm hold on the hose. Be careful not to use too much force, as this can damage the hose. The nozzle should start to move and eventually come off with patience and gentle twisting.
Step 4: Soak in Warm Water
If the nozzle remains stuck even after applying a lubricant and using a wrench or pliers, a good solution is to soak the end of the hose in warm water. Fill a bucket with warm (not boiling) water and submerge the hose and nozzle. The warm water can help to expand the hose and loosen the nozzle. Let the hose soak for about 15-30 minutes, then try to twist the nozzle off again. Remember, patience is key here.
Step 5: Adjust Your Grip
If you struggle to remove the nozzle, try adjusting your grip. Instead of using pliers or a wrench, try grasping the nozzle with your hands and twisting it in a counterclockwise motion. The added grip and control from using your hands may make it easier to remove.
Step 6: Apply More Lubricant
If the previous steps have not worked, apply more lubricant and let it sit for a few more minutes. You can also use a brush or toothbrush to help work the lubricant into tight spaces. Be careful not to damage the hose while doing this.
Step 7: Use Heat
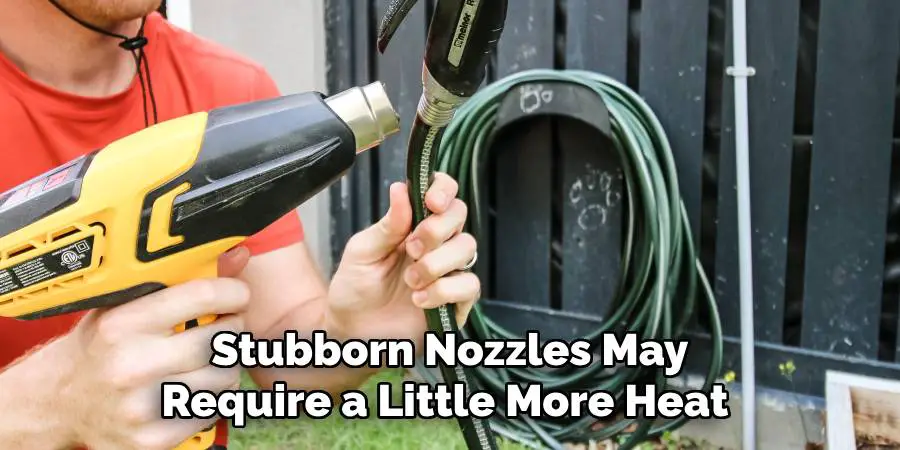
In some cases, stubborn nozzles may require a little more heat. Using a hairdryer or heat gun on low, apply heat to the nozzle and hose for a few minutes. The warmth will help loosen any dried gunk, causing the nozzle to stick.
Step 8: Try Using Two Pliers
If the nozzle is still not coming off, you can try using a second pair of pliers. Have one pair clamped around the nozzle and the other on the hose. Be sure to pad both with a thick cloth to avoid damaging them. With a firm grip on both pliers, try twisting in opposite directions. The dual force can sometimes help dislodge the most stubborn stuck nozzles.
Step 9: Clean the Threads
Once you have successfully removed the stuck nozzle, cleaning the threads on both the hose and the nozzle is essential. This helps prevent future instances of a stuck nozzle. Use a small brush to remove any debris, rust, or dried gunk. You can also use a cloth soaked in warm, soapy water for an effective clean. Dry the threads thoroughly before attaching a new nozzle to avoid rusting.
Step 10: Reattach the Nozzle
Once you’ve thoroughly cleaned and dried the threads of the hose and nozzle, you’re ready to reattach the nozzle. Apply a thin layer of lubricant to the threads of the hose before screwing the nozzle back on. This will make future removals much more accessible.
Remember to screw it on clockwise until it’s snug, but be sure not to overtighten it to prevent it getting stuck again in the future. Congratulations! You’ve successfully removed a stuck hose nozzle. Remember, regular maintenance can help prevent your hose nozzle from getting stuck again.
By following these steps, you can easily remove a stuck hose nozzle without damaging your hose or wasting time and energy. Remember to always be patient and cautious in the process, using lubricant and heat as needed.
5 Additional Tips and Tricks
- Apply Heat: Another effective method is to apply heat to the stuck connection. This can be done using a hairdryer or heat gun. Be careful not to overheat the nozzle, as it may cause damage.
- Use Pliers: If the nozzle is still stuck after lubrication and heat, use a pair of pliers to add additional force. However, wrap the nozzle with a cloth to avoid scratching or damaging it.
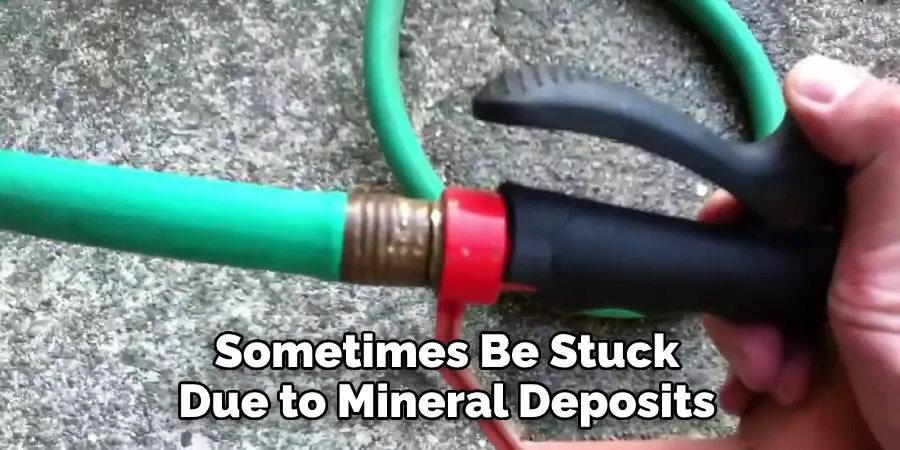
- Use Vinegar: The nozzle may sometimes be stuck due to mineral deposits. Soaking the nozzle in vinegar can help dissolve these minerals, facilitating easy removal.
- Preventative Measures: can prevent rust and mineral build-up. Consider using Teflon tape around the connection to ensure a smooth and easy removal in the future.
- Seek Professional Help: If all else fails, it may be time to seek professional help. A plumbing or gardening expert will have the tools and experience to safely remove a stuck hose nozzle without causing damage.
In addition to these tips, there are a few things you can keep in mind while using your garden hose to prevent future stuck nozzle situations.
5 Things You Should Avoid
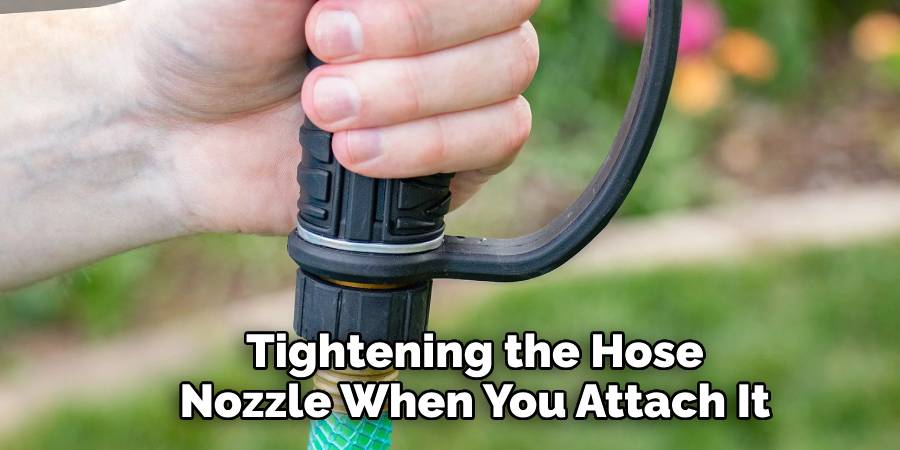
- Over-Tightening the Nozzle: Avoid over-tightening the hose nozzle when you attach it. This can cause the threads to warp or seize, making removal difficult.
- Ignoring Regular Maintenance: Pay attention to regular maintenance of your hose and nozzle. Regular checks for rust or mineral build-up can save you a lot of trouble later on.
- Leaving the Hose Out In Cold Weather: In colder climates, avoid leaving your hose attached outside, as the water inside can freeze, causing the nozzle to become stuck.
- Forgetting to Drain Water: Always remember to drain water from your hose after use, as residual water can cause rusting and lead to a stuck nozzle.
- Using the Wrong Tools: When removing a stuck nozzle, avoid using tools that can damage the hose or nozzle. Always use a soft cloth when using pliers or similar tools to protect the equipment.
By avoiding these common mistakes, you can ensure that your hose nozzle remains easy to remove and use for many seasons.
Why Do Hoses Get Stuck?
Hose nozzles can get stuck for a variety of reasons, including rust, mineral deposits, or over-tightening. Some materials, such as aluminum and brass, are more prone to sticking due to oxidation and corrosion. By understanding the potential causes of a stuck hose nozzle, you can take preventative measures to avoid them in the future.
These additional tips and tricks will help you easily remove a stuck hose nozzle. Remember always to be careful and use caution when trying any method to prevent damage to your equipment. With proper maintenance and care, you can keep your garden hose in top condition for smooth watering every time.
Conclusion
In conclusion, removing a stuck hose nozzle can be a simple task. After trying the does of soap trick, using lubrication such as WD-40 or vegetable oil should help the nozzle come right off. If all else fails, there are mechanical tools such as an adjustable wrench or an open-end wench that can help loosen the nozzle.
Hopefully, the article on how to remove a stuck hose nozzle, along with these additional tips and tricks, will help make your gardening tasks easier and more enjoyable. Remember always to take care of your equipment and perform regular maintenance to avoid any sticky situations in the future.
So next time your garden hoses get stuck, don’t fret – you now have several options for removing those pesky stuck hose nozzles! Use this helpful how-to guide to fix your own problem and get to spraying again!

