Removing a walk-in bathtub can be a complex but necessary task, whether you’re renovating your bathroom, upgrading to a new model, or reclaiming space for a different use. Walk-in tubs, known for their safety features and accessibility, are often securely installed with robust plumbing, electrical connections, and heavy materials, making their removal a multifaceted process. To begin, it’s essential to turn off the water supply and disconnect all plumbing fixtures, including the water lines and the drain. Next, any electrical connections, such as the power to the built-in jets or heaters, must be safely disconnected.

The physical removal involves carefully dismantling any surrounding structures, such as panels or trim, and possibly cutting the tub into more manageable sections for easier extraction. This guide will provide step-by-step instructions on how to remove a walk in bathtub, safely disconnecting and removing the tub, and managing any potential challenges that arise, ensuring a smooth and efficient removal process.
Importance of Proper Removal of Walk-in Bathtubs
Properly removing a walk-in bathtub is crucial for several reasons. First and foremost, safety is a primary concern. Incorrect handling of plumbing and electrical connections can lead to water damage or electrical hazards, posing serious risks to both the person performing the removal and the home’s integrity. Additionally, improper removal can result in significant damage to the bathroom’s infrastructure, such as cracked tiles, gouged walls, or damaged subflooring, leading to costly repairs.
Ensuring a careful and methodical approach helps preserve the condition of the space for subsequent use. Furthermore, if the walk-in tub is being replaced or upgraded, a proper removal ensures that all existing fixtures are compatible with the new installation, facilitating a smoother transition. Whether for safety, financial, or functional reasons, meticulous attention to detail during the removal process is essential to avoid unnecessary complications and expenses.
10 Methods How to Remove a Walk in Bathtub
1. Gathering the Necessary Tools and Materials
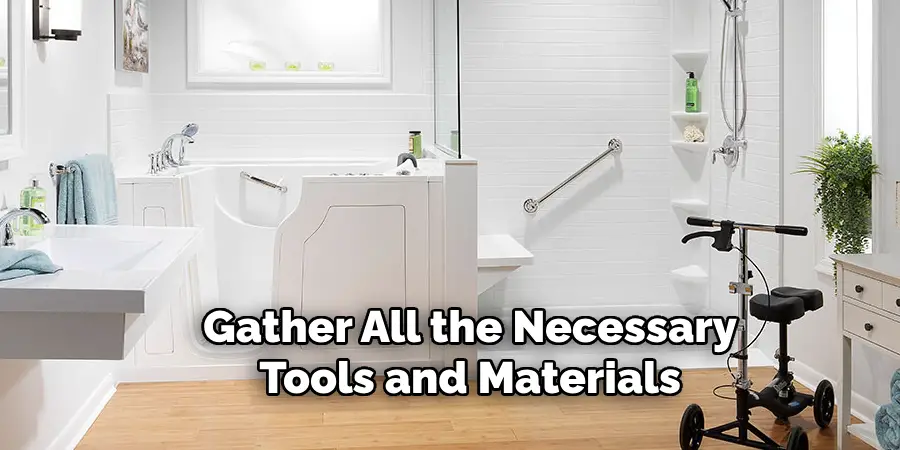
Before you begin the removal process, gather all the necessary tools and materials. You will need a variety of tools, including a wrench, screwdriver, utility knife, reciprocating saw, pry bar, and a bucket. Additionally, ensure you have safety gear such as gloves, safety goggles, and a dust mask. Having all the necessary tools on hand before starting will streamline the process and help prevent interruptions.

2. Turning Off the Water Supply
Safety is paramount when working with plumbing fixtures. Begin by turning off the water supply to the bathroom. Locate the shutoff valves, usually found near the tub or in the basement. If there are no individual shutoff valves for the bathroom, turn off the main water supply to the house. Open the faucet to drain any remaining water from the pipes. Turning off the water supply ensures there are no leaks or water damage during the removal process.
3. Disconnecting the Plumbing
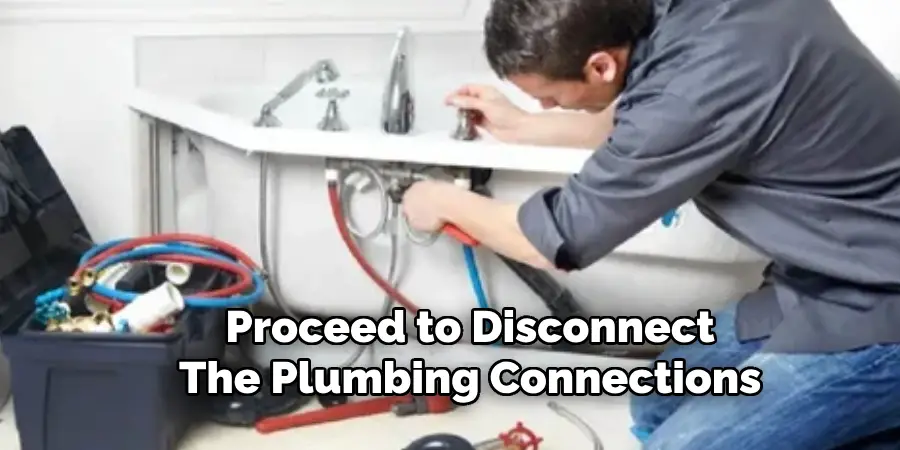
Once the water supply is off, proceed to disconnect the plumbing connections. Use a wrench to loosen and remove the nuts connecting the water supply lines to the faucet. Carefully detach the drain pipes and overflow pipe. Place a bucket underneath the pipes to catch any residual water. Properly disconnecting the plumbing ensures that you can remove the tub without damaging the existing pipes.

4. Removing the Tub Surround and Wall Panels
If your walk-in tub is surrounded by wall panels or tiles, these need to be removed first. Use a utility knife to cut through any caulking or adhesive holding the panels in place. For tiles, a chisel and hammer can be used to carefully remove them. Be cautious not to damage the wall structure beneath the panels. Removing the tub surround and wall panels provides clear access to the bathtub and its mounting fixtures.
5. Cutting the Silicone Sealant
Walk-in bathtubs are typically sealed with silicone to prevent water leakage. Use a utility knife to cut through the silicone sealant around the edges of the tub. Run the knife along the seams to ensure all the sealant is cut through. Removing the silicone sealant is crucial to freeing the tub from the walls and floor, making it easier to lift out.
6. Detaching the Fasteners
Walk-in bathtubs are secured to the wall and floor with various fasteners. Use a screwdriver or drill to remove any screws or bolts holding the tub in place. Some tubs may also be attached with brackets or clips, which need to be detached. Ensure all fasteners are removed before attempting to move the tub. Detaching the fasteners is essential to ensure the tub is completely free and ready to be lifted out.
7. Cutting the Tub (If Necessary)
In some cases, the walk-in bathtub may be too large to fit through the bathroom door. If this is the case, you will need to cut the tub into smaller, more manageable pieces. Use a reciprocating saw to carefully cut through the fiberglass or acrylic material. Wear safety goggles and a dust mask to protect yourself from debris. Cutting the tub may be necessary to facilitate its removal, especially in tight spaces.
8. Lifting and Removing the Tub
With all fasteners removed and the tub cut (if necessary), you can now lift and remove the walk-in bathtub. This step will likely require assistance due to the weight and size of the tub. Use a pry bar to gently lift the tub from its position, then carefully maneuver it out of the bathroom. Be mindful of door frames and other obstacles as you move the tub. Lifting and removing the tub is a delicate process that requires coordination and caution to avoid damage and injury.
9. Cleaning and Preparing the Area
Once the tub is removed, thoroughly clean the area. Remove any remaining debris, adhesive, or sealant from the floor and walls. Inspect the plumbing and wall structure for any damage that needs repair. This is also an opportunity to make any necessary adjustments or improvements to the plumbing before installing a new fixture. Cleaning and preparing the area ensures a smooth transition to the next phase of your bathroom project.
10. Disposing of the Old Tub
Proper disposal of the old walk-in bathtub is the final step in the removal process. Check with your local waste management services to find out the appropriate disposal method for large plumbing fixtures. Some areas may require you to take the tub to a designated disposal site, while others may offer pickup services. Ensure you follow local regulations to dispose of the tub responsibly. Proper disposal helps maintain a clean and safe environment and complies with local waste management policies.

Things to Consider When Removing a Walk-In Bathtub
Safety Precautions
Ensuring safety throughout the removal process is paramount. Always wear appropriate safety gear, such as gloves, safety goggles, and a dust mask, to protect yourself from sharp edges, debris, and dust. Additionally, make sure the work area is well-lit and free of any obstructions that could cause trips or falls. If you’re using power tools like a reciprocating saw, handle them with care and follow the manufacturer’s safety guidelines.
Structural Integrity
Before beginning the removal process, consider the structural integrity of your bathroom. Removing a walk-in tub may expose the subflooring, walls, and plumbing fixtures. Inspect these areas for any signs of damage or wear and tear. If you notice any issues, such as rotting wood or deteriorating pipes, it’s best to address these before installing a new bathtub or shower.
Accessibility and Space
Think about the logistics of removing the tub from your home. Measure the dimensions of the tub and the bathroom door to determine if the tub will fit through the exit without needing to be cut into smaller pieces. Plan your route to avoid damaging other fixtures, walls, and doorframes. You may need to temporarily remove doors or other obstructions to facilitate smooth movement.
Plumbing and Electrical Systems
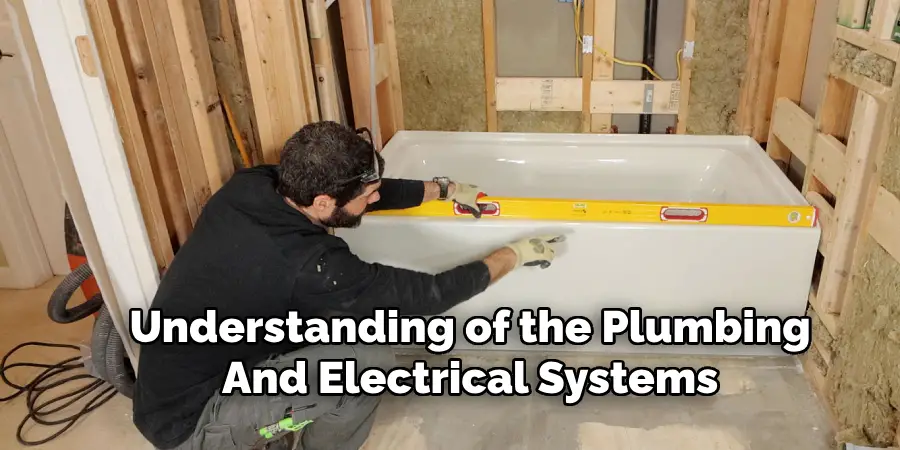
Ensure you have a clear understanding of the plumbing and electrical systems connected to the walk-in tub. If you’re unsure about how to safely disconnect these systems, it may be wise to consult a professional plumber or electrician. Improper handling of plumbing or electrical connections can lead to leaks, electrical hazards, or other complications.

Conclusion
Removing a walk-in bathtub involves multiple steps, each requiring careful attention to detail and adherence to safety protocols. From gathering the necessary tools and turning off the water supply to disconnecting the plumbing, removing the tub surround, and lifting the tub out of place, each method plays a crucial role in ensuring a successful removal.
Properly preparing the area and disposing of the old tub are equally important to complete the project efficiently and responsibly. Hopefully, this article gave you some helpful tips about how to remove a walk in bathtub successfully, so now that you have the proper knowledge on how to get the job done, why not give it a try today?
You can check it out to Take Plug Out of Bathroom Sink

