A faucet aerator is a small yet essential device located at the tip of the faucet. Its primary purpose is to regulate water flow, minimize splashing, and enhance overall efficiency. Over time, however, mineral buildup and debris can accumulate within the aerator, leading to reduced water pressure or clogging.
Removing the aerator is necessary to restore optimal functionality when cleaning or replacing it. The process may seem daunting for Delta bathroom faucets, but it is straightforward with the right guidance.
This article provides a comprehensive step-by-step guide on how to remove aerator from Delta bathroom faucet safely and effectively. Proper maintenance ensures your faucet continues to perform efficiently while preventing unnecessary wear and tear.
Tools and Materials Needed
Essential Tools for the Job
To successfully remove the aerator from your Delta bathroom faucet, you will need the following tools:
- Pliers or an Adjustable Wrench: These are crucial for loosening tightly secured aerators. Ensure they are suitable for small-scale use.
- A Cloth or Towel: Use this to protect the faucet’s finish while using tools, preventing scratches or damage.
- Small Bowl or Container: This will help catch any loose parts, such as washers or debris, that may fall during removal.
- Penetrating Oil (optional): For particularly stubborn or corroded aerators, this can make loosening much easier.
- A Toothbrush: Ideal for cleaning the aerator after it has been removed to remove dirt and mineral buildup.
Materials
- Replacement Aerator (if needed): If the current aerator is too worn or damaged, ensure you have a compatible replacement on hand.
- Soap and Water: These are necessary for cleaning the aerator and faucet area to restore optimal performance and remove built-up grime.
Having all the right tools and materials ready before starting ensures a smoother and more efficient process.
Understanding the Aerator and Its Components
What is an Aerator?
An aerator is a small yet essential component found at the tip of most faucets. Its primary function is to control the stream of water, reducing the flow rate without sacrificing water pressure. This conserves water and minimizes energy usage associated with water heating. Additionally, aerators help prevent splashes by softening the water stream as it exits the faucet, providing a smoother and more controlled flow.
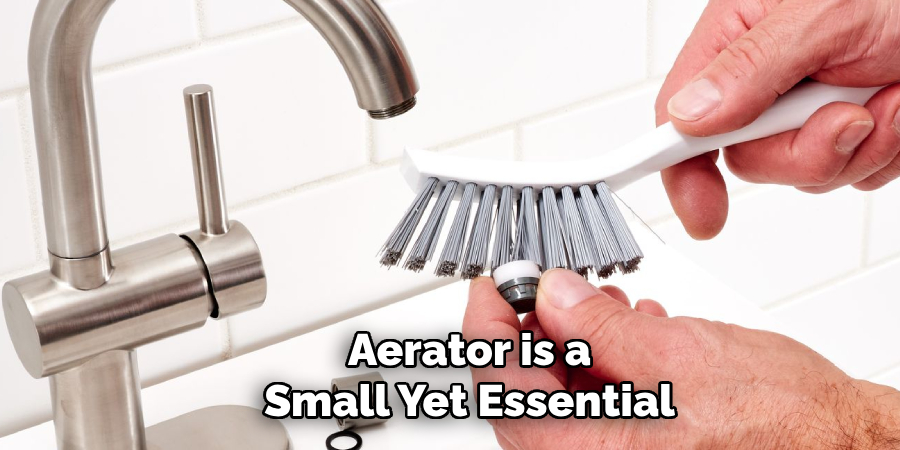
Parts of the Aerator
An aerator consists of several key components that work together to ensure optimal performance:
- Outer Casing: Usually made of metal or durable plastic, the outer casing houses the internal components and is designed to attach to the faucet securely.
- Mesh Filter or Screen: Located inside the aerator, this fine mesh filter disperses the water flow into tiny droplets while filtering out small debris. Over time, the screen can become clogged with mineral deposits or dirt, impacting performance.
- Rubber Gasket: This flexible, ring-shaped component ensures a tight seal between the aerator and the faucet, preventing leaks or dripping during use.
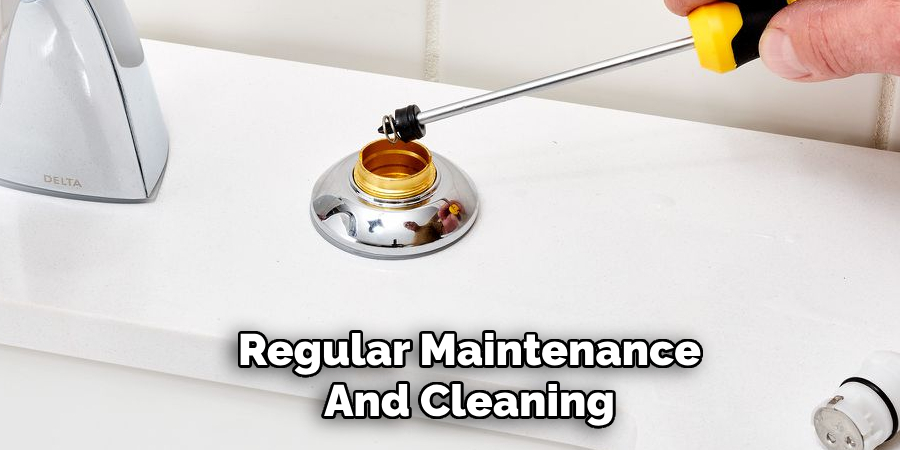
Regular maintenance and cleaning of these parts can help maintain the aerator’s efficiency and prolong its lifespan.
How to Remove Aerator From Delta Bathroom Faucet: Step-by-Step Guide
Step 1: Assess the Aerator Type
Begin by determining the type of aerator attached to your faucet. Some aerators are screwed on tightly, while others feature a removable keyhole for specific tools. Identify whether special tools, such as an aerator key, are necessary or if basic hand tools will suffice.
Step 2: Protect the Faucet Finish
To prevent scratches or damage to your faucet’s finish, wrap a soft cloth around the faucet spout. This protective layer will serve as a buffer when you use tools like pliers or a wrench, helping maintain the faucet’s appearance.
Step 3: Loosen the Aerator
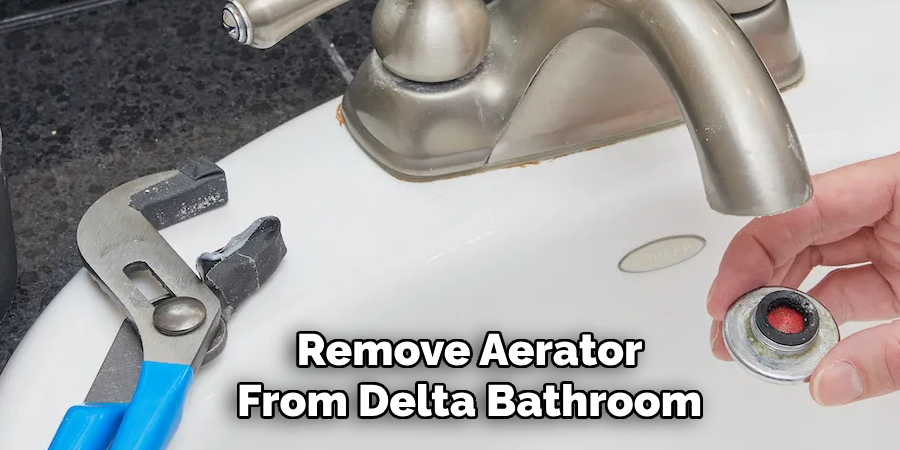
Using pliers or an adjustable wrench, gently grip the aerator. Apply light pressure and turn counterclockwise to unscrew it. If the aerator is difficult to loosen, apply a small amount of penetrating oil, letting it sit for a few minutes to soften any mineral deposits or hardened residue that may be causing it to stick.
Step 4: Remove the Aerator
Once the aerator is loosened, unscrew it completely by hand. Use caution to prevent dropping or losing small components, such as the rubber gasket, mesh screen, or other internal parts. It’s helpful to work over a sink lined with a towel to catch any falling pieces. With the aerator removed, you can clean or replace the necessary components.
Cleaning the Aerator
Step 1: Inspect the Aerator
Before cleaning, carefully examine the aerator for any visible signs of mineral deposits, debris, or damage. Pay close attention to the mesh screen and other small components, as these are prone to clogging. Identifying these issues early will help determine whether cleaning is sufficient or if replacement parts may be required.
Step 2: Soak the Aerator
Prepare a bowl of warm water mixed with a small amount of dish soap or vinegar. Submerge the aerator fully and allow it to soak for 15-20 minutes. This soaking process helps to dissolve mineral buildup and loosen any debris stuck to the internal parts, making the subsequent cleaning steps easier.
Step 3: Scrub the Aerator
Gently scrub the aerator’s mesh filter and other components using an old toothbrush or a similar soft-bristled brush. Focus on removing stubborn debris and mineral deposits without damaging parts. Take extra care with the delicate screen, ensuring it remains intact and free from bending or tearing during cleaning.
Step 4: Rinse and Dry
After scrubbing, rinse the aerator thoroughly under clean running water to remove any loose debris and remaining residue. Ensure all soap or vinegar is removed, as it could affect water flow if left behind. Finally, dry the aerator completely with a clean towel before reassembling it back onto the faucet. Proper drying helps prevent future buildup and ensures a smooth reinstallation.
Reassembling and Installing the Aerator
Step 1: Check for Any Missing or Damaged Parts
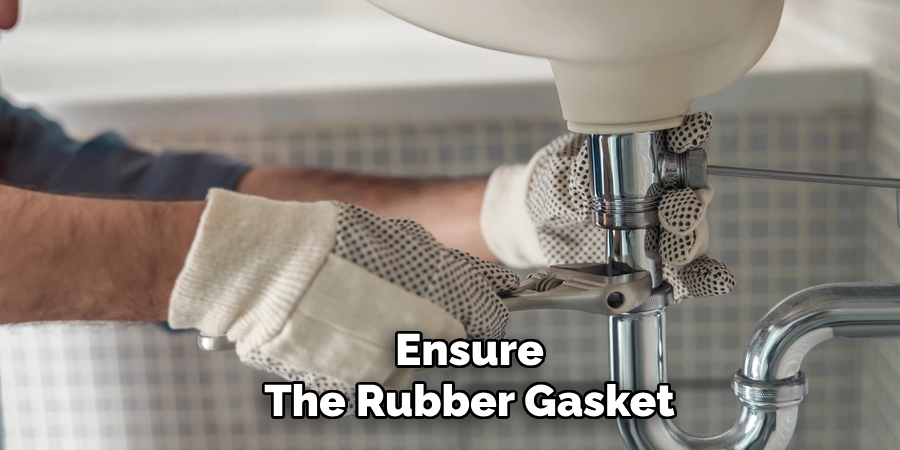
Before reassembling, scrutinize all parts of the aerator. Ensure the rubber gasket and mesh screen are intact and free from damage. A missing or worn-out gasket can lead to leaks, while a damaged screen may affect water flow. Replace any parts that appear to be worn or broken with suitable replacements to maintain optimal functionality.
Step 2: Screw the Aerator Back On
Align the aerator with the faucet’s threads, ensuring it sits correctly. Carefully screw the aerator back onto the faucet by hand, turning it clockwise. Avoid cross-threading, which could damage the aerator or faucet threads. Once the aerator is hand-tightened, use pliers or a wrench to give it a final careful turn, ensuring it is snug. However, be cautious not to over-tighten, as this can damage the components.
Step 3: Test the Water Flow
After reassembling, turn on the faucet and check for proper water flow. The water should flow smoothly and evenly without any leaks around the edges of the aerator. If you notice any leaks or irregularities, tighten the aerator slightly or recheck the alignment and gasket. A secure and properly installed aerator ensures efficient water usage.
Troubleshooting Common Issues
Aerator Won’t Unscrew
If the aerator is stuck and won’t unscrew, apply more penetrating oil to the threads and allow it to sit for several minutes. Another solution is gently heating the aerator with warm water, which may help loosen any mineral buildup or debris causing it to stick. Use a rubber grip or wrap a cloth around the aerator for extra traction while unscrewing to prevent damage to the surface.
Clogged Aerator Still Has Poor Water Flow
After cleaning the aerator, inspect the small screen for damage or excessive wear if the water flow remains inadequate. A damaged screen may block water flow, and replacing it can often resolve the issue. If the aerator is too severely clogged to clean effectively or has sustained significant damage, it might be best to replace it entirely with a new one for optimal performance.
Leaking After Reinstallation
If you encounter leaks after reinstalling the aerator, ensure that the rubber gasket is seated correctly and aligned. The gasket provides a water-tight seal, so it must be in good condition. If the gasket shows signs of damage, such as cracks or tears, replace it before reinstalling the aerator to prevent leaks and maintain efficient water flow.
Conclusion
Knowing how to remove aerator from Delta bathroom faucet is an essential skill for maintaining your fixture’s performance. The process involves loosening the aerator carefully with the appropriate tool, cleaning it thoroughly to remove any debris or buildup, and reinstalling it securely.
Proper maintenance of your faucet aerator helps prevent clogs, ensures consistent water flow, and reduces the need for costly replacements. For best results, consider cleaning your aerator every few months. This simple routine can significantly improve water efficiency and extend the lifespan of your faucet, keeping it in excellent working condition for years to come.

