A backflow preventer is an essential plumbing device designed to protect water supplies from contamination or pollution due to reverse flow. While these devices are crucial in maintaining water quality, there may come a time when they need to be removed for maintenance, replacement, or repair.
This guide will walk you through the process of how to remove backflow preventer safely and efficiently, ensuring that your water system remains in optimal condition. Before you begin, it’s important to gather the necessary tools and familiarize yourself with the steps to avoid any potential issues.

What Is a Backflow Preventer?
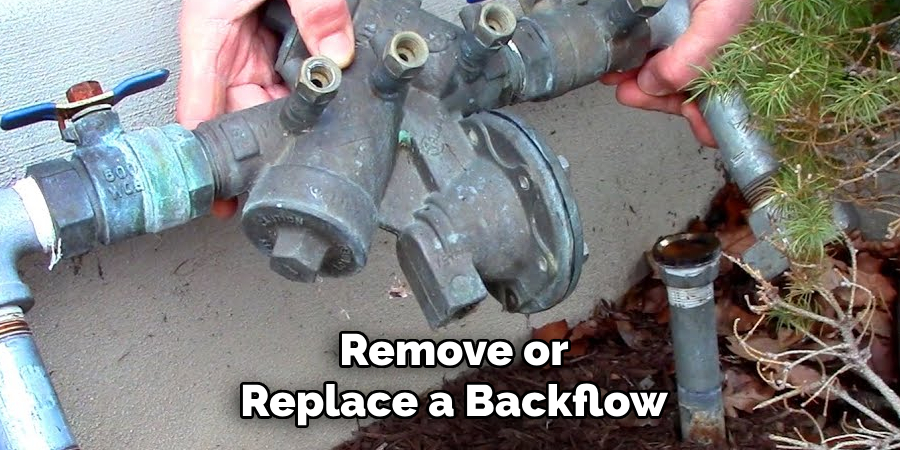
A backflow preventer is a device designed to protect potable water supplies from contamination or pollution caused by the reverse flow of water. Typically installed at cross-connections within a plumbing system, this device ensures that water flows in only one direction, maintaining the safety and quality of drinking water.
Backflow can occur due to changes in pressure within the water supply system, often as a result of events like pipe bursts or sudden demand from firefighting efforts. By preventing water from flowing backward, backflow preventers safeguard against harmful substances, such as chemicals or bacteria, entering the clean water supply.
When Should You Remove a Backflow Preventer?
The removal of a backflow preventer is typically necessary only under specific circumstances. If the device is damaged or malfunctioning, it must be removed and replaced to ensure the continued safety of the water supply.
Regular inspections may also identify wear and tear or corrosion, which could compromise the effectiveness of the device, making its removal and replacement essential. Additionally, if changes to the plumbing system, such as upgrades or reconfigurations, render the backflow preventer
unnecessary or require a different type of device, it may need to be removed. However, it is crucial to consult a licensed professional to ensure compliance with local codes and regulations before removing or replacing a backflow preventer.

Tools and Materials You’ll Need
To remove or replace a backflow preventer safely and efficiently, you’ll need the following tools and materials:
- Wrench or Adjustable Spanner – For loosening and tightening fittings and connections.
- Pipe Cutter or Hacksaw – If the backflow preventer is soldered or if cutting pipes is necessary.
- Teflon Tape – To ensure a watertight seal on threaded connections.
- Replacement Backflow Preventer (if replacing) – Ensure it complies with local regulations and matches your plumbing system’s specifications.
- Bucket – To catch any residual water left in the pipes during removal.
- Thread Sealant or Plumber’s Putty – For additional sealing to prevent leaks.
- Safety Gloves and Goggles – To protect from potential hazards such as debris or sharp edges.
- Pipe Wrench – For working on larger diameter pipes, if applicable.
Before beginning the process, make sure to turn off the water supply and have all necessary parts and tools on hand to avoid delays or complications during the procedure.
10 Methods How to Remove Backflow Preventer
1. Identify the Type and Location of the Backflow Preventer
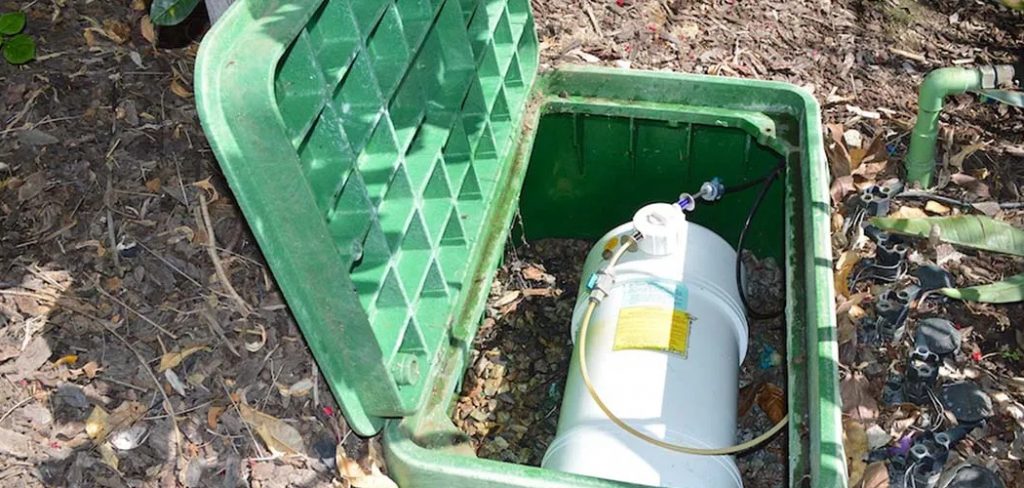
The first and most important step is identifying the kind of backflow preventer you’re working with and where it’s located. Backflow preventers may be installed in various places—on irrigation systems, outdoor faucets, or main water lines—and come in types like atmospheric vacuum breakers, pressure vacuum breakers, or double check valve assemblies.
Look closely at the device’s markings or labels to determine its type and model. Understanding the unit you’re dealing with will guide you in choosing the correct removal method and tools. Not all backflow preventers are created equal, and each one may require a slightly different approach.
2. Shut Off the Main Water Supply
Before attempting to remove a backflow preventer, it’s essential to shut off the water supply that feeds into it. Depending on the system’s design, this may be a main shut-off valve or an isolated valve near the device. Turn the valve clockwise until it is completely closed.
Once this is done, open the nearest faucet or hose bib downstream from the backflow preventer to relieve water pressure. This helps drain the system and prevents any pressurized water from unexpectedly spraying during removal. Safety and cleanliness start with eliminating water flow.
3. Use the Proper Tools for the Job
Having the correct tools ready will make the removal much smoother. In most cases, you’ll need a pair of adjustable wrenches or channel lock pliers to grip the backflow preventer’s connectors. For threaded connections, use two wrenches—one to stabilize the pipe and the other to loosen the backflow preventer itself.
If the device is connected with unions or slip fittings, you may need a flathead screwdriver, hex key, or pipe wrench depending on the model. Using improper tools risks damaging fittings or cracking plastic components, so select carefully.

4. Loosen the Union or Threaded Connections
Most backflow preventers are secured with threaded or union connections. Begin by loosening these connectors slowly, turning counterclockwise. For metal pipes, it may take a little effort due to corrosion or mineral buildup.
If your backflow preventer has unions on both ends, unscrew each one until the unit can be pulled away freely. When working with threaded PVC connections, go slowly and avoid over-torquing, which could damage the threads.
A basin wrench can help if access is tight. Keep a bucket or towel nearby to catch residual water that may escape during disconnection.
5. Remove Any Retaining Hardware or Mounts
Some installations include brackets or wall mounts that hold the backflow preventer steady, especially for larger or vertically mounted systems. These mounts must be removed or loosened before the unit can be detached completely.
Use a screwdriver, socket wrench, or drill, depending on the type of fasteners used. Be gentle when handling mounting hardware to avoid stripping screws or damaging nearby structures. Once the hardware is out of the way, you can gently rock the backflow preventer to loosen it if it’s stuck due to sediment or pressure fit.
6. Address Corrosion and Mineral Buildup
If your backflow preventer has been in place for several years, corrosion or mineral buildup might make removal difficult. Applying a penetrating oil like WD-40 or Liquid Wrench around the threaded connections can help loosen stubborn parts.
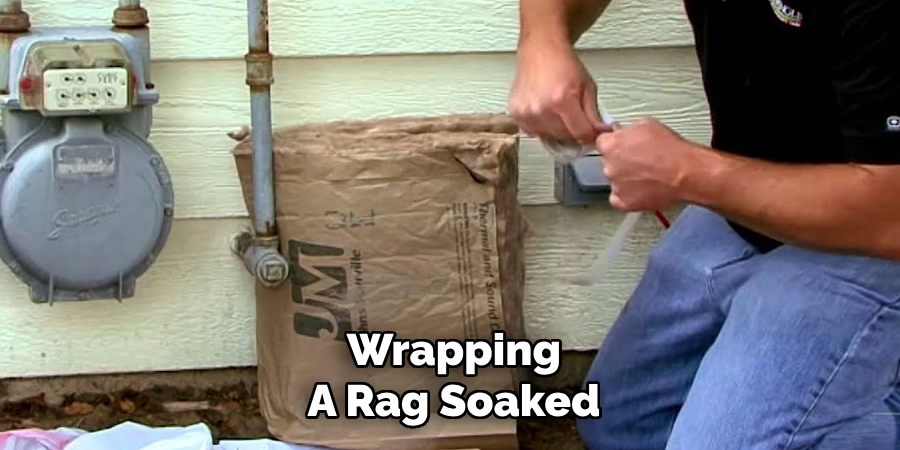
Let the oil soak for a few minutes before trying again. In some cases, wrapping a rag soaked in vinegar around the affected area can break down mineral deposits. If the part still resists removal, gently tapping with a rubber mallet may help loosen it—but avoid excessive force to prevent damage.

7. Remove the Device Carefully to Avoid Pipe Damage
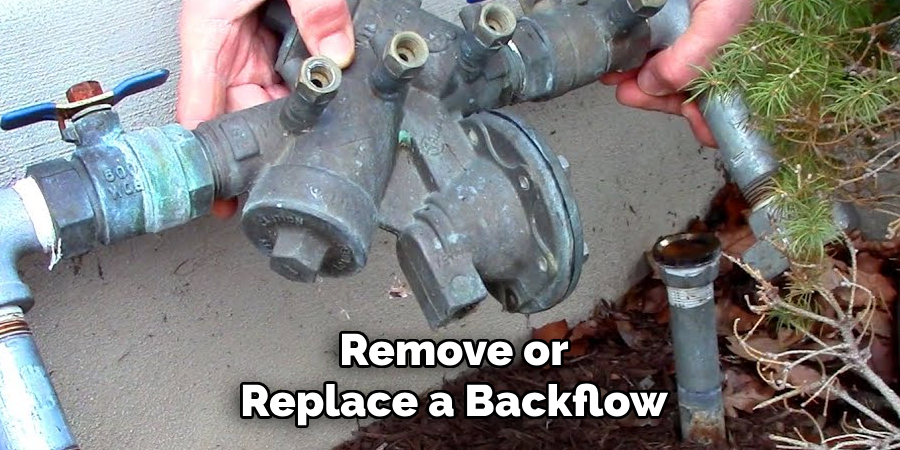
When the connections are fully loosened, slowly and carefully remove the backflow preventer from the plumbing. Support the weight of the device with one hand while detaching it, particularly if it’s a heavier metal model.
Avoid letting the device drop or hang from one end, which could place strain on the remaining fittings or piping. If it sticks, gently twist back and forth to work it free. Pay special attention to any attached sensors, drains, or test cocks—remove these with care to avoid breakage.
8. Inspect and Clean the Connection Points
Once the backflow preventer is removed, take a moment to inspect the connection points for wear, rust, or damage. If the piping or fittings are in poor condition, they may also need repair or replacement.
Clean the threads or union faces using a wire brush or cloth, ensuring there is no debris left behind. Removing sediment and corrosion now will make the installation of a new backflow preventer much easier and ensure a proper seal. Don’t forget to inspect any rubber gaskets or O-rings and replace them if cracked or dried out.
9. Cap or Close the Pipe Ends Temporarily (If Needed)
If you’re not immediately installing a new backflow preventer, it’s wise to cap or cover the open pipe ends to prevent dirt, insects, or water from entering the system.
Use appropriate plumbing caps, tape, or temporary plugs. For irrigation systems, you can temporarily isolate the lines until the replacement part is ready. Leaving pipes open can lead to contamination or additional repair work down the road, so it’s a good practice to seal them, even for a short period.
10. Replace or Reinstall According to Code
After removing the old backflow preventer, ensure that the next steps—whether replacement or reinstallation—are in line with local plumbing codes. Many regions require specific types of backflow preventers for different applications (e.g., irrigation vs. potable water), and inspections may be required.
When installing a new unit, use plumber’s tape on threaded connections to prevent leaks and tighten everything securely but not excessively. Check for leaks during reactivation of the water supply and test the new unit if necessary.

Conclusion
Removing a backflow preventer isn’t as complex as it might first appear, but it does demand care, proper tools, and an understanding of your plumbing system. Whether you’re upgrading an old device, troubleshooting a leak, or performing seasonal maintenance, these ten methods will guide you through the process step-by-step.
Take your time, work safely, and pay attention to detail—especially when dealing with connections and potential water flow. Thanks for reading our blog post on how to remove backflow preventer! We hope you found it helpful and informative.

