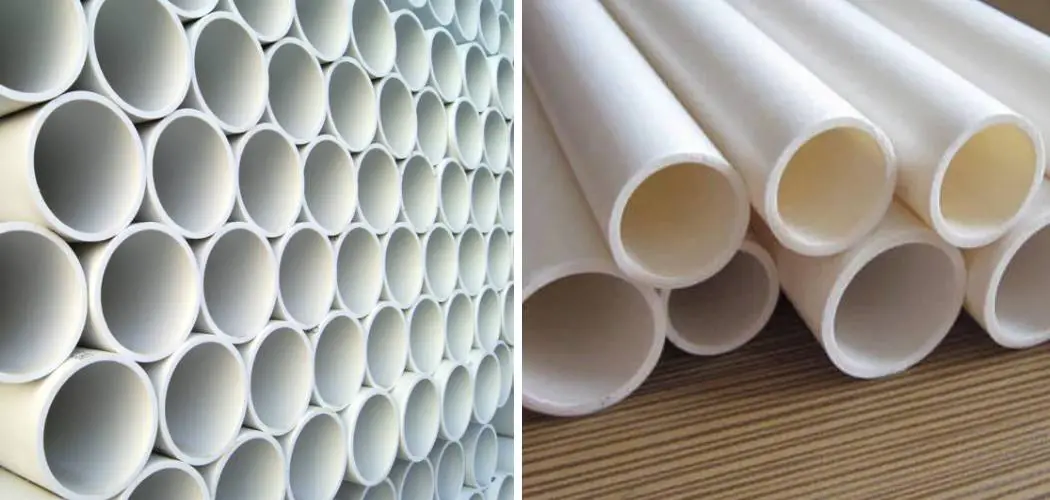
If you have a broken PVC threaded pipe and don’t know how to fix it, you’ve come to the right place! Removing broken PVC pipes can be overwhelming for even the most experienced do-it-yourself homeowner. In this blog post, we will walk you through the steps of removing a broken threaded pipe safely and efficiently.
With our easy-to-follow step-by-step guide on how to remove broken pvc threaded pipe, you’ll be able to get your plumbing project back on track fast. We guarantee that with this guide in your corner, no task is too daunting! Read on for everything three needs to remove stubborn and damaged pipes quickly and confidently.
Needed Materials
- Pipe Cutter or Hacksaw
- Adjustable Wrench or Pliers
- Screwdriver
- PVC Primer and Cement
- Clean Cloth or Rag
11 Step-by-step Guidelines on How to Remove Broken Pvc Threaded Pipe
Step 1: Turn Off the Water Supply
Before you start any plumbing project, it’s important to turn off the water supply. This will prevent any potential flooding or unwanted pressure while working on removing the broken PVC threaded pipe. It’s also a good idea to drain the water from the affected pipe by opening a nearby faucet. But be careful not to overspill the water onto the exposed pipe, as it can make the area slippery and potentially dangerous.
Step 2: Prepare Your Work Area
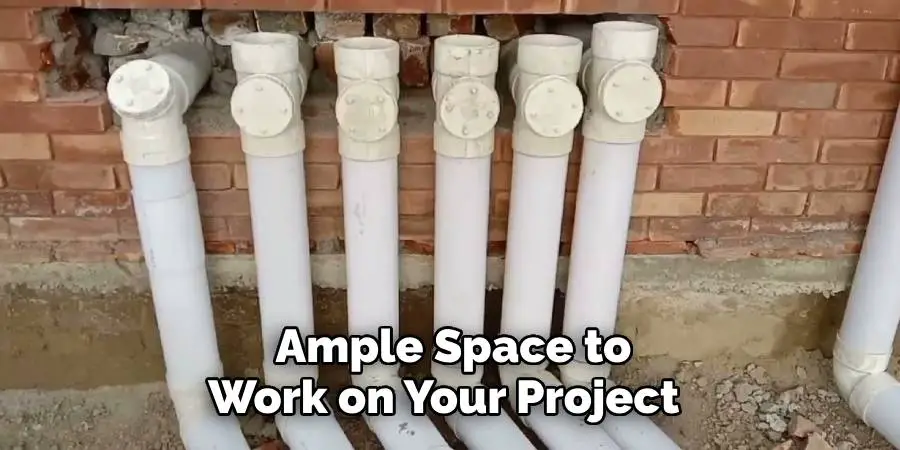
Make sure that you have ample space to work on your project without any obstructions. Properly supporting the rest of the plumbing is essential since removing a broken PVC threaded pipe may cause shifting or movement in other parts of your plumbing system. You can use clamps or straps to secure the adjacent pipes and fittings.
Step 3: Cut Off the Damaged Threaded Pipe
Using a pipe cutter or hacksaw, cut off the damaged section of the threaded PVC pipe. Make sure to measure twice and cut once to avoid any mistakes. Be careful not to damage any nearby pipes or fittings while cutting. It’s best to leave at least an inch of exposed pipe on both ends for easy removal. It’s also advisable to wear protective gear like gloves and safety glasses while cutting.
Step 4: Remove the Fittings
Next, use an adjustable wrench or pliers to loosen and remove the fittings attached to the broken threaded pipe. If the fittings are stuck or difficult to remove, you can use a pipe wrench for better leverage. Once all the fittings are removed, set them aside in a safe place as they can be reused if still in good condition. If not, you will need to purchase new ones when installing the replacement pipe.
Step 5: Clean the Ends of the Exposed Pipes
Using a clean cloth or rag, wipe off any debris or remnants from the exposed pipes. This will prevent any leftover material from getting into your plumbing system and causing further damage.
It’s also a good idea to use PVC primer on the exposed pipe ends to ensure a strong bond with the replacement pipe. You can also use sandpaper to roughen the edges for better adhesion. It’s important to let the primer dry completely before proceeding to the next step.
Step 6: Measure and Cut the Replacement Pipe
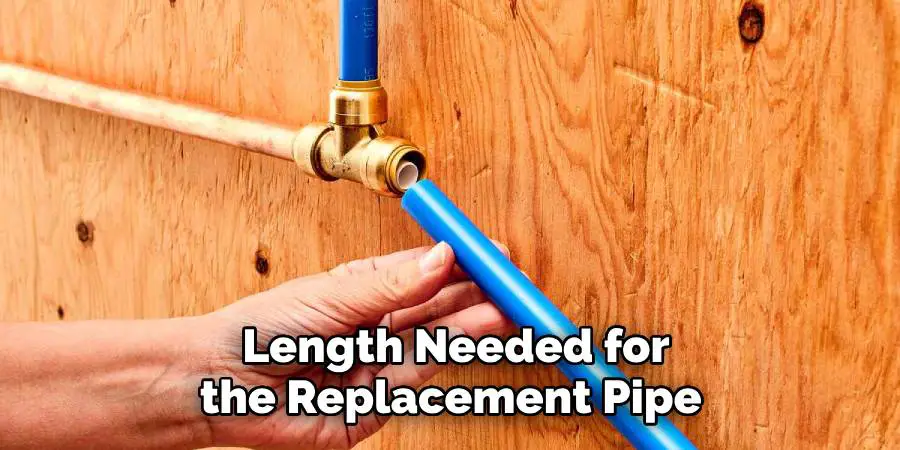
Measure the length needed for the replacement pipe and cut it accordingly using a pipe cutter or hacksaw. Make sure to leave at least an inch of extra length on both ends for proper fitting. But be careful not to make the replacement pipe too long, as it may cause difficulty in fitting or may require multiple cuts. This can also affect the overall stability of your plumbing system.
Step 7: Dry Fit the Replacement Pipe
Before permanently attaching the replacement pipe, it’s important to do a dry fit first. This means fitting the pipe into place without any adhesive or cement. This will allow you to make any necessary adjustments and ensure proper alignment before making it permanent.
If everything fits correctly, you can proceed to the next step. You can also label the replacement pipe for easier identification later on. This is especially helpful if you have multiple pipes to replace.
Step 8: Apply PVC Primer and Cement
Using a clean brush or applicator, apply PVC primer on the exposed ends of the pipes and inside the fittings that will be connected to the replacement pipe. Let it dry for a few seconds before applying PVC cement.
Make sure to follow the manufacturer’s instructions for proper application and drying time. Otherwise, the bond may not be strong enough to withstand water pressure. It’s important to work quickly and efficiently during this step to prevent the cement from hardening prematurely.
Step 9: Fit the Replacement Pipe into Place
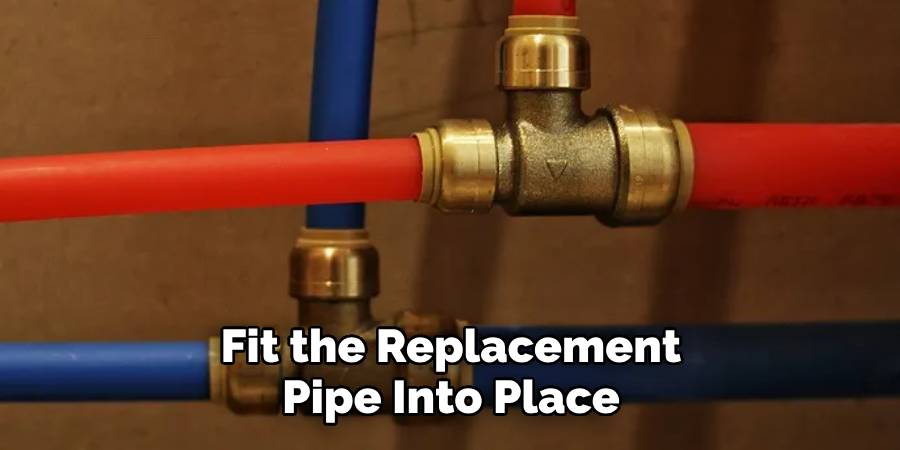
Carefully fit the replacement pipe into place, making sure that it is aligned properly with the adjacent pipes and fittings. Use a gentle twisting motion while pushing the pipe in for better adhesion. You can also use a rubber mallet to tap on each end of the pipe for a tighter fit.
Do not over-tighten, as it may cause damage or cracking to the PVC pipes or fittings. You can also use pipe clamps or straps to hold the replacement pipe in place while the cement dries.
Step 10: Clean Up
Wipe off any excess primer or cement using a clean cloth or rag. Make sure to dispose of any unused materials properly, as they can be hazardous if left out in the open. It’s important to let the adhesive dry completely before turning on the water supply and testing for leaks.
Once everything is dry and secure, you can proceed to the final step. If you encounter any leaks, you may need to reapply the primer and cement or tighten the fittings further.
Step 11: Turn On the Water Supply and Check for Leaks
Once everything is in place and dry, turn on the water supply and check for any leaks. If there are no visible signs of leaks, open all faucets connected to the affected pipe to make sure that water flows freely without any blockages. You can also listen for any unusual sounds or vibrations that may indicate a problem.
If everything checks out, then congratulations! You have successfully removed a broken PVC threaded pipe and replaced it with a new one. This will ensure smooth water flow and prevent any further damage to your plumbing system.
Following these steps on how to remove broken pvc threaded pipe will make the process of removing a broken PVC threaded pipe much easier and safer. Remember to take your time and be careful during each step, as haste may lead to mistakes or accidents.
Do You Need to Use Professionals?
If you’re not confident in your DIY skills or if the damage is extensive, it’s best to seek professional help. Plumbers have the knowledge and experience to remove broken PVC threaded pipes safely and efficiently. They also have the necessary tools and equipment to get the job done correctly without causing further damage.
It may cost more upfront, but it can save you from potential headaches and expenses in the long run. Plus, many plumbing companies offer warranties for their services, giving you peace of mind and assurance that the job will be done right.
Frequently Asked Questions
Q: Can I Use Any Type of Pvc Pipe as a Replacement?
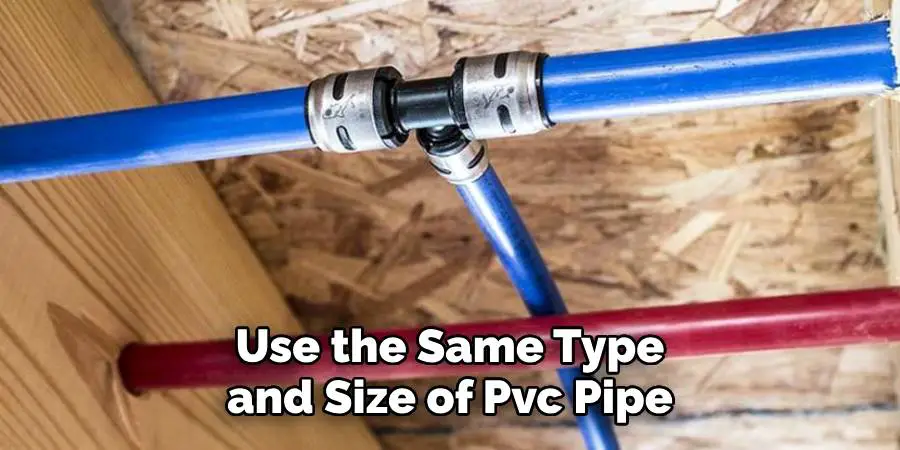
A: It’s best to use the same type and size of PVC pipe as the one you’re replacing. This ensures proper fitting and prevents potential issues in the future. It’s also important to check the pressure rating of the replacement pipe and make sure it matches your plumbing system.
Q: How Do I Know If I Have a Broken Pvc Threaded Pipe?
A: Signs of a broken PVC threaded pipe include water leaks, low water pressure, and unusual sounds or vibrations in your plumbing system. You may also notice visible damage or cracks on the pipes themselves. It’s important to address these issues as soon as possible to prevent further damage and costly repairs.
Q: Can I Reuse the Old Pipe Fittings?
A: It’s not recommended to reuse old pipe fittings when replacing a broken PVC threaded pipe. These fittings may have also been damaged and can cause issues with the new replacement pipe. It’s best to use new fittings for a secure and leak-free connection. You can also consult with a professional plumber for their expert opinion.
Q: How Can I Prevent a Broken Pvc Threaded Pipe in the Future?
A: Regular inspection and maintenance of your plumbing system can help prevent broken PVC threaded pipes in the future. Look for any signs of wear and tear, leaks, or damage, and address them promptly. It’s also important to avoid using excessive force when tightening fittings and to use high-quality pipes and fittings during installation.
Conclusion
All in all, having a broken PVC threaded pipe in your home can be a nuisance. However, with the right tools and supplies, you now know the steps necessary to properly remove it and replace it. Make sure to hire a professional or have someone with experienced knowledge assist you so that everything is done correctly. Well-maintained plumbing is essential for your home, so if you feel like something isn’t quite right make sure to take action sooner than later.
Don’t end up with more problems by waiting! You can repair a broken PVC threaded pipe successfully and save yourself money and reliance on others when you properly follow the steps on how to remove broken pvc threaded pipe we’ve outlined here today. So go ahead and tackle this project without fear of failure – you’re in control and capable of getting this job done! Good luck!

