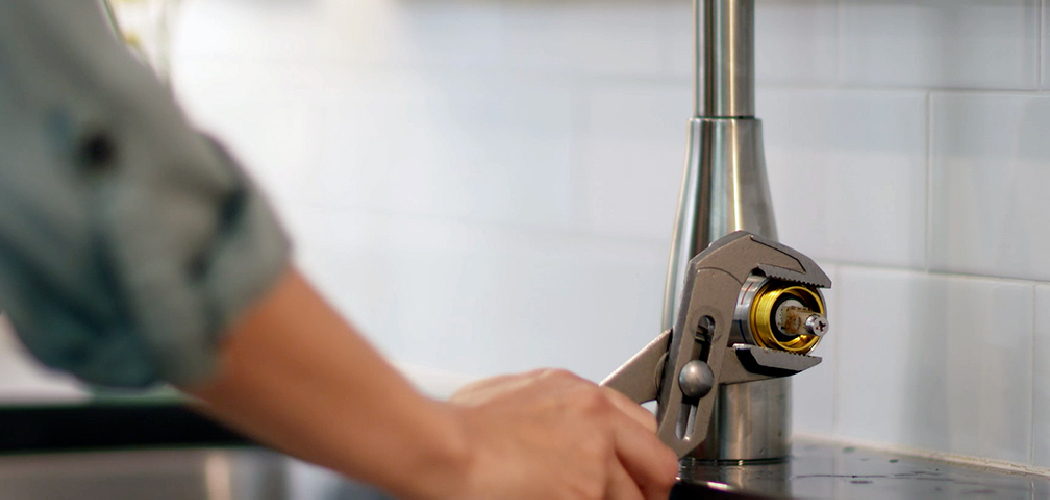
Removing a cartridge from a faucet is a common maintenance task that can help resolve issues such as leaks, reduced water flow, or inconsistent temperature control. Understanding how to safely and efficiently remove the cartridge is essential for prolonging the life of your faucet and ensuring it operates smoothly.
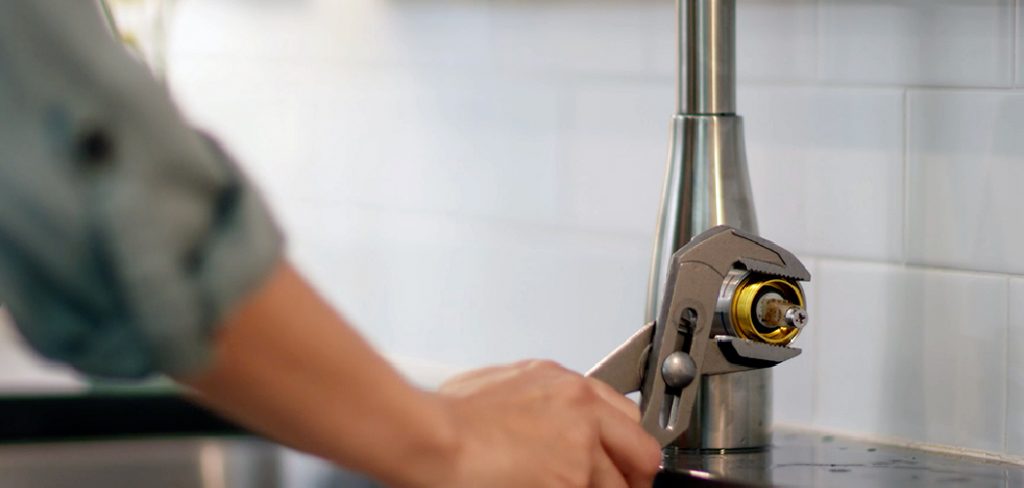
This guide on how to remove cartridge from faucet will walk you through the step-by-step process, making it easy for both beginners and experienced DIY enthusiasts to tackle this task with confidence.
Why is It Important to Remove the Cartridge From a Faucet?
It is important to remove the cartridge from a faucet for several reasons. Firstly, over time, mineral deposits and debris can build up inside the cartridge and affect its functionality. This can lead to leaks or reduced water flow, which not only wastes water but also increases your utility bills.
Moreover, removing the cartridge allows you to properly clean and maintain it. Regular maintenance will help prevent future issues with your faucet and extend its lifespan.
Additionally, if you are experiencing inconsistent temperature control in your faucet, removing the cartridge can help identify any internal damage or wear that may be causing the problem.
Needed Materials
- Flathead Screwdriver
- Adjustable Wrench
- Replacement Cartridge (if Necessary)
- Cleaning Solution or Vinegar
- Soft Cloth or Brush
7 Step-by-Step Guides on How to Remove Cartridge From Faucet
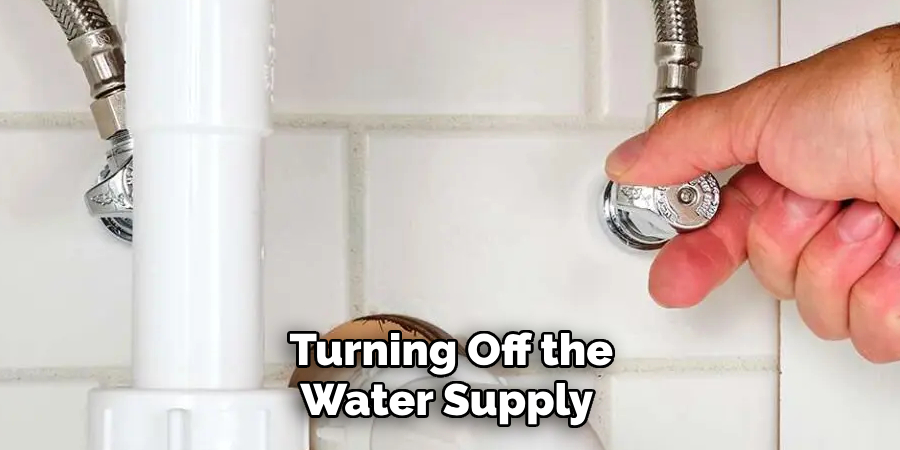
Step 1: Turn Off the Water Supply
Locate the shut-off valves under your sink and turn them off by rotating the handles clockwise. This will stop water flow to the faucet and prevent leaks or spills during the removal process.
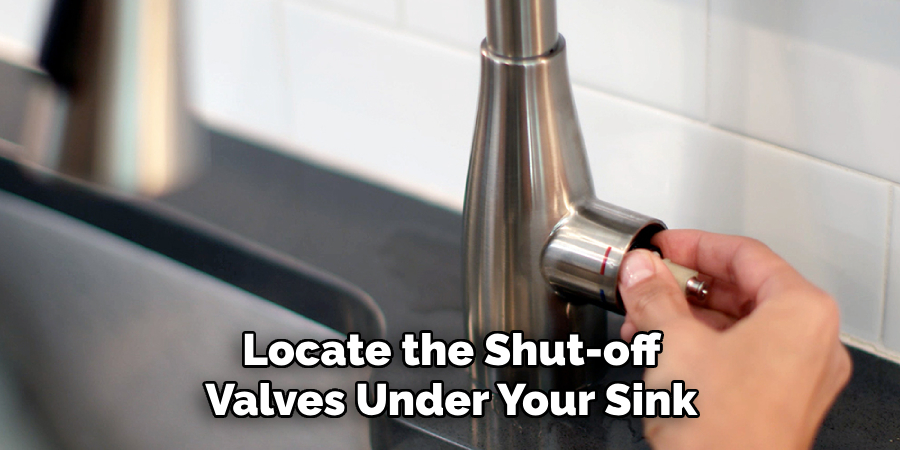
If you cannot find the individual shut-off valves, you may need to turn off the main water supply to your home. Once the water is shut off, turn the faucet on to release any remaining water in the lines.
Step 2: Remove Any Decorative Caps or Handles
Inspect the faucet to identify any decorative caps or coverings on the handles. These caps typically conceal the screws securing the handles in place. Use a flathead screwdriver or a similar tool to carefully pry off the caps, being cautious not to damage them.
Once the caps are removed, use a screwdriver to unscrew and detach the handles from the faucet assembly. Set the handles and screws aside in a safe location to prevent losing any components.
Step 3: Remove Retaining Nut or Clip
With the handles removed, examine the base of the faucet assembly to locate the retaining nut or clip securing the cartridge or valve in place. Use an adjustable wrench or pliers to carefully loosen and remove the retaining nut.
If your faucet has a retaining clip instead, use needle-nose pliers to gently lift and remove it. Be cautious during this process to avoid damaging nearby components. Once the retaining nut or clip is removed, place it in a safe spot along with the other parts.
Step 4: Pull Out Old Cartridge
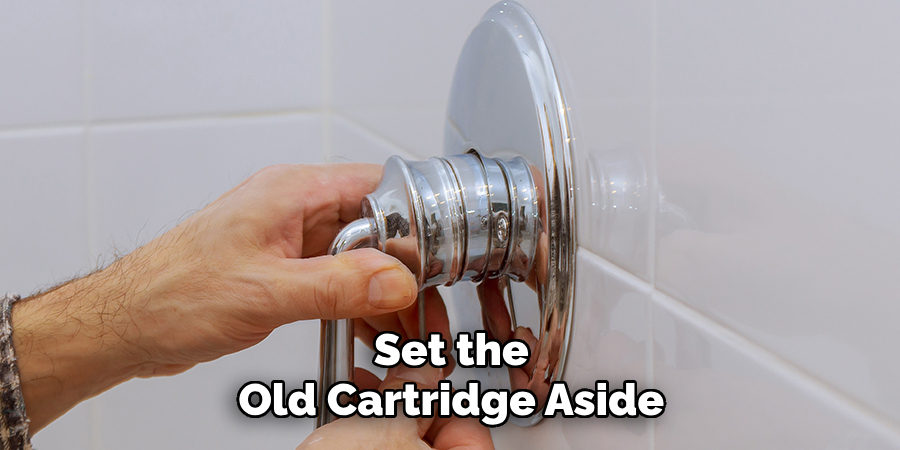
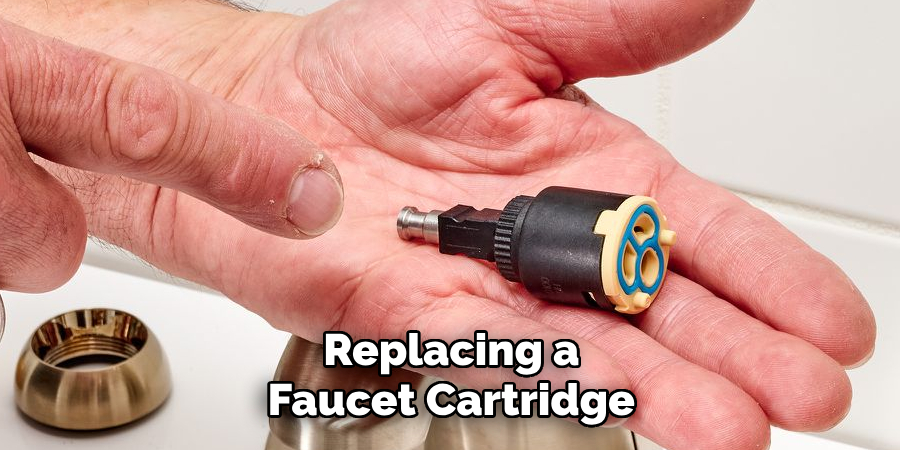
With the retaining nut or clip removed, carefully grasp the top of the cartridge using pliers if necessary, and gently pull it straight out of the faucet assembly. If the cartridge feels stuck, try wiggling it slightly back and forth to loosen it, but avoid using excessive force to prevent damage.
Inspect the cartridge once removed for signs of wear or buildup, as this will help you identify the cause of the faucet issue. Set the old cartridge aside for comparison when selecting the replacement part.
Step 5: Inspect and Clean
Before installing the replacement cartridge, take a moment to thoroughly inspect and clean the inside of the faucet assembly. Use a flashlight to check for any debris, mineral buildup, or corrosion that might interfere with the operation of the new cartridge.
If buildup is present, gently scrub the area with an old toothbrush or a soft cloth dipped in white vinegar to dissolve deposits. Rinse the area with clean water and dry it with a lint-free cloth to ensure a clean surface. This step is crucial for maintaining the faucet’s performance and ensuring a proper seal with the new cartridge.
Step 6: Install Replacement Cartridge
Carefully align the new cartridge with the slots inside the faucet assembly. Make sure the cartridge is oriented correctly, as indicated by any markings or instructions provided with the replacement part. Gently push the cartridge into place, ensuring a snug fit without forcing it.
Once seated, secure it by reinstalling the retaining clip or nut, depending on your faucet model. Use a wrench if necessary, but avoid over-tightening to prevent damage. Double-check the alignment to ensure proper functionality before proceeding to the next step.
Step 7: Reassemble the Faucet
With the cartridge securely installed, begin reassembling the faucet. Start by sliding the faucet handle back onto its base, aligning it properly with the stem. Secure the handle by tightening the set screw using an Allen wrench or screwdriver, depending on your faucet’s configuration.
Once the handle is in place, reattach any decorative caps or coverings that were removed earlier. Finally, turn the water supply back on and test the faucet to ensure it operates smoothly without leaks. If necessary, make minor adjustments to the handle alignment or cartridge positioning.
Following these steps on how to remove cartridge from faucet, you should now have a fully functioning faucet that is like new again. However, it’s important to note that regular maintenance and care are key to preventing future issues with your faucet. This includes cleaning the aerator and replacing any worn-out or damaged parts as needed.
Do You Need to Use Professionals?
While replacing a faucet cartridge can often be accomplished as a DIY task with the right tools and instructions, there are situations where hiring a professional plumber may be beneficial. If the problem is complex, such as advanced corrosion, unusual leaks, or damaged internal components, a professional’s expertise can save time and prevent further damage.
Additionally, if you’re unsure about any step in the process or lack the proper tools, bringing in a professional ensures the job is done correctly and efficiently. Investing in expert help can provide peace of mind and extend the longevity of your faucet system.
Additional Tips and Considerations
- Before beginning this process, be sure to turn off the water supply to avoid any potential mess.
- It’s always a good idea to have a spare cartridge on hand in case you need to replace it.
- If your faucet is leaking from the base or handles, it may be a sign of a larger issue and should be addressed by a professional plumber.
- For hard water areas, consider installing a water softener system to prevent mineral buildup and prolong the life of your faucet.
- Regularly check for any small leaks or drips and address them promptly to avoid bigger problems down the road.
- When cleaning your faucet, use gentle cleaners and avoid harsh chemicals that could damage its finish.
- Be sure to properly tighten all connections during reassembly to prevent any potential leaks.
By following these simple tips and taking care of your faucet, you can ensure it continues to function smoothly for years to come.
Frequently Asked Questions
Q1: How Often Should I Clean My Faucet?
A- It is recommended to clean your faucet at least once a week to prevent the buildup of dirt and grime. The frequency of cleaning may vary depending on usage and water quality. For example, if you have hard water, you may need to clean your faucet more often to prevent mineral deposits.
Q2: Can I Use Any Cleaning Product on My Faucet?
A- No, it’s important to use cleaning products that are specifically designed for faucets or are labeled as safe for the material of your faucet. Harsh chemicals like bleach or abrasive cleaners can damage the finish or cause discoloration. Always check the manufacturer’s recommendations before using any product, and test on a small, inconspicuous area if you are unsure.
Q3: How Do I Fix a Leaky Faucet?
A- Fixing a leaky faucet typically involves identifying the type of faucet you have and replacing any worn-out or damaged parts. Start by turning off the water supply to prevent further leakage. Then, disassemble the faucet carefully, keeping track of the parts and how they fit together. Common causes of leaks include worn washers, O-rings, or seals, which can be replaced with new ones purchased from a hardware store. Reassemble the faucet and turn the water back on to test if the leak is resolved. If the problem persists, it may be best to consult a professional plumber.
Q4: What Should I Do If My Faucet Starts Dripping?
A- A dripping faucet could indicate that there is an issue with the cartridge or valve inside. It is best to contact a plumber to diagnose and repair the problem.
Conclusion
Maintaining your faucet properly can prevent common issues like leaks and drips, ensuring its longevity and smooth operation. Regular cleaning, prompt repairs, and professional assistance when needed can save time and money in the long run.
By following these tips on how to remove cartridge from faucet and addressing problems early, you can enjoy a reliable and efficient faucet for years to come.

