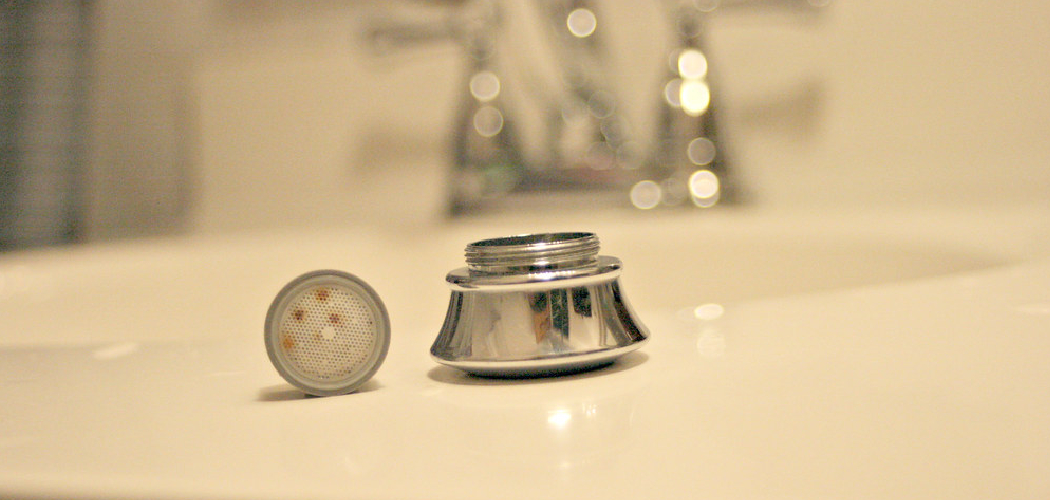
A stuck faucet aerator can be a frustrating problem, especially when it obstructs water flow or needs cleaning. Over time, mineral deposits, rust, or dirt can cause the aerator to become lodged in place, making removal challenging. Thankfully, with the right tools and techniques, you can safely and effectively remove the stuck aerator without damaging your faucet.
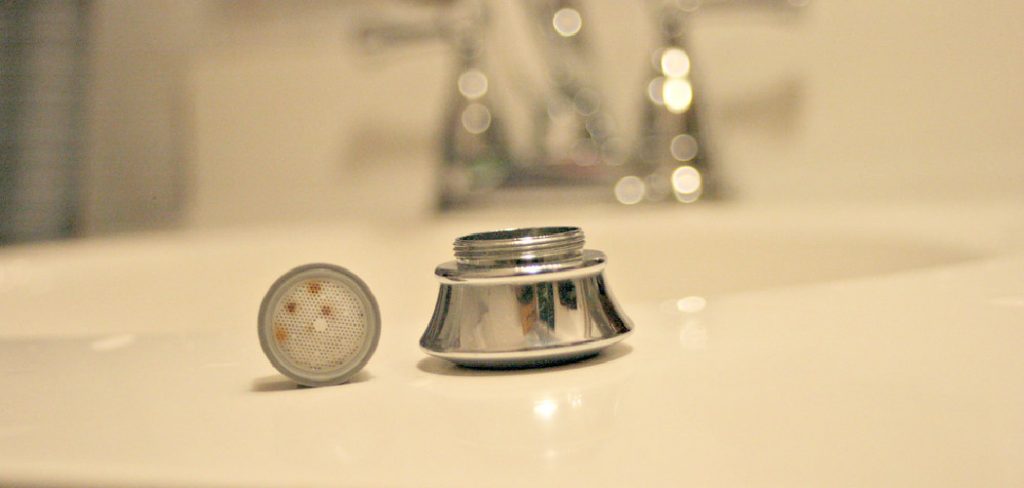
This guide on how to remove faucet aerator that is stuck will walk you through the steps to handle this common household issue with ease.
Why is Removing a Stuck Faucet Aerator Important?
A faucet aerator may seem like a small, insignificant component of your plumbing system, but it plays a crucial role in water conservation and maintaining the overall functionality of your faucet. The aerator is designed to mix air with the water flow, reducing splashing and creating a more efficient stream. It also helps conserve water by limiting how much water comes out of the faucet at once.
However, when an aerator becomes stuck, it can disrupt this process and cause low water pressure or uneven flow. Not only can this be frustrating for daily tasks such as washing dishes or brushing teeth, but it can also lead to wasting unnecessary amounts of water.
Needed Materials
Pliers:
The first step in fixing a stuck aerator is removing it from the faucet. To do this, you will need a pair of pliers to grip and twist the aerator.
Vinegar:
Oftentimes, mineral build-up or debris can cause an aerator to become stuck. Soaking the aerator in vinegar for 15-20 minutes can help dissolve these deposits and make it easier to clean.
Toothbrush:
A toothbrush or small brush can come in handy when cleaning out any remaining debris or residue from the aerator.
Cloth: After soaking and cleaning the aerator, use a cloth to dry it off before reattaching it to the faucet.
6 Simple Steps on How to Remove Faucet Aerator That is Stuck
Step 1: Turn Off the Water Supply
Before attempting to remove the stuck faucet aerator, ensure that the water supply to the faucet is turned off. This will prevent any water from spilling or spraying during the process.
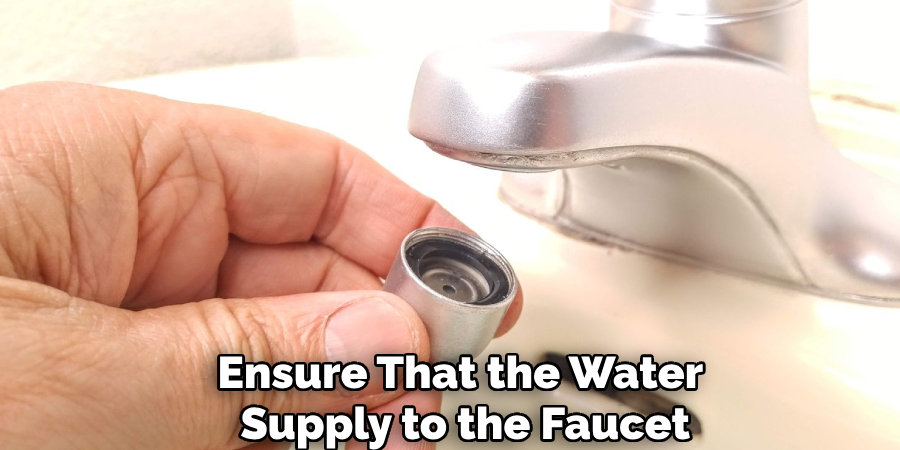
You can typically shut off the water by turning the valves located under the sink in a clockwise direction until completely closed. This step ensures a clean and controlled work environment.
Step 2: Apply Penetrating Oil
If the faucet aerator is stuck and cannot be removed easily, applying penetrating oil can help loosen it. Start by ensuring the area around the aerator is dry to avoid the oil spreading to unwanted surfaces. Then, apply a small amount of penetrating oil, such as WD-40, directly to the threads of the aerator.
Allow the oil to sit for about 5 to 10 minutes to penetrate the stuck threads effectively. This will help reduce friction and make it easier to twist off the aerator during the next steps.
Step 3: Use Pliers
If the aerator remains stuck after applying penetrating oil, the next step is to use pliers for added grip. Wrap a piece of cloth or tape around the aerator to protect the surface from scratches or damage caused by the pliers. Firmly grip the aerator with the pliers and gently twist in a counterclockwise direction.
Apply steady pressure to avoid breaking the aerator. If it still does not budge, try alternating between loosening and tightening motions to help free it. Always proceed with caution to prevent damaging the faucet.
Step 4: Soak in Vinegar
If the aerator remains stuck, soaking it in vinegar can help dissolve mineral deposits and loosen it further. Fill a small bowl or cup with white vinegar and submerge the end of the faucet with the stuck aerator into the vinegar.
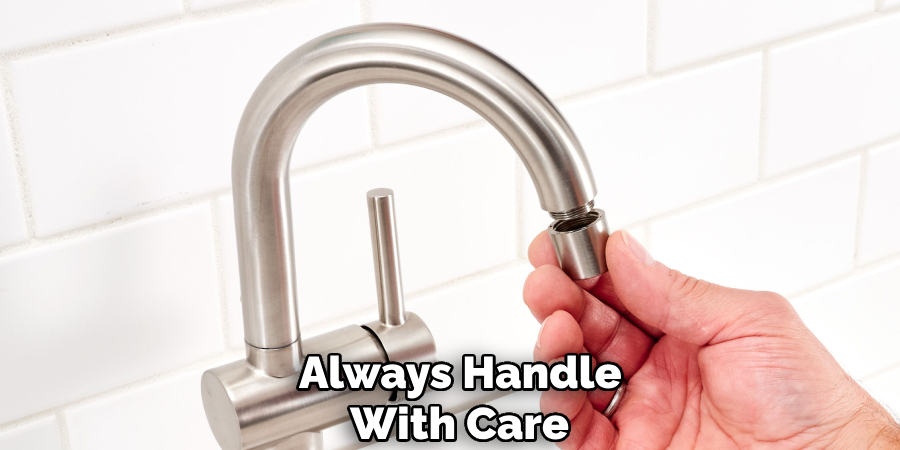
Allow it to soak for 30 minutes to an hour. If the faucet cannot be submerged directly, soak a cloth in vinegar and wrap it tightly around the aerator. After soaking, attempt to remove the aerator again using pliers, as described in the previous step. Always handle with care to avoid causing any damage.
Step 5: Use a Wrench
If the aerator remains stubbornly stuck after soaking in vinegar, using a wrench can provide the necessary leverage to loosen it. Wrap the aerator with a thick cloth or apply masking tape to protect its finish from potential scratches. Then, position an adjustable wrench securely around the aerator, ensuring it has a firm grip.
Slowly and gently turn the wrench counterclockwise to avoid applying too much pressure, which could damage the faucet. If it still does not budge, repeat the soaking process and try again. Patience and care are key to successfully removing a stuck aerator without causing harm to the faucet.
Step 6: Replace Aerator
If all else fails, you may need to replace the aerator altogether. You can purchase a new aerator at your local hardware store or online. Make sure to bring the old aerator with you to ensure you get the right size and shape.
Following these steps on how to remove faucet aerator that is stuck will help you fix the issue and have your faucet running smoothly again. Remember to always handle your faucet with care and use the appropriate tools for the job.
Additional Tips
- Regularly clean your aerator to prevent buildup and make it easier to remove in the future.
- Use a lubricant such as WD-40 if the aerator is still stuck after soaking in vinegar.
- If you are unable to remove the aerator, consult a professional plumber for assistance. They may have specialized tools or techniques to help remove it without causing damage.
- Use a lubricant such as WD-40 if the aerator is still stuck after soaking in vinegar.
- If you are unable to remove the aerator, consult a professional plumber for assistance. They may have specialized tools or techniques to help remove it without causing damage.
- To prevent future buildup, consider installing a water filtration system on your faucet. This can help remove minerals and debris from the water, reducing the likelihood of clogs.
- Remember to always turn off the water supply before removing or replacing any parts of your faucet.
- When purchasing a new aerator, make sure to check the size and threading to ensure it is compatible with your faucet.
- If you have hard water in your area, consider using a lime scale remover regularly on your faucet to prevent mineral buildup and prolong its lifespan.
- Keep an eye out for any leaks or drips from your faucet, as this could be a sign of a larger issue that may require professional attention.
- Regularly clean your faucet with a mild cleanser to keep it looking and functioning its best.
- If you notice any changes in water pressure or unusual noises coming from your faucet, it may be time for a professional plumber to take a look.
- Remember to turn off the water supply before going on vacation or leaving your home for an extended period of time to prevent any potential water damage.
Frequently Asked Questions
Q1: How Often Should I Clean My Faucet?
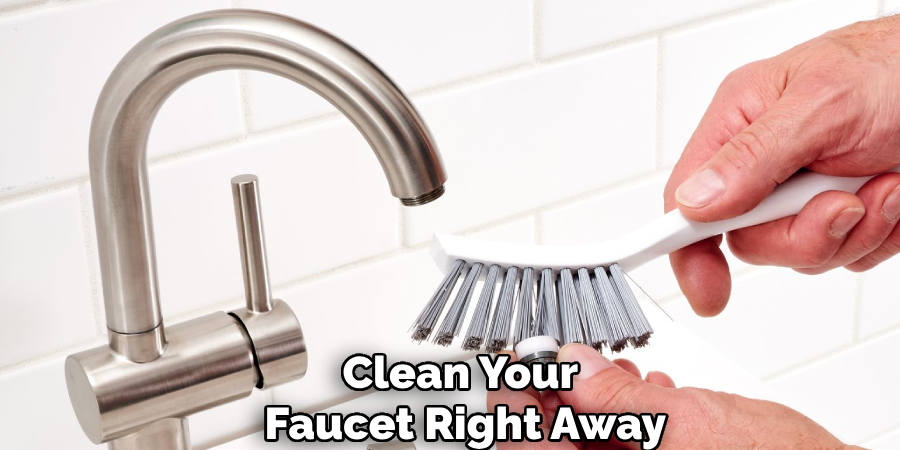
A: It is recommended to clean your faucet at least once a week with a mild cleanser to prevent build-up and maintain its appearance. However, if you notice any mineral deposits or grime, it is important to clean your faucet right away to prevent potential damage.
Q2: How Do I Know If My Faucet Needs Repair?
A: Some signs that your faucet may need repair include leaks, reduced water pressure, strange noises, or difficulty turning the handles. If you are experiencing any of these issues, it is best to contact a professional plumber for a proper assessment and repair.
Q3: Can I Install a New Faucet Myself?
A: It is possible to install a new faucet yourself if you have experience with plumbing and the necessary tools. However, it is always recommended to hire a licensed plumber for installation to ensure proper installation and prevent any potential issues in the future.
Q4: How Often Should Faucets Be Replaced?
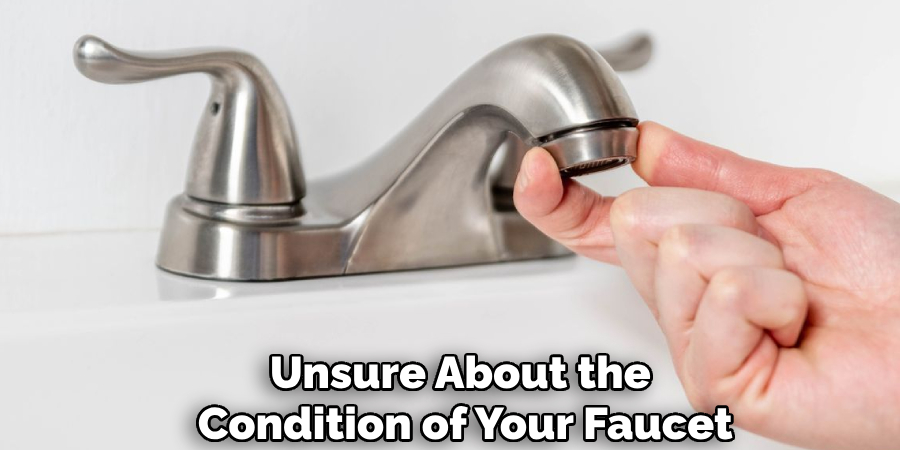
A: The lifespan of a faucet can vary depending on usage and quality, but generally, it is recommended to replace faucets every 10-15 years. However, if you notice signs of wear or damage, such as leaks or difficulty turning the handle, it may be necessary to replace the faucet sooner. It is also important to regularly clean and maintain faucets to prolong their lifespan. If you are unsure about the condition of your faucet, it is best to consult a professional for an evaluation.
Conclusion
Proper maintenance and timely replacement of faucets are essential for ensuring their functionality and longevity. By keeping an eye out for signs of wear, addressing issues promptly, and seeking professional advice when needed, you can prevent costly repairs and maintain the efficiency of your plumbing system.
Investing in high-quality faucets and practicing regular care will not only enhance the aesthetic appeal of your space but also provide lasting reliability. Thanks for reading this article on how to remove faucet aerator that is stuck.

