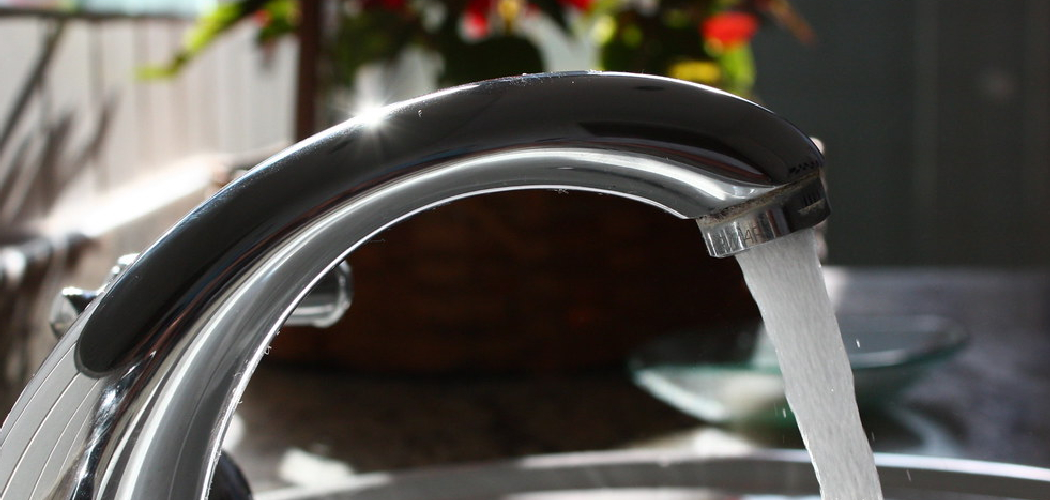
Removing a faucet filter may seem like a daunting task, but it is a straightforward process that can be done with minimal tools and effort. Over time, faucet filters can accumulate debris, minerals, and sediment, which can affect water flow and quality. Regularly cleaning or replacing the filter ensures optimal performance and clean water. This guide will walk you through how to remove faucet filter safely and effectively.
What is a Faucet Filter?
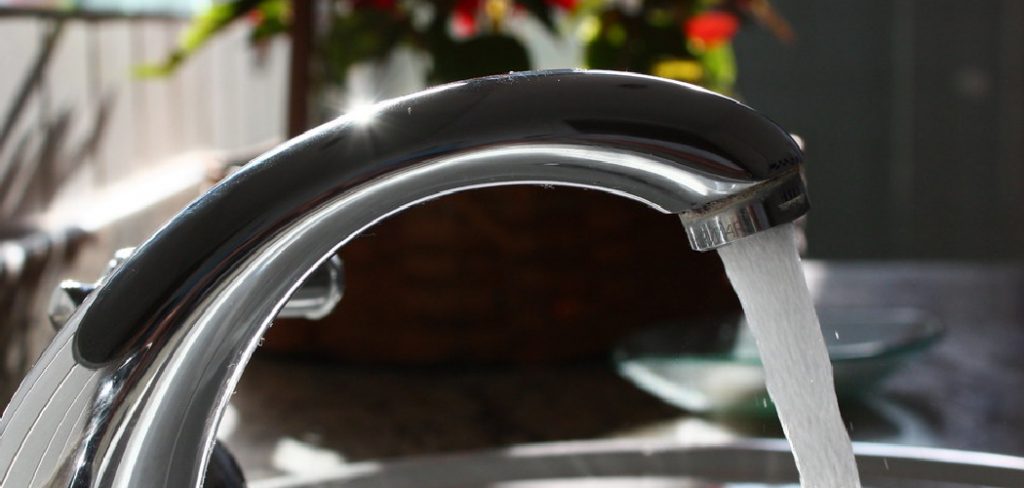
A faucet filter is a small, often removable device attached to the end of a faucet. It is designed to improve water quality by filtering out impurities such as sediments, debris, and sometimes chlorine or other contaminants.
These filters typically use a combination of fine mesh screens and, in some cases, activated carbon or other filtration materials to trap unwanted particles. Faucet filters not only ensure cleaner and better-tasting water but also help protect appliances and plumbing fixtures from buildup caused by mineral deposits.
Tools and Materials Needed
To install and maintain a faucet filter, you will need the following tools and materials:
- Adjustable wrench – For loosening or tightening fittings on the faucet.
- Teflon tape – Helps ensure a tight, leak-free seal during installation.
- Replacement filter cartridges – Required for periodic maintenance and ensuring optimal filtration performance.
- Soft cloth or sponge – Used for cleaning the faucet and filter components.
- Bucket or container – To catch any water that may leak during the installation or replacement process.
Having these tools and materials on hand will make the installation and upkeep of your faucet filter straightforward and hassle-free.
10 Methods How to Remove Faucet Filter
1. Unscrew by Hand
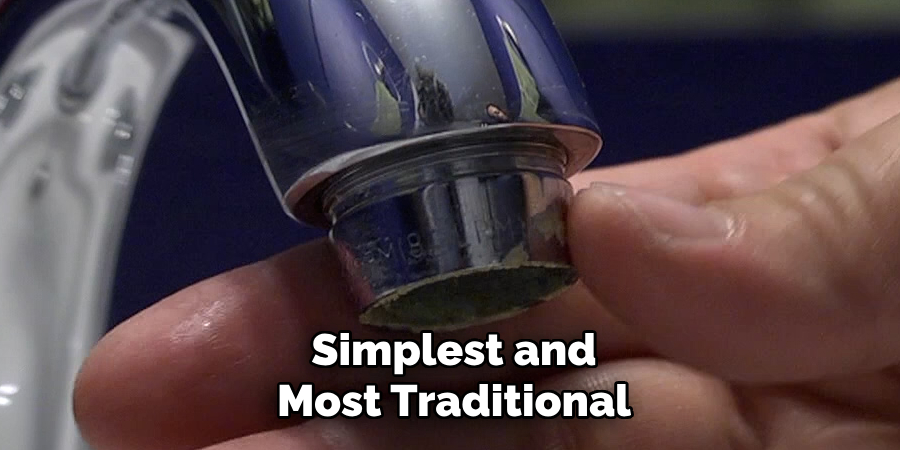
The simplest and most traditional way to remove a faucet filter is to unscrew it manually. Start by drying your hands and the faucet spout to get a firm grip. Gently grasp the round aerator at the tip of the faucet and twist it counterclockwise. If it turns easily, continue unscrewing it until it comes off.
This method is ideal for filters that are regularly maintained and not over-tightened or clogged with mineral deposits. Make sure to place a cloth in the sink below to catch any small parts that may fall during removal.
2. Use a Rubber Jar Gripper or Silicone Pad
If the filter is slippery or stuck, using a rubber jar gripper, silicone pad, or even a rubber glove can give you better traction without damaging the faucet’s finish. Grip the aerator with the pad and turn it counterclockwise with steady pressure. The added friction often helps loosen filters that are only mildly stuck. This is a gentle and safe method for faucets with delicate or polished finishes, as it avoids scratching or denting.
3. Wrap with a Cloth and Use Pliers
When hand methods fail, wrapping the aerator in a soft cloth and using pliers is a classic next step. The cloth protects the metal finish while the pliers provide the torque needed to unscrew a stubborn filter.
Carefully position the pliers around the wrapped aerator and apply even pressure as you twist counterclockwise. Be cautious not to squeeze too hard, as this can crush or warp the filter housing. Once loosened, continue unscrewing by hand.
4. Use an Adjustable Wrench with Gentle Force
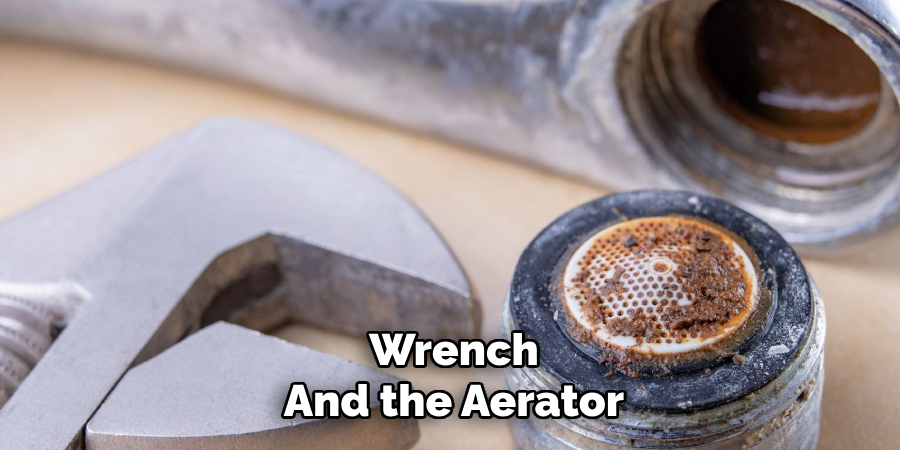
For heavily stuck or corroded filters, an adjustable wrench can be very effective. Set the wrench to fit snugly around the aerator and turn slowly counterclockwise.
As always, use a cloth between the wrench and the aerator to avoid damage. This method provides maximum torque and control, especially on faucets with more robust construction. However, it’s best reserved for metal-bodied faucets and not plastic ones, which can crack under pressure.
5. Apply White Vinegar to Loosen Mineral Buildup
Sometimes filters are stuck due to mineral deposits from hard water. In such cases, applying white vinegar can soften the buildup. Soak a cloth or paper towel in vinegar and wrap it around the aerator for about 30 minutes to an hour. You can also fill a small plastic bag with vinegar and secure it around the faucet using a rubber band.
After soaking, try unscrewing the filter again by hand or with pliers. The acetic acid in vinegar helps dissolve calcium and lime, making removal easier.
6. Use a Strap Wrench for a Non-Damaging Grip
A strap wrench is ideal for smooth or rounded aerators where a traditional wrench might slip or scratch the surface. This tool uses a flexible strap to wrap around the object and apply turning force evenly.
Wrap the strap around the aerator, tighten it, and turn counterclockwise. Because strap wrenches don’t rely on teeth or jaws, they are safer for chrome or decorative finishes, making them a go-to tool for luxury faucets.
7. Soak the Aerator in Penetrating Oil
For filters that haven’t been removed in years or are fused in place by corrosion, penetrating oil like WD-40 can work wonders. Spray a small amount around the base of the aerator and let it soak in for about 15–20 minutes. Use a cloth to wipe off excess, then attempt removal using pliers or a wrench. The oil seeps into microscopic gaps, breaking down rust and grime that may be locking the threads.
8. Use a Faucet Aerator Key
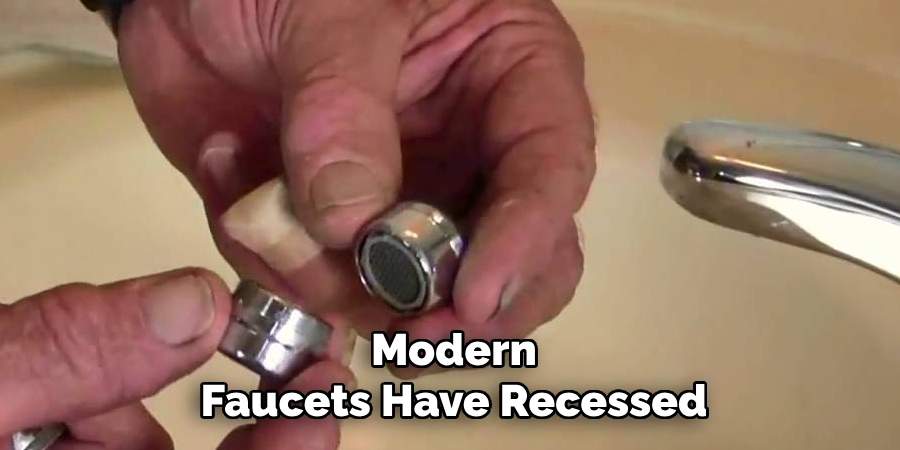
Some modern faucets have recessed or hidden aerators that cannot be removed using typical pliers or wrenches. For these, manufacturers often provide a small plastic or metal tool called an aerator key. Insert the key into the grooves of the aerator and turn counterclockwise to unscrew. If you don’t have the original key, universal aerator removal kits are available online or at hardware stores. This is the safest and most effective method for specialty or integrated designs.
9. Remove Hidden or Recessed Aerators Using Needle-Nose Pliers
If you don’t have an aerator key and need to remove a recessed filter, you can carefully use needle-nose pliers. Insert the tips into two opposing notches inside the aerator and turn gently counterclockwise. This method requires a steady hand to avoid damaging the threading inside the faucet. It’s best to attempt this only if you’re confident in your control, as a slip could scratch or gouge internal parts.
10. Tap Gently with a Rubber Mallet to Break Seal
When all else fails and the filter still won’t budge, a few gentle taps from a rubber mallet can help. Tap the side of the aerator gently a few times to break any seal created by mineral buildup or corrosion. Be cautious and avoid hitting the faucet body. After tapping, try removal again using a gripper, wrench, or pliers. The vibration can help loosen bonded materials and make turning easier.
Things to Consider When Removing a Stuck Faucet Aerator
- Use Proper Tools: Always ensure you are using the appropriate tools, such as wrenches, pliers, or grippers, to avoid damaging the aerator or faucet components.
- Apply Even Pressure: When twisting or gripping the aerator, use steady and even pressure to reduce the risk of scratching or warping the parts.
- Check for Residue or Corrosion: Inspect the aerator for signs of mineral buildup or corrosion that may be causing the seal. Using a descaling solution ahead of time can simplify removal.
- Know When to Stop: Excessive force can damage the faucet or aerator. If it becomes too difficult, pause to consider alternatives, like applying a penetrating oil or seeking professional assistance.
- Protect the Faucet Finish: To prevent scratching or marring the faucet’s surface, use a cloth or padding under tools during the removal process.
By keeping these considerations in mind, you can safely and effectively remove a stuck aerator without causing unnecessary damage or frustration.
Maintenance and Upkeep
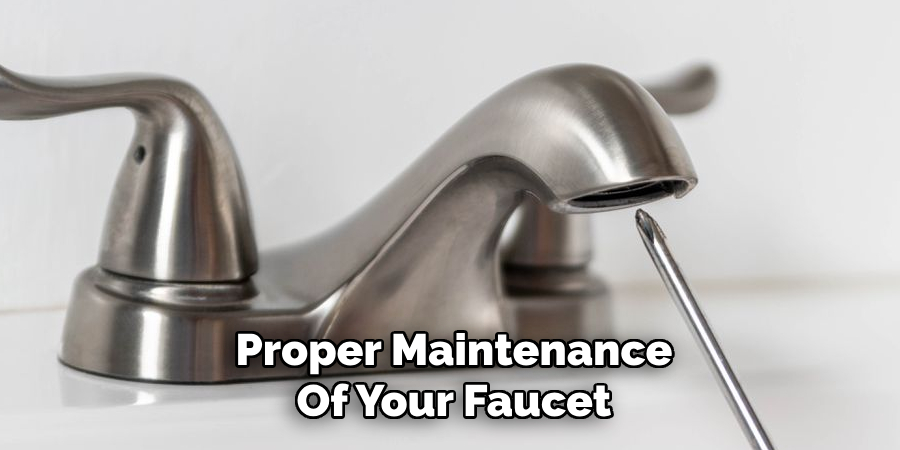
Proper maintenance of your faucet and aerator can help prevent future issues and ensure they function smoothly over time. Clean the aerator regularly by soaking it in a vinegar-water solution to dissolve mineral deposits and debris. Inspect the components for wear or damage, such as cracks or corrosion, and replace them as necessary.
Additionally, check your water quality and consider using a water softener if hard water buildup is a recurring problem. Keeping the threads on the faucet and aerator clean and lubricated can also make removal and installation easier. With regular upkeep, your faucet will continue to operate efficiently and remain in good condition for years to come.

Conclusion
Removing a faucet filter doesn’t have to be a frustrating ordeal. With these ten carefully detailed methods, you’re equipped to tackle filters ranging from mildly stuck to completely fused. Whether you prefer natural solutions like vinegar or need the mechanical advantage of wrenches and pliers, each method can be adapted to suit the condition of your faucet.
Remember to proceed with patience and care, especially around delicate finishes, and always reassemble your filter cleanly to keep your water flowing freely. Thanks for reading our blog post on how to remove faucet filter! We hope you found it helpful and informative.

