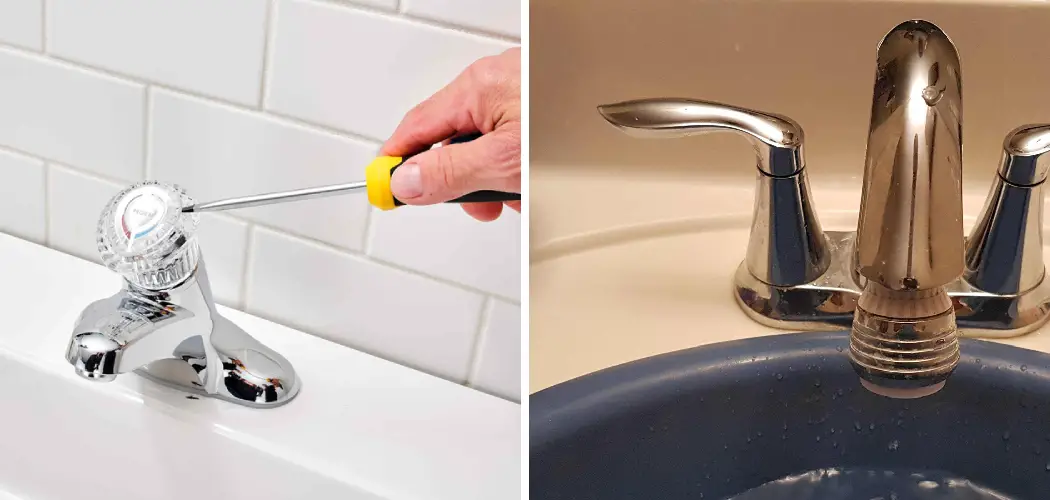
Do you have a leaky faucet handle? Have you noticed that the handle is loose and needs to be fixed? Are you dealing with the headache of a stuck or broken faucet handle cap? If so, then don’t worry because fixing this issue is simple. All it takes is knowing how to correctly remove your faucet handle cap and having the right tools. Don’t worry; removing a faucet handle cap doesn’t have to be an impossible task.
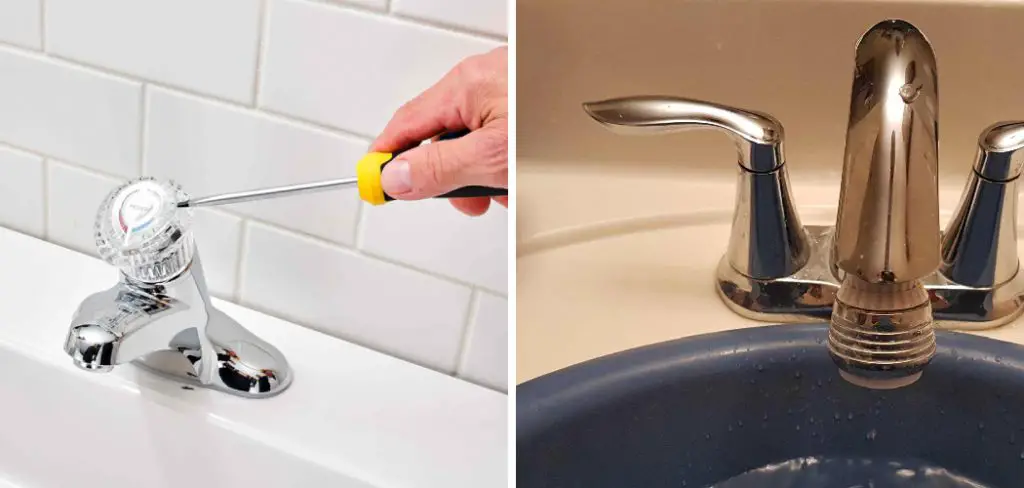
From turning off the water supply and loosening screws to understanding different types of caps, we’ve got all the steps necessary to help you remove your faucet handle cap efficiently. In this blog post, we’ll show you step-by-step instructions on how to remove faucet handle cap safely and quickly. We’ll also share our best tips for preventing this problem from reoccurring!
Necessary Items
Before we dive into the steps for removing a faucet handle cap, let’s review the necessary items to complete this task. These items may vary depending on the type of faucet handle cap you have, but here are some general tools that will likely come in handy:
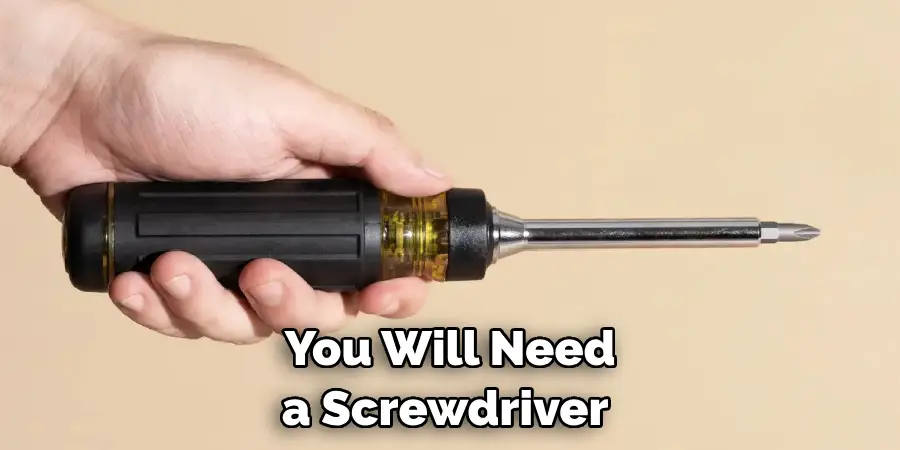
- Flathead screwdriver
- Allen wrench or hex key
- Adjustable pliers (optional)
- Needle-nose pliers (optional)
- Penetrating oil
- Clean cloth or rag
- Replacement cap (if needed)
10 Steps on How to Remove Faucet Handle Cap
Step 1: Turn off the Water Supply
Before you begin any work on your faucet, it’s essential to turn off the water supply. This will prevent any leaks or accidents while you’re working. The water supply to your faucet can usually be found under your kitchen or bathroom sink. Turn the knob clockwise to shut off the water supply.
Step 2: Identify Your Faucet Handle Cap Type
Faucet handle caps come in various shapes and sizes, so it’s essential to identify your type before attempting to remove it. Some common types of faucet handle caps include:
- Screw-on cap
- Snap-off cap
- Push/pull cap
Step 3: Disassemble the Faucet Handle
You’ll need to remove the handle first to access the faucet handle cap. If your faucet has a screw securing the handle, use a flathead screwdriver or Allen wrench to loosen and remove it. If your faucet handle doesn’t have a screw, it’s likely attached by pressure or adhesive.
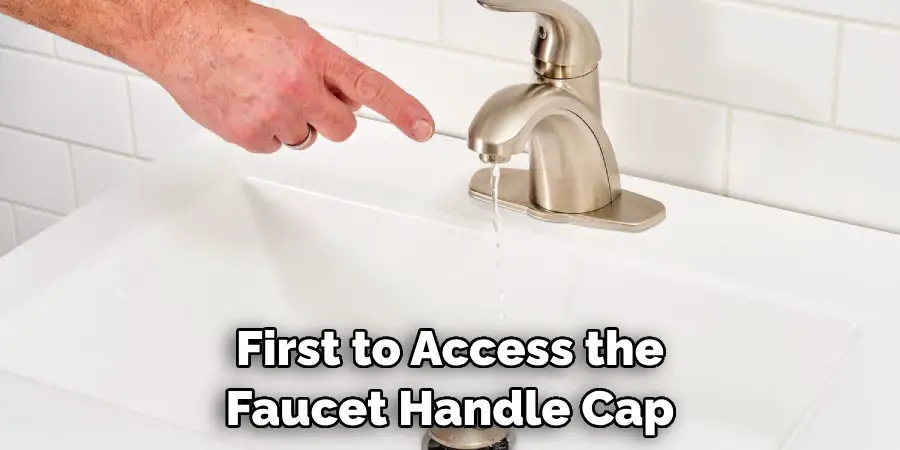
Step 4: Use Penetrating Oil (if necessary)
If the faucet handle is stuck and won’t come off, use a small amount of penetrating oil around the base of the handle to help loosen it. Wait a few minutes for the oil to work its magic before removing the handle again.
Step 5: Loosen Screws on Screw-On Caps
If your faucet has a screw-on cap, you’ll need to loosen the screws that hold it in place. Use either adjustable pliers or needle-nose pliers to rotate and unscrew the cap. Be careful not to scratch or damage the finish of your faucet while doing this.
Step 6: Snap Off Snap-Off Caps
For snap-off caps, use a flathead screwdriver or your fingers to pry it off from the base of the handle gently. Be careful not to apply too much force and damage the cap or handle.
Step 7: Push/Pull Push/Pull Caps
Push/pull caps can be trickier to remove, requiring you to push or pull them in a specific direction to release them. Follow the manufacturer’s instructions for your particular faucet model, or try gently pushing and pulling the cap until it loosens.
Step 8: Clean the Handle Base
Once you’ve removed the handle cap, take a clean cloth or rag and wipe down the base of the handle. This will remove any dirt or debris that may have accumulated and make it easier to reattach the cap later on.
Step 9: Replace Cap (if necessary)
If your faucet handle cap is damaged or broken, now is the time to replace it with a new one. Make sure you purchase a cap that fits your specific faucet model and follow the manufacturer’s instructions for installation.

Step 10: Reassemble the Faucet Handle
Once you’ve completed all the steps to remove your faucet handle cap, it’s time to reassemble everything. Follow the reverse order of disassembly and make sure all screws are tightened securely. Turn on the water supply and test to see if your faucet handle is functioning correctly.
Removing a faucet handle cap may seem daunting, but it can be done quickly and easily with the right tools and techniques. It’s also important to regularly clean and maintain your faucet to prevent any future issues with the handle cap. We hope this guide has helped guide you through the process of removing your faucet handle cap.
8 Tips for Preventing Faucet Handle Cap Issues
1. Regularly Clean and Maintain Your Faucet
Keeping your faucet clean and debris-free can prevent any buildup around the handle, making removing and replacing the cap easier.
2. Avoid Using Excessive Force
Applying too much force when removing a faucet handle cap can result in damage or breakage. Be gentle and use the proper tools for the job.
3. Check for Leaks
If you notice any leaks around your faucet handle, addressing them as soon as possible is essential to prevent further damage.
4. Use Penetrating Oil
If your faucet handle is stuck, using a small amount of penetrating oil can help loosen it and make removal easier.
5. Don’t Over-Tighten Screws
When reassembling your faucet handle, avoid over-tightening the screws, as this can cause them to strip or break.
6. Replace Damaged Caps
If your faucet handle cap is damaged or broken, it’s best to replace it with a new one rather than trying to fix it.
7. Follow Manufacturer’s Instructions
Every faucet handle cap may have slightly different removal and installation instructions, so follow the manufacturer’s guidelines for your specific model.
8. Seek Professional Help if Needed
If you’re unsure or uncomfortable with removing the faucet handle cap, it’s best to seek professional help from a plumber to avoid further damage. Regularly maintaining and caring for your faucet can prevent any potential issues with the handle cap. Remember to be gentle and use proper tools to avoid damage when removing and replacing the cap.
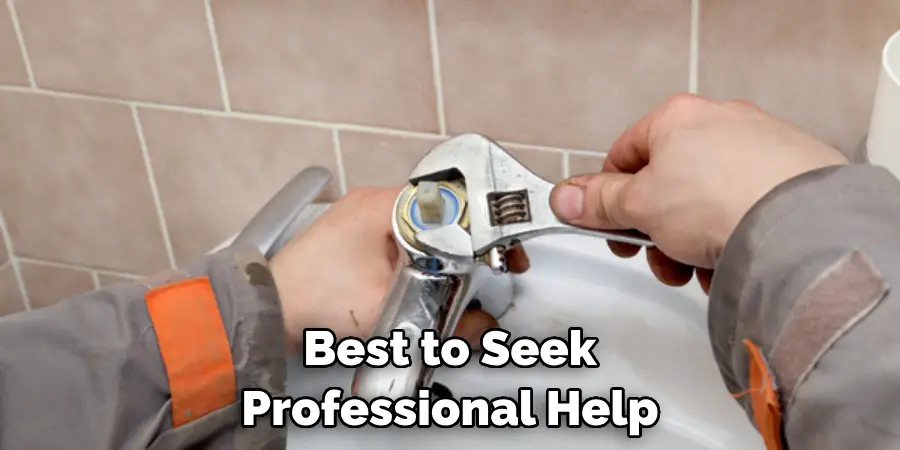
Lastly, for safety, turn your water supply off before starting any work on your faucet. Now that you’ve successfully removed the faucet handle cap, you can easily tackle future issues confidently and efficiently.
8 Additional Tips and Tutorials on Maintaining Your Home’s Plumbing System
1. Properly Dispose of Grease and Oil
Avoid pouring grease and oil down your drains, as they can solidify and cause clogs in your plumbing system. Instead, collect and dispose of these liquids in a separate container.
2. Use Drain Screens
Placing drain screens or strainers over your drains can prevent hair and other debris from clogging your pipes. Make sure to clean and empty these screens regularly.
3. Check for Leaks
Regularly inspect your pipes and faucets for any leaks. Even small leaks can lead to more significant issues if left untreated.
4. Monitor Water Pressure
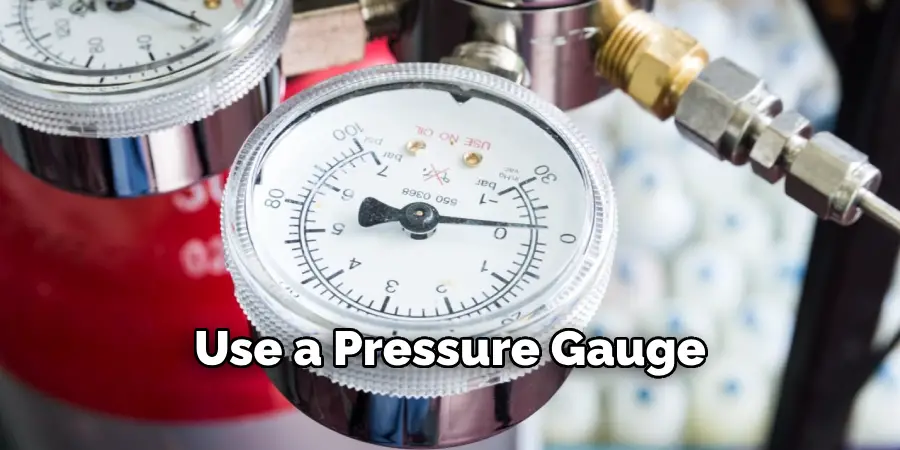
High water pressure can strain your plumbing system, leading to leaks and other damage. Use a pressure gauge to monitor and adjust your home’s water pressure.
5. Don’t Overuse Your Garbage Disposal
Avoid putting large amounts of food waste down your garbage disposal at once. This can overload the system and cause clogs.
6. Use Enzyme-Based Cleaners
Instead of harsh chemical cleaners, use enzyme-based cleaners to break down organic materials in your drains and pipes.
7. Insulate Pipes in Cold Weather
In colder climates, insulate your exposed pipes to prevent them from freezing and potentially bursting.
8. Schedule Routine Maintenance
Regularly schedule professional maintenance and inspections for your plumbing system to catch any issues early on and prevent costly repairs in the future. Following these tips and properly maintaining your home’s plumbing system can avoid many common issues and ensure everything runs smoothly. Remember that if you encounter a problem with your plumbing that you are uncomfortable fixing yourself, it’s always best to seek professional help.
Frequently Asked Questions
How Often Should I Clean My Faucet Handle?
It’s a good idea to clean your faucet handle regularly, at least once every few weeks, to prevent any buildup of dirt and debris.
Can I Use Penetrating Oil to Loosen a Stuck Faucet Handle?
It’s best to use a specific penetrating oil for loosening plumbing fixtures, as other types may not be safe for use on surfaces that come into contact with water.
Do I Need Special Tools to Remove My Faucet Handle Cap?
In most cases, you will need a screwdriver and possibly an adjustable wrench to remove the faucet handle cap. Some models may require specialized tools, so it’s best to consult your manufacturer’s instructions.
Why Should I Regularly Clean and Maintain My Faucet?
Regular maintenance can prevent any buildup or damage to your faucet that may lead to more significant issues in the future. It also helps keep your faucet functioning correctly and looking clean. Proper care and maintenance of your plumbing system can save you time and money in the long run.
Following these tips and guidelines ensures that your home’s plumbing is always in top shape. Lastly, always prioritize safety by turning off your water supply before attempting repairs.
Conclusion
Removing a faucet handle cap requires a few steps and potentially some tools, depending on the make and model of your faucet. But even though it may appear intimidating to do on your own, with patience and practice, you too can easily remove a faucet handle cap like a pro. Next time you replace your washers or change things up in the kitchen or bathroom, don’t be intimidated!
Feel free to get your hands dirty, and follow our easy-to-follow steps to learn how to remove faucet handle cap with confidence. You’ll never look back! So why not roll up your sleeves and give it your best shot? There’s nothing quite like accomplishing something yourself. Give it a go today – you won’t regret it!

