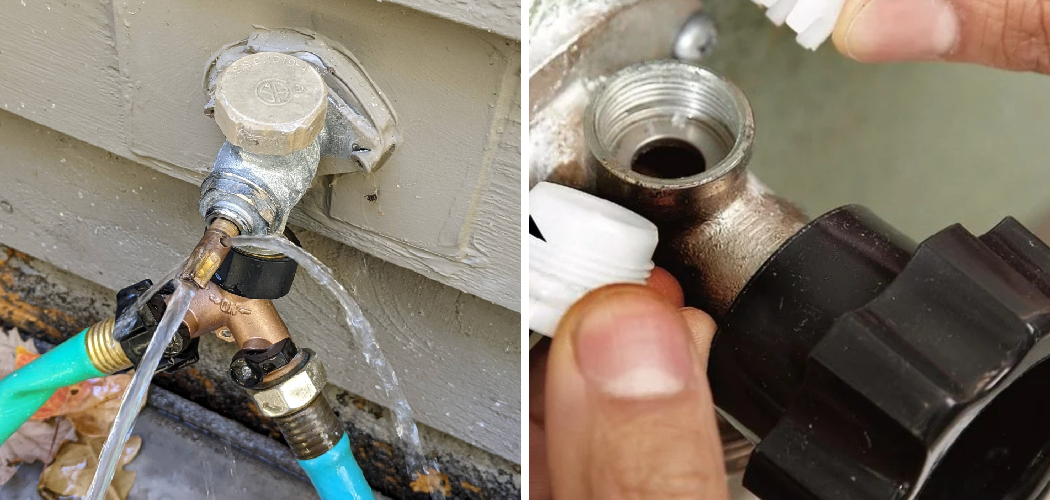
Are you tired of dealing with frost build-up that causes spigots to freeze and burst during winter? Removing a frost-free spigot can be a simple DIY task that can save you time, money, and headaches in the long run.
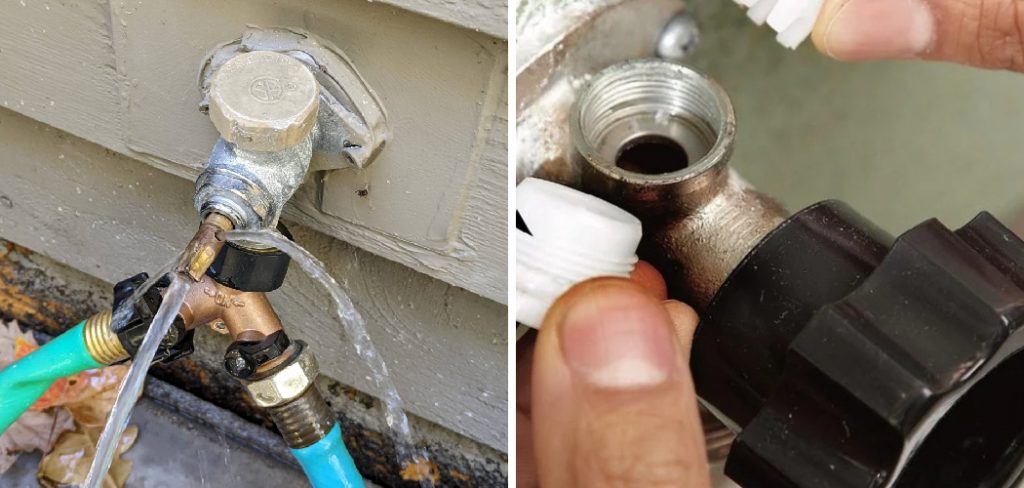
How to remove frost free spigot is an essential maintenance task that helps ensure your plumbing system remains in good condition, especially as the seasons change. Over time, spigots can wear out or become damaged, leading to leaks or reduced functionality. Replacing or removing a frost-free spigot may seem daunting at first, but with the right tools and guidance, it’s a task most homeowners can handle.
This guide will walk you through the steps to safely and effectively remove your frost-free spigot, saving you time and money on potential repairs.
What Are the Causes of Damaged Frost-Free Spigots?
There are several reasons why frost-free spigots may become damaged or worn out. Some of the most common causes include:
- Extreme Temperatures: As the name suggests, frost-free spigots are designed to withstand freezing temperatures without damaging your plumbing system. However, extreme cold can still cause these spigots to crack or break.
- Wear and Tear: Over time, regular use and exposure to the elements can lead to wear and tear on your frost-free spigot. This can result in leaks or reduced functionality.
- Improper Installation: If a frost-free spigot is not installed correctly, it may be more susceptible to damage from freezing temperatures. Make sure to follow the manufacturer’s instructions carefully or hire a professional for installation.
What Will You Need?
- A new frost-free spigot
- A pipe wrench or adjustable pliers
- Teflon tape
- Silicone caulk (optional)
Once you have all of these items, you can begin the installation process.
10 Easy Steps on How to Remove Frost Free Spigot
Step 1. Turn Off the Water Supply
Before attempting any work on the frost-free spigot, it is crucial to shut off the water supply to your home or at least to the affected area. Locate the main water shut-off valve, which is typically found in a basement, utility room, or near the water meter. Turn the valve clockwise until it is entirely closed, ensuring no water is flowing to the spigot.
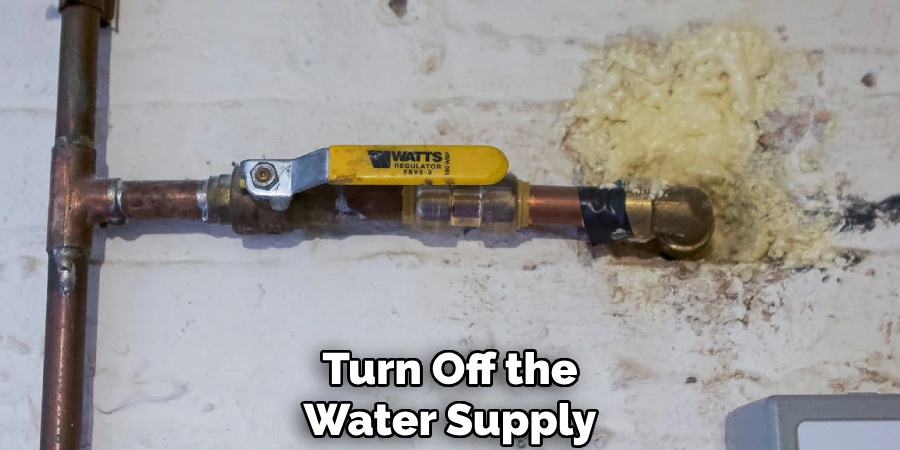
If your home has a dedicated shut-off valve for outdoor faucets, you can utilize that instead. Take a moment to test the spigot by turning its handle to confirm that the water flow has entirely ceased. This step is essential to prevent leaks or water damage during the removal process.
Step 2. Drain the Pipe
After ensuring that the water flow has stopped, it is essential to drain any remaining water from the pipe connected to the spigot. This can be done by opening the spigot fully and allowing gravity to pull any residual water out of the pipe. Depending on the setup of your plumbing, you may also need to open a nearby drain valve or use a bucket to collect water as it escapes.
If water remains in the pipe, it can freeze in colder temperatures, potentially causing bursts or damage. To ensure thorough drainage, you can gently tap the pipe to dislodge any lingering water, or use an air compressor to blow out the line if you’re comfortable doing so. Be thorough in this step, as it is critical for protecting your plumbing system from winter-related damage. Once you’ve confirmed the pipe is empty, proceed to the next step confidently.
Step 3. Inspect the Spigot
Carefully examine the spigot for any signs of damage, rust, or wear that might compromise its functionality. Look for cracks in the metal or any corrosion that could affect its seal. It’s essential to ensure the spigot is in good condition to maintain a secure and leak-free connection. Use a flashlight if needed to check less visible areas. If you notice any significant damage or deterioration, consider replacing the spigot before proceeding.
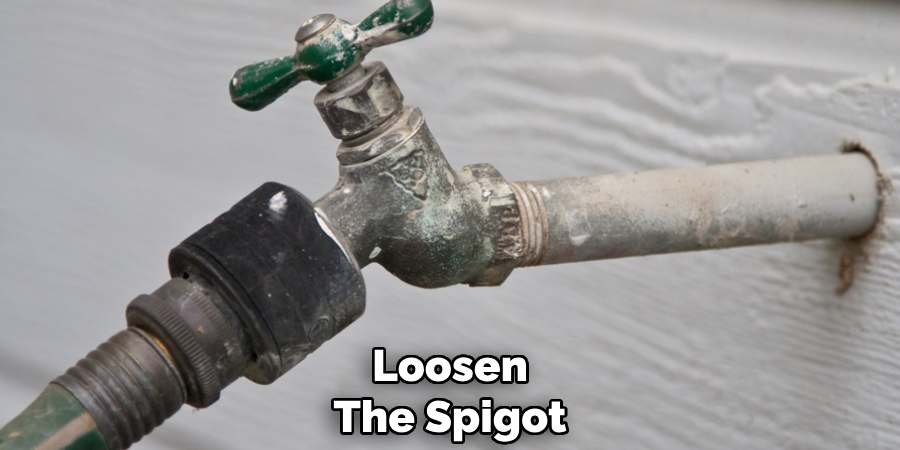
Step 4. Loosen the Spigot
Using a wrench or pliers, gently begin to loosen the spigot by turning it counterclockwise. Be cautious not to apply excessive force, as this can damage the pipe or the spigot threads. If the spigot feels stuck, you can use a penetrating lubricant around the threads to help ease the process. Allow the lubricant to sit for a few minutes before trying to unscrew it again. Take your time during this step to prevent unnecessary strain on your plumbing system.
Step 5. Remove the Spigot
After loosening the spigot, carefully unscrew and remove it. Pay attention to any debris, residue, or thread sealant on the spigot as you remove it. These substances may need to be cleaned off before reinstalling or replacing the spigot. Hold the spigot steady to avoid dropping it, especially if it’s connected to a fragile area. Once removed, inspect the inside of the spigot for any obstructions or buildup that could have impacted water flow.
Step 6. Inspect the Pipe Threads
With the spigot removed, closely examine the pipe threads for any signs of wear, rust, or damage. Clean the threads using a wire brush or warm, soapy water to remove dirt, old sealant, or residue. This ensures a proper seal when reinstalling or attaching a new spigot. If you notice significant thread damage, you may need to seek professional help or consider solutions like rethreading the pipe. A clean and intact thread is vital to prevent leaks in the future.
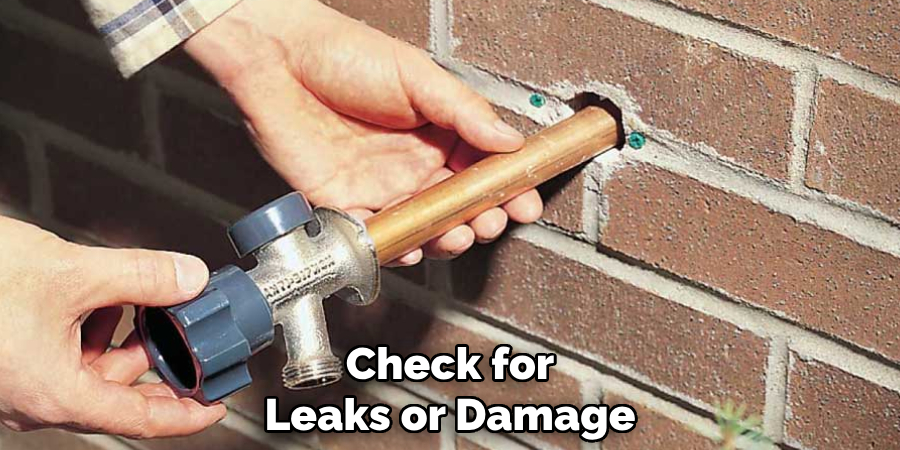
Step 7. Check for Leaks or Damage
Once you have reinstalled the spigot or attached a replacement, it is crucial to thoroughly inspect the area for any leaks or signs of damage. Slowly turn on the water supply and carefully observe the connection points, ensuring no water drips or escapes. If you spot any leaks, try tightening the spigot slightly, but avoid over-tightening as this could damage the threads or seals.
Additionally, check for cracks in the spigot body or pipe, as these can lead to further issues if left unaddressed. If a leak persists despite adjustments, consider using plumber’s tape or pipe thread sealant to create a more secure seal. For larger issues, such as damaged pipes or significant water loss, contacting a professional plumber may be necessary. Taking the time to carefully check for leaks and fix any problems at this stage will help ensure a reliable and efficient water supply system in the future.
Step 8. Prepare for Replacement
Before replacing it, gather all the necessary tools and materials to ensure a smooth process. These may include wrenches, pipe cutters, replacement parts, plumber’s tape, pipe sealant, and a bucket to catch any remaining water.
Turn off the water supply completely and drain any residual water from the pipes to avoid unnecessary messes or potential damage. Carefully inspect the area surrounding the component being replaced to identify any additional wear or damage that should be addressed during the replacement process.
Step 9. Dispose of the Old Spigot
Once the old spigot has been removed, ensure it is disposed of properly. If the spigot is made of metal, consider recycling it at a local metal recycling facility to reduce waste and promote sustainability. Before final disposal, inspect the removed spigot to understand the source of any damage, such as corrosion, cracks, or wear.
This can provide valuable insights to help prevent future issues or to choose a more durable replacement material. If the spigot has any hazardous components, such as lead or old sealants, handle these with care and follow local disposal regulations to ensure safety.
Step 10. Install a New Spigot
To install a new spigot, start by selecting one that is compatible with your plumbing system and made of durable materials to ensure longevity. Before installation, clean the threads of the pipe where the spigot will be attached, removing any old sealant, debris, or rust. Apply plumber’s tape or pipe thread sealant to the threads to create a watertight seal and prevent future leaks. Carefully screw the new spigot onto the pipe by hand, ensuring it is snug but not overtightened, as this could damage the threads or the spigot itself.
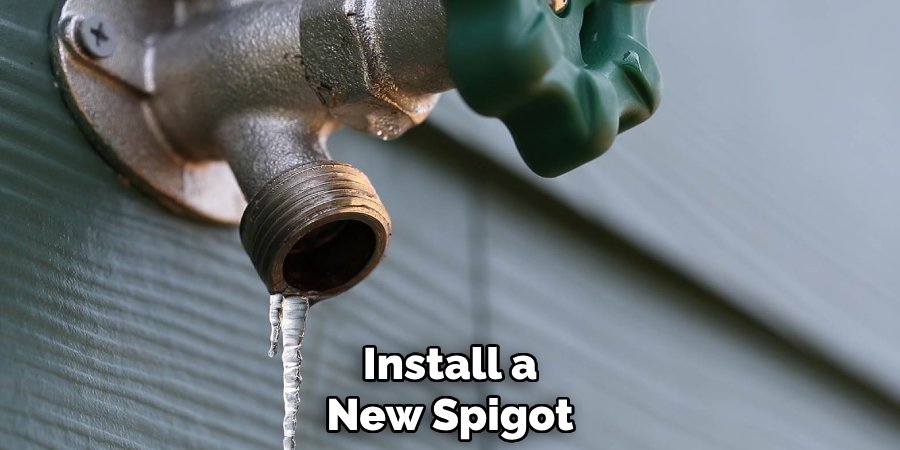
Use a wrench or adjustable pliers for the final turns, applying gentle pressure while maintaining alignment. Once installed, turn the water supply back on gradually and check for any leaks around the connection. If a leak occurs, tighten the spigot slightly further or reapply pipe thread sealant as needed. Finally, test the spigot’s functionality by turning it on and off to ensure a steady and controlled water flow.
By carefully following these steps, you can safely remove a frost-free spigot and prepare your plumbing for repairs or upgrades.
Conclusion
Removing a frost-free spigot may seem daunting, but with the right tools and a systematic approach, it can be done efficiently and safely.
Ensuring the water supply is turned off, using proper techniques to detach the spigot, and checking for leaks after installation are essential steps to achieve a successful outcome. Taking the time to follow these guidelines carefully not only helps prevent potential water damage but also prepares your plumbing system for future use or upgrades. With this knowledge, you can confidently tackle the project and maintain your plumbing system’s functionality.
Hopefully, the article on how to remove frost free spigot has provided you with valuable information and insights.

