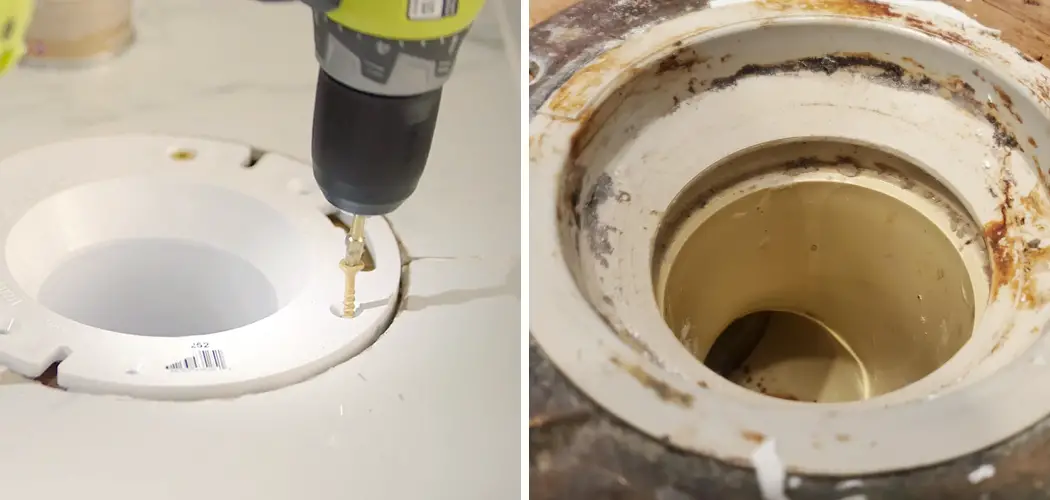
Removing a glued toilet flange can be a challenging task, especially for those who may not have extensive plumbing experience. The flange is a crucial component that secures the toilet to the floor, and it often becomes glued in place for stability and leak prevention.
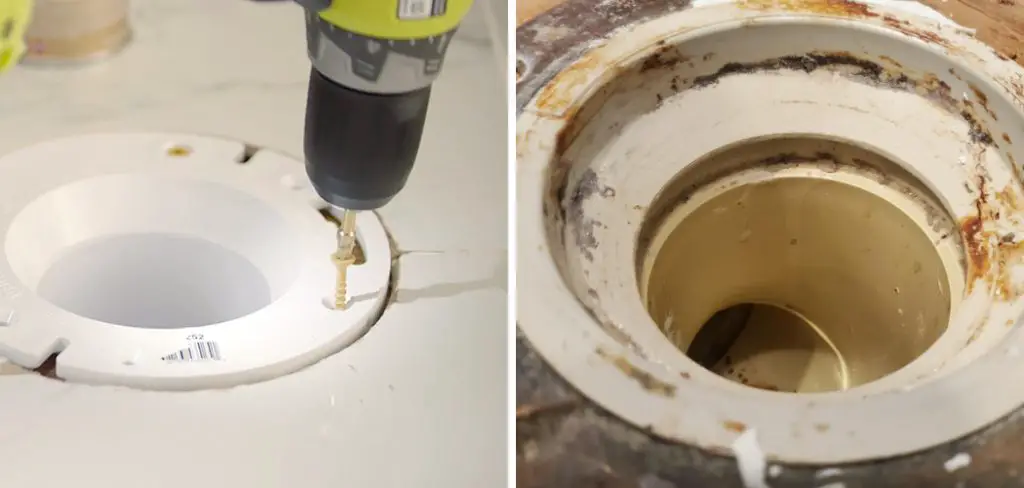
In this guide on how to remove glued toilet flange, we will walk you through the necessary steps and techniques to safely and effectively detach a glued toilet flange, ensuring that you have the tools and knowledge required to tackle this DIY project with confidence.
Whether you’re replacing an old flange or preparing for new flooring, our comprehensive instructions will help you navigate the process efficiently.
What is a Toilet Flange?
A toilet flange, also known as a closet flange or floor flange, is the pipe fitting that connects the toilet to the drainpipe and secures it to the bathroom floor. It serves as an essential seal between the toilet and drainage system, preventing leaks and keeping your bathroom clean and hygienic.
The traditional design of a toilet flange consists of a round ring with evenly spaced holes for bolts that secure the toilet in place. However, there are various types of flanges available today, including offset flanges for uneven floors and extra thick or thin varieties for different installation needs.
Why Remove a Glued Toilet Flange?
Removing a glued toilet flange is often necessary for several reasons. Over time, toilet flanges can become damaged or corroded, leading to leaks or instability in the toilet. If you are renovating your bathroom or replacing the flooring, removing the flange allows you to install a new one that fits properly with your updated decor.
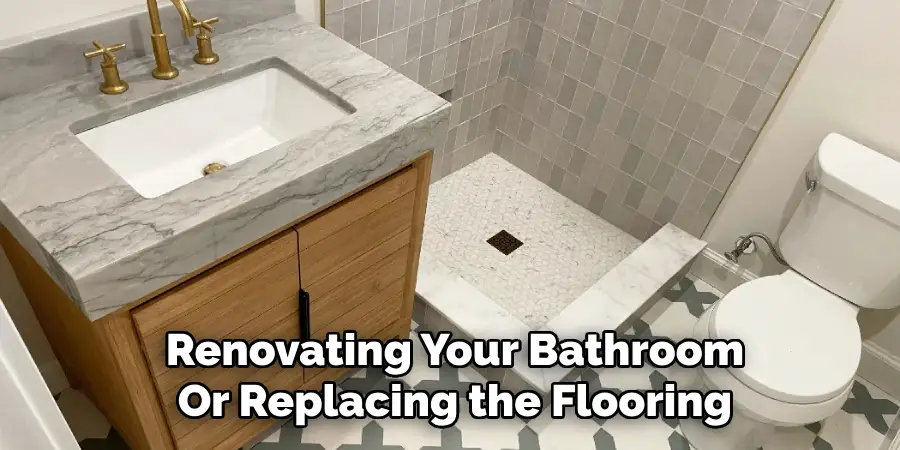
Additionally, upgrading to a different type of flange, such as an offset or thicker model, may be required to accommodate changes in the plumbing layout or floor height. Finally, if the existing flange is no longer securing the toilet effectively, it can pose hygiene and safety risks, making removal and replacement critical for maintaining a clean and functional bathroom.
Needed Materials
Screwdriver:
A screwdriver is a necessary tool for any DIY plumbing project, including removing a toilet flange. You will use it to unscrew the bolts securing the flange to the toilet base and floor.
Utility knife:
A utility knife is useful for cutting through the caulking or adhesive sealant that may be holding the flange in place. It can also help remove any excess wax or debris from around the flange.
Pry bar:
A pry bar can come in handy when trying to loosen a stubborn or stuck flange. It can provide leverage and help break the seal between the flange and floor.
Putty knife:
A putty knife can assist you in scraping away any leftover wax or adhesive from the flange and surrounding areas.
Adjustable wrench:
An adjustable wrench is another essential tool for plumbing projects. You will use it to loosen and remove the bolts holding the toilet to the flange.
Gloves:
Protect your hands with a pair of gloves when handling any sharp tools or debris during the removal process.
8 Step-by-step Guides on How to Remove Glued Toilet Flange
Step 1: Turn Off the Water Supply
Before starting the removal process, it is crucial to turn off the water supply to your toilet. Locate the shut-off valve, typically found on the wall behind the toilet, just above the floor. Turn the valve clockwise until it stops to ensure that no water can flow into the toilet.
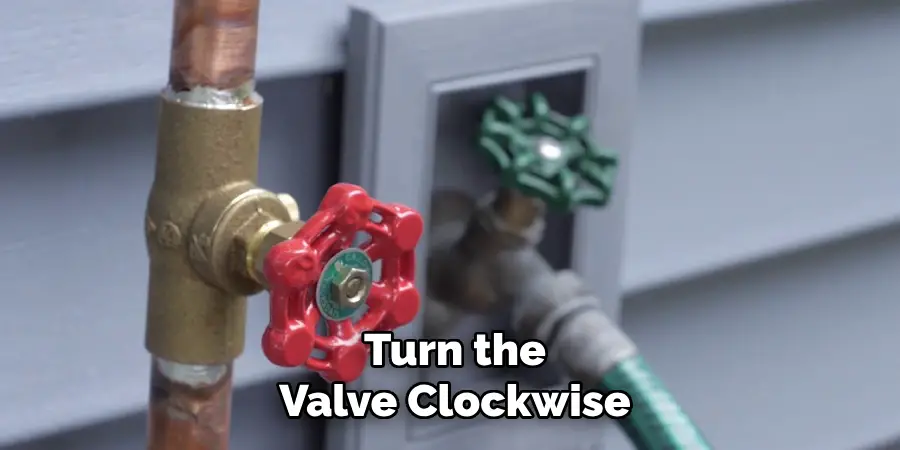
This step is essential to prevent any accidental leaks or spills during the removal process. Once the water supply is turned off, you can proceed safely to the next steps.
Step 2: Empty and Disconnect the Tank
Once the water supply has been turned off, the next step is to empty the toilet tank to prevent any residual water from spilling during the disconnection process. To do this, flush the toilet to drain as much water as possible from the tank and bowl. You may need to use a sponge or towel to soak up any remaining water in the tank and bowl.
After the tank is emptied, it’s time to disconnect it from the toilet bowl. Locate the bolts securing the tank to the bowl, typically found at the back of the tank. Use a screwdriver or an adjustable wrench to loosen and remove these bolts carefully. Once the bolts are removed, gently lift the tank off the bowl and set it aside. Remember to place it on a soft surface to avoid damage. Be cautious during this process, as the tank can be heavy and awkward to handle.
Step 3: Unscrew the Bolts Securing the Flange to the Floor
Once the tank has been removed, the next step is to unscrew the bolts that secure the flange to the floor. Start by locating the bolts on either side of the flange; these will typically be visible after removing the tank. Use your screwdriver or adjustable wrench to loosen and remove these bolts, turning them counterclockwise.
If the bolts are rusted or difficult to turn, consider applying a penetrating oil to help ease their removal. Carefully keep track of the bolts and nuts as you remove them, as they will be needed for the reinstallation of a new flange, if applicable. After all bolts have been removed, gently lift the flange to detach it from the floor, taking care not to damage the surrounding area.
Step 4: Remove the Wax Ring and Clean the Flange
With the flange removed, you will see a wax ring or gasket that creates a watertight seal between the toilet and the flange. Carefully remove this ring and dispose of it to prepare for installing a new one. Next, use your putty knife to scrape away any remaining wax or adhesive from both sides of the flange. Be thorough in this step to ensure that there is no residue left on the surface.
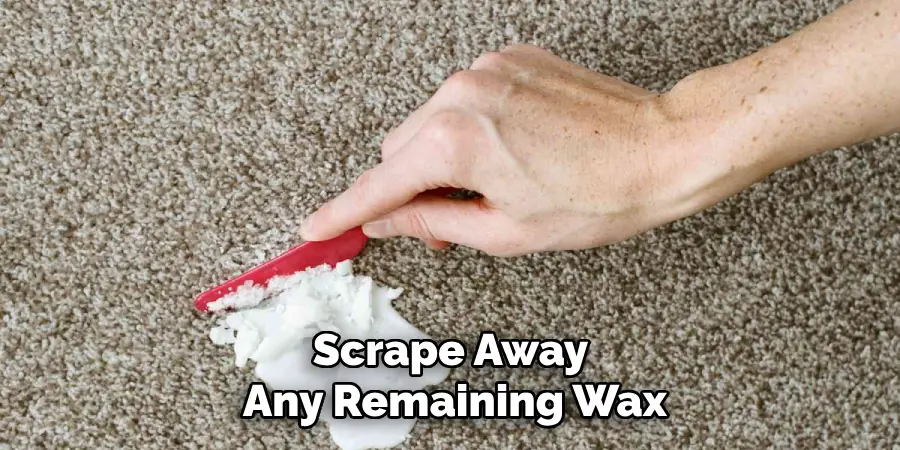
You can also use a mild detergent or cleaning solution to scrub the flange and make sure it is free of any dirt or debris. Allow the flange to dry completely before proceeding to the next steps.
Step 5: Loosen and Remove the Caulking Sealant
After cleaning the flange area, it’s essential to loosen and remove any caulking sealant around the base of the toilet. Use your utility knife carefully to cut through the caulk, taking extra care not to damage the flooring or the toilet. Begin at one end of the seal and work your way around the base, applying gentle pressure to ensure a clean cut.
Once the caulk is sufficiently loosened, you should be able to lift the toilet away from the flange more easily. If the toilet feels stuck, continue to cut through any remaining caulking until it can be safely removed. Dispose of the old caulk properly, as you’ll need to apply fresh sealant when installing the new toilet.
Step 6: Loosen and Remove the Toilet from the Flange
With the caulking sealant removed, it’s time to detach the toilet from the flange. To do this, gently rock the toilet back and forth to break the wax seal, which should allow for easier lifting. Ensure that you have help if needed, as toilets can be heavy and cumbersome. Once the toilet feels loose, carefully lift it straight up off the flange and set it aside on a padded surface to avoid any damage.
If any resistance is felt, check for any remaining caulking or obstacles that might be holding it in place. It’s important to keep the toilet upright to avoid spilling any residual water. After the toilet is successfully removed, inspect the flange and surrounding area for any additional debris or wax that may need to be cleaned before proceeding with the installation of a new flange.
Step 7: Install a New Flange
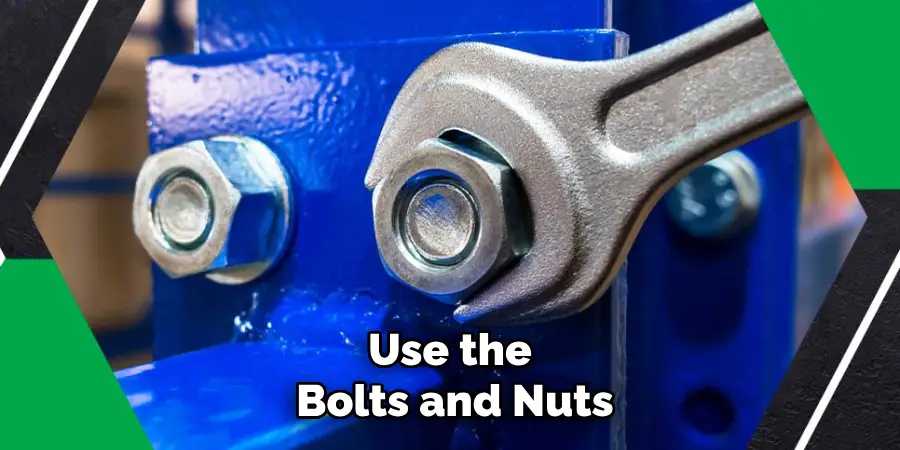
If the old flange cannot be salvaged, or if you are upgrading to a different type of flange, it’s time to install a new one. Begin by placing the new flange over the drain opening on the floor and aligning it properly. Use the bolts and nuts that were removed earlier to secure them in place, turning them clockwise until they are snug.
Be sure not to overtighten the bolts; a firm but gentle pressure is enough. Once the flange is securely attached, you can proceed with installing a new wax ring or gasket on top of it.
Step 8: Reinstall the Toilet and Restore Water Supply
With the new flange in place, you can now reinstall the toilet. Begin by placing the toilet back over the flange and aligning it carefully. Gently rock it back and forth to create a tight seal with the wax ring. Once properly seated, use your weight to press down on the toilet, ensuring that it sits evenly on the floor.
Next, reattach any bolts or screws that secure the toilet to the floor using your screwdriver or adjustable wrench. Finally, reconnect the water supply line and turn it back on to restore the water supply to the toilet. Test the flush and check for any leaks, adjusting as needed.
Frequently Asked Questions
Q: Do I Need to Replace the Flange When Replacing a Toilet?
A: It’s not always necessary, but it is recommended to inspect and potentially replace the flange if it shows signs of damage or wear. This will ensure a proper and secure fit for the new toilet.
Q: Is It Possible to Reuse the Wax Ring When Reinstalling a Toilet?
A: Reusing the wax ring is not recommended, as it can lose its effectiveness and create potential leaks. It’s best to use a new wax ring or gasket during installation.
Q: Can I Install a New Flange Myself, or Should I Hire a Professional?
A: While installing a new flange can be done by an experienced DIYer, it is always recommended to hire a professional if you are unsure or uncomfortable with the process. A plumber can also help identify any underlying issues that may have caused damage to the old flange.
With these steps on how to remove glued toilet flange, you can confidently tackle this project on your own or seek professional assistance. Proper maintenance and care of the toilet flange are essential to ensure a functioning and leak-free bathroom for years to come.

Conclusion
In summary, replacing a toilet flange is a manageable task that can significantly improve the integrity and functionality of your toilet installation. By following the outlined steps on how to remove glued toilet flange carefully, you can ensure a successful replacement, safeguarding against leaks and securing a proper fit for your new toilet.
Remember to always prioritize safety by using the correct tools and seeking professional assistance if needed. Taking the time to perform this maintenance can enhance the longevity of your plumbing system and provide peace of mind for years to come.

