Removing jets from a whirlpool tub may seem like a challenging task, but with the right tools and instructions, it can be completed safely and effectively. Whether you’re performing maintenance, cleaning, or replacing old jets, it’s important to follow proper steps to avoid damaging your tub or its components. This guide will walk you through the process of how to remove jets from whirlpool tub, ensuring a smooth and efficient experience.
Reasons for Removing Jets
There are several reasons why you might need to remove jets from your whirlpool tub. Over time, jets can accumulate dirt, grime, and mineral deposits, which may reduce their efficiency and affect the tub’s performance. Cleaning or replacing the jets can help restore optimal functionality. Additionally, if the jets are damaged, cracked, or leaking, they may need to be replaced to prevent further issues. Some homeowners also choose to remove jets for aesthetic reasons or to upgrade to newer, more efficient models. Whatever the reason, understanding the process of removing jets is essential to maintaining the longevity and performance of your whirlpool tub.
Tools and Materials Needed
Before you begin the process of removing jets from your whirlpool tub, it’s essential to gather the necessary tools and materials. Having everything on hand will ensure a smoother and more efficient process. Here’s what you’ll need:
- Rubber gloves – To protect your hands from grime and ensure a good grip.
- Soft cloth or sponge – For cleaning and wiping down surfaces.
- Bucket or bowl – To collect water or hold cleaning solutions.
- Screwdriver – A flat-head or Phillips-head screwdriver may be required, depending on your jet model.
- Wrench or pliers – For loosening tightly secured jets or fittings.
- Vinegar or mild cleaning solution – To soak and clean the jets if they are dirty or clogged.
- Old toothbrush or soft-bristle brush – For scrubbing smaller areas of the jets to remove debris.
- Towels – To dry the area after cleaning or to catch any excess water.
Having these tools ready will make the removal process more straightforward and help you avoid unnecessary interruptions. Always check the manufacturer’s manual for any specific tools or recommendations required for your particular whirlpool tub model.
10 Methods How to Remove Jets from Whirlpool Tub
1. Turning Off Power and Draining the Tub
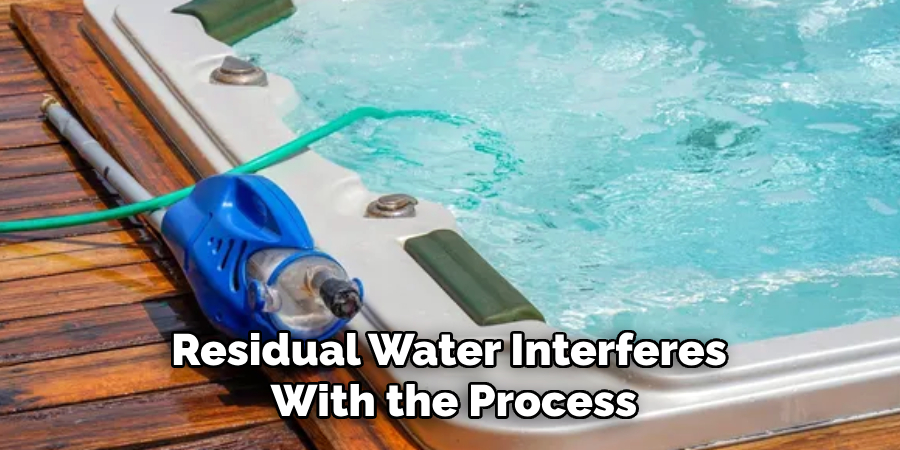
Before attempting to remove the jets, always turn off the power supply to the whirlpool tub to prevent accidental activation. This can typically be done by switching off the circuit breaker that powers the tub. Next, drain the tub completely to ensure that no residual water interferes with the process. Drying the area around the jets can provide a better grip and prevent slipping during removal.
2. Inspecting the Jet for a Removal Mechanism
Most whirlpool tub jets have a removal mechanism such as a twist-and-lock design, a screw-on cap, or a snap-in feature. Carefully examine the jet to identify how it is attached to the tub. The presence of small notches, threads, or locking tabs can provide clues as to whether the jet can be twisted, unscrewed, or pried out.
3. Twisting the Jet Counterclockwise
A common removal method for whirlpool jets involves twisting them counterclockwise. Many jets are designed with a threaded connection that allows them to be unscrewed by hand. Gripping the outer rim of the jet firmly and turning it counterclockwise may loosen it enough to pull it out. If the jet resists movement, applying steady pressure and using a rubber grip can help prevent slipping.
4. Using a Strap Wrench for Stubborn Jets
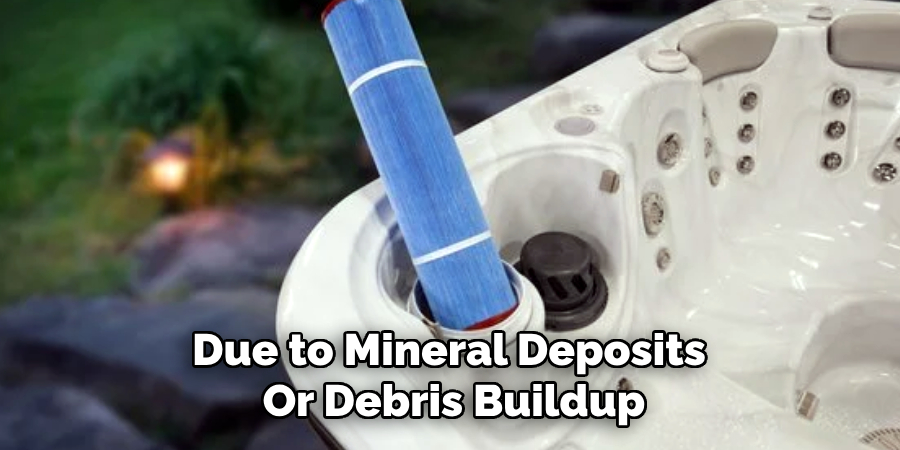
If a jet is stuck due to mineral deposits or debris buildup, a strap wrench can provide extra leverage. A strap wrench wraps around the jet without damaging its surface and allows for a controlled twisting motion. This tool is particularly useful for jets made of plastic, as it prevents excessive force that could cause cracks or breakage.
5. Applying Vinegar or a Descaling Solution
Calcium and mineral deposits can cause jets to become stuck over time. Applying a descaling solution, such as white vinegar or a commercial calcium remover, can help loosen stubborn jets. Soaking a cloth in vinegar and wrapping it around the jet for 15-30 minutes can break down buildup. Afterward, the jet may be easier to twist and remove.
6. Using a Flathead Screwdriver for Snap-In Jets
Some whirlpool jets use a snap-in mechanism rather than a threaded connection. These jets often have small tabs that hold them in place. In such cases, inserting a flathead screwdriver gently under the edge of the jet and prying it outward can release the locking mechanism. Care must be taken to avoid damaging the surrounding tub surface.
7. Removing Screws for Securely Fastened Jets
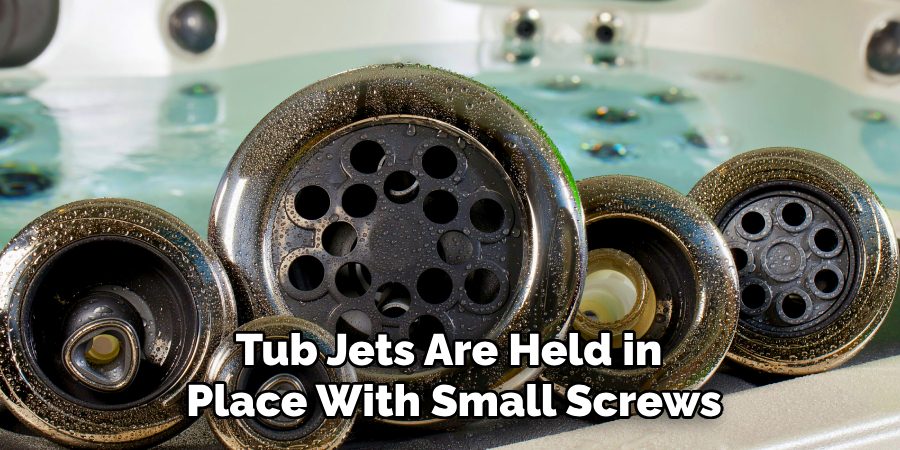
Certain whirlpool tub jets are held in place with small screws, which can be removed using a Phillips or flathead screwdriver. These screws are often located around the outer rim of the jet. After unscrewing, the jet should slide out easily. Keeping the screws in a safe place ensures they can be reused during reinstallation.
8. Using Needle-Nose Pliers for Small Jets
For smaller jets with limited gripping surface, needle-nose pliers can be used to carefully grasp and rotate the jet. Inserting the pliers into the jet’s nozzle and gently turning it counterclockwise can help release it. If resistance is encountered, alternating between loosening and tightening motions can gradually break the seal.
9. Cleaning and Lubricating for Easier Reinstallation
Once the jet has been removed, cleaning both the jet and the jet housing is important before reinstalling or replacing it. Soaking the jet in a mixture of warm water and mild detergent can remove any built-up grime. Applying a small amount of silicone lubricant to the threads or edges of the jet can make future removals easier.
10. Consulting the Manufacturer’s Manual for Specific Guidance
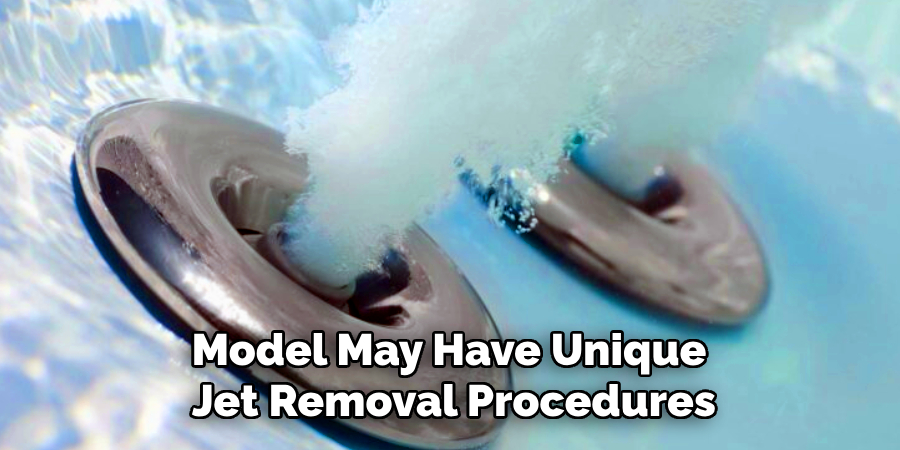
Each whirlpool tub model may have unique jet removal procedures. If a jet proves difficult to remove or if there is uncertainty about the removal method, consulting the manufacturer’s manual can provide valuable insights. Many manufacturers offer online resources and customer support for troubleshooting specific jet removal issues.
Maintenance and Upkeep
Proper maintenance and upkeep of your whirlpool tub can significantly extend its lifespan and ensure optimal performance. Regular cleaning is essential to prevent the buildup of grime, soap scum, and mineral deposits. After each use, rinsing the tub with warm water and wiping it down with a soft cloth can help maintain cleanliness. For deeper cleaning, running the jets with a mixture of warm water and mild detergent or vinegar every few weeks can help eliminate bacteria and debris from the internal piping system.
Inspecting the jets periodically is also important. Check for any signs of wear, cracking, or clogging, and address these issues promptly. Cleaning the jets with a soft-bristle brush can remove any lodged debris, while lubricating the moving parts with silicone-based lubricant can keep them functioning smoothly.
Troubleshooting Common Issues
Even with proper maintenance, whirlpool tubs can occasionally encounter problems that require troubleshooting. Below are some common issues and their potential solutions to help keep your tub functioning as intended.
1. Low Water Pressure from Jets
If the water pressure from the jets feels weaker than usual, the issue may be caused by clogged nozzles or a partially closed water intake valve. Start by inspecting the jets and cleaning any visible debris or buildup using a soft-bristle brush. Check the tub’s water intake to ensure it is free of obstructions, and verify that the valve is fully open. If the problem persists, the circulation pump may need servicing.
2. Noisy Whirlpool Operation
Excessive noise during operation can be a sign of loose components, air trapped in the system, or a failing pump. Inspect the pump and motor assembly to ensure all connections are secure. For air in the system, running the tub with water filled to the recommended level can help purge trapped air. If the noise continues, it may be necessary to contact a professional to check the motor or replace any worn bearings.
3. Jets Not Working or Intermittently Switching Off
When jets stop functioning or work intermittently, the issue might be electrical. Begin by checking the tub’s power supply and reset the circuit breaker if necessary. Ensure all connections to the control panel and pump are intact. Some models include a thermal overload switch that automatically shuts off the motor if it overheats; if this occurs, allow the motor to cool before restarting. Persistent issues may require professional diagnosis of the control system or motor.
4. Water Leaks Around Jets
Leaking water around the jets may be caused by loose fittings, worn gaskets, or cracks in the jet housing. Inspect the jets by removing them and examining the threads, seals, and surrounding surfaces. Replace any damaged gaskets and apply silicone sealant to the threads if needed. For cracked components, replacing the affected jet is often the most reliable solution.
Conclusion
Removing jets from a whirlpool tub is a necessary task for maintenance and cleaning. By following the appropriate method based on the type of jet and its securing mechanism, users can safely and efficiently complete the process. Taking care to avoid excessive force and using the right tools will ensure that the tub remains in excellent condition for continued relaxation and enjoyment. Thanks for reading, and we hope this has given you some inspiration on how to remove jets from whirlpool tub!
You Can Also Check It Out To Turn on Whirlpool Water Heater

