Maintaining a clean and functional shower head is essential for a pleasant bathing experience, yet limescale buildup can often hinder performance. This article aims to explore alternative methods for removing limescale from a shower head without using vinegar.
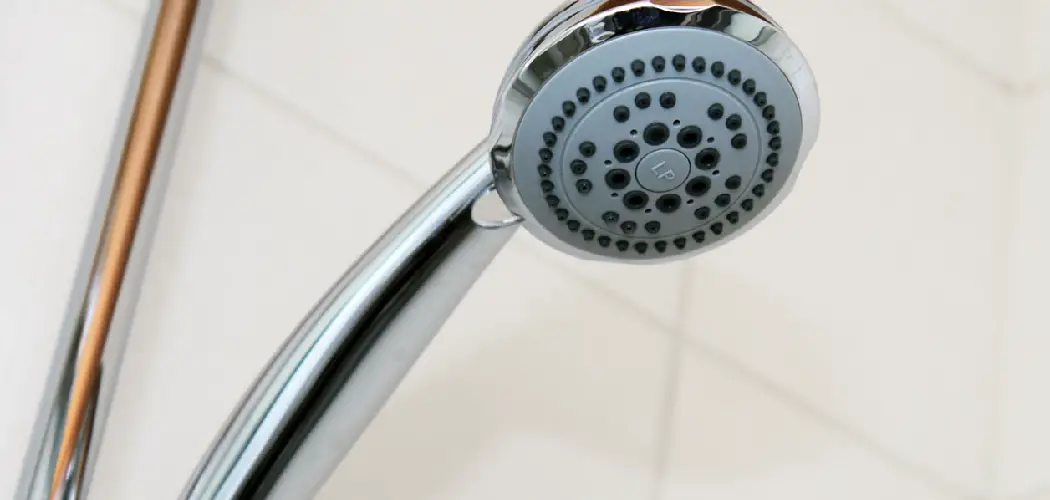
Many people may choose to avoid vinegar due to its strong odor, which can be off-putting, or its potential to damage certain fixtures or finishes. In this guide, we will cover various effective techniques, such as using commercial limescale removers, creating a baking soda paste, leveraging the natural acidity of lemon juice, and even mixing these ingredients for enhanced results.
By exploring these approaches, readers can learn how to remove limescale from shower head without vinegar, ensuring both the cleanliness and the longevity of their bathroom fixtures.
Understanding Limescale Buildup
What is Limescale?
Limescale is a hard, chalky deposit that forms primarily due to hard water, which contains high levels of dissolved minerals such as calcium and magnesium. When hard water evaporates, these minerals crystallize and accumulate over time, forming limescale on various surfaces, including shower heads, faucets, and tiles.
Effects of Limescale on Shower Heads
Limescale buildup can significantly impact shower heads’ performance by restricting water flow and reducing water pressure. This accumulation can lead to uneven spray patterns and decreased efficiency, making showering less enjoyable. Regular cleaning and maintenance are essential to prevent limescale from becoming an issue, ensuring optimal water flow and preserving the shower head’s functionality and longevity.

How to Remove Limescale from Shower Head without Vinegar: Using Baking Soda Paste
Making the Paste
To create an effective baking soda paste for tackling limescale, start by mixing three parts of baking soda with one part of water. This ratio will yield a thick paste that clings well to the shower head and adheres to stubborn deposits. In a small bowl, combine the ingredients until you achieve a smooth, spreadable consistency.
For a boost in cleaning power, consider adding a few drops of dish soap or a small amount of hydrogen peroxide to the mix. These optional additives can enhance the paste’s effectiveness by efficiently breaking down limescale. Once your paste is prepared, it’s ready for application on the affected areas of your shower head.
Applying the Paste
Applying the baking soda paste is a straightforward process. Using a toothbrush or a soft cloth, spread the paste generously over the limescale-affected areas of the shower head, ensuring an even coating. Pay attention to any spots with significant buildup, which may require extra paste. Once you’ve covered all the affected areas, allow the paste to sit for 30 minutes to an hour.
This resting period enables the baking soda to penetrate and break down the limescale effectively, facilitating easier removal. Not rushing this step is important, as allowing the paste to act adequately will yield better results.
Scrubbing and Rinsing
After the paste has had ample time to work, it’s time for scrubbing. Use a soft brush, toothbrush, or a non-abrasive sponge to gently scrub away the limescale. Focus on the areas where you see the most buildup, applying light pressure to avoid damaging the showerhead‘s finish. As you scrub, you should notice the limescale loosening and coming off easily.
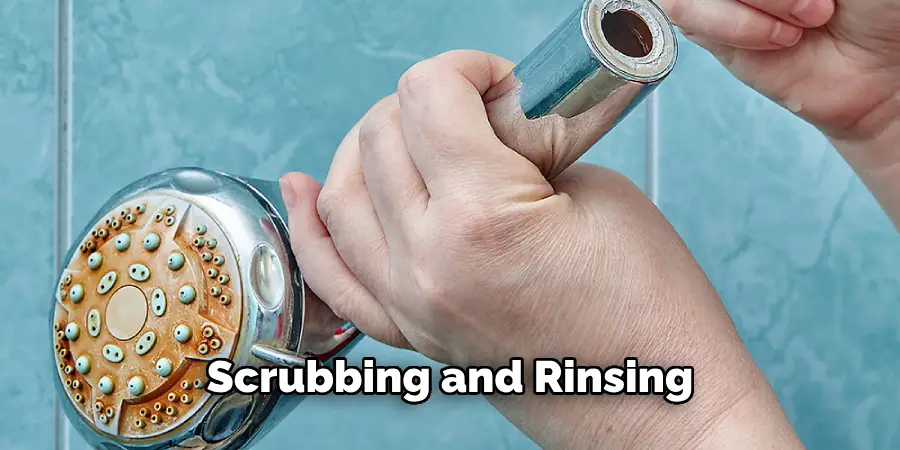
Once you’re satisfied with the scrubbing, rinse the shower head thoroughly with warm water to wash away any remaining paste and loosened debris. Ensure that all limescale has been removed from the surface; if any stubborn spots remain, repeat the process as necessary. This method rejuvenates the appearance of your shower head and ensures optimal water flow and functionality.
How to Remove Limescale from Shower Head without Vinegar: Using Lemon Juice
Why Lemon Juice?
Lemon juice serves as an excellent natural acidic cleaner, making it a viable alternative to vinegar for tackling limescale buildup. Its acidity effectively dissolves mineral deposits, while its fresh, citrus scent is much more pleasant than the harsh smell associated with vinegar. This makes lemon juice a preferred choice for many who seek a more aromatic, eco-friendly cleaning solution, allowing them to enjoy a cleaner showerhead without any overpowering odors.
Application Process
To apply lemon juice directly to limescale deposits, cut a lemon in half and rub the juicy side onto the affected areas of the shower head. Alternatively, soak a cloth or sponge in lemon juice and use it to apply it to the limescale spots. For a more thorough approach, place the entire shower head in a resealable plastic bag filled with lemon juice. Allow it to soak for 30 minutes to an hour before rinsing and scrubbing to remove any loose deposits.
Removing Limescale with Baking Soda and Lemon Juice Mixture
Combining Ingredients
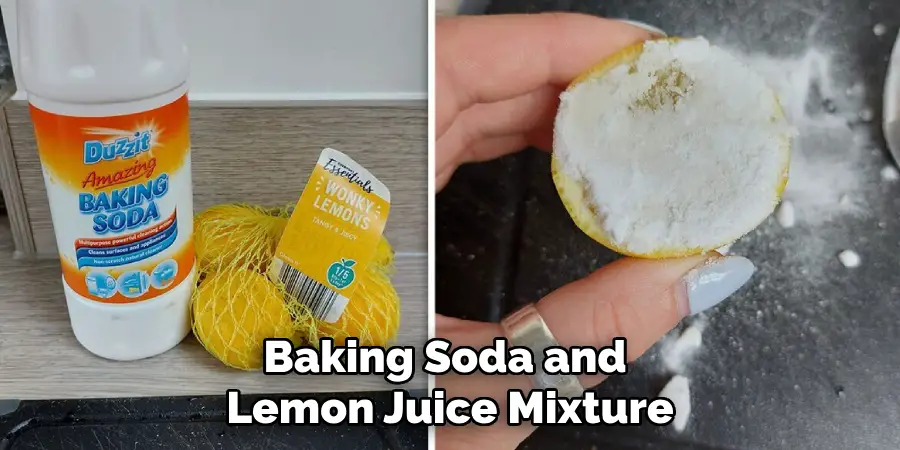
To create a powerful cleaning solution, combine equal parts baking soda and lemon juice in a small bowl. As you mix the two, you’ll notice a fizzy reaction due to the acid-base interaction; this effervescence enhances the baking soda’s cleaning power, making it even more effective against limescale. Aim for a paste-like consistency that can easily be spread over the affected areas of the shower head.
Applying the Mixture
Once the mixture is ready, apply it generously to the limescale-covered areas of the shower head. Ensure that all affected spots are well-coated to maximize cleaning efficacy. Allow the mixture to sit for about 15-30 minutes; during this time, the fizzing action will break down the limescale deposits. After the waiting period, gently scrub the shower head with a soft brush to remove any loosened debris, then rinse thoroughly with warm water to reveal a sparkling clean surface.
Removing Limescale with Baking Soda and Lemon Juice Mixture
Combining Ingredients
To create a powerful cleaning solution, combine equal parts of baking soda and lemon juice in a small bowl. As you mix the ingredients together, you’ll witness a delightful fizzy reaction caused by the acid-base interaction between the citric acid in lemon juice and the bicarbonate in baking soda. This effervescence not only signifies a successful combination but also enhances the cleaning capabilities of the mixture, making it more effective against stubborn limescale deposits.
Applying the Mixture
Once the fizzy mixture reaches a paste-like consistency, generously apply it to the limescale-covered areas of your shower head, ensuring all affected spots are well-coated. Allow the mixture to sit for approximately 15-30 minutes; during this time, the fizzing action actively works to break down the limescale. After waiting, gently scrub the shower head using a soft brush to remove any loosened deposits. Finally, rinse thoroughly with warm water to unveil a sparkling, clean surface.
Using a Descaling Solution or CLR
What is a Descaling Solution?
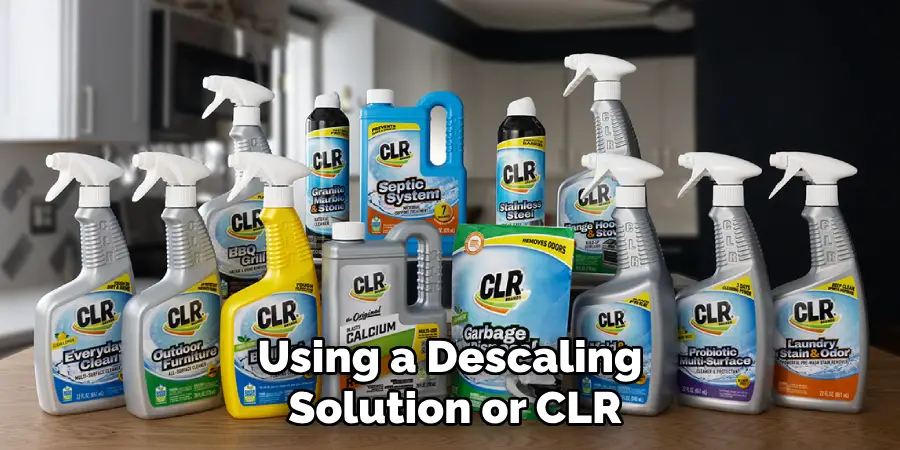
Descaling solutions, such as CLR (Calcium, Lime, and Rust remover), are formulated to effectively remove mineral deposits that accumulate over time in household fixtures. These products use powerful acids to break down limescale, calcium, and rust, restoring surfaces to their original shine. The active ingredients in descalers interact chemically with the hard deposits, dissolving them and making it easy to rinse away the residues.
How to Use
When using a chemical descaler, safety precautions are paramount. Always wear gloves and ensure your workspace is well-ventilated to avoid inhaling fumes. To apply, carefully submerge the shower head in the descaling solution or use the product as directed on the package. Allow it to soak for the recommended duration specified by the manufacturer—typically around 5 to 30 minutes. After soaking, thoroughly rinse the shower head with warm water to remove any leftover solution and mineral deposits, revealing a pristine finish.
Prevention Tips: Reducing Future Limescale Buildup
Install a Water Softener
Installing a water softener is an effective way to combat limescale buildup in your home. By reducing the mineral content in your water supply, particularly calcium and magnesium ions, a water softener helps to prevent these minerals from depositing on your shower head and other fixtures. As a result, you’ll notice a significant decrease in limescale, prolonging the life of your plumbing and maintaining the aesthetic of your bathroom.
Regular Cleaning
Incorporating regular cleaning into your routine can significantly reduce limescale accumulation. Use mild soap and warm water to wipe down your shower head and fixtures periodically, which helps keep mineral deposits at bay. Additionally, consider wiping the surfaces dry after each use to remove water droplets, limiting the conditions that promote limescale formation. This simple practice not only maintains cleanliness but also ensures optimal functionality of your shower head.
Conclusion
In summary, there are several effective methods on how to remove limescale from shower head without vinegar, ensuring your fixtures remain clean and functional. From using lemon juice to the powerful combination of baking soda and lemon juice, each technique provides an eco-friendly solution. Additionally, employing descaling solutions can offer a quick fix for stubborn deposits.
To maintain a limescale-free environment, it’s advisable to incorporate regular cleaning into your routine and consider installing a water softener to minimize future buildup.
By consistently applying these strategies, you can confidently manage limescale accumulation, keeping your shower heads sparkling and performing optimally without the need for vinegar. Embrace these methods and enjoy a refreshing shower experience without the hassle of mineral deposits!
