

Are you tired of trying to remove mold from silicone sealant only to have it keep coming back? Don’t worry, you’re not alone.
Mold on silicone sealant is a common household issue, particularly in areas with high moisture levels like bathrooms and kitchens. It is unsightly, and mold can pose health risks if left untreated.
Fortunately, removing mold from silicone sealant is a straightforward process that can restore cleanliness and prevent further growth. You can effectively eliminate mold and keep your home safe and hygienic by using the right tools, cleaning agents, and techniques.
This guide on how to remove mold from silicone sealant will walk you through the steps to remove mold from silicone sealant and protect it from future buildup.
What Are the Benefits of Removing Mold From Silicone Sealant?
Before we dive into the steps to remove mold from silicone sealant, let’s explore why tackling this issue is essential. There are several benefits to eliminating mold from silicone sealant, including:
- Improved Aesthetics: Mold can make your bathroom or kitchen look dirty and uninviting. You can restore a clean and fresh appearance by removing mold from silicone sealant.
- Prevents Further Damage: If left unchecked, mold can spread and cause damage to the underlying structure of your home, such as drywall or tiles. Removing it promptly can save you from costly repairs in the future.
- Eliminates Health Risks: Mold releases spores that can cause respiratory issues, allergies, and other health problems. By removing mold from silicone sealant, you can improve the air quality in your home and protect yourself and your family’s health.
What Will You Need?
To effectively remove mold from silicone sealant, you will need the following tools and supplies:
- Protective Gear: Mold spores can be harmful if inhaled or come into contact with your skin. Wearing protective gear such as gloves, a mask, and safety glasses is essential while working with mold.
- Scrubbing Brush: A stiff-bristled brush is necessary for scrubbing away the mold from the surface of the silicone sealant.
- Cleaning Agent: You can use a commercial mold and mildew remover or make your own cleaning solution using equal parts water and white vinegar. Alternatively, you can also use a bleach solution (1 part bleach to 10 parts water) for tougher mold stains.
- Cloth or Sponge: A cloth or sponge will be handy for applying the cleaning agent and wiping away the mold.
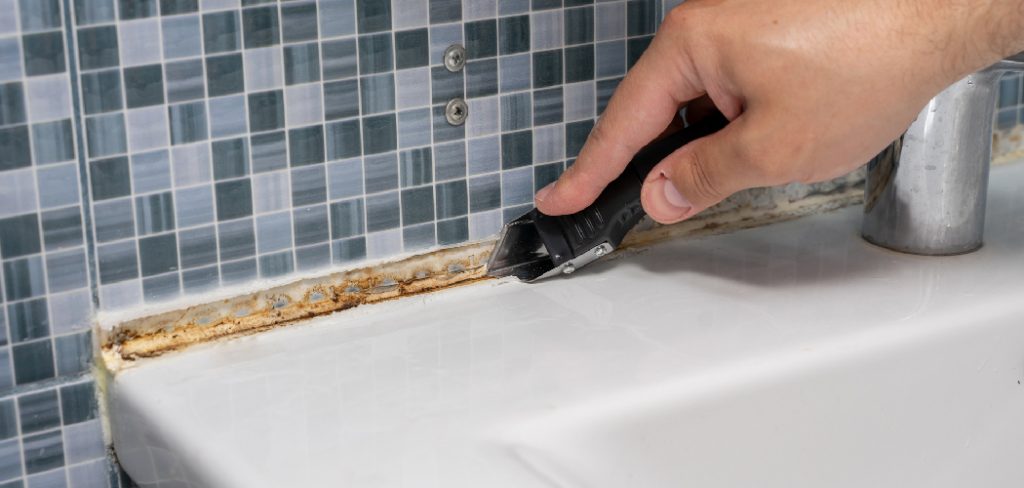
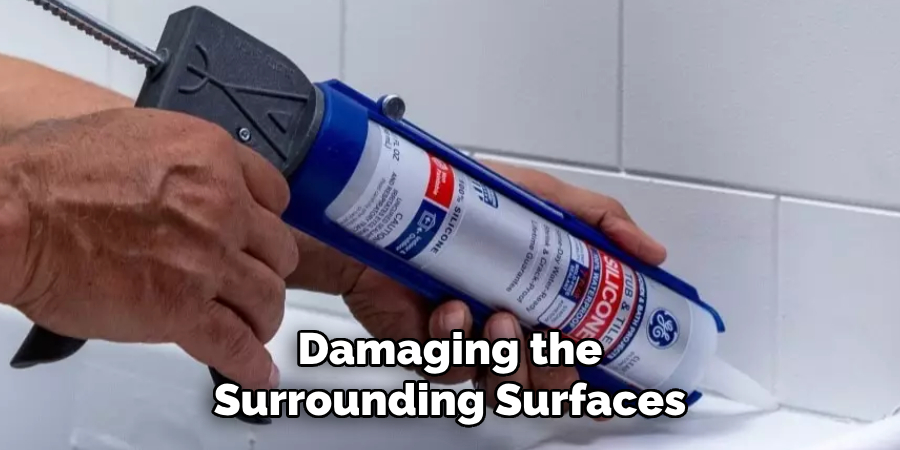
- Caulking Tool: If the mold has penetrated deep into the sealant, you may need to remove and replace it entirely. A caulking tool will help you safely remove the old sealant without damaging the surrounding surfaces.
9 Easy Steps on How to Remove Mold From Silicone Sealant
Step 1. Prepare the Area:
Before starting the cleaning process, it is essential to prepare the area to ensure safety and effectiveness. Start by clearing the surrounding space of items or objects that may obstruct your work or become contaminated, such as toiletries, towels, or decorations.
Ensure the room is well-ventilated by opening windows or turning on exhaust fans to reduce exposure to fumes from the cleaning agents. If the silicone sealant is in a wet area, like a bathroom, ensure the surface is dry. This will help the cleaning agent adhere appropriately to the sealant and make the mold removal more efficient.
Finally, wear the appropriate protective gear, including gloves, a mask, and safety glasses, to safeguard yourself from mold spores and cleaning chemicals. These preparatory steps will set the stage for a smooth and safe cleaning process.
Step 2. Apply the Cleaning Solution:
Once the area is prepared, it’s time to apply the cleaning solution to remove the mold effectively. You can use a commercial mold remover or prepare a homemade solution by mixing one part bleach with three parts water. Pour the solution into a spray bottle for easy application.
Generously spray the silicone sealant, ensuring all areas affected by mold are thoroughly covered. Allow the solution to sit for at least 10-15 minutes to penetrate the mold and loosen its grip on the surface.
This step is crucial for breaking down the mold and ensuring it can be easily scrubbed away in the next phase of the cleaning process. Always follow the instructions on any commercial product you use, and avoid mixing cleaning agents, as this could release harmful fumes.
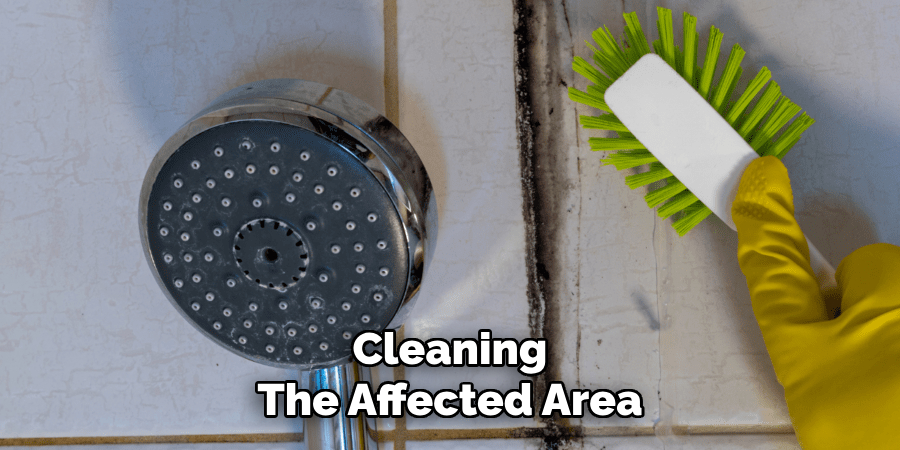
Step 3. Scrub the Silicone Surface:
After allowing the cleaning solution to sit, gently scrub the silicone surface with a non-abrasive scrubbing brush or sponge. Focus on the areas with visible mold, applying consistent pressure to remove the buildup.
A toothbrush can be an effective tool for tight corners or hard-to-reach spots. Be thorough, but avoid using overly harsh tools that might damage the sealant. This step helps physically remove the mold residue, ensuring a clean and smooth surface for the final cleaning touches. Rinse the area with clean water afterward to remove any remaining solution and mold debris.
Step 4. Dry and Inspect the Silicone Surface:
Once the rinsing process is complete, use a clean cloth or towel to dry the silicone surface thoroughly. Proper drying is essential to prevent moisture from lingering, as damp conditions can lead to mold regrowth.
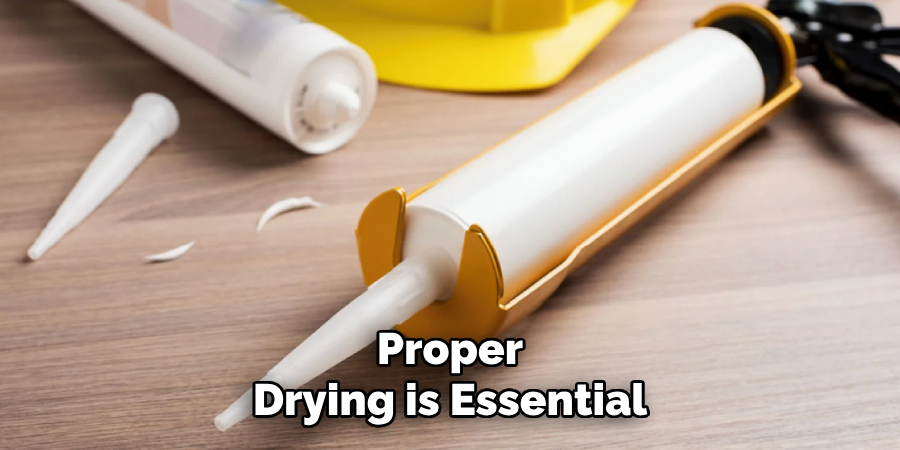
After drying, scrutinize the area to ensure all mold has been removed. If any stubborn spots remain, repeat the cleaning process on those areas. A well-dried and mold-free silicone surface is the foundation for maintaining a hygienic and lasting seal.
Step 5. Apply a Mold-Resistant Sealant:
To prevent future mold growth, apply a mold-resistant silicone sealant to the area. Ensure the surface is completely dry before beginning this step, as moisture can affect the sealant’s adhesion and effectiveness. Use a caulking gun to apply the sealant evenly, following the manufacturer’s instructions.
Smooth the sealant with a gloved finger or a caulking tool for a clean finish. Allow the adhesive to cure fully before exposing it to water or humidity. This added protective layer will help keep the silicone surface mold-free and maintain its integrity over time.
Step 6. Maintain Regular Cleaning and Inspection:
Establish a routine for regular cleaning and inspection to ensure the silicone remains mold-free. Wipe down the surface with a mild cleaning solution and a soft cloth to remove any dirt or residue.
Check for any signs of wear, cracks, or mold development, addressing issues promptly to prevent further damage. Regular upkeep extends the silicone seal’s lifespan and maintains a hygienic and clean environment.
Step 7. Replace Silicone When Necessary:
Over time, even with proper care, silicone seals may deteriorate due to age, wear, or prolonged exposure to harsh conditions. If you notice significant cracking, peeling, or persistent mold that cannot be cleaned, it may be time to replace the silicone entirely.
Carefully remove the old sealant using a utility knife or silicone remover tool, ensuring the surface is clean and dry before applying a fresh sealant. Proper replacement ensures continued protection and functionality while maintaining a clean and safe environment.
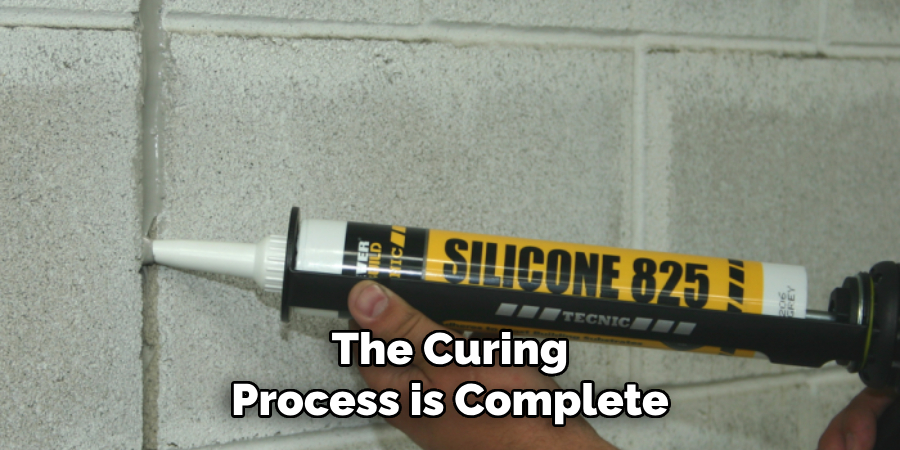
Step 8. Ensure Proper Curing Time:
After applying a new layer of silicone sealant, it is crucial to allow adequate curing time as specified by the manufacturer’s instructions. Avoid exposing the sealed area to water, heavy cleaning, or other stressors during this period, as this can compromise the seal’s integrity.
Proper curing ensures a durable, long-lasting bond and optimal performance of the new sealant. Patience during this step will ensure the quality and effectiveness of your work.
Step 9. Perform a Final Inspection:
Once the curing process is complete, thoroughly inspect the sealed area to ensure the silicone has adequately adhered and there are no gaps or imperfections. Look for an even application and verify that the seal provides complete coverage.
Address any issues promptly by applying additional sealant if necessary. A careful final inspection helps guarantee a professional finish and the long-term durability of your work.
By following these ten steps, you can effectively clean and maintain silicone surfaces to prevent mold growth and preserve the integrity of your seal.
5 Things You Should Avoid
- Using Abrasive Tools: Avoid rough or abrasive tools like steel wool or metal brushes, as these can damage the silicone sealant and reduce its effectiveness.
- Skipping Proper Ventilation: Failing to provide adequate ventilation when using chemical cleaners can lead to harmful fumes building up in the area, posing a health risk.
- Applying Harsh Chemicals Without Testing: Strong cleaners like bleach or ammonia can damage the sealant or nearby surfaces without testing on a small, inconspicuous area.
- Ignoring Safety Precautions: Neglecting to wear gloves, masks, or protective eyewear when handling mold removal products can lead to skin irritation or respiratory issues.
- Reapplying Sealant Without Cleaning First: Simply adding a new sealant layer over moldy silicone will trap the mold underneath, allowing it to continue growing and causing further issues. Always clean thoroughly before reapplying.
Conclusion
How to remove mold from silicone sealant requires careful attention to detail and proper technique to ensure a lasting and effective result.
Begin by cleaning the affected area thoroughly using a suitable mold removal product or a home remedy like vinegar. Always test cleaning solutions on a small area first to prevent damage.
Ensure the space is well-ventilated, and wear protective gear to avoid exposure to harmful chemicals or fumes. After cleaning, allow the area to dry completely before applying a new sealant layer if necessary.
Following these steps and avoiding common mistakes can restore the sealant’s functionality and maintain a clean, healthy environment.